Hey there!
Ever dealt with a toilet that just won’t stop running? Trust me, it’s not only annoying but can also waste a lot of water. Thankfully, I’ve got the solution for you.
In this article, I’ll show you exactly how to replace that old style toilet flapper. It may sound complicated, but don’t worry – with a few simple steps and the right tools, you’ll have your toilet working like new in no time.
Let’s dive in!
Key Takeaways
- Look for a rubber or plastic piece attached to the flush valve
- Troubleshoot common issues like improper sealing and getting stuck in the open position
- Gather necessary tools and materials such as pliers and a new rubber flapper
- Install the new flapper properly and test and adjust it regularly for proper functioning

GIOTOHUN Cat Water Fountain Filter Replacement: 12 Cat Fountain Filter - 12 Pet Fountain Filter - 6 Carbon Filters & 6 Foam Filters - Suitable for GIOTOHUN Stainless Steel Cat Fountain S11
- Compatible with GIOTOHUN Stainless Steel Fountain: Fits GIOTOHUN 2.2L cat water dispenser
- Set of 12 Filters: Includes 6 carbon and 6 sponge filters
- Long-lasting Filters: Suitable for 3-6 months of use
As an affiliate, we earn on qualifying purchases.
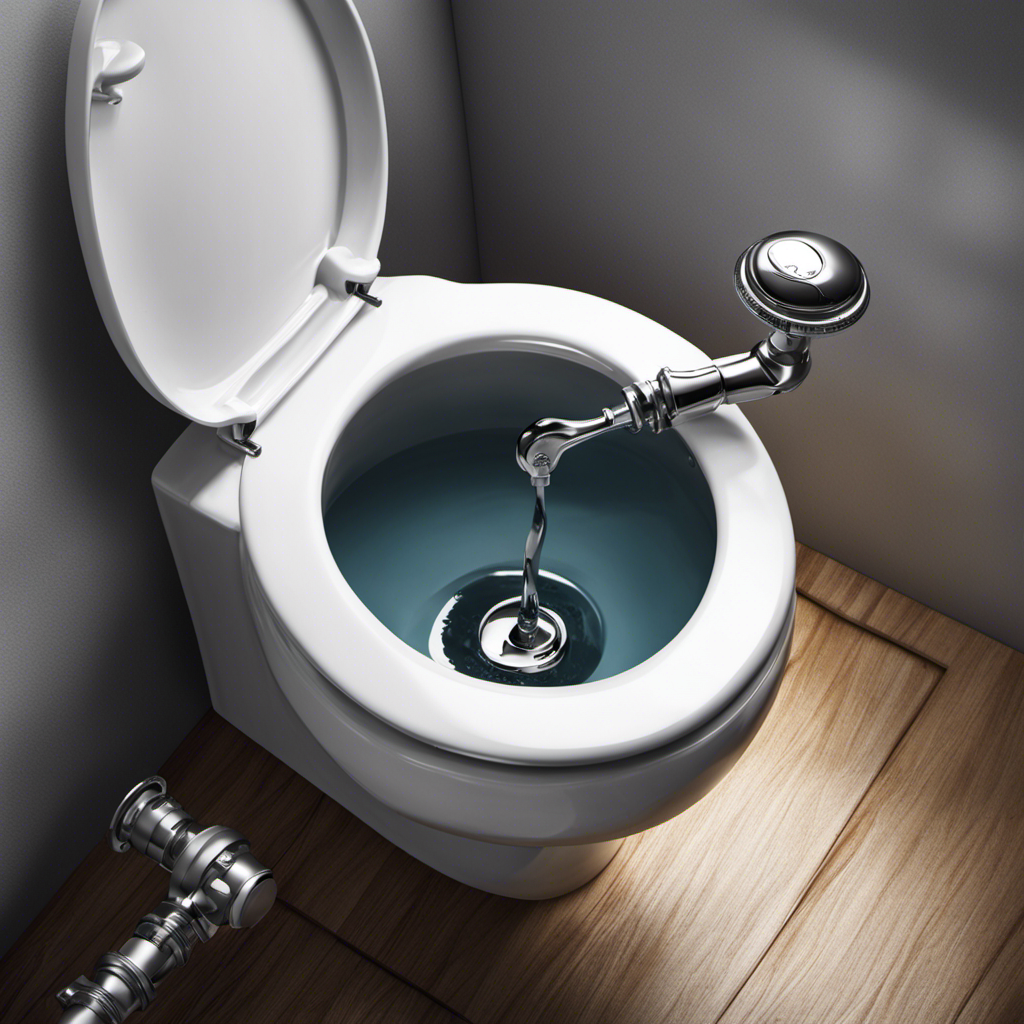
Identifying the Old Style Flapper
To identify the old style flapper, you’ll need to look for a rubber or plastic piece attached to the flush valve. The flapper is responsible for controlling the water flow from the tank to the bowl.
Identifying common issues with the old style flapper will help you troubleshoot any problems you may encounter. One common issue is the flapper not sealing properly, causing water to continuously leak into the bowl. Another issue could be the flapper getting stuck in the open position, resulting in a constantly running toilet.
To troubleshoot these issues, you can try adjusting the chain length or cleaning the flapper and the valve seat. By identifying these common issues and using simple troubleshooting tips, you can easily fix the old style flapper.
Now, let’s move on to gathering the necessary tools and materials.
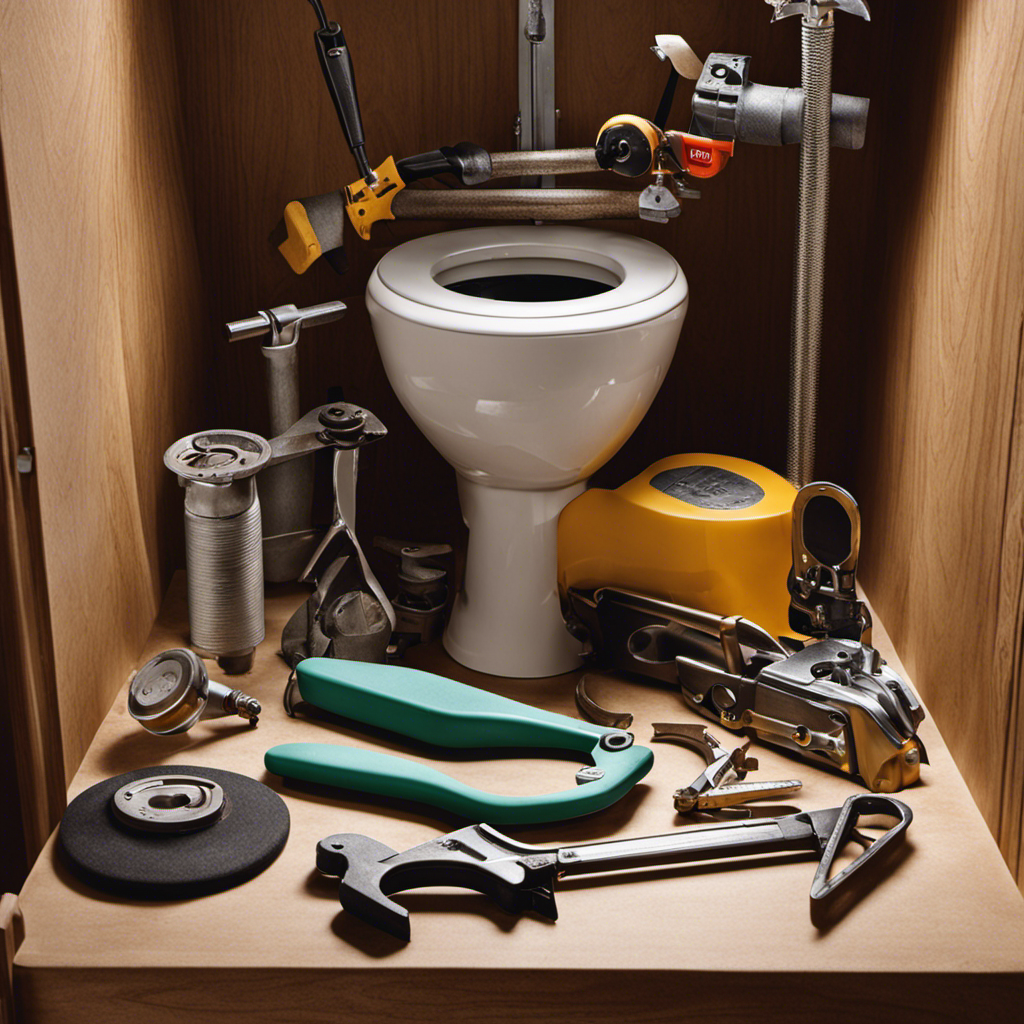
Gathering the Necessary Tools and Materials
First, you’ll need a pair of pliers and a new rubber flapper to complete the replacement.
To successfully troubleshoot common toilet flapper issues and maintain the longevity of your toilet flapper, follow these steps:
- Carefully remove the lid of the toilet tank.
- Locate the flapper, which is usually a rubber piece attached to a chain.
- Use the pliers to disconnect the chain from the flush handle lever.
- Gently remove the old flapper and dispose of it properly.
Replacing the old flapper with a new one is crucial for preventing water leaks and ensuring efficient flushing. By maintaining the longevity of your toilet flapper, you can save water and avoid costly repairs.
Remember to follow the manufacturer’s instructions when installing the new flapper to ensure a proper fit.
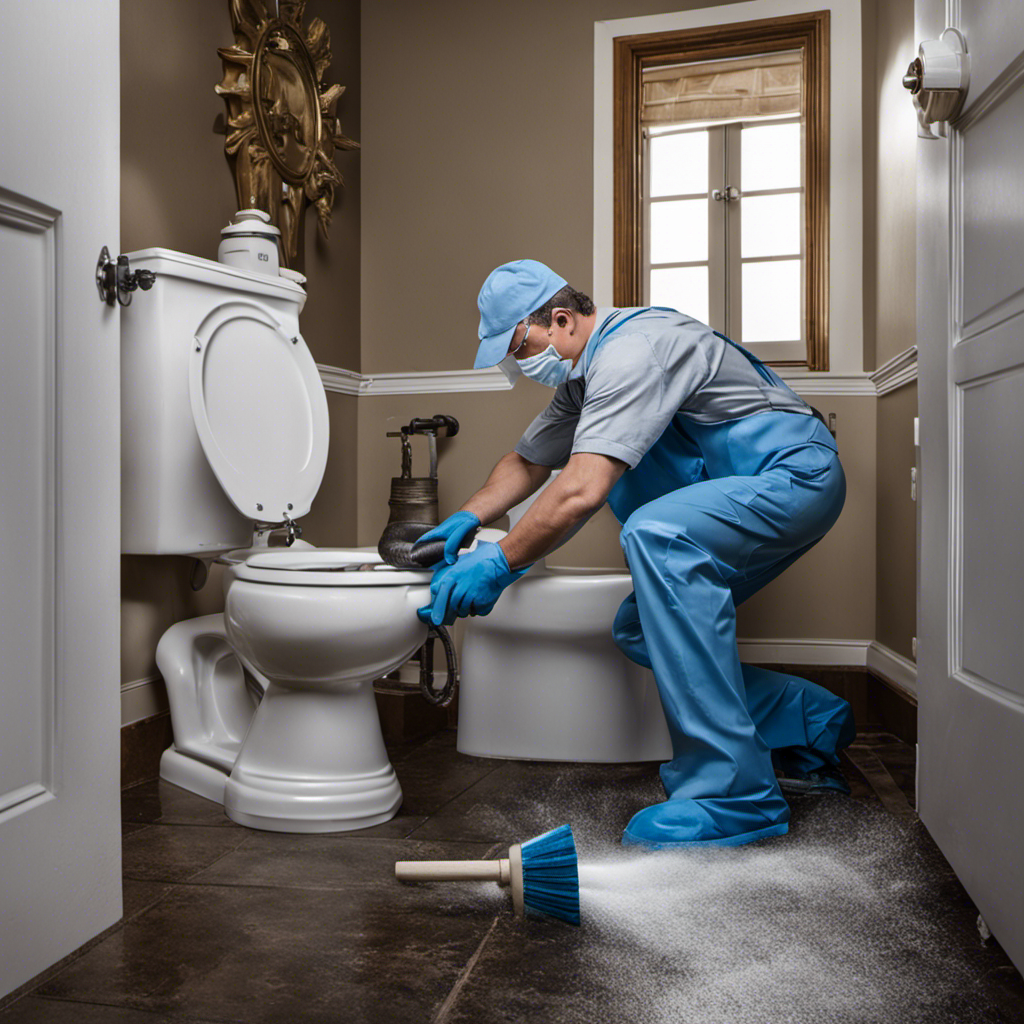
Removing the Old Flapper
Carefully detach the chain from the flush handle lever using the pliers, ensuring a smooth removal of the old flapper.
Old style flappers can often cause common issues such as leaks, running water, or incomplete flushes. These issues can be frustrating and waste water, but luckily, replacing the flapper is a relatively simple task.
By following a few tips, you can also extend the lifespan of your new flapper. Firstly, make sure to clean the flapper regularly to prevent mineral buildup and ensure a proper seal.
Secondly, avoid using harsh chemicals in your toilet as they can deteriorate the flapper’s material.
Lastly, check for any leaks or issues with the flush handle lever periodically to catch and fix problems early on. Taking these precautions will help you maintain a properly functioning toilet flapper for a longer time.
Installing the New Flapper
Installing a new flapper is a straightforward process that will help resolve common issues with your toilet. Here are some tips and tricks to ensure a successful installation:
- Use a high-quality flapper that matches your toilet model to ensure a proper fit.
- Before installing the new flapper, turn off the water supply to the toilet to avoid any leaks or water damage.
- Make sure to clean the flapper seat thoroughly to remove any debris or mineral buildup that could affect its performance.
- When attaching the flapper to the flush valve, ensure a tight seal to prevent any water leakage.
It’s important to avoid these common mistakes when installing a new flapper:
- Not aligning the flapper correctly with the flush valve, which can result in inadequate flushing or continuous water running.
- Overtightening the flapper chain, which can prevent proper movement and cause the flapper to close improperly.
Testing and Adjusting the Flapper
To ensure your new flapper is working properly, start by testing its performance and making any necessary adjustments.
After installing the flapper, flush the toilet and observe the water flow. If the water flows continuously into the bowl, the flapper may not be sealing properly. In this case, adjust the chain length by ensuring it has a slight slack, allowing the flapper to close completely.
If the flapper closes too quickly, causing a weak flush, adjust the chain length to provide more slack.
Additionally, if the flapper is not sealing tightly, it may be due to mineral deposits or a worn-out seal. Clean the flapper and replace it if necessary.
Conclusion
In conclusion, replacing an old style toilet flapper is a simple and straightforward process that can be done with a few tools and materials.
By following the steps outlined in this article, you can easily identify the old style flapper, gather the necessary tools, remove the old flapper, and install the new one.
Finally, don’t forget to test and adjust the flapper to ensure it is functioning properly. Just like a well-tuned engine, a properly functioning toilet flapper is essential for a smooth and efficient operation.
So, take the necessary steps to replace your old flapper and keep your toilet running smoothly.