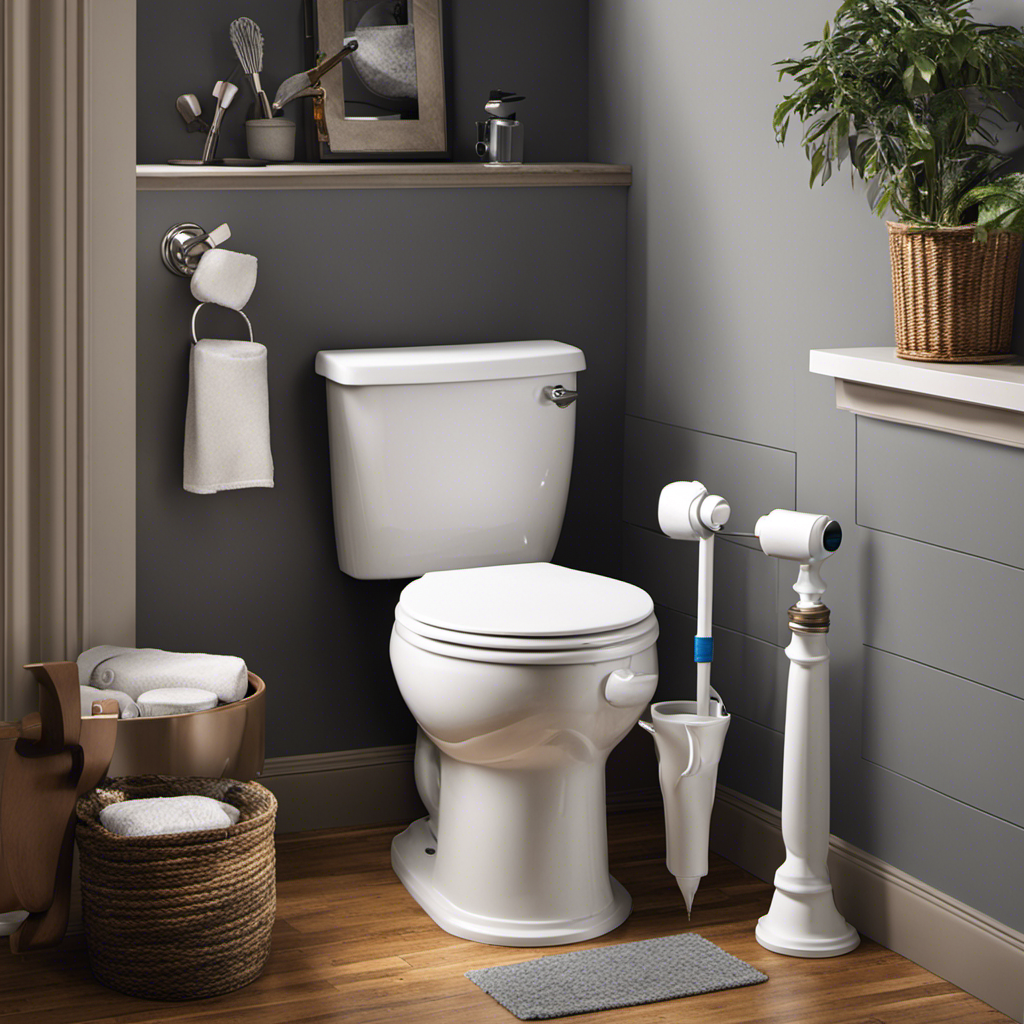
I’ve been there – standing in a bathroom, ankle-deep in water, desperately trying to stop a leaking toilet. It’s a frustrating situation that can cause water damage and waste precious resources.
But fear not! In this step-by-step guide, I’ll show you exactly how to put an end to that pesky leak. From identifying the source to tightening faulty connections, we’ll cover it all.
So grab your tools and let’s get started on fixing that leaky toilet once and for all.
Key Takeaways
- Identify the source of the leak by checking the base of the toilet and the tank, looking for signs of water pooling or seeping, and listening for hissing sounds.
- Check and replace the wax ring if a leak is detected, by turning off the water supply, flushing the toilet, using a leak detection kit, removing the toilet, scraping off the old wax ring, and installing a new one.
- Adjust the water level in the tank by locating the float valve, turning a screw or sliding a clip to adjust the level, and testing it by flushing the toilet.
- Tighten and replace faulty connections by inspecting and tightening loose connections, and replacing damaged or worn-out connections using thread sealant tape or pipe dope to create a watertight seal.
- Seal and caulk around the base of the toilet by removing old caulk or debris, checking for leaks using a leak detector, applying caulk to create a watertight seal, and filling any gaps or cracks with caulk before allowing it to dry completely.

Hibbent Extra Thick Toilet Wax Ring Replacement Kit, Universal Toilet Seal Ring with Brass Toilet Floor Bolts and Retainer Washers, PE Flange Fits 3 Inch and 4 Inch Drain Pipes
Universal Toilet Wax Ring: The Hibbent toilet flange is compatible with 3-inch and 4-inch waste lines, suitable for…
As an affiliate, we earn on qualifying purchases.
As an affiliate, we earn on qualifying purchases.
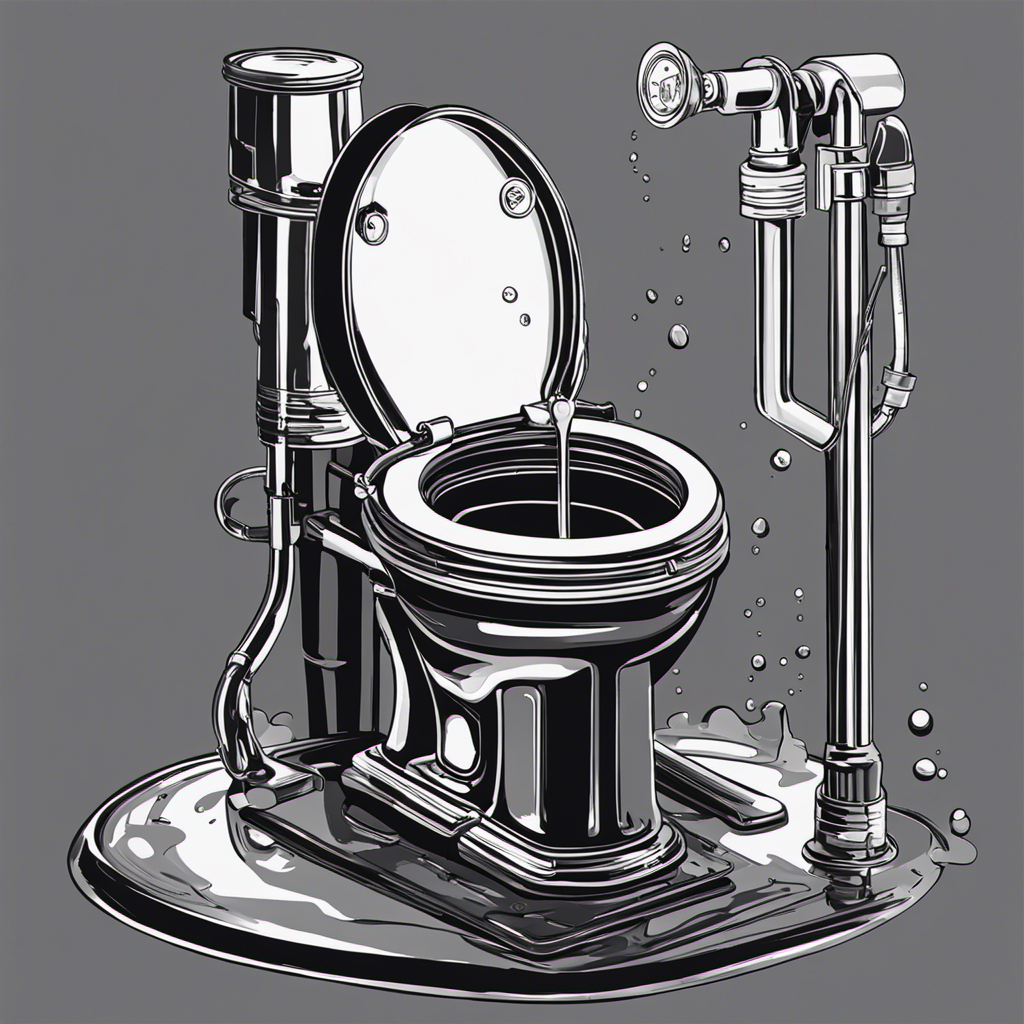
Identifying the Source of the Leak
First, you need to check if the leak is coming from the base of the toilet or the tank.
To identify the source of the leak, start by examining the base of the toilet. Look for any signs of water pooling around the bottom or a damp floor. This could indicate a wax ring seal failure, which is a common cause of toilet leaks.
Another common sign of a toilet leak is water seeping out from the tank. Check the tank for any cracks or loose fittings. Additionally, listen for any hissing sounds, as this could indicate a faulty fill valve or flapper.

New Resources Group Toilet Leak Detection Dye Tablets (Detect Silent Leaks) Blue 20 Pack
Detect Silent Leaks in your toilet. 20 Packets (2 Blue Tablets per Packet good for 40 tests)
As an affiliate, we earn on qualifying purchases.
As an affiliate, we earn on qualifying purchases.
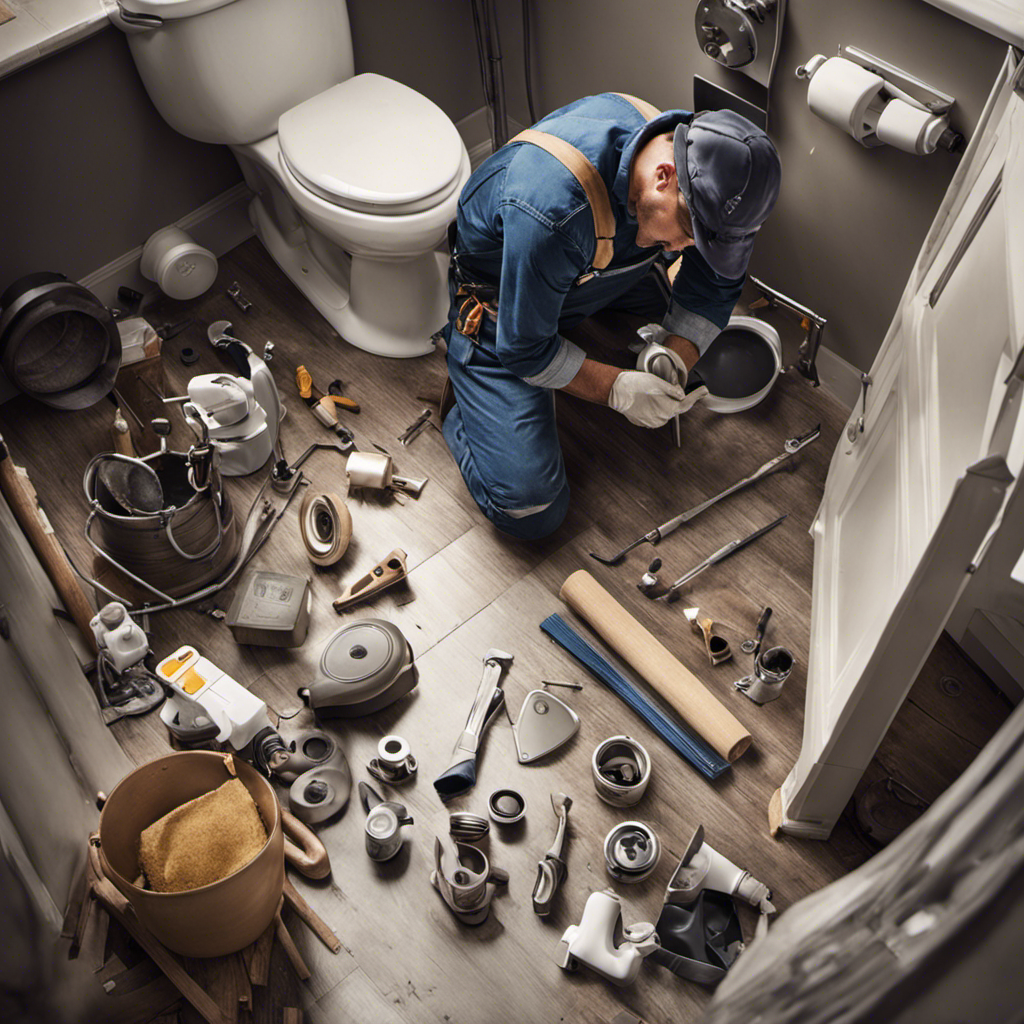
Checking and Replacing the Wax Ring
To prevent any further leaks, you’ll need to check and replace the wax ring underneath the toilet. Here’s a step-by-step guide on how to do it:
-
Start by turning off the water supply to the toilet.
-
Flush the toilet to empty the tank and bowl.
-
Use a toilet leak detection kit to identify any leaks in the wax ring or toilet flange.
-
If a leak is detected, remove the toilet by unscrewing the bolts at the base and lifting it off the flange.
-
Carefully scrape off the old wax ring and clean the area.
-
Install a new wax ring onto the flange, making sure it is centered.
-
Lower the toilet back onto the flange and tighten the bolts.
-
Turn on the water supply and check for any leaks.

Fluidmaster Universal Install/Uninstall Toilet Repair Tool
Fluidmaster’s universal install and uninstall toilet tool makes any toilet repair job simple
As an affiliate, we earn on qualifying purchases.
As an affiliate, we earn on qualifying purchases.
Adjusting the Water Level in the Tank
In order to make sure the water level in the tank is at the correct height, you can adjust the float valve. The float valve is responsible for controlling the water flow into the tank, and sometimes it may need to be adjusted to prevent water from overflowing or not filling up enough.
Here’s how you can adjust the float mechanism:
- Locate the float valve, which is usually a plastic or metal arm connected to a float ball or cup.
- Depending on the type of float valve, you may need to turn a screw or slide a clip to adjust the water level.
- If the water level is too high, adjust the float mechanism downwards to lower the water level.
- If the water level is too low, adjust the float mechanism upwards to increase the water level.
- Test the water level by flushing the toilet and observing if it fills up to the correct height.

One N Done Toilet Flange Repair Kit – Toilet Kit For Low or Broken Flange. Toilet Wax Ring Replacement Kit W/Toilet Flange Extender Kit, Easy Toilet Bolts, & Toilet Caps For Bottom of Toilet. (1 Ea.)
Save Time & Money | No wax ring for toilet required. The One N Done toilet flange repair…
As an affiliate, we earn on qualifying purchases.
As an affiliate, we earn on qualifying purchases.
Tightening and Replacing Faulty Connections
Now let’s take a look at how we can tighten and replace any faulty connections in the tank. Here are some steps to help you repair leaks and prevent water damage:
-
Inspect the connections: Check the connections between the tank and the water supply line, as well as the connections between the tank and the toilet bowl. Look for any signs of leaks or loose fittings.
-
Tighten the connections: Use a wrench or pliers to tighten any loose connections. Make sure not to overtighten, as this could cause damage to the fittings.
-
Replace faulty parts: If the connections are damaged or worn out, it’s best to replace them. This may involve replacing the supply line, flapper, or fill valve.
-
Use thread sealant: Apply thread sealant tape or pipe dope to the threads of the connections. This will help create a watertight seal and prevent leaks.
-
Test for leaks: After tightening or replacing the connections, turn on the water supply and flush the toilet. Check for any leaks and make sure the connections are secure.
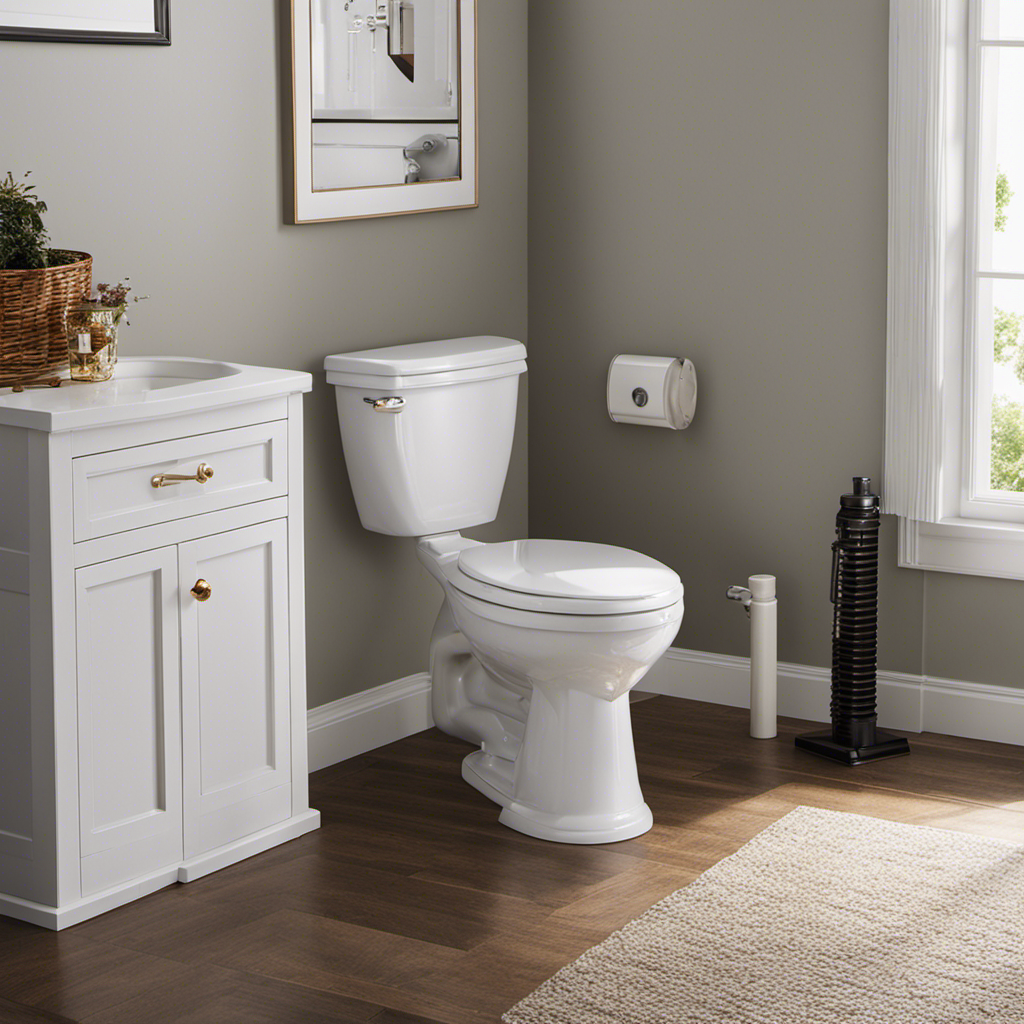
Sealing and Caulking Around the Base of the Toilet
Applying caulk around the base of the toilet helps create a watertight seal and prevents water damage. To ensure a proper seal, start by removing any old caulk or debris using a putty knife.
Next, use a toilet leak detector to check for any leaks around the base of the toilet. If there are leaks, repair them before proceeding.
Once the area is clean and dry, apply a bead of caulk around the base of the toilet, making sure to fill any gaps or cracks. Smooth the caulk with a caulk smoothing tool or your finger.
Allow the caulk to dry completely before using the toilet. This simple step can help prevent water damage and the need for replacing damaged flooring in the future.
Conclusion
So there you have it, folks! By following these simple steps, you can put an end to that pesky toilet leak once and for all.
Remember, a leaky toilet not only wastes water but can also lead to costly repairs if left unchecked.
By taking the time to identify the source of the leak, adjusting the water level, and tightening or replacing faulty connections, you can save yourself time, money, and frustration.
Don’t let a leaky toilet bring you down – take action and say goodbye to leaks!