I’ve always found tiling to be a fascinating and rewarding DIY project. And when it comes to tiling around a toilet, it’s all about understanding the basics and following a step-by-step guide.
In this article, I’ll walk you through the process of preparing the area, selecting the right tiles, and tiling around your toilet like a pro. With a little patience and the right tools, you’ll have a beautifully tiled bathroom in no time.
Let’s get started!
Key Takeaways
- Choose the right adhesive for a strong bond between tiles and the floor.
- Prepare the toilet area by inspecting the toilet flange, cleaning the area, and applying a waterproofing membrane.
- Select tiles based on design, color scheme, and material (ceramic, porcelain, or natural stone).
- Follow a step-by-step guide to properly measure, cut, and lay out tiles around the toilet, and apply adhesive for a secure installation.
Understanding the Basics of Tiling
Before you begin tiling around the toilet, it’s important to understand the basics of tiling.
Choosing the right adhesive for tiling is crucial to ensure a strong and long-lasting bond between the tiles and the floor. There are different types of adhesives available, such as cement-based, epoxy, and premixed adhesives. It is essential to choose the adhesive that is suitable for your specific tile and substrate.
Another crucial aspect to consider is avoiding common mistakes when tiling a bathroom. Some of these mistakes include not properly preparing the surface, not using spacers to ensure even spacing between tiles, and not properly sealing the grout lines.
Preparing the Toilet Area for Tiling
To ensure proper tiling, it’s important to first prepare the area around the toilet. This involves taking certain steps to ensure a smooth and waterproof surface. Here are five key items to consider when preparing the toilet area for tiling:
-
Inspect the toilet flange: Check if the toilet flange is in good condition and securely fastened to the floor. If it’s damaged or loose, repair or replace it before proceeding with tiling.
-
Clean the area: Remove any debris, old wax ring, or adhesive from the floor around the toilet. Ensure the surface is clean and level.
-
Apply a waterproofing membrane: Use a waterproofing membrane to protect the subfloor from moisture. Apply it over the area surrounding the toilet, extending it beyond the flange.
-
Cut and dry-fit tiles: Measure and cut the tiles to fit around the toilet flange. Dry-fit the tiles to ensure a proper fit and make any necessary adjustments.
-
Mix and apply tile adhesive: Mix the tile adhesive according to the manufacturer’s instructions. Apply a thin layer of adhesive to the subfloor, covering the area around the toilet flange.
Selecting and Purchasing the Right Tiles
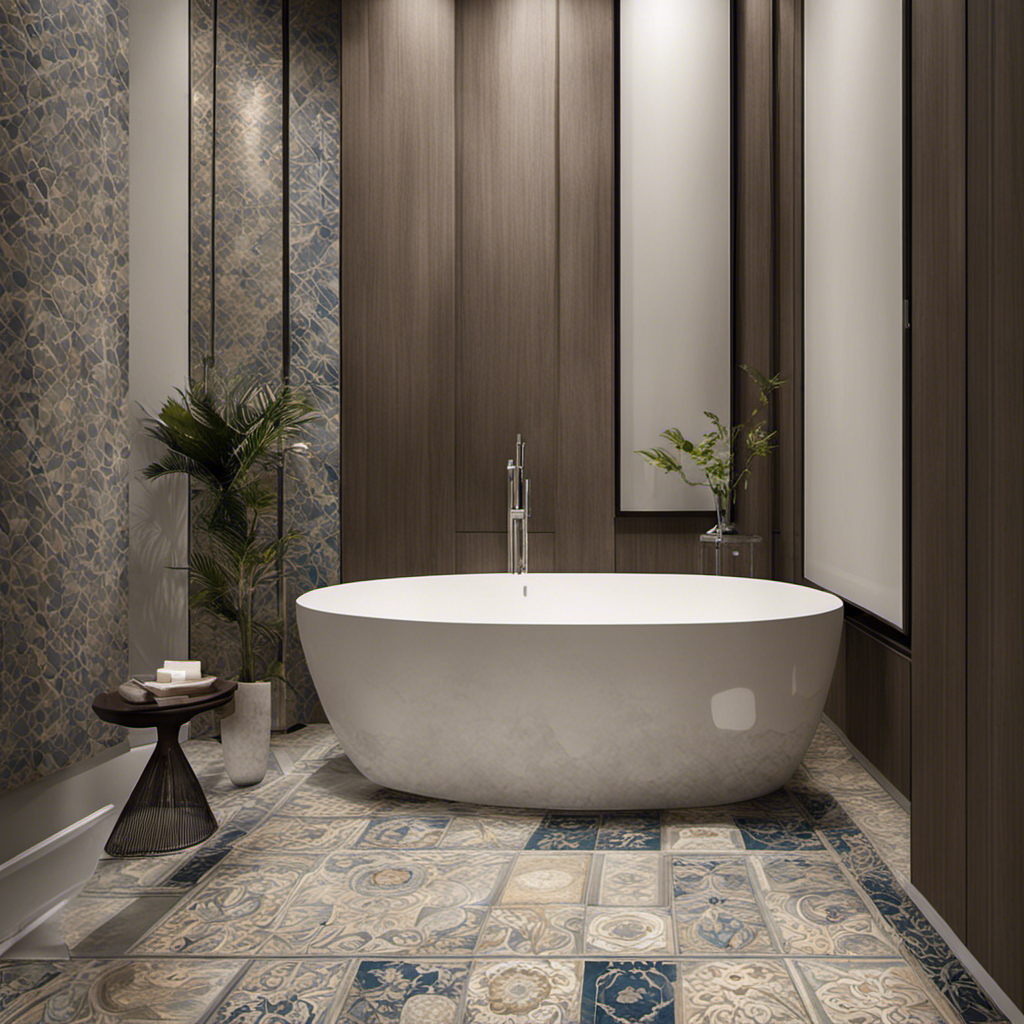
When selecting tiles for your bathroom, consider the overall design and color scheme you want to achieve. Comparing different tile materials is crucial to ensure you choose the right one for your needs.
Ceramic tiles are a popular choice due to their durability and versatility. They come in a variety of colors, sizes, and patterns, allowing you to create the desired aesthetic.
Porcelain tiles are another excellent option as they are highly resistant to moisture and stains.
Natural stone tiles, such as marble or granite, offer a luxurious and elegant look but require more maintenance.
Once you have decided on the material, it’s essential to measure and estimate the tile quantities accurately. This will prevent any shortage or excess during installation.
Now that you have selected and purchased the right tiles, let’s move on to the step-by-step guide to tiling around a toilet.
Step-by-Step Guide to Tiling Around a Toilet
Now that you’ve got the right tiles, let’s take a look at the step-by-step guide for tiling around a toilet.
Here’s how you can properly align tiles around the toilet and deal with uneven surfaces:
- Begin by removing the toilet and cleaning the area thoroughly.
- Measure and mark the center of the toilet flange on the floor.
- Lay out the tiles starting from the center mark, ensuring they are evenly spaced.
- Use a tile cutter or wet saw to cut the tiles to fit around the toilet base and other obstacles.
- Apply adhesive to the back of each tile and press them firmly onto the floor, making sure they are level and aligned.
By following these steps, you can achieve a professional-looking tile installation around your toilet, even if the floor is uneven.
Once the tiling is complete, you can move on to the finishing touches and maintenance tips.
Finishing Touches and Maintenance Tips
Once you’ve finished tiling around the toilet, it’s important to apply grout and sealant to ensure a long-lasting and easy-to-clean surface. Maintaining your newly tiled bathroom floor is key to preserving its beauty and functionality.
Establishing a regular maintenance routine will help keep your tiles looking their best for years to come. To begin, sweep or vacuum the tiled area regularly to remove dirt and debris. For deeper cleaning, use a mild detergent mixed with warm water and a soft sponge or mop. Avoid using abrasive cleaners or harsh chemicals that can damage the tiles or grout.
Additionally, it’s essential to troubleshoot common tiling problems such as cracked or discolored grout. Regularly inspect the grout lines and address any issues promptly by reapplying grout or using a grout sealer.
Conclusion
In conclusion, tiling around a toilet can be a tricky task, but with the right knowledge and tools, it can be accomplished seamlessly.
Remember to understand the basics of tiling, prepare the area properly, and select the right tiles for the job.
Follow the step-by-step guide carefully, ensuring a snug fit around the toilet.
Don’t forget the finishing touches and maintenance tips to keep your newly tiled toilet area looking pristine.
So go ahead, tackle this tiling task with confidence, and transform your bathroom into a stunning masterpiece!


