I’ve got a secret weapon that will save you from any toilet clog nightmare – the plunger.
In just a few simple steps, you’ll be able to tackle even the toughest blockages with ease. Trust me, I’ve been there, and I know how frustrating it can be.
But fear not, because I’m about to reveal the insider tips and tricks that will make you a plunger pro in no time.
Get ready to unclog your way to toilet triumph!
Key Takeaways
- There are different types of plungers available, such as cup plunger and flange plunger, each designed for specific purposes.
- Using a plunger is a simple and effective tool to unclog toilets and drains, saving money on hiring a plumber.
- Plunging is an environmentally friendly method as it does not require the use of harsh chemicals.
- Proper positioning and technique are important when using a plunger, including creating a tight seal, applying downward pressure, and plunging in an up-and-down motion.
Gathering the Necessary Supplies
Before you begin, make sure you’ve got all the necessary supplies for using a plunger on a toilet.
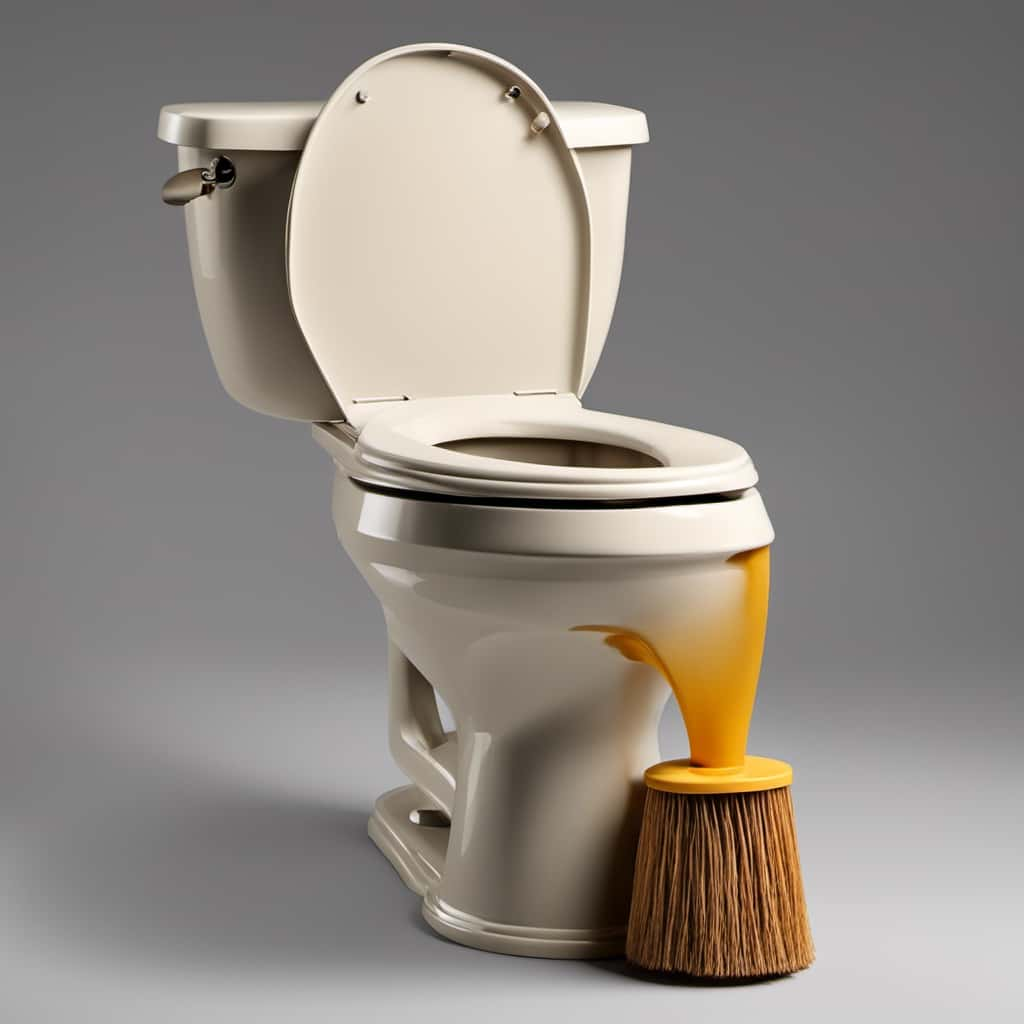
There are two main types of plungers: the cup plunger and the flange plunger.
The cup plunger is the most common type, with a flat bottom and a rubber cup that creates a seal around the drain.
The flange plunger, on the other hand, has an added piece of rubber that extends from the bottom of the cup, making it ideal for toilets.
The benefits of using a plunger are numerous. It’s a simple and effective tool for clearing clogs, saving you from calling a plumber.
Additionally, using a plunger is environmentally friendly as it doesn’t require any harsh chemicals.
Now that you have your plunger ready, let’s move on to positioning it correctly.
Positioning the Plunger Correctly
To ensure proper suction, make sure you’re positioning the plunger correctly. Here are three key steps to follow:
-
Place the plunger over the drain hole in the toilet bowl, ensuring a tight seal. The rubber cup should cover the entire hole to create a vacuum.
-
Hold the plunger handle firmly with both hands and apply downward pressure. This will create suction and help dislodge the clog.
-
Begin plunging in an up-and-down motion, using controlled force. Avoid splashing by keeping the plunger submerged in water at all times. This will prevent any debris or water from splashing back onto you or the surrounding area.
Applying Proper Plunger Technique
Ensure you have a tight seal by placing the rubber cup of the plunger over the drain hole and applying downward pressure. This is the first step to effectively plunging a toilet.
Once you have a good seal, start plunging by pushing the plunger up and down vigorously. The suction created by the plunging motion helps to dislodge any clogs in the pipes. Remember to maintain a steady rhythm and apply consistent pressure. Be careful not to use excessive force as this could potentially damage the toilet or the plumbing system.
It is also important to avoid using chemical drain cleaners before plunging, as they can react with the water and create a hazardous situation.
Troubleshooting Common Issues
If you’re experiencing recurring clogs, it might be helpful to check the water level in your toilet tank. Here are three things to consider when identifying the cause of toilet clogs and preventive measures to avoid them:
-
Flushing excessive amounts of toilet paper or other materials down the toilet can lead to clogs. To prevent this, only flush a reasonable amount of toilet paper at a time and avoid flushing items like wipes, feminine hygiene products, or cotton balls.
-
Low water flow can also contribute to clogs. Make sure the water level in your toilet tank is set to the recommended level. Adjust the float valve if necessary to ensure proper water flow during each flush.
-
Tree roots can sometimes infiltrate the sewer line, causing clogs. Regularly inspect your sewer lines and, if necessary, hire a professional to remove any tree roots that may be obstructing the flow.
Cleaning and Maintaining Your Plunger
Cleaning and maintaining your plunger is essential for keeping it in good condition and maximizing its effectiveness. One important aspect of plunger care is proper storage.
After each use, rinse the plunger thoroughly with hot water to remove any residue. Then, dry it completely before storing it in a clean, dry area. Avoid placing it on the floor or in a damp environment, as this can promote the growth of mold and bacteria.
Additionally, choosing the right plunger is crucial. Look for a plunger with a flange, or a rubber extension, as this will create a better seal and make unclogging easier. Opt for a plunger with a sturdy handle and a strong suction cup for maximum power.
With regular cleaning and proper storage, your plunger will be ready to tackle any toilet clog.
Conclusion
In conclusion, using a plunger on a toilet is a simple yet effective solution to common plumbing problems.
Just like how a skilled chef uses a spatula to flip a pancake with precision, mastering the art of plunging can save you from the frustration of a clogged toilet.
By following the steps outlined in this guide, you’ll be equipped with the necessary knowledge and technique to tackle any toilet clog with confidence.
Remember to keep your plunger clean and maintained for optimal performance.
Happy plunging!


