
I’ve discovered that 80% of toilet leaks occur at the base when flushed. If you’re experiencing this frustrating issue, don’t worry, I’ve got you covered!
In this article, I’ll walk you through the common causes of toilet leaks at the base and provide a step-by-step guide to fix it.
We’ll explore how to determine if the culprit is the wax ring, how to address loose or damaged toilet bases, and how to prevent future leaks.
Let’s get your toilet back in working order!
Key Takeaways
- 80% of toilet leaks occur at the base when flushed
- Damaged wax ring is a common cause of toilet leaks at the base
- DIY toilet base repair can be done by replacing the damaged wax ring
- Prompt action should be taken to address toilet leaks and prevent further damage

Hibbent Extra Thick Toilet Wax Ring Replacement Kit, Universal Toilet Seal Ring with Brass Toilet Floor Bolts and Retainer Washers, PE Flange Fits 3 Inch and 4 Inch Drain Pipes
Universal Toilet Wax Ring: The Hibbent toilet flange is compatible with 3-inch and 4-inch waste lines, suitable for…
As an affiliate, we earn on qualifying purchases.
As an affiliate, we earn on qualifying purchases.
Common Causes of Toilet Leaking at Base
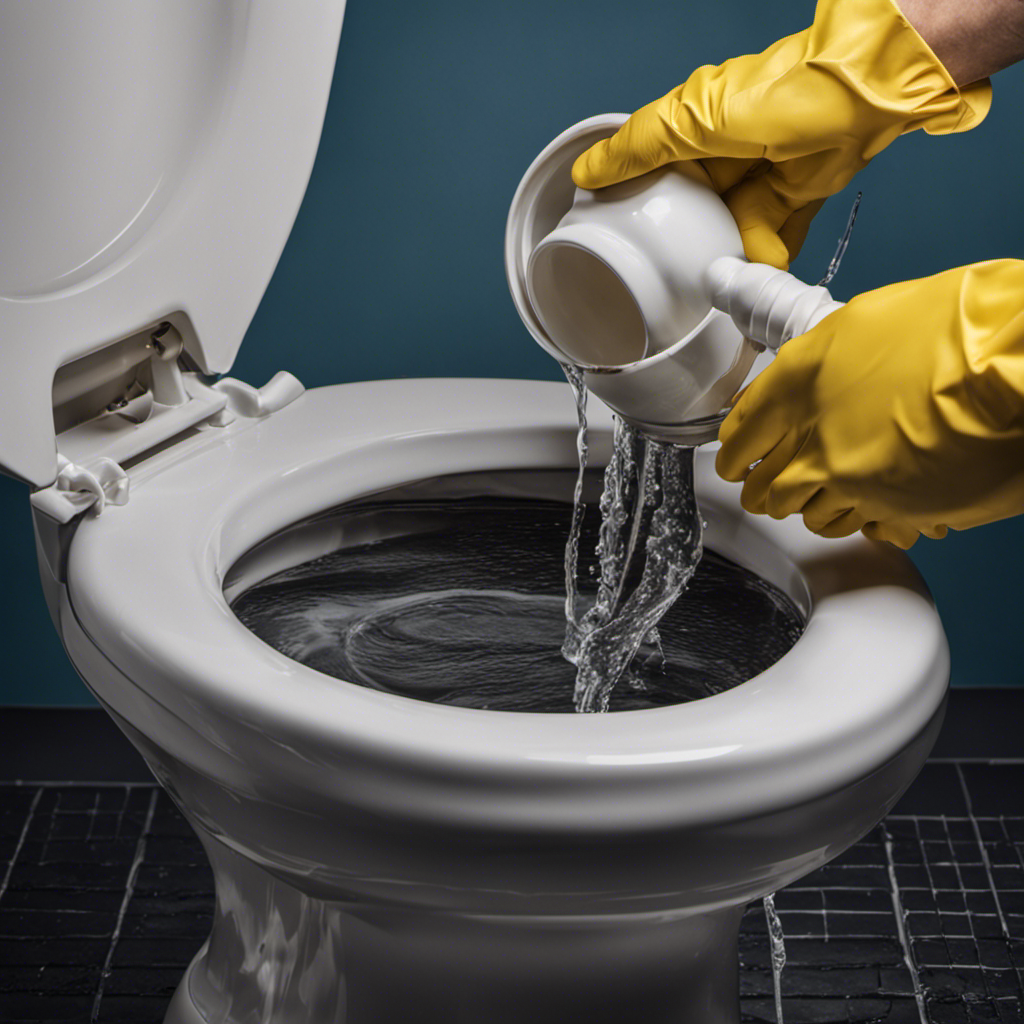
One of the most common causes of a toilet leaking at the base is a damaged wax ring. The wax ring is a crucial component that seals the connection between the toilet and the floor drain.
Over time, the wax ring can deteriorate or become compressed, leading to leaks. To fix this issue, a DIY toilet base repair can be done by replacing the damaged wax ring.
Start by turning off the water supply to the toilet and draining the tank and bowl. Remove the toilet by unscrewing the bolts at the base and lifting it off the floor. Scrape off the old wax ring residue and replace it with a new one.
Carefully reposition the toilet and tighten the bolts. This simple DIY fix can save you from costly repairs and prevent further water damage.

One N Done Toilet Flange Repair Kit – Toilet Kit For Low or Broken Toilet Flange. Toilet Wax Ring Replacement Kit W/Toilet Flange Extender Kit. No Wax Ring For Toilet Bowl Or Toilet Seal Required (1)
No Guess / Mess | Eliminate leaky wax toilet ring seal with the One n Done toilet seal…
As an affiliate, we earn on qualifying purchases.
As an affiliate, we earn on qualifying purchases.
How to Determine if the Wax Ring Is the Culprit
When it comes to determining if the wax ring is the culprit of a toilet leak, there are a few key points to consider.
First, inspect the wax ring for any signs of damage or deterioration, such as cracks or breaks.
Next, check for water leakage around the base of the toilet, as this can indicate a faulty wax ring.
Lastly, if the wax ring inspection and water leakage detection point to a potential issue, it may be necessary to replace the wax ring to resolve the leak.
Wax Ring Inspection
Inspecting the wax ring is crucial to determine if it needs replacement. A faulty wax ring can lead to toilet leaks at the base, causing water damage and unpleasant odors.
To inspect the wax ring, start by removing the toilet. Look for any signs of wear or damage on the wax ring, such as cracks, breaks, or deformities. Additionally, check for any signs of water leakage around the base of the toilet or on the floor.
If you notice any of these signs, it’s likely that the wax ring needs to be replaced. Replacing the wax ring is a relatively simple process that can be done by following the manufacturer’s instructions or seeking professional help.
Water Leakage Detection
Check if you can see any water on the floor around the toilet or wet spots on the wall. These can be signs of a toilet leak, which should be addressed promptly to prevent further damage.
One effective way to detect water leakage is by using smart water sensors. These devices can be placed near the toilet base to detect any water accumulation or leaks. When a leak is detected, the sensor sends a notification to your smartphone, allowing you to take immediate action.
If you’re unsure about how to handle a toilet leak or if the problem persists, it’s recommended to seek professional plumbing services. A trained plumber can accurately diagnose the issue and provide the necessary repairs to fix the leak and prevent any future water damage.

Fluidmaster K-400H-021-P8 PerforMAX 2-Inch Everything Toilet Repair Kit, Multicolor
The Everything Kit includes everything you need to fix your toilet in one trip and one purchase
As an affiliate, we earn on qualifying purchases.
As an affiliate, we earn on qualifying purchases.
Step-by-Step Guide to Replace the Wax Ring
To fix a toilet leaking at the base when flushed, you’ll need to start by removing the toilet. Here is a step-by-step guide on how to replace the wax ring and repair the toilet base:
-
Turn off the water supply: Locate the shut-off valve behind the toilet and turn it clockwise to stop the water flow.
-
Drain the tank and bowl: Flush the toilet and hold down the handle to drain as much water as possible. Use a bucket or towels to remove any remaining water.
-
Remove the toilet: Disconnect the water supply line and unscrew the bolts securing the toilet to the floor. Lift the toilet straight up and place it on a protective surface.
-
Replace the wax ring: Remove the old wax ring and clean the toilet flange. Place the new wax ring on the flange, ensuring it is centered. Carefully lower the toilet back onto the flange and press down firmly to create a watertight seal.

New Resources Group Toilet Leak Detection Dye Tablets (Detect Silent Leaks) Blue 20 Pack
Detect Silent Leaks in your toilet. 20 Packets (2 Blue Tablets per Packet good for 40 tests)
As an affiliate, we earn on qualifying purchases.
As an affiliate, we earn on qualifying purchases.
Fixing a Loose or Damaged Toilet Base
When it comes to fixing a loose or damaged toilet base, there are a few key points to consider.
First, you’ll want to determine whether you should caulk or replace the toilet. This will depend on the severity of the damage and the condition of the toilet overall.
Additionally, you should check the wax ring, which is located between the toilet base and the floor. If it is worn or damaged, it will need to be replaced.
Lastly, you should tighten the toilet bolts to ensure a secure and stable base.
Caulk or Replace
If you notice water seeping out from the base when you flush, you might want to consider caulking or replacing the toilet. Here are some factors to consider when deciding between caulk and replacement:
-
Severity of the leak: If the leak is minor and can be easily fixed with caulk, it might be worth trying this first. However, if the leak is significant and causing water damage, replacing the toilet may be the best solution.
-
Age of the toilet: If your toilet is old and showing signs of wear and tear, replacing it may be a better long-term solution. Caulking can provide a temporary fix, but an old toilet may continue to have issues.
-
Cost: Caulking is a relatively inexpensive fix, while replacing the toilet can be more costly. Consider your budget when making a decision.
-
DIY vs professional help: Caulking can be a DIY project for those with some handyman skills. However, if you’re not comfortable with DIY repairs or if the leak is complex, it’s best to hire a professional for the job.
Ultimately, the decision between caulk and replacement depends on the severity of the leak, the age of the toilet, cost considerations, and your DIY abilities.
Check Wax Ring
Checking the wax ring is essential to determine if it needs to be replaced. The wax ring is a crucial component of a toilet’s sealing system, preventing leaks and ensuring proper function.
To check the wax ring, start by inspecting the area around the base of the toilet for any signs of water damage or odors. If you notice water pooling or a foul smell, it may indicate a faulty wax ring.
To replace the wax ring, first, shut off the water supply and drain the toilet. Remove the toilet by disconnecting the bolts and lifting it off the flange. Carefully scrape off the old wax ring and clean the flange.
Tighten Toilet Bolts
Tightening the toilet bolts is important to ensure stability and prevent any potential issues. Here are four key reasons why it’s crucial to regularly check and tighten your toilet bolts:
-
Prevent Leaks: Loose bolts can cause the toilet to shift, leading to leaks at the base. By tightening the bolts, you create a secure seal that helps prevent water from escaping.
-
Avoid Wobbling: Loose toilet bolts can cause the toilet to wobble, making it uncomfortable and potentially dangerous to use. Tightening the bolts ensures a stable and safe toilet seat.
-
Maintain Alignment: Over time, toilet bolts can loosen, causing the toilet to become misaligned. By regularly tightening them, you can maintain proper alignment and prevent potential damage to the toilet or the floor.
-
Extend Lifespan: By regularly tightening the toilet bolts, you can extend the lifespan of your toilet. Loose bolts can cause excessive strain on the toilet, leading to cracks or other damages that may require costly repairs or even toilet bolt replacement.
Remember to check and tighten your toilet bolts periodically to ensure a stable and leak-free toilet seat.
Addressing Issues With the Flange or Bolts
When addressing issues with the flange or bolts, it’s important to ensure they are securely fastened. Flange repair and bolt replacement are common solutions to fix a toilet leaking at the base. To provide a deeper understanding, here is a table outlining the steps for addressing these issues:
| Steps | Description |
|---|---|
| 1. Turn off the water supply | Use the shut-off valve to stop the flow of water to the toilet. |
| 2. Remove the toilet | Disconnect the water supply line and unscrew the bolts securing the toilet to the flange. |
| 3. Inspect the flange and bolts | Check for any cracks, damage, or wear on the flange. Examine the bolts for rust or looseness. |
| 4. Repair or replace the flange | If the flange is damaged, repair it using a repair kit or replace it entirely. |
| 5. Replace the bolts if necessary | If the bolts are rusted or loose, replace them with new ones to ensure a secure connection. |
| 6. Reinstall the toilet | Place the wax ring on the flange and carefully lower the toilet onto it. Secure with new bolts. |
| 7. Turn on the water supply | Restore the water supply and check for any leaks. |
Preventing Future Leaks at the Toilet Base
To prevent future leaks at the base of your toilet, you should regularly inspect the flange and bolts for any signs of damage or wear. This simple maintenance routine can save you from the hassle and cost of dealing with a leaky toilet.
Here are four important steps to follow:
-
Check the flange: Look for cracks, corrosion, or any misalignment. A damaged flange can cause leaks, so it’s crucial to fix or replace it if necessary.
-
Examine the bolts: Make sure they are securely fastened. Loose bolts can cause the toilet to shift and create gaps where leaks can occur.
-
Replace worn gaskets: Over time, the wax or rubber gaskets that seal the toilet to the flange can deteriorate. Replace them if they show signs of wear or damage.
-
Tighten connections: Inspect the connections between the toilet and the floor. If they feel loose, use a wrench to tighten them.
Conclusion
In conclusion, a leaking toilet at the base can be a frustrating and messy problem to deal with. However, by following the steps outlined in this article, you can easily fix the issue and prevent future leaks.
It’s important to note that 80% of toilet leaks at the base are caused by a faulty wax ring. This statistic highlights the importance of regularly checking and replacing the wax ring to ensure a watertight seal and avoid potential water damage.