To fix a running toilet by replacing the fill valve, start by turning off the water supply and flushing to drain the tank completely. Remove the old fill valve by disconnecting the water line and loosening the mounting nut. Check compatibility before installing the new valve, then secure it tightly and reconnect the water line. Adjust the float to set the correct water level, and test the flapper to stop the leak. Keep following these steps to guarantee a proper fix.
Key Takeaways
- Turn off the water supply valve and flush the toilet to drain the tank completely.
- Disconnect the supply line and remove the old fill valve using an adjustable wrench.
- Install the new fill valve, ensuring compatibility and proper connection to the tank.
- Adjust the float to set the water level about 1 inch below the overflow tube.
- Turn on water, check for leaks, and verify the fill stops at the correct height.
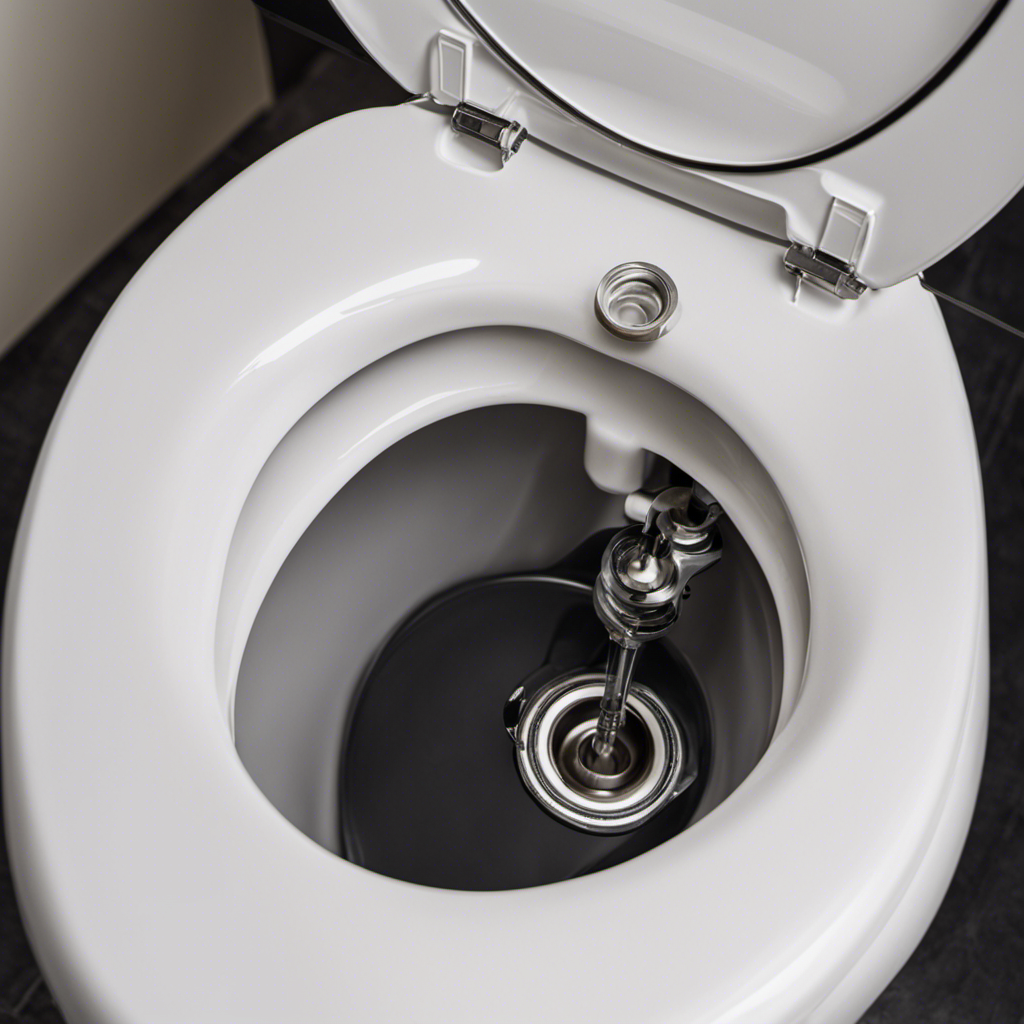
Turning Off Water and Draining the Tank
Before replacing the fill valve, you need to turn off the water supply and drain the tank. Shut off the valve located behind the toilet to stop water flow. Next, flush the toilet to begin draining the tank. Hold down the handle to release remaining water and prevent splashing. If the water pressure is high, it might cause a sudden rush when opening or closing the valve, so proceed carefully. Draining the tank thoroughly makes it easier to clean any mineral build-up or debris that has accumulated, which can affect water pressure and cause the fill valve to malfunction. Additionally, removing residual water helps prevent leakage during the replacement process. Properly draining ensures a smoother replacement process and reduces mess. Ensuring the tank is completely empty also minimizes the risk of water damage during handling. Being aware of water pressure levels can help you avoid sudden water surges that may cause spills or injury. Checking for any clogs or blockages in the drain pathway can further facilitate a trouble-free repair. For optimal results, inspecting the flush mechanism during this process can help identify other underlying issues that may affect toilet performance.
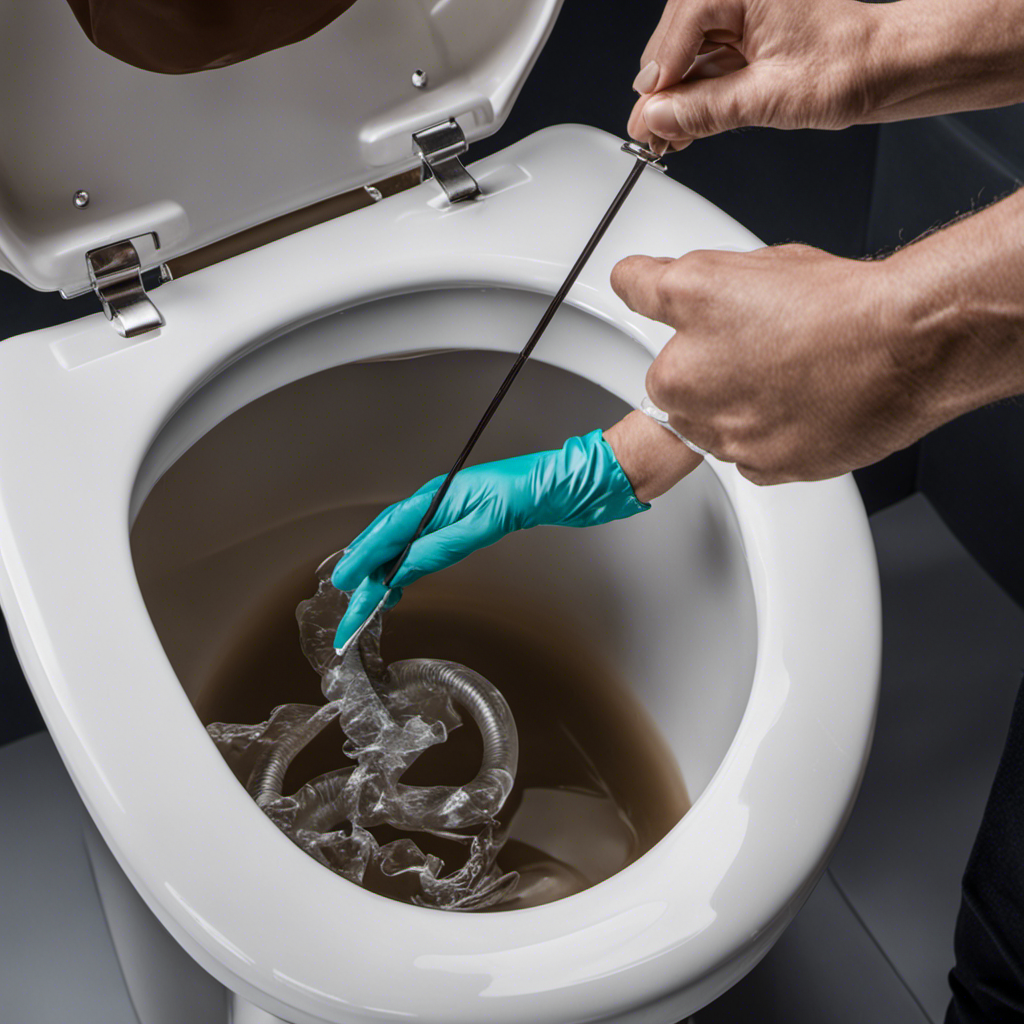
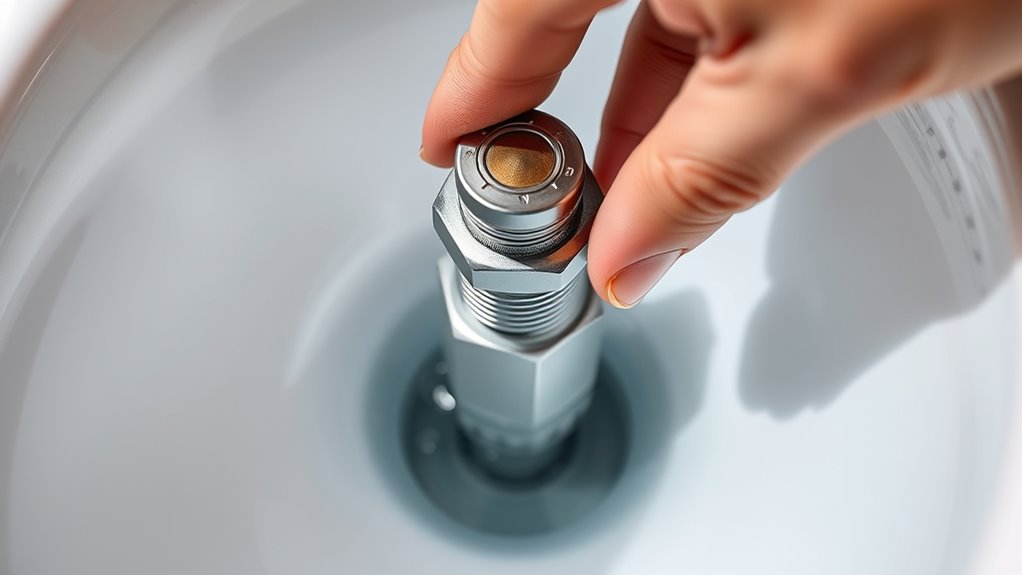
Removing the Old Fill Valve
To remove the old fill valve, start by disconnecting the water supply line from the bottom of the tank. Flush the toilet to drain most of the water, which makes removal easier and prevents messes. If necessary, hold a sponge or towel at the base to catch residual water. Next, locate the mounting nut securing the fill valve to the tank and carefully loosen it with an adjustable wrench. Before fully removing the valve, check the existing valve’s compatibility with your new one; some models have different mounting systems or heights. Once loose, lift the old fill valve straight up, avoiding damage to the tank or flush mechanisms. Removing it carefully guarantees a smooth transition to installing the new valve and prevents potential leaks or installation issues. Additionally, inspecting the compatibility issues beforehand can help ensure the new fill valve fits properly and functions correctly. It’s also helpful to familiarize yourself with diverse designs and features that might affect installation, especially if your existing setup is unique. Being aware of pressure requirements can further prevent installation problems and ensure optimal operation. Moreover, understanding remote work benefits can make the process more manageable by allowing you to plan and execute repairs efficiently during flexible hours.
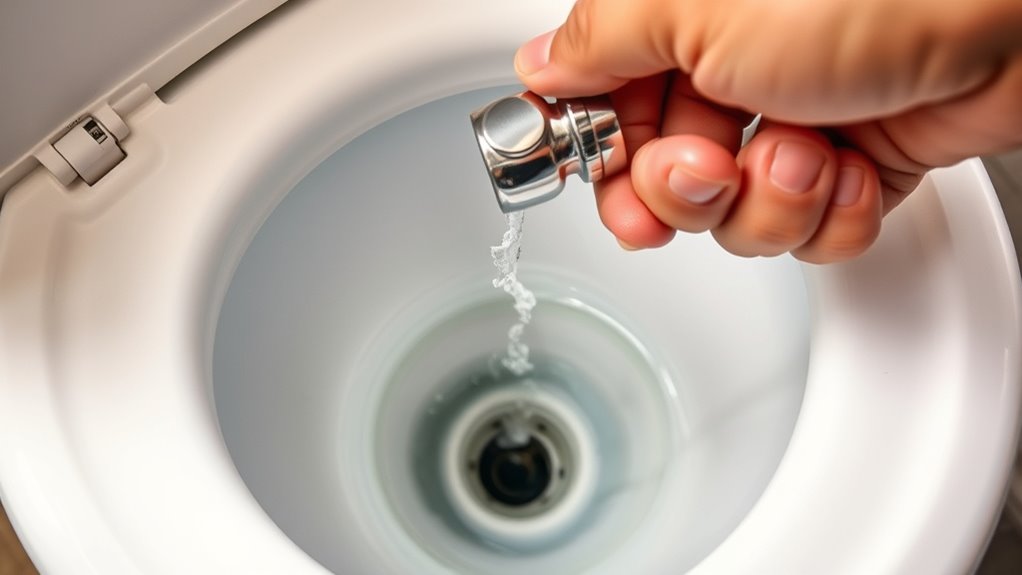
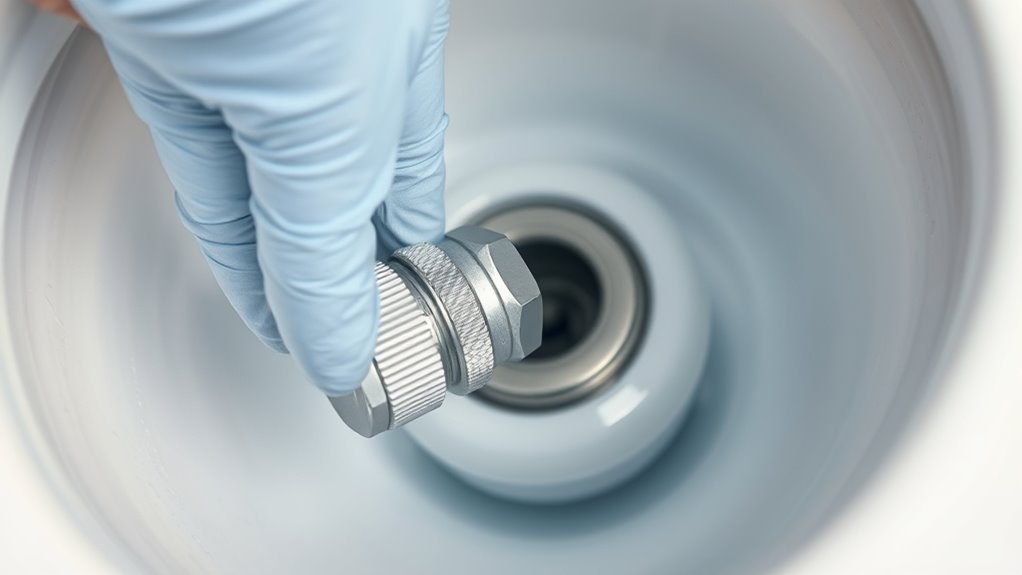
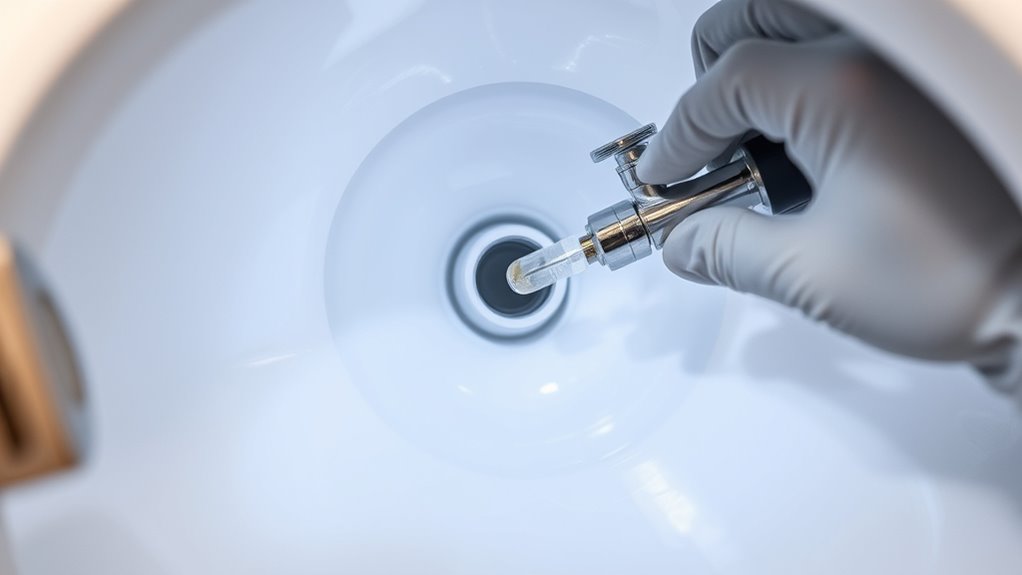
Preparing and Installing the New Fill Valve

Once you’ve gathered your new fill valve and any necessary tools, start by inspecting the valve to make certain it matches your tank’s specifications. Check the valve’s size and connection type to confirm valve compatibility with your toilet. Confirm that the water pressure in your home can support the new valve’s requirements; some models are designed for higher or lower pressure. Before installation, turn off the water supply and drain the tank to prevent spills. Carefully remove the packaging and compare the new valve to the old one. If everything looks compatible, you’re ready to proceed. Proper preparation ensures a smooth installation, reduces the risk of leaks, and guarantees the fill valve functions correctly with your water pressure. Additionally, verifying the air purifier maintenance schedule can help ensure your home’s overall indoor air quality remains optimal during your repair projects. To ensure the best results, it’s also helpful to review the benefits of proper installation, which can help prevent future issues with your toilet. Being aware of pinball machine weight and installation considerations can be useful if you ever plan to upgrade or move your fixtures in the future. Checking the privacy and cookie policies of your tools or suppliers can also help you understand how your data might be managed during the project. Moreover, understanding water pressure requirements can prevent potential issues with fluid flow and ensure your new fill valve operates efficiently.
Adjusting the Fill Level and Testing
After installing the new fill valve, you should adjust the water level to ensure proper tank function. Begin by locating the float adjustment mechanism—usually a screw or sliding arm. To achieve the correct water level, follow these steps:
- Turn the adjustment screw or move the float arm to raise or lower the float.
- Conduct water level testing by flushing the toilet and observing if the water stops at the recommended height (usually about 1 inch below the overflow tube).
- Repeat the float adjustment if necessary, making small tweaks until the water level remains consistent after each flush.
- Remember that proper water level adjustment can be a creative way to enhance the appearance of your hair, emphasizing the importance of correct water levels for healthy hair and effective toilet operation.
- Regularly inspecting the fill valve and ensuring it is free of debris can help maintain consistent water levels. Proper float adjustment prevents running and ensures efficient operation. Regular water level testing helps verify the correct setting and keeps your toilet functioning smoothly. Additionally, understanding fill valve operation can assist in troubleshooting common issues and maintaining optimal performance, which is essential as advancements in machine learning technology continue to influence smart home maintenance tools.
Final Checks and Reassembly
Before reassembling the toilet, double-check that the fill valve is securely in place and all connections are tight. This step helps prevent leaks and ensures proper function. Confirm that the fill tube is properly attached and that the flush handle moves freely. Once everything looks good, proceed with reassembly. Afterward, flush the toilet and observe for leaks around the base and connections. If you notice any, tighten fittings or adjust the fill valve accordingly. When you’re done, remember to dispose of the old fill valve properly—recycle parts if possible. Proper disposal reduces environmental impact. Additionally, consider monitoring water efficiency to prevent future issues and conserve resources. Regularly checking for leaks and proper operation can extend the lifespan of your toilet components. For optimal performance, also verify that the water level in the tank is set correctly according to manufacturer instructions. Here’s a quick overview:
| Step | Focus |
|---|---|
| Check for leaks | Tighten connections |
| Ensure proper fit | No leaks after testing |
| Proper disposal | Recycle or discard safely |
| Final inspection | Confirm everything works |
Frequently Asked Questions
How Do I Identify the Correct Replacement Fill Valve for My Toilet?
When identifying the correct replacement fill valve, start by checking your toilet model, usually found on the tank or inside the lid. Then, examine your current fill valve type—such as a ballcock or cylinder-style—to make certain you buy an identical one. Match the size, connector style, and height to fit your toilet properly. This way, you’ll select a compatible fill valve that works seamlessly with your specific toilet.
What Tools Are Recommended for Installing a New Fill Valve?
When installing a new fill valve, you’ll need a basic plumbing toolkit, including adjustable pliers, a screwdriver, and a sponge or towel for any spills. Make certain to have the correct replacement parts, like the new fill valve and washers. These tools help you remove the old valve, secure the new one, and guarantee a tight fit. Having the right tools and replacement parts makes the process smoother and leak-free.
Can I Replace the Fill Valve Without Removing the Toilet?
Oh, the grand adventure of toilet repair—who needs a plumber when you can master the art of DIY? You can replace the fill valve without removing the toilet, but it’s a tight squeeze and requires patience. While you’re at it, consider toilet cleaning and water conservation—fixing the fill valve stops that annoying running noise and saves water. Just be prepared for some contorted positions and a little plumbing finesse.
How Long Does It Typically Take to Replace a Fill Valve?
Replacing a fill valve usually takes about 30 minutes to an hour, depending on your experience. You should plan for the installation timeline to include shutting off water, draining the tank, and installing the new valve. Troubleshooting tips include checking for proper alignment and guaranteeing all connections are tight. Being patient and following the steps carefully helps prevent leaks and ensures a smooth replacement process.
What Are Common Mistakes to Avoid During Installation?
When installing a fill valve, avoid common mistakes like incorrect measurements that can cause leaks or improper function. Don’t skip steps, especially when adjusting the height or securing the valve, as this can lead to running toilets or water wastage. Take your time to follow each step carefully, double-check your work, and make certain all connections are tight. This helps prevent future issues and guarantees your repair is effective.
Conclusion
Replacing a fill valve might seem intimidating, but with patience, you’ll have a quiet, running-free toilet. Think of it as giving your bathroom a quick refresh—simple, straightforward, and rewarding. Just like fixing a leaky faucet restores peace to your home, installing a new fill valve brings comfort and efficiency. So, roll up your sleeves, and enjoy the satisfaction of a job well done—your toilet will thank you with every flush.

With an impeccable eye for detail and a passion for bathroom-related, Ava leads our editorial team gracefully and precisely.
Under her guidance, Best Modern Toilet has flourished as the go-to resource for modern bathroom enthusiasts. In her free time, you might find Ava exploring antique shops and looking for vintage bathroom fixtures to add to her collection.