
When renovating your shower yourself, avoid common mistakes like choosing porous, unglazed tiles that aren’t water-resistant, rushing waterproofing, and skipping steps to save time. Make certain you properly prep surfaces and follow manufacturer instructions for waterproof membranes. Take your time measuring and laying out tiles for a smooth finish. Paying attention to details ensures your shower stays leak-proof and looks professional. Keep going to learn more tips to make your project a success.
Key Takeaways
- Choose durable, water-resistant tiles like glazed ceramic or porcelain suitable for wet environments.
- Properly waterproof all surfaces, seams, and corners with high-quality membranes, following manufacturer instructions.
- Ensure surfaces are thoroughly cleaned, dried, and prepped before tiling to prevent adhesion issues.
- Take your time during adhesive and grouting application for a smooth, even finish; avoid rushing the process.
- Plan carefully, double-check measurements, and work methodically to ensure a professional, long-lasting renovation.
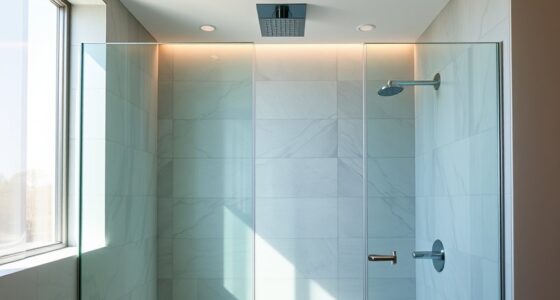
Renovating your shower yourself can be a rewarding way to upgrade your bathroom without breaking the bank. However, tackling this project without proper planning can lead to costly mistakes that compromise the longevity and functionality of your new shower. One of the most common pitfalls involves poor tile selection. You might be tempted to choose decorative tiles solely based on aesthetics, but it’s crucial to consider durability and water resistance. Opt for glazed ceramic or porcelain tiles, which are less porous and better suited for wet environments. Also, confirm the tiles you select are rated for shower use, as some decorative options may not withstand constant moisture exposure. Proper tile selection isn’t just about looks; it’s about choosing materials that will last and resist mold growth.
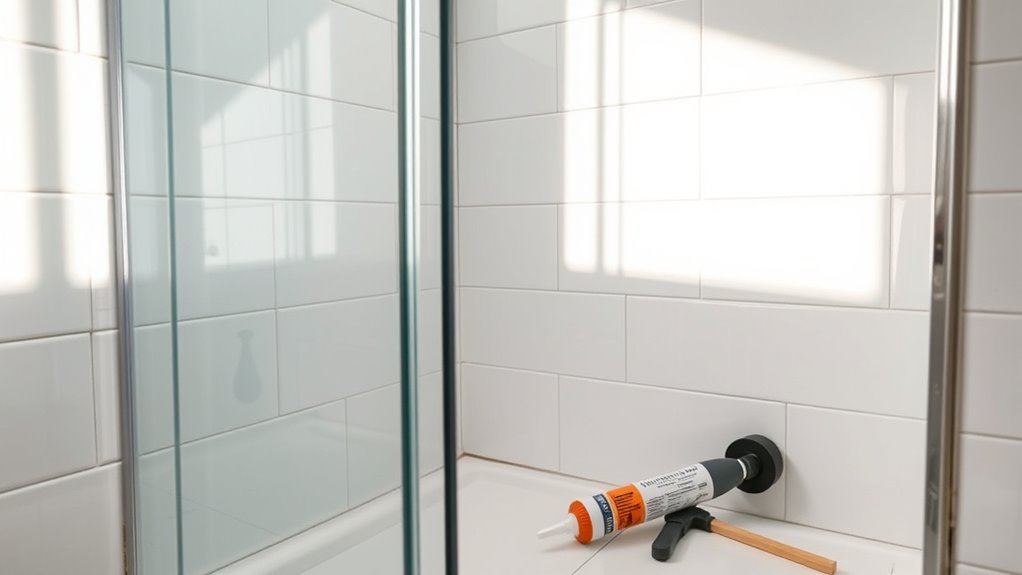
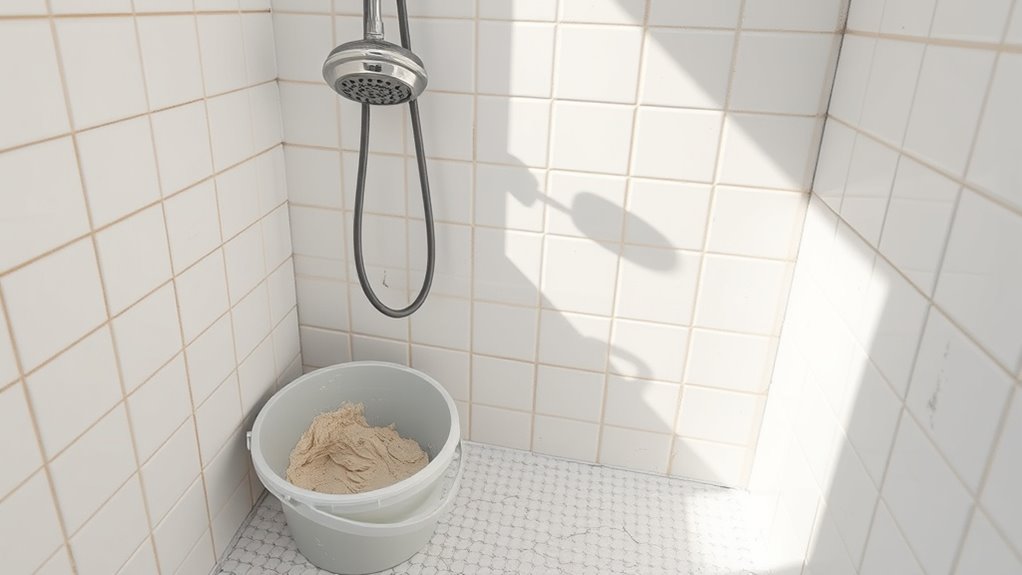
Another critical mistake many DIYers make is neglecting proper waterproofing techniques. Waterproofing is the backbone of a durable shower; skipping or rushing this step can lead to water leaks, mold, and structural damage over time. When applying waterproof membranes, follow manufacturer instructions meticulously. Use high-quality waterproofing products like liquid membranes or sheet membranes and ensure they cover all surfaces that will be exposed to water, including walls, corners, and seams. Pay close attention to overlaps and sealants around fixtures, corners, and joints. Many beginners try to save time by skimping on waterproofing or applying it unevenly, but this short-sighted approach can cause serious problems down the line. Remember, waterproofing isn’t just a single layer but an extensive, continuous barrier.
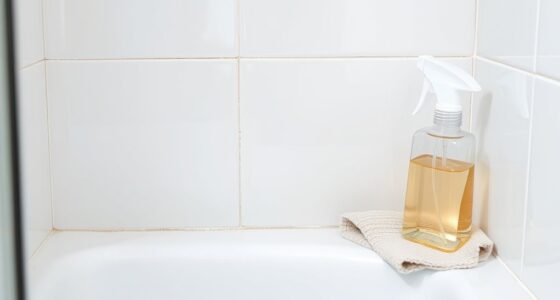
In addition to tile selection and waterproofing, many overlook the importance of proper surface preparation. Before tiling, you need to confirm that surfaces are clean, dry, and free of debris. Failing to do so can cause tiles to loosen or crack prematurely. Use a suitable primer or bonding agent if necessary, especially on surfaces like drywall or old tile. Additionally, plan your layout carefully to avoid awkward cuts or uneven grout lines that can make your shower look unprofessional. Ignoring these details can make the finished result less appealing and more prone to problems.
Furthermore, understanding the prophetic dreams concept can help you interpret symbols and messages more accurately, ensuring your project aligns with your intentions and spiritual insights. Finally, don’t underestimate the importance of patience and precision. Rushing through the process, especially when applying adhesives or grouting, can lead to uneven surfaces and compromised waterproofing. Take your time, double-check measurements, and work methodically. Doing so ensures your shower not only looks great but also functions reliably for years to come. With careful tile selection, proper waterproofing techniques, and attention to detail, you can successfully complete a DIY shower renovation that’s both beautiful and long-lasting.
HOROW T0338W Compact One Piece Toilet, ADA Chair Height 17.3", Elongated Bowl, Dual Flush 0.8/1.28 GPF, White, 12 Inch Rough-In
Compact One Piece Design: Measuring 26.6"D x 15"W x 26"H, this compact elongated toilet fits small bathrooms while...
As an affiliate, we earn on qualifying purchases.
Frequently Asked Questions
How Long Does a Typical DIY Shower Renovation Take?
A typical DIY shower renovation usually takes about one to two weeks, but timing estimates can vary based on your project planning and experience. If you carefully prepare and gather materials beforehand, you’ll avoid delays. Rushing through steps might extend the timeline or cause mistakes. To stay on schedule, set realistic goals and work steadily, ensuring each phase gets the attention it needs for a successful, timely renovation.
What Tools Are Essential for a DIY Shower Upgrade?
Did you know that using the right tools can cut your DIY shower upgrade time by nearly 30%? Essential tools include a power drill for tile installation, a wrench for plumbing fixtures, and a level to make sure everything’s straight. You’ll also need a putty knife, tile cutter, and silicone sealant. With these tools on hand, you can confidently tackle your project, avoiding common mistakes and achieving professional results.
Can I Replace a Shower Pan Myself?
You can replace a shower pan yourself if you’re comfortable with DIY plumbing tips and have the right tools. Start with proper shower pan installation techniques, ensuring the area is clean and level. Follow step-by-step instructions carefully, and don’t rush the process. Remember, a successful DIY shower upgrade depends on patience and attention to detail, especially during the shower pan replacement, to prevent leaks and future issues.
What Are the Best Waterproofing Materials to Use?
Your shower’s waterproofing is the fortress protecting your bathroom from water damage—nothing less than essential! Use high-quality waterproofing membranes like liquid-applied or sheet membranes for durability. Pair them with proper sealing techniques around corners and fixtures to prevent leaks. These materials and methods create a watertight barrier, safeguarding your space and preventing costly repairs down the line. Invest in the best to guarantee your shower stays dry and damage-free.
How Do I Ensure Proper Ventilation During Renovation?
To guarantee proper ventilation during your shower renovation, you should install effective ventilation systems like exhaust fans or vented windows. These help circulate air and reduce humidity, preventing mold and mildew growth. Always run the ventilation system during and after showers, especially when the space is still drying. Proper airflow is essential for mold prevention and maintaining a healthy bathroom environment, so prioritize good ventilation to protect your investment.

Elongated One Piece Toilet with Comfort Chair Seat ADA Height 17.33", Powerful Dual Flush 0.8/1.28 GPF Compact Toilet, MAP 1000g, Standard White Toilet Bowl, 12'' Rough-in
[Modern Toilets for Bathrooms]: Full skirt design elongated one-piece toilet, not only is it beautiful and elegant, it's...
As an affiliate, we earn on qualifying purchases.
Conclusion
Remember, your shower is more than just a space—it’s a sanctuary of renewal. Avoid common pitfalls like rushed decisions or overlooked details, and treat each step as a brushstroke in your masterpiece. With patience and care, you’ll craft a haven that reflects your vision and stands the test of time. Like a well-tended garden, your renovation blooms when nurtured thoughtfully, transforming your daily routine into a invigorating escape that’s uniquely yours.

Casta Diva Elongated One Piece Toilet with 17" ADA Comfort Chair Height Seat Compact Toilet for Bathroom Dual Flush 1.1/1.6GPF, 12'' Rough-in, High Efficiency Flush, Standard White Bowl
Luxurious Modern Toilet for Bathrooms: skirted 1-piece toilet integrates the tank and bowl into a seamless, easy-to-clean design,...
As an affiliate, we earn on qualifying purchases.

Shower Faucet Set with Hydro Power Temperature Display, Shower System Bathroom 10 Inches Shower Head with Handheld Spray, Wall Mounted Shower Fixtures with Shower Valve and Trim Kit, Matte Black
LED Digital Temperature Smart Display Shower System (Battery-Free): Built-in LED screen shows real-time water temperature for accurate control...
As an affiliate, we earn on qualifying purchases.