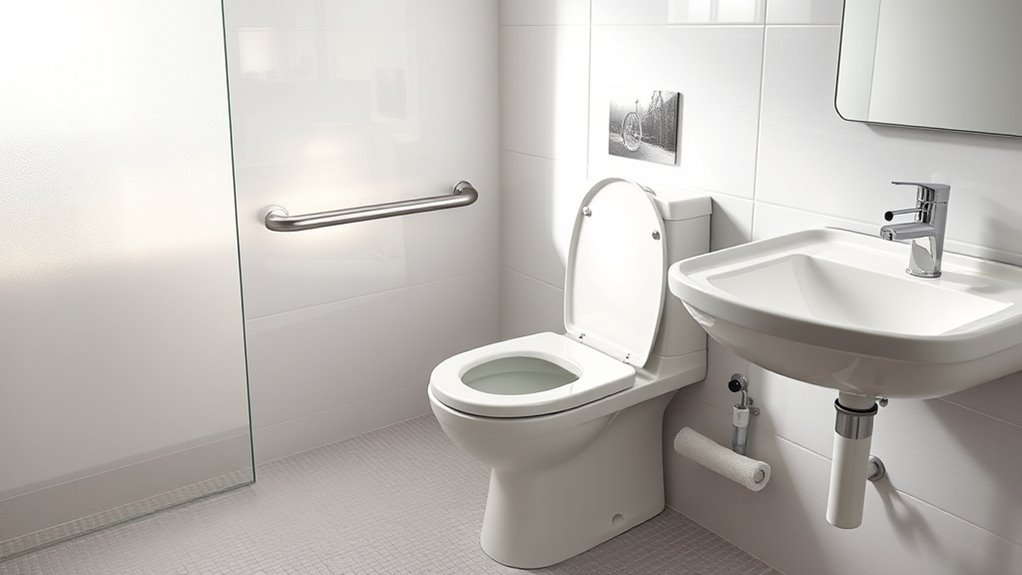
To enhance bathroom accessibility, install secure grab bars near the toilet, shower, and bathtub, ensuring they’re firmly anchored for safety. Choose raised toilets with appropriate height to reduce strain, and add non-slip flooring or mats in wet areas. Adjust fixtures like sinks and showerheads for easier access, and consider spacious, barrier-free showers or walk-in bathtubs for safer bathing. For more ways to improve safety and comfort, explore the details ahead.
Key Takeaways
- Install securely anchored grab bars near toilets, showers, and tubs for stable support and safety.
- Use raised toilets with 17-19 inch heights or add elevated seats for easier access.
- Incorporate non-slip flooring and mats to prevent slips and falls in wet areas.
- Adjust sink and shower heights for user comfort, using adjustable fixtures and handheld options.
- Ensure proper lighting, visual cues, and safety features like emergency alarms for enhanced accessibility.

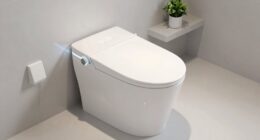
Smart Toilet with Bidet Built In, Heated Seat, Warm Water Wash & Dryer, Tankless Bidet Toilet with Foot Sensor & Night Light, Auto Open/Close Lid & Flush, Wireless Remote, 1.26GPF Water-Saving Design
🛠️ Easy Installation & Reliable Support: This smart toilet with bidet built in includes all accessories, flange kit,...
As an affiliate, we earn on qualifying purchases.
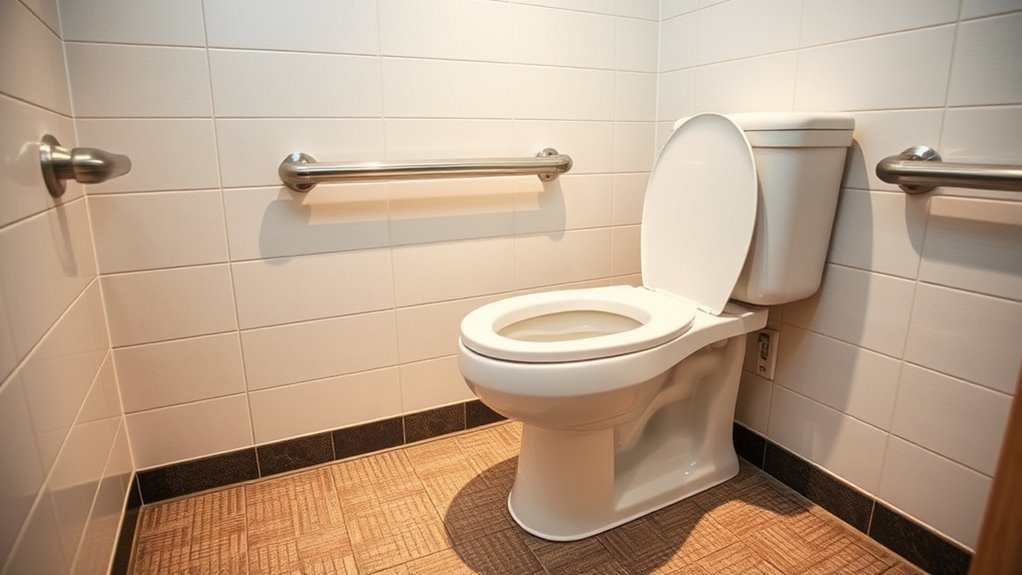
Installing Secure and Convenient Grab Bars
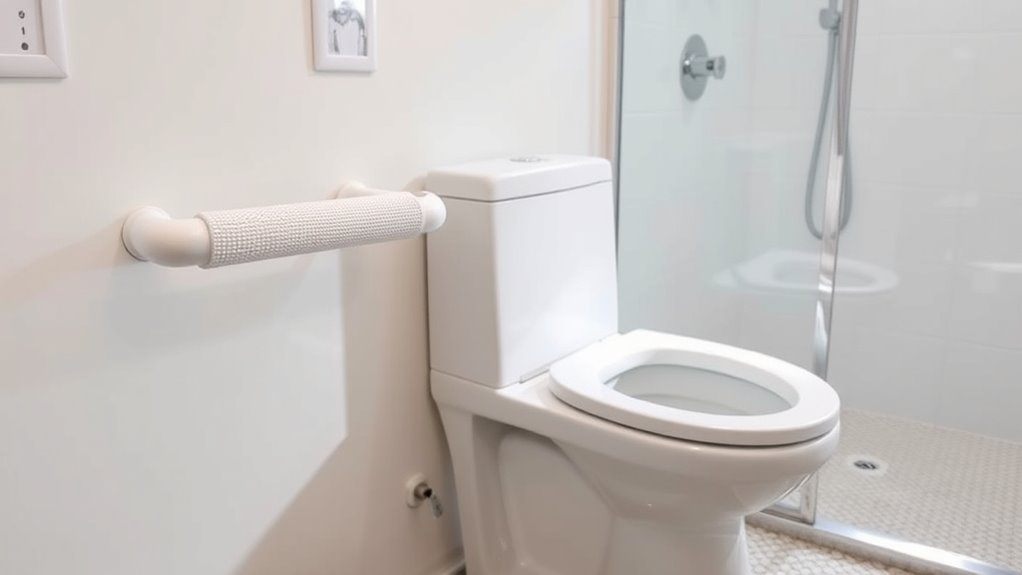
Installing secure and convenient grab bars is essential for creating a safer bathroom environment. When you choose grab bars that complement your bathroom aesthetics, they blend seamlessly with your decor while providing crucial support. Proper installation ensures they are sturdy and reliable, giving you confidence when moving or standing. Keep in mind that grab bars should be placed strategically near the toilet, shower, and bathtub for maximum safety. Regular plumbing maintenance is necessary to prevent corrosion or loosening over time, which could compromise stability. You’ll want to check the bars periodically to ensure they remain secure and in good condition. Additionally, understanding affiliate disclosures can help you make informed purchasing decisions when selecting quality grab bars. Considering water resistance in your choice of materials can enhance durability and longevity in a humid bathroom environment. Incorporating regulatory standards into your selection process ensures the grab bars meet necessary safety and quality benchmarks. Selecting grab bars made from corrosion-resistant materials can further improve their lifespan and reliability in moist environments. With careful selection and installation, grab bars improve safety without sacrificing style, making your bathroom both functional and visually appealing. Paying attention to safety standards ensures that your installations meet the necessary criteria for durability and reliability.

LOUPUSUO Smart Toilet with Warm Water Sprayer and Dryer, One Piece Bidet Toilet with Auto Dual Flush Foot Sensor Operation,Heated Seat Smart with Built In Fahrenheit LED Display
Powerful Flushing System: Designed with low water consumption (1.26 gallons per flush), this system ensures efficient and thorough...
As an affiliate, we earn on qualifying purchases.
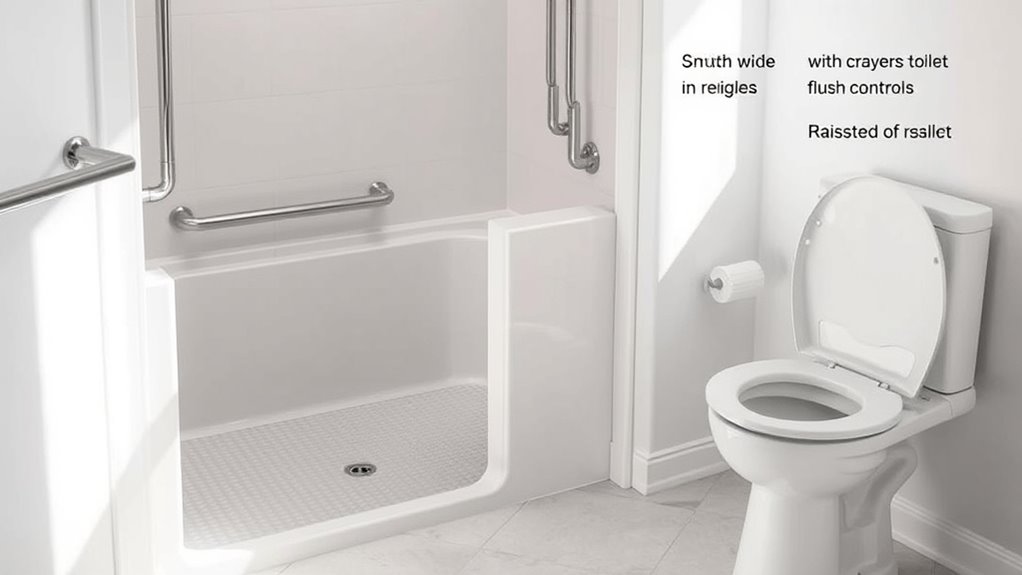
Choosing and Installing Raised Toilets
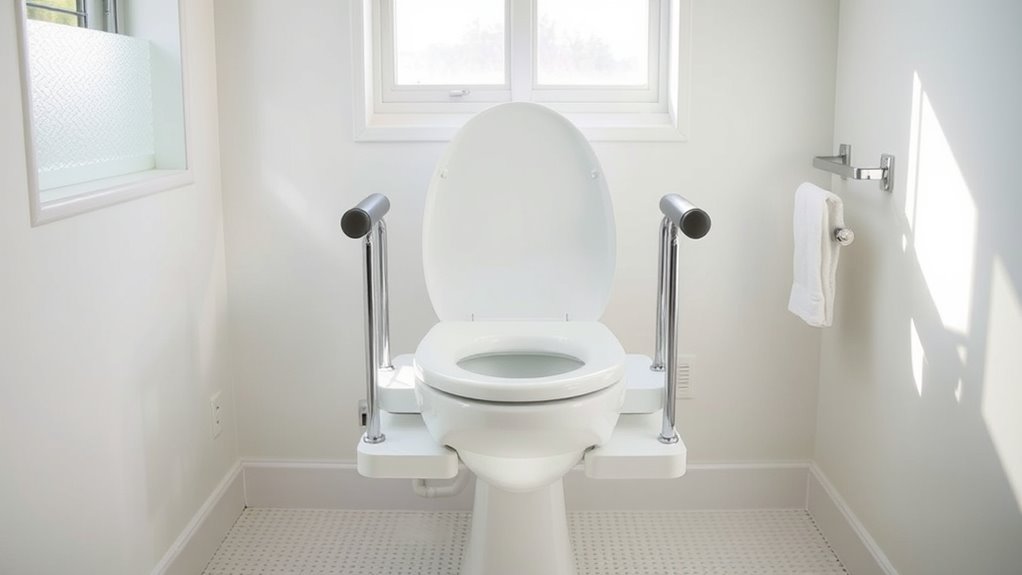
If you need to make toileting easier and safer, choosing a raised toilet can be an effective solution. Look for a toilet with a higher toilet bowl height, typically between 17 to 19 inches, to reduce strain on your knees and hips. When selecting a raised toilet, consider whether it comes with an elevated toilet seat or if you’ll need to add one separately. A sturdy, easy-to-clean toilet seat can provide extra comfort and support. Installation is straightforward: ensure the toilet bowl is firmly anchored and that the seat is securely attached. Some models offer adjustable heights or added features like arm supports. Proper installation not only improves safety but also enhances independence during toileting. Understanding accessibility features can help you choose the most suitable options for your needs. Additionally, selecting models with easy-to-maintain surfaces can simplify cleaning and ensure hygiene. Being aware of installation requirements ensures the toilet is set up correctly and functions reliably over time. Consulting with a professional can help ensure the installation process adheres to safety standards and best practices. Incorporating quality assurance measures during installation can further guarantee long-term performance and safety.

WITMYA Smart Toilet with Bidet Built In, One Piece Bidet Toilet with Auto Dual Flush, Foam Shield, Modern Elongated Tankless Toilet with Foot Sensor, Heated Bidet Seat, Warm Water & Dryer,LED Display
【Efficient Flush & Energy-Saving Design】There smart toilets feature a highly efficient 1.28 GPF water-saving dual flush system with...
As an affiliate, we earn on qualifying purchases.
Incorporating Non-Slip Flooring and Mats
To prevent slips and falls in your bathroom, incorporating non-slip flooring and mats is essential. Non slip flooring provides a safer surface, reducing the risk of accidents, especially when it’s wet. Slip resistant mats add extra grip in high-risk areas like near the shower or toilet. Consider these options:
Adding non-slip flooring and mats enhances bathroom safety and reduces fall risks.
- Install textured vinyl or rubber flooring designed for slip resistance.
- Place slip resistant mats in front of the shower, tub, and toilet.
- Use mats with suction cups to prevent movement.
- Regularly clean and dry mats to maintain their effectiveness.
- Choose antimicrobial surfaces that help inhibit mold and bacteria growth, maintaining a safer environment. Incorporating non-slip surfaces can further enhance safety by reducing the likelihood of falls on smooth or slippery flooring, especially in high-moisture areas. Additionally, selecting flooring with good drainage helps prevent water accumulation, further reducing slip hazards.
Choosing the right non slip flooring and slip resistant mats creates a safer environment, giving you confidence every time you use your bathroom. These simple upgrades make a significant difference in accessibility and safety.

Loniko Smart Toilet with Bidet Built In, Heated Seat & Dual Auto Flush, Foot Sensor, Tankless Modern Elongated Electric Toilet with Warm Water Wash, Air Dryer, LED Display & 1000g MaP Flush, 1.28 GPF
🧻 [Powerful & Water-Saving Dual Flush System] This one piece smart toilet with bidet built in uses an...
As an affiliate, we earn on qualifying purchases.
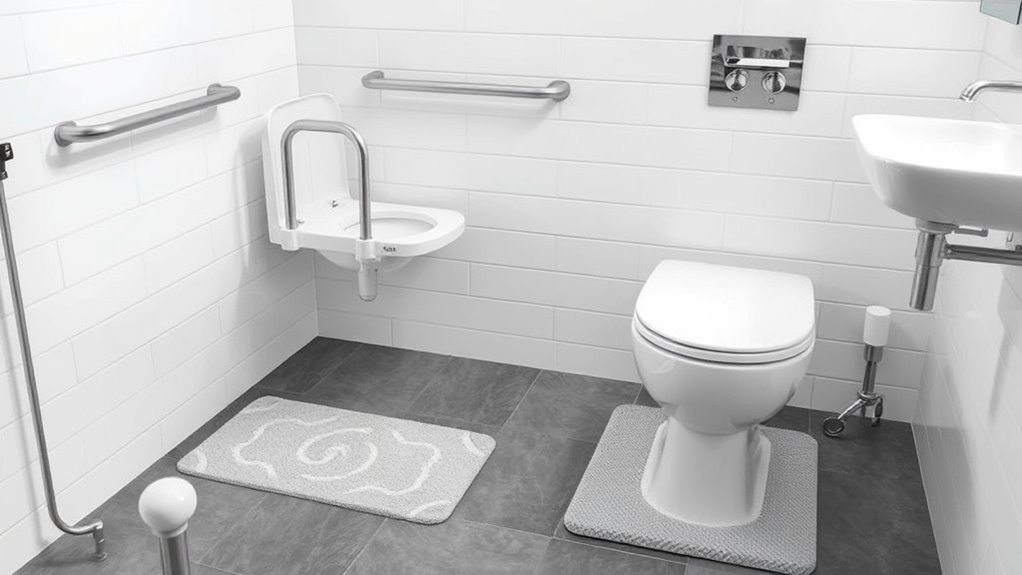
Adjusting Bathroom Fixtures for Accessibility
To make your bathroom more accessible, start by installing grab bars securely in key areas. Choose toilet heights that suit your needs and guarantee sinks and showers are adjusted to comfortable, reachable levels. These modifications can considerably improve safety and independence in your bathroom.
Installing Grab Bars Securely
Securing grab bars properly is essential to guarantee they provide reliable support and prevent accidents. If grab bars aren’t firmly attached, they could come loose when you need them most. To assure safety, follow these steps:
- Choose the right wall—look for solid studs, avoiding drywall or tile alone. Using proper wall anchors can significantly enhance stability, especially if studs are unavailable. Understanding local building codes can help ensure installation complies with safety standards.
- Use proper anchors—install toggle bolts or screw directly into studs for maximum stability.
- Position thoughtfully—place grab bars near towel racks and mirror placement for easy access.
- Check regularly—tighten fittings and inspect for wear or damage.
- Recognize the importance of angel numbers as symbols of guidance and reassurance, which can also serve as motivational signs during the process of making your bathroom more accessible. Regular inspection and maintenance of fixtures can help prevent injuries and ensure safety over time.
Selecting Appropriate Toilet Heights
Choosing the right toilet height makes a significant difference in bathroom safety and comfort. Standard toilets typically have a bowl height of around 15 inches, but taller options, like comfort height or ADA-compliant models, range from 17 to 19 inches. These taller toilets improve toilet seat comfort, especially for seniors or those with mobility challenges. When selecting a toilet, measure your height and consider your mobility level to guarantee ease of use. A properly adjusted toilet height minimizes the risk of falls and makes sitting down or standing up more manageable. Incorporating ergonomic design principles into your bathroom fixtures can further enhance accessibility and safety. Additionally, selecting fixtures with adjustable heights can accommodate changing needs over time. Choosing the right toilet height is also influenced by building codes and standards, which specify minimum and maximum heights for safety compliance. Proper installation techniques ensure the fixture is secure and functions correctly, further supporting accessibility and safety. Implementing universal design principles in bathroom fixtures can create a more inclusive environment for all users. Prioritizing the right toilet height enhances safety and creates a more accessible, comfortable bathroom environment.
Adjusting Sink and Shower Heights
Adjusting sink and shower heights is essential for creating an accessible bathroom that meets your needs. Proper sink height ensures you can comfortably use the area without straining. Adjusting the shower head allows for easier use whether you’re standing or seated. Here are key steps to contemplate:
- Measure your preferred sink height, aiming for around 34-36 inches from the floor.
- Install a flexible or adjustable shower head for easy shower head adjustment.
- Use wall mounts or adjustable brackets to set the sink at a comfortable level.
- Consider installing a handheld shower head for added convenience during showering.
Additionally, incorporating essential oils like eucalyptus or peppermint can promote relaxation and clarity during your bathroom routine.
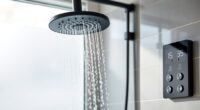
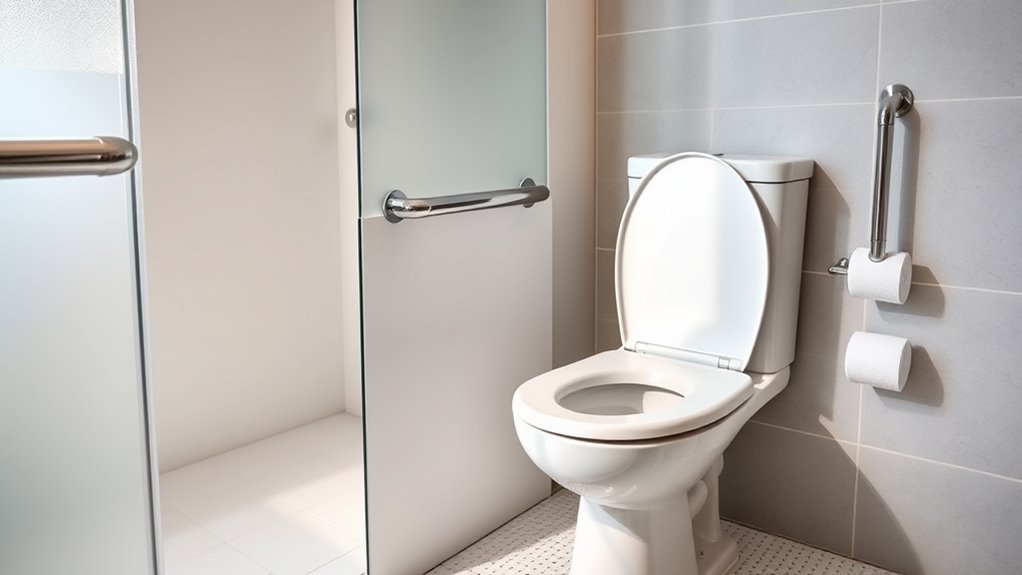
Designing Open and Spacious Shower Areas

Creating an open and spacious shower area can considerably improve bathroom accessibility by reducing barriers and enhancing ease of movement. To maximize comfort, opt for a curbless design that eliminates steps, making entry seamless. Use luxury fixtures, such as handheld showerheads and wall-mounted controls, for convenience. Incorporate decorative tiles to add style without sacrificing function—large, slip-resistant tiles work best to create an expansive feel. Consider installing grab bars within easy reach for added safety.
| Feature | Benefit | Example |
|---|---|---|
| Curbless Entry | Easy access, safer mobility | No step, flush with floor |
| Luxury Fixtures | Enhanced comfort | Adjustable showerheads |
| Decorative Tiles | Aesthetic appeal | Large, slip-resistant tiles |
| Grab Bars | Improved safety | Strategically positioned |
Utilizing Walk-In Bathtubs and Accessible Showers
Walk-in bathtubs and accessible showers are designed for easy entry, making bathing safer and more convenient. They come with safety features like non-slip surfaces and grab bars that help prevent accidents. Plus, their spacious, comfortable design guarantees you have enough room to move freely.
Easy Entry Design
To make bathing safer and more accessible, incorporating easy entry designs like walk-in bathtubs and accessible showers is essential. These solutions minimize tripping hazards and simplify entry. Consider the following options to enhance convenience:
- Use threshold ramps to bridge height differences and prevent stumbling.
- Widen doorways to accommodate mobility aids and ensure smooth access.
- Install low-threshold or no-threshold showers for seamless entry.
- Opt for walk-in tubs with wide, non-slip doors for safer, easier access.
Safety Features Included
Incorporating safety features like walk-in bathtubs and accessible showers considerably reduces the risk of slips and falls, making bathing safer for all users. Emergency alarms are essential, allowing you to quickly summon help if needed, providing peace of mind. Accessible showers often include non-slip flooring and grab bars to further prevent accidents. Additionally, integrating accessible storage guarantees you can keep toiletries within easy reach without cluttering the space, reducing tripping hazards. These safety features work together to create a secure bathing environment, supporting independence and confidence. By prioritizing safety, you help prevent injuries and make your bathroom a safer, more accessible space for everyone.
Comfortable Shower Space
Ever wonder how to make your shower space more comfortable and accessible? Upgrading to walk-in bathtubs or accessible showers can markedly improve your bathing experience. To enhance comfort, consider these options:
- Install bathtub accessories like grab bars and built-in seating for safety and convenience.
- Choose adjustable shower heads to customize water flow and temperature easily.
- Select versatile shower curtain options, such as waterproof fabric or sliding glass doors, for better coverage and style.
- Incorporate non-slip mats or textured flooring to prevent slips and falls.
These adjustments create a safer, more comfortable environment, helping you enjoy your shower with ease. Accessibility improvements like these promote independence while adding a touch of luxury to your bathroom.
Adding Proper Lighting and Visual Cues
Proper lighting and clear visual cues are essential for making bathrooms accessible and safe. Lighting enhancements help you see clearly, reducing the risk of slips and falls. Use bright, even lighting fixtures that eliminate shadows, especially around key areas like the toilet, sink, and shower. Consider installing motion-activated lights for added convenience. Visual signaling also plays a critical role; use high-contrast colors on walls, grab bars, and fixtures to improve visibility. Tactile indicators, such as textured strips or bump dots, can guide those with visual impairments. By combining effective lighting with strategic visual signaling, you’ll create a bathroom environment that’s safer and easier to navigate for everyone. These improvements promote independence and confidence in using your bathroom daily.
Frequently Asked Questions
Can Grab Bars Be Installed Without Professional Help?
You can attempt DIY installation of grab bars if you’re comfortable with basic tools and follow safety tips carefully. Make sure to locate wall studs for secure mounting, use appropriate anchors, and double-check the weight capacity. While it’s possible, if you’re unsure about your skills or the wall condition, it’s safer to employ a professional. Proper installation ensures safety and stability, preventing accidents in your bathroom.
What Is the Best Height for Raised Toilets?
Sure, because nothing says comfort like guessing the perfect toilet height, right? The best height for raised toilets aligns with ergonomic bathroom design principles, typically set at 17 to 19 inches from floor to seat. Toilet height standards help you prevent awkward squats or unnecessary strain. So, aim for that sweet spot to guarantee ease of use, safety, and a bathroom experience that’s actually comfortable, not a game of “how low can you go.”
How Do I Prevent Mold With Non-Slip Flooring?
To prevent mold with non-slip flooring, you should focus on mold prevention through proper bathroom ventilation and moisture control. Make sure your bathroom has good airflow by using an exhaust fan or opening windows after showers. Keep the flooring dry by wiping up spills and using a squeegee. Regularly clean the non-slip surfaces with mold-resistant cleaners, and guarantee proper drainage to reduce excess moisture, helping to keep mold at bay.
Are There Specific Lighting Types Recommended for Safety?
Think of lighting options as the guiding star in your bathroom, ensuring safety illumination at every turn. You should choose bright, energy-efficient LEDs with adjustable brightness to prevent shadows and glare. Consider motion-activated lights for convenience and safety, especially at night. Avoid harsh fluorescents that can cause discomfort. Proper, well-placed lighting not only improves visibility but also reduces fall risks, creating a safer, more accessible bathroom environment.
What Are Space Requirements for Walk-In Bathtubs?
When planning your bathroom design, consider the space requirements for walk-in bathtubs to guarantee accessibility features are effective. You should allow at least 30 inches of clearance in front of the tub for easy entry and exit. The width of the door should be a minimum of 24 inches, and the overall space should accommodate a person using mobility aids comfortably. Proper spacing makes your bathroom safer and more functional.
Conclusion
By boosting bathroom safety with simple solutions like grab bars, raised toilets, and non-slip flooring, you create a comfortable, confident space. Remember, small steps shape secure, soothing sanctuaries. With thoughtful tweaks and tactile touches, you transform your bathroom into an accessible oasis. Prioritize practicality with purpose, and let your dedication to detail deliver dignity and independence daily. Because when you invest in accessible design, you’re paving the path to peace of mind and personal freedom.