Hello there!
Ready to master the art of fixing a bathroom faucet? We’ve got you covered with this step-by-step guide.
We’ll show you how to gather the tools and materials you need, shut off that water supply like a pro, and remove that old faucet with ease.
Then, get ready to install a shiny new one and ensure it’s leak-free.

So, let’s dive in and become bathroom faucet experts together!
Key Takeaways
- Choose a faucet that matches the bathroom decor and consider the finish and style.
- Regularly clean the faucet with mild soap and water to prevent damage.
- Inspect the faucet for leaks or drips and address any issues promptly.
- Turn off the water supply before starting the faucet replacement process.

Brondell Bidet Toilet Seat Non-Electric Swash Ecoseat, Fits Elongated Toilets, White - Dual Nozzle System, Ambient Water Temperature - Bidet with Easy Installation
CLEAN AND REFRESHING: With Brondell’s Ecoseat 101 Bidet, you’ll experience a soothing, freshwater wash that leaves you feeling...
As an affiliate, we earn on qualifying purchases.
Gather Necessary Tools and Materials
We will gather the necessary tools and materials to complete the bathroom faucet installation.
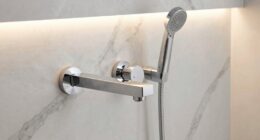
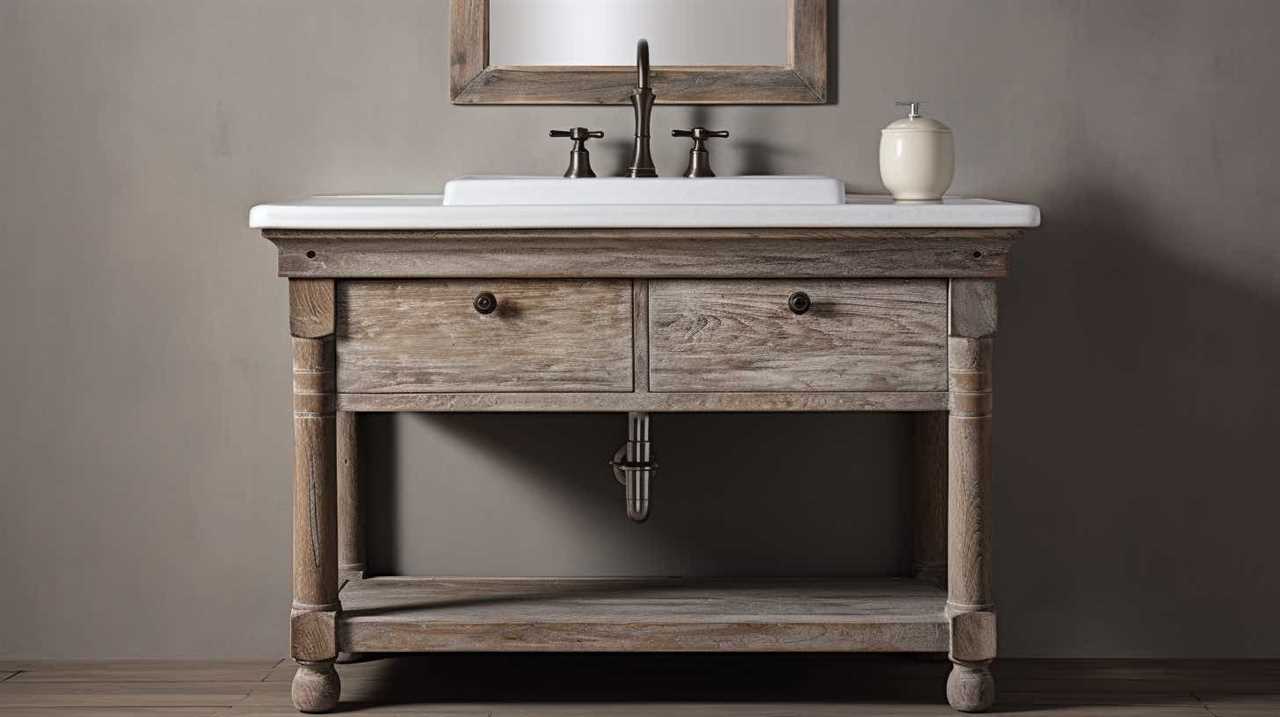
Choosing the right faucet is crucial to ensure functionality and aesthetic appeal. Look for faucets that match the existing bathroom decor and consider the type of finish, such as chrome or brushed nickel. Additionally, determine the appropriate faucet style, whether it’s a single-handle, double-handle, or wall-mounted design.
Proper maintenance of bathroom faucets is essential to prolong their lifespan and prevent issues. Regularly clean the faucet with mild soap and water to remove dirt and grime. Avoid using harsh chemicals or abrasive materials that can damage the finish. Inspect the faucet for leaks or drips and promptly address any issues.

BIGCOW Ultra-Slim Bidet Attachment for Toilet - Dual Nozzle (Frontal & Rear Wash) with Adjustable Cold Water Pressure and Stainless Steel Inlet - Hygienic Solution for Fresh Cleanliness, Silver 1 Pcs
【Dual Spraying Modes】- This toilet bidet offers both rear wash for thorough cleaning and a specially designed frontal...
As an affiliate, we earn on qualifying purchases.
Turn off the Water Supply
To begin the process of turning off the water supply for the bathroom faucet installation, gather the necessary tools and materials as discussed in the previous subtopic.
Once you have everything ready, it’s time to shut off the water supply. Locate the shut off valve, usually found under the sink or near the water meter. Turn the valve clockwise to shut off the water flow.
This will prevent any water pressure from causing leaks or accidents during the installation process. Make sure to check that the water is fully shut off by turning on the faucet and seeing if any water comes out.
Once you’re certain the water supply is off, you can proceed to the next step of removing the old faucet.

Amazon Product B0GMY4B6YR
As an affiliate, we earn on qualifying purchases.
Remove the Old Faucet
To begin removing the old faucet, start by disconnecting the supply lines and loosening the nuts securing the faucet to the sink. Make sure to turn off the water supply before proceeding with this step. Once the supply lines are disconnected and the nuts are loosened, carefully lift the old faucet out of the sink. Be cautious not to damage any surrounding fixtures or plumbing during this process.
After removing the old faucet, it’s important to dispose of it properly. Check with your local waste management facility or recycling center to determine the appropriate method of disposal. Many faucets are made of materials that can be recycled, so it’s important to handle them responsibly.
Now that the old faucet has been removed, it’s time to choose the right replacement faucet. Consider factors such as the style, finish, and functionality that best suit your bathroom. Measure the existing holes in your sink to ensure compatibility with the new faucet. Additionally, consider the water flow rate and any additional features you may desire.

LUXE Bidet NEO 120 - Single Nozzle, Self-Cleaning, Non-Electric Bidet Attachment for Toilet Seat, Adjustable Water Pressure, Rear Wash (White)
THE ULTIMATE VALUE – With a sleek design and high-quality parts, Our Bidet Attachment will give your bathroom...
As an affiliate, we earn on qualifying purchases.
Install the New Faucet
To install the new faucet, we’ll need to gather the necessary tools and materials. Before we begin, it’s important to consider proper maintenance and choosing the right faucet style.
Proper maintenance ensures that your faucet will last longer and function properly. When choosing the style, consider the overall aesthetic of your bathroom and the functionality you desire.
Once you have the new faucet and necessary tools, begin by following the manufacturer’s instructions for installation. This typically involves removing the old faucet, cleaning the sink surface, and then attaching the new faucet using the provided hardware. Make sure to tighten all connections securely to prevent leaks.
With the new faucet installed, we can now move on to the next step: testing the new faucet for leaks.
Test the New Faucet for Leaks
To test the new faucet for leaks, we’ll need to carefully examine the connections and observe if any water is escaping. This step is crucial to ensure that the installation was done correctly and that there are no hidden issues. Here’s a quick guide to help you test your new faucet:

- Check the connections: Inspect the connections between the faucet and the water supply lines. Look for any signs of loose fittings or damaged seals. Tighten any loose connections to prevent leaks.
- Turn on the water: Slowly turn on the water supply and let it flow through the faucet. Pay close attention to any drips or leaks that may occur. If you notice any, it may indicate a faulty installation or a problem with the faucet itself.
- Look for water accumulation: After running the water for a few minutes, examine the area around the faucet for any water accumulation or pooling. This could be a sign of a leak that needs to be addressed.
- Conduct periodic maintenance: Regular faucet maintenance is essential to prevent leaks. Clean the aerator and check for any mineral buildup that could affect the performance of the faucet. Replace worn-out parts as needed.
Frequently Asked Questions
How Do I Choose the Right Style and Finish for My Bathroom Faucet?
When choosing a bathroom faucet, we consider the right style and finish. Different faucet finishes like chrome, brushed nickel, and oil-rubbed bronze offer various aesthetic options to match your bathroom decor.
Can I Install a New Bathroom Faucet on My Own, or Do I Need to Hire a Professional Plumber?
Installing a new bathroom faucet is a task we can tackle on our own, without the need to hire a professional plumber. With the right tools and careful attention to instructions, we can accomplish this with ease.
What Should I Do if I Encounter Stubborn Mineral Deposits or Rust During the Removal of the Old Faucet?
When encountering stubborn mineral deposits or rust during faucet removal, we recommend using a mixture of vinegar and water to dissolve the deposits. For rust, try using a rust remover or a wire brush for scrubbing.
Are There Any Specific Maintenance Tips or Cleaning Products I Should Use to Keep My New Bathroom Faucet in Good Condition?
Cleaning techniques and product recommendations are essential for maintaining a new bathroom faucet. Regularly clean with mild soap and water, avoiding abrasive cleaners. Use vinegar or lemon juice to remove mineral deposits.
What Should I Do if I Notice a Leak After Installing the New Faucet?
If a leak occurs after installing the new faucet, we must promptly troubleshoot the issue. By examining the connections, replacing worn-out parts, and ensuring proper installation, we can effectively prevent leaks in bathroom faucets.
Conclusion
In conclusion, replacing a bathroom faucet is a straightforward task that can be easily accomplished by following these steps.
- Gather the necessary tools and materials.
- Turn off the water supply.
- Remove the old faucet.
- Install the new faucet.
- Test the new faucet for leaks to ensure a properly functioning fixture.
With a little effort and attention to detail, you’ll have a brand new faucet that adds both functionality and style to your bathroom.