So, you’re relaxing in your bathtub, enjoying a nice soak after a long day.
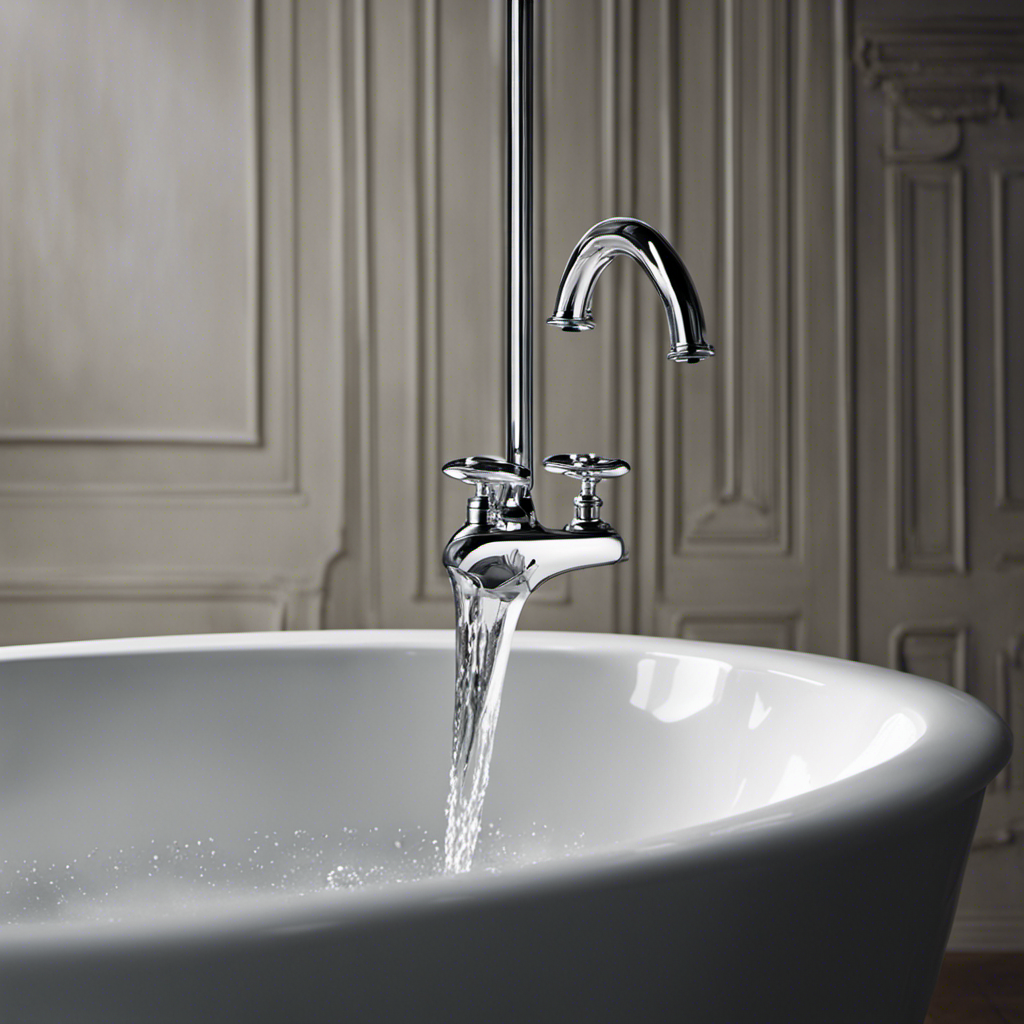
But wait, what’s that sound? The incessant drip, drip, drip of your bathtub faucet even though it’s turned off. It’s enough to drive anyone crazy!
But fear not, because in this article, I’m going to show you how to identify the cause of that annoying drip, provide you with some common DIY solutions, and guide you through the step-by-step process of fixing it.
Say goodbye to those pesky drips and hello to a peaceful bathing experience!
Key Takeaways
- Loose or worn parts in the faucet handles may cause a dripping bathtub faucet.
- Issues with the cartridge or valve assembly should be examined as a potential cause of the dripping.
- Replacing faulty washers or seats can help resolve the dripping issue.
- If the problem is complex, it may be necessary to seek professional assistance to fix the dripping bathtub faucet.
Identifying the Cause of the Dripping Bathtub Faucet
To figure out why your bathtub faucet is dripping, you’ll need to do some investigating.
Troubleshooting steps for a leaking bathtub faucet can help you identify the cause and determine the appropriate repair method.
First, check the faucet handles for any loose or worn parts. Tightening or replacing them might solve the problem.
If that doesn’t work, the issue may lie with the cartridge or valve assembly, which might need to be replaced.
Another common culprit is a faulty washer or seat, which can be fixed by replacing them.
In some cases, professional options for repairing a dripping bathtub faucet may be necessary. This could include hiring a plumber to assess and fix the issue, or even replacing the entire faucet if it is beyond repair.
Common DIY Solutions for Fixing a Dripping Bathtub Faucet
One popular solution for a dripping bathtub faucet is tightening the handle. Sometimes, the handle becomes loose over time and allows water to leak out. By simply tightening the handle, you can often stop the dripping. However, if tightening the handle doesn’t solve the problem, there may be other causes of the dripping faucet. It could be due to a faulty washer, worn-out seals, or even high water pressure.
To identify the cause of the dripping faucet, you can refer to the following table:
| Possible Causes | Solutions |
|---|---|
| Loose faucet handle | Tighten the handle |
| Faulty washer | Replace the washer |
| Worn-out seals | Replace the seals |
| High water pressure | Install a pressure regulator |
If the cause of the dripping faucet is a faulty handle, it can be easily replaced. Start by turning off the water supply to the faucet. Then, remove the old handle by unscrewing it from the stem. Finally, attach the new handle and turn on the water supply to test for any leaks. Remember, if you’re unsure or uncomfortable with DIY solutions, it’s always best to consult a professional plumber.
Tools and Materials Needed for Repairing a Dripping Bathtub Faucet
You’ll need a few tools and materials to repair that annoying dripping in your bathtub faucet. Here are the necessary supplies:
- Adjustable wrench: This tool will help you loosen and tighten the nuts and bolts on your faucet.
- Screwdriver: Choose the appropriate type (flathead or Phillips) to remove screws and access the faucet components.
- Replacement parts: Depending on the issue, you may need to replace the cartridge, washers, or O-rings.
- Plumber’s tape: Also known as Teflon tape, this helps create a watertight seal when reassembling the faucet.
- Rag or towel: Have one handy to wipe away any excess water and keep your workspace clean.
To begin repairing your dripping bathtub faucet, make sure to turn off the water supply and follow the appropriate techniques for your specific faucet model.
With these tools and materials, you’ll be able to fix the problem and enjoy a leak-free bathtub faucet again.
Step-by-Step Guide to Fixing a Dripping Bathtub Faucet
Using an adjustable wrench, tighten the nuts and bolts on your dripping bathtub faucet. Troubleshooting leaky faucets is crucial to prevent water wastage and damage to your plumbing system. Regular faucet maintenance is important to ensure the longevity of your fixtures and to avoid costly repairs in the future. Here is a step-by-step guide to fixing a dripping bathtub faucet:
- Turn off the water supply to the faucet.
- Remove the faucet handle using a screwdriver.
- Use pliers to remove the cartridge or valve stem.
- Inspect the cartridge or valve stem for any damage or wear.
- Replace any faulty components with new ones.
- Reassemble the faucet and turn on the water supply.
- Test the faucet for any leaks.
By following these steps and performing regular maintenance, you can keep your bathtub faucet in optimal condition and save water in the process.
| Step | Instructions | Tools/Materials Needed |
|---|---|---|
| 1 | Turn off water supply | Adjustable wrench |
| 2 | Remove faucet handle | Screwdriver |
| 3 | Remove cartridge/valve stem | Pliers |
Preventing Future Drips: Maintenance Tips for Bathtub Faucets
To prevent future leaks, regularly inspect the nuts and bolts on your dripping bathtub faucet and tighten them if necessary. This simple maintenance step can help ensure that your faucet remains in good working condition and prevents water leaks.
Here are some additional tips for bathtub faucet maintenance:
- Clean the faucet regularly to remove any buildup of mineral deposits or debris that could affect the proper functioning of the faucet.
- Check the washers and O-rings for signs of wear or damage and replace them if necessary.
- Lubricate the moving parts of the faucet with silicone-based lubricant to ensure smooth operation.
- Test the water pressure regularly to ensure it is not too high, as this can cause stress on the faucet and lead to leaks.
- Consider installing a water-saving aerator to reduce the amount of water flowing through the faucet and minimize the risk of leaks.
Conclusion
In conclusion, fixing a dripping bathtub faucet is a straightforward task that can easily be done by following a few simple steps. By identifying the cause of the drip and using common DIY solutions, such as replacing worn-out parts or tightening loose connections, you can successfully repair your faucet.
Remember to gather the necessary tools and materials, and carefully follow the step-by-step guide provided. By taking these maintenance tips into consideration, you can prevent future drips and ensure your bathtub faucet functions smoothly.
As the saying goes, "A stitch in time saves nine," so don’t delay in fixing that drip!


