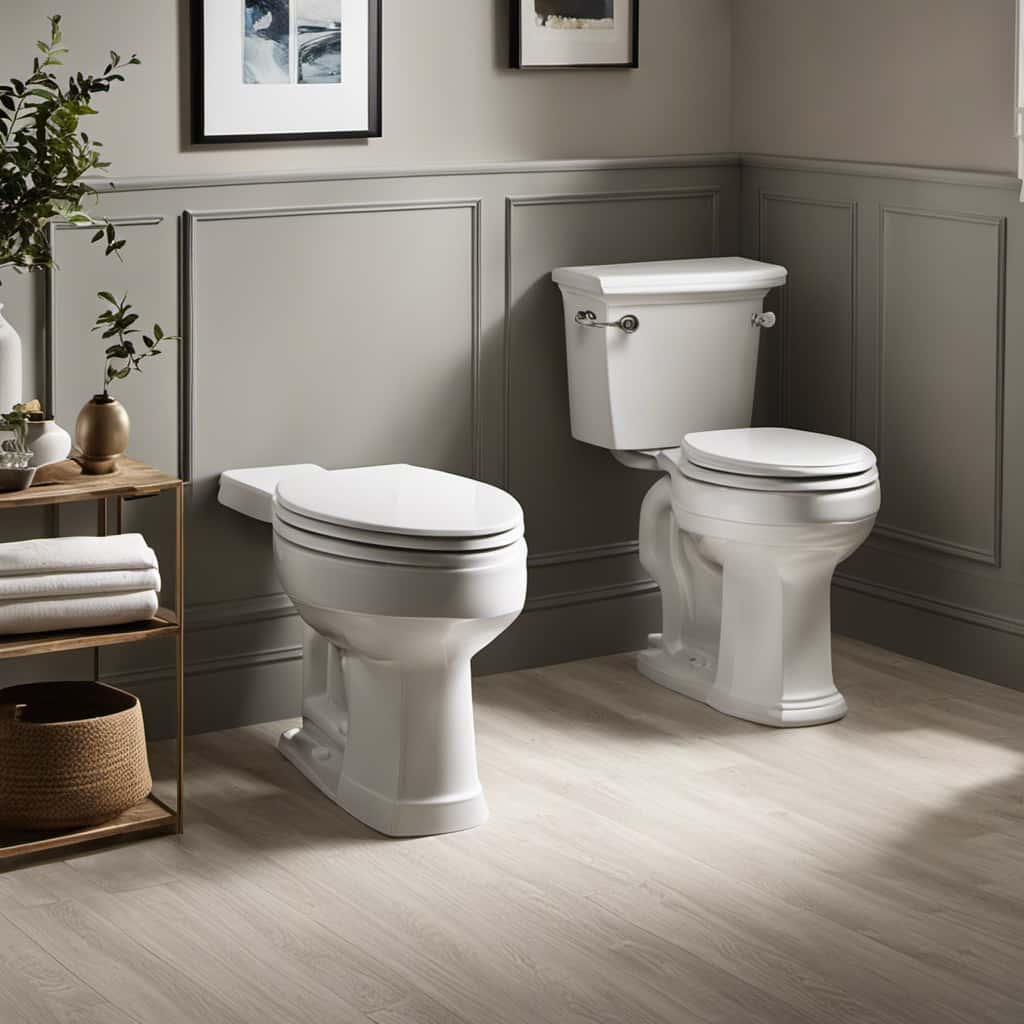
Have you ever wondered if it’s possible to replace a flush valve without the hassle of removing the entire tank? Well, we’ve got good news for you! In this article, we’ll show you how to tackle this task with ease.
With our step-by-step guide and handy tips, you’ll have your flush valve replaced in no time. Say goodbye to leaks and hello to a smoothly functioning toilet.
Let’s get started on your journey to plumbing mastery!
Key Takeaways
- Flapper valve and canister valve are the two most commonly used types of flush valves in toilets.
- Common problems with flush valves include leaky flapper valves, sticky flush handles, and malfunctioning canister valves.
- Tools and materials needed for replacing a flush valve include an adjustable wrench, pliers, a new flush valve, a rubber gasket, and Teflon tape.
- The step-by-step guide to replacing a flush valve includes turning off the water supply, draining the tank, locating the flush valve, disconnecting the water supply line, and removing the nut securing the flush valve to the tank.

Fluidmaster 400H-002 Performax Universal Toilet Fill Valve High Performance Tank and Bowl Water Control, 1-Pack, Multicolor
Fix noisy, or slow filling fill valves with the quietest, most powerful toilet fill valve available
As an affiliate, we earn on qualifying purchases.
As an affiliate, we earn on qualifying purchases.
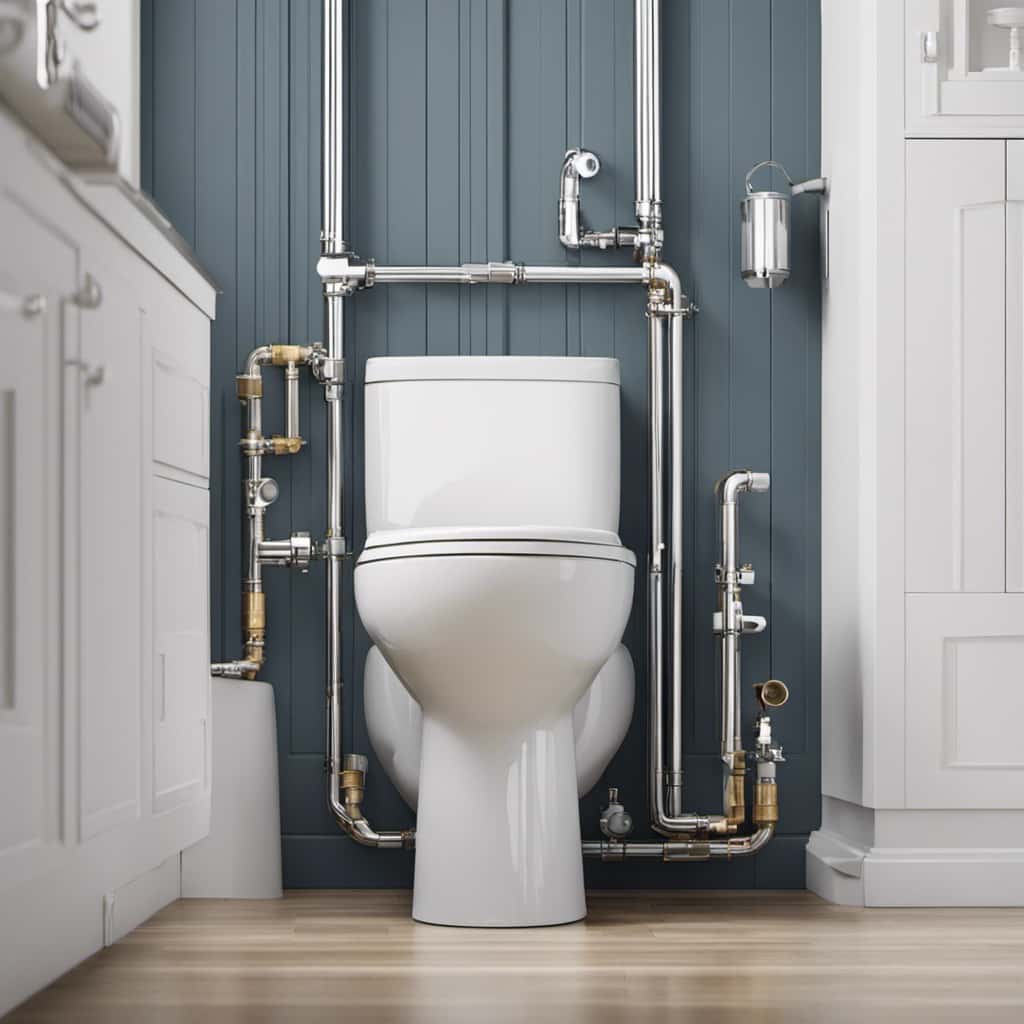
Tools and Materials Needed
To replace a flush valve without removing the tank, we’ll need a few tools and materials. Firstly, let’s talk about the different types of flush valves commonly found in toilets.
The most common types are the flapper valve and the canister valve. The flapper valve is a rubber flap that covers the flush valve opening and is connected to the flush handle by a chain. The canister valve, on the other hand, is a cylindrical device that lifts up to release water into the bowl.
Now, let’s move on to the common problems that can occur with flush valves. Some common issues include a leaky flapper valve, a sticky flush handle, or a malfunctioning canister valve.
To fix these problems, you’ll need a few tools such as an adjustable wrench, pliers, and a replacement flush valve.

Fluidmaster 400AKR Universal All in One Toilet Repair Kit for 2-Inch Flush Valves, Easy Install
RESTORES OVERALL TOILET PERFORMANCE: All in one toilet repair kit replaces inefficient fill and flush valves, leaky flappers,…
As an affiliate, we earn on qualifying purchases.
As an affiliate, we earn on qualifying purchases.
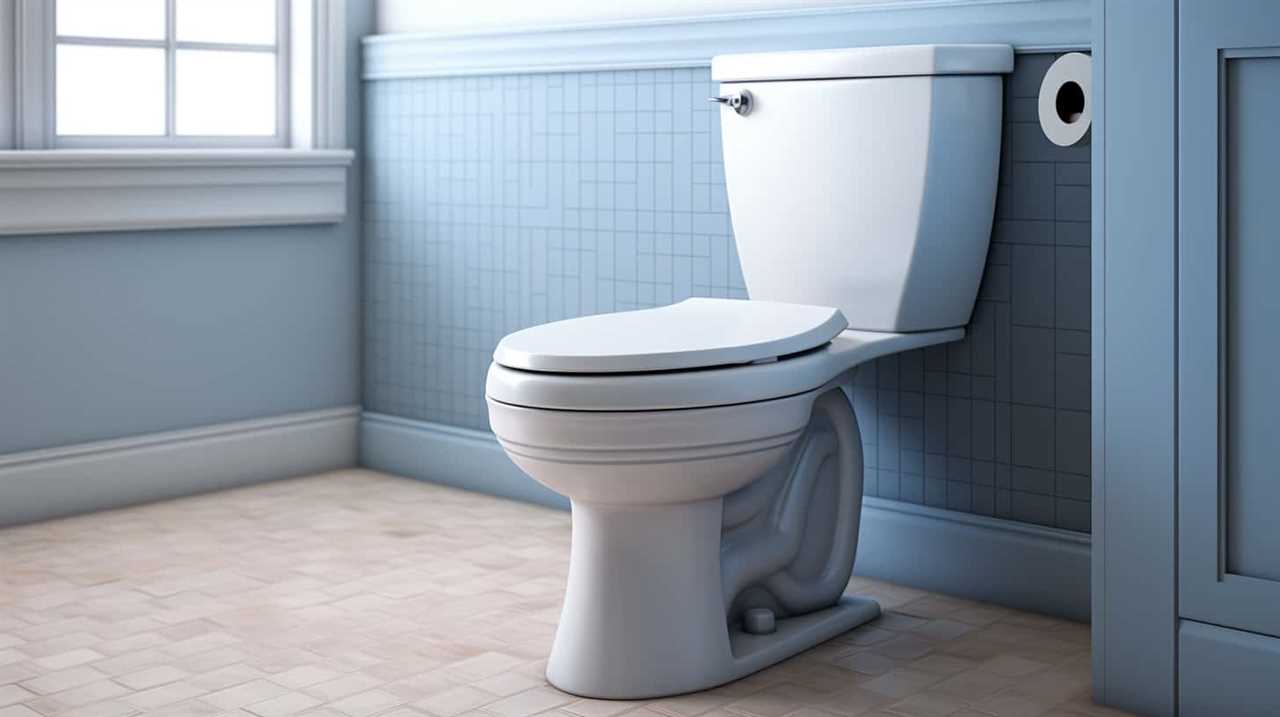
Step-by-Step Guide to Replacing Flush Valve
Now let’s walk through the process of replacing a flush valve without removing the tank. This method can save you time and effort, but it’s important to follow the steps carefully to avoid common mistakes.
Here is a step-by-step guide:
- First, turn off the water supply to the toilet by shutting off the shut-off valve located near the base of the toilet.
- Flush the toilet to drain the tank completely.
- Remove the tank lid and locate the flush valve at the bottom of the tank. It’s connected to the overflow tube.
- Disconnect the water supply line from the fill valve and remove any remaining water from the tank.
- Using a wrench, loosen and remove the nut that secures the flush valve to the tank.
- Carefully lift the flush valve out of the tank, ensuring that no water spills out.
- Install the new flush valve by following the manufacturer’s instructions. Make sure it’s properly aligned and securely tightened.
- Reconnect the water supply line to the fill valve, turn on the water supply, and check for any leaks.

WORKPRO 2-Piece Adjustable Wrench Set, 6-Inch & 10-Inch Wide Jaw Black Oxide Wrench, Cr-V Steel, Metric & SAE Scales, Max Jaw Opening 15/16" & 1-5/16", for Home Repairs, Plumbing, Garage Work
DUAL-SIZE SET FOR VERSATILE USE: This 2-piece set includes 6-inch and 10-inch adjustable wrenches, designed for everyday household…
As an affiliate, we earn on qualifying purchases.
As an affiliate, we earn on qualifying purchases.
Tips for a Successful Replacement
Here are some practical tips to ensure a successful replacement of the flush valve without removing the tank:
- Inspect the flush valve: Before beginning the replacement process, thoroughly inspect the flush valve for any signs of damage or wear. Common mistakes include ignoring minor leaks or cracks, which can lead to bigger problems in the future.
- Gather the necessary tools: Make sure you have all the tools required for the replacement, such as a wrench, pliers, and a new flush valve. Having everything ready will save you time and help avoid any unnecessary delays or frustrations.
- Follow the manufacturer’s instructions: Each flush valve may have specific installation instructions, so it’s crucial to closely follow the manufacturer’s guidelines. This will ensure that the replacement is done correctly and prevent any potential issues.
- Check for proper alignment: After installing the new flush valve, check for proper alignment to ensure a tight and secure fit. Incorrect alignment is a common mistake that can result in leaks or inefficient flushing.
- Perform a thorough test: Once the replacement is complete, perform a thorough test by flushing the toilet multiple times. This will help identify any potential issues and allow you to troubleshoot and make adjustments if necessary.
By following these tips, you can successfully replace the flush valve without removing the tank.
Now, let’s explore the potential challenges and how to overcome them.

Korky Ultra Standard 2-Inch Universal Toilet Flapper – Long Lasting Rubber – Easy to Install – Made in USA, 100BP
TOILET FLAPPER VALVE FITS MOST POPULAR 2 inch toilet brands including, but not limited to: American Standard, Kohler,…
As an affiliate, we earn on qualifying purchases.
As an affiliate, we earn on qualifying purchases.
Potential Challenges and How to Overcome Them
We encountered several potential challenges during the replacement process, but we were able to overcome them with some simple solutions.
One common issue we faced was difficulty in removing the old flush valve due to corrosion or tight connections. To troubleshoot this, we recommend using a penetrating oil to loosen the stuck parts and a wrench or pliers for added leverage.
Another challenge was aligning the new flush valve properly with the tank. To overcome this, we suggest using a level and measuring tape to ensure accurate positioning.
Additionally, leaks can occur if the seals aren’t properly installed. To avoid this, we advise double-checking the seals and applying plumber’s tape if needed.

By overcoming these obstacles, you can successfully replace the flush valve without removing the tank.
Now that we’ve discussed the potential challenges and their solutions, let’s move on to the final thoughts and additional resources on replacing a flush valve without removing the tank.
Final Thoughts and Additional Resources
To conclude our discussion on replacing a flush valve without removing the tank, let’s explore some final thoughts and provide additional resources.
Here are some final thoughts to consider:

- While it’s possible to replace a flush valve without removing the tank, it can be a challenging task for inexperienced individuals. Therefore, hiring a professional plumber can greatly benefit you in terms of time, effort, and ensuring a proper installation.
- Professional installation guarantees that the flush valve is correctly aligned and sealed, preventing any future leaks or malfunctions.
- It’s important to choose a high-quality flush valve that’s compatible with your toilet model. Research different brands and read customer reviews to make an informed decision.
- When attempting to replace a flush valve yourself, make sure to follow the manufacturer’s instructions carefully. Improper installation can lead to costly repairs down the line.
- If you encounter any difficulties during the replacement process, don’t hesitate to call a professional for assistance.
Additional Resources:
Frequently Asked Questions
Can a Flush Valve Be Replaced if the Toilet Is Clogged?
Yes, a flush valve can be replaced even if the toilet is clogged. However, it is recommended to unclog the toilet first to ensure proper installation and functionality of the new flush valve.
How Long Does It Take to Replace a Flush Valve?
Replacing a flush valve without removing the tank is possible, but it depends on the specific toilet model. To determine the cost and steps involved in the replacement, it is essential to consult an expert.
Is It Necessary to Turn off the Water Supply Before Replacing the Flush Valve?
Yes, it is necessary to turn off the water supply before replacing the flush valve. Proper installation techniques include shutting off the water, draining the tank, and following manufacturer instructions. Avoiding this step can result in water leaks and damage.
Can a Flush Valve Be Replaced if the Toilet Is Leaking Water Onto the Floor?
Yes, a flush valve can be replaced without removing the tank. We recently had a leaky toilet and replaced the flush valve. It’s important to look for signs of a faulty flush valve and follow the installation process correctly.
Can a Flush Valve Replacement Fix a Weak Flushing Toilet?
Yes, a flush valve replacement can potentially fix a weak flushing toilet. Troubleshooting signs of a faulty flush valve include water leaks, inconsistent flushing, and inadequate water flow.
Conclusion
In summary, replacing a flush valve without removing the tank is a feasible and efficient task. By following the step-by-step guide and utilizing the necessary tools and materials, you can easily complete the replacement process.
Remember to be cautious of potential challenges and utilize the tips provided to overcome them. With this knowledge, you’ll be able to successfully replace your flush valve and maintain the functionality of your toilet.
For further assistance, refer to additional resources on this topic.