When installing a freestanding tub filler, place it within easy reach of the tub to guarantee good water pressure and control. Consider height and location to balance aesthetics with functionality, keeping it accessible but discreet. Proper alignment with water lines and local plumbing codes is key for performance and safety. Think about your bathroom style and how the faucet will look, and confirm all components are set for smooth operation. Keep going to discover more tips to perfect your setup.
Key Takeaways
- Position the filler within easy reach of the tub, considering water supply line distance for optimal flow.
- Install at a height that balances accessibility and aesthetic appeal, typically between waist and eye level.
- Ensure the faucet placement complies with local plumbing codes and regulatory standards.
- Securely connect to water lines, verifying leak-free fittings and proper valve functionality.
- Test water flow, temperature control, and visual integration to ensure a functional, stylish bathing space.
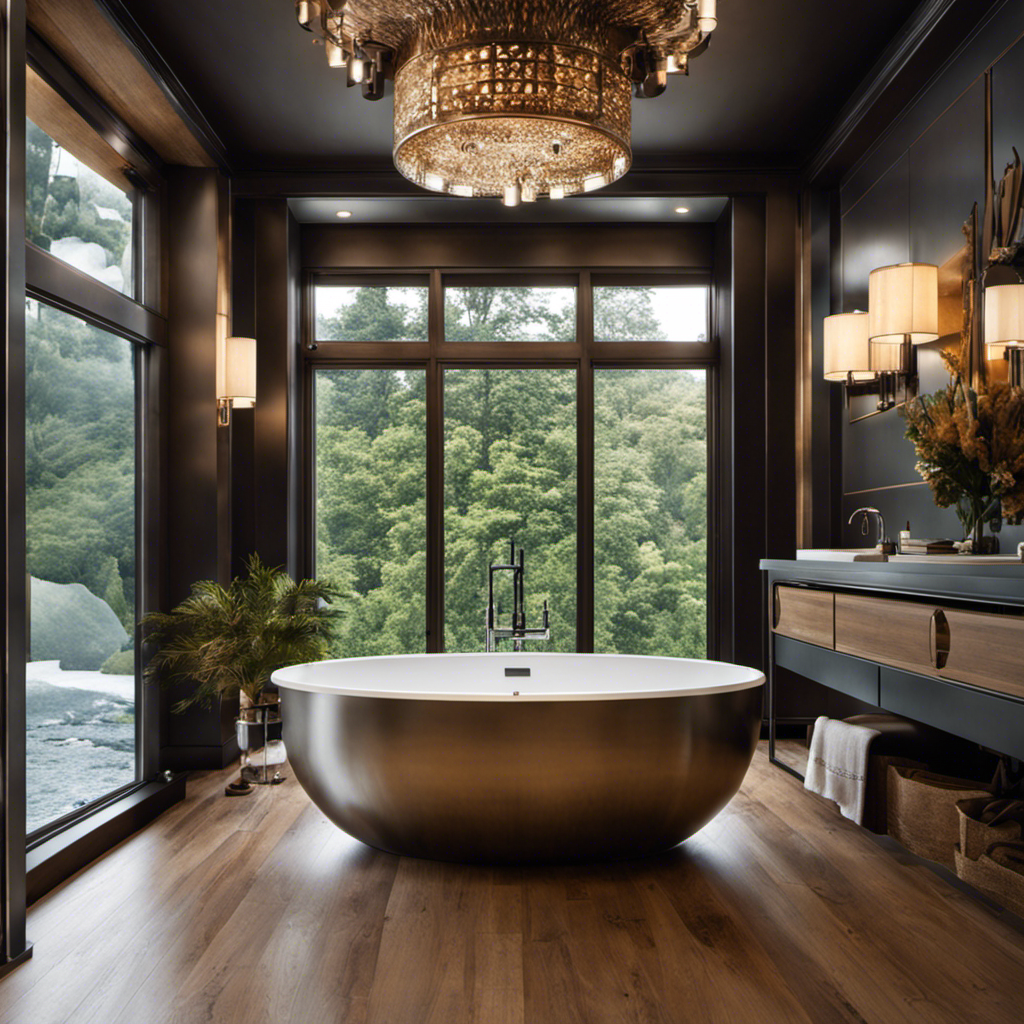
Are you ready to upgrade your bathroom with a stylish and functional freestanding tub filler? If so, choosing the right placement and design is vital to guarantee both aesthetics and practicality. The first thing to think about is how the location of your tub filler will affect water pressure. Proper placement ensures you get steady, strong water flow without wasting energy or water. Typically, you’ll want to install the filler within easy reach of the tub, but also in a spot that complements your bathroom’s layout. Measure the distance from your water supply lines to the desired faucet location to prevent any issues with water pressure. Too far from the supply line can lead to decreased water flow, making your bathing experience less enjoyable.
Proper placement of your tub filler ensures steady water flow and enhances bathroom aesthetics.
Next, look at the valve installation process, which is fundamental for peak operation. A correctly installed valve ensures smooth control over water flow and temperature. When planning your placement, keep the valve accessible but discreet—usually behind or beside the tub, where it won’t interfere with your bathers’ comfort or the overall design. Remember, the valve needs to be connected securely to your water lines, so double-check measurements and compatibility before drilling or making any permanent fixtures. If you’re unsure about valve installation, consulting a professional can save you from future leaks or malfunction issues. Properly installed valves not only improve functionality but also make maintenance easier, should you need to replace or repair parts later on.
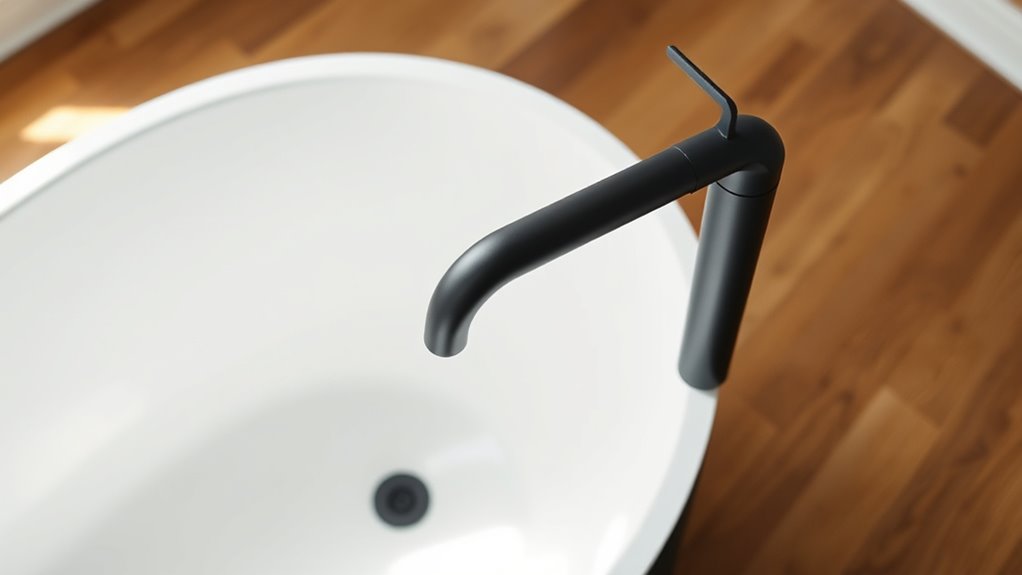
The height at which you install the tub filler plays a significant role in both usability and visual appeal. A higher-mounted faucet might look more modern, but it can be harder to control water flow precisely. Conversely, a lower installation offers better control and a more traditional look. Consider how the filler’s spout will extend over the tub to avoid splashing or awkward water flow patterns. You’ll also want to ensure that your water pressure remains consistent regardless of the fill level. Installing a pressure-balancing valve can help maintain steady water pressure even when other fixtures are in use, providing a more comfortable bath experience. Additionally, understanding how contrast ratio impacts the visual clarity of your bathroom fixtures can influence your choice of faucet finish and lighting to enhance aesthetics.
Finally, don’t forget to check local plumbing codes and regulations before installation. They might specify certain requirements for valve installation or placement height. Once everything is in place, test the setup thoroughly. Turn on the water, check for leaks, and verify that the valve controls temperature and flow smoothly. Proper placement and thoughtful design of your freestanding tub filler will enhance your bathroom’s style and functionality, making every bath a relaxing retreat.
Frequently Asked Questions
Can I Install a Freestanding Tub Filler on a Sloped Floor?
Yes, you can install a freestanding tub filler on a sloped floor, but you’ll face installation challenges. The uneven floor can cause stability issues, so you might need a custom base or leveling adjustments to guarantee the filler stays secure. It’s essential to carefully evaluate the floor slope and plan accordingly to prevent leaks or wobbling. Consulting a professional can help you achieve a safe, functional, and visually appealing setup.
What Is the Ideal Height for a Tub Filler Spout?
The ideal height for a tub filler spout depends on the tub’s design and your comfort, but generally, the filler height should be around 6 to 12 inches above the rim for best spout placement. You want the filler to reach the center of the tub without splashing. Adjust the filler height accordingly, ensuring it’s easily accessible and complements the overall aesthetic for a seamless, functional installation.
Are Wall-Mounted or Floor-Mounted Fillers Better for Small Bathrooms?
In small bathrooms, wall-mounted fillers are often better because they save space and keep the floor clear, enhancing bathroom aesthetics. They’re easier to clean and can be positioned precisely for water efficiency. Floor-mounted fillers, while stylish, can make a small space feel cramped and harder to access. Choose wall-mounted options to maximize space, improve water efficiency, and maintain a sleek, uncluttered look in your small bathroom.
How Do I Prevent Water Splashing Outside the Tub?
A gentle splash can turn a relaxing bath into a cleanup project. To prevent water splashes outside the tub, focus on effective drainage solutions like installing a splash guard or high-arc faucet. Position the filler toward the center of the tub for better water control, and consider adding a barrier or curtain if needed. These tweaks help keep water where it belongs, making your bath more enjoyable and mess-free.
Is It Possible to Retrofit an Existing Tub With a New Filler?
Yes, you can retrofit an existing tub with a new filler, but there are challenges. Retrofit challenges include confirming filler compatibility with your current plumbing and space constraints. You’ll need to verify if the new freestanding filler fits your tub’s setup and if your plumbing can support it without extensive modifications. Consulting a professional helps to navigate compatibility issues and ensures a smooth, safe retrofit process.
Conclusion
As you step back and admire your newly installed freestanding tub filler, imagine the smooth flow of water inviting you into a relaxing soak. The sleek design seamlessly complements your bathroom’s aesthetic, transforming it into a tranquil oasis. With thoughtful placement, every detail feels just right—like a gentle cascade of comfort. Now, your bath experience awaits, ready to melt away stress and bring serenity to your everyday routine.

Liam’s journey with us started as a consumer. Having faced challenges while setting up his own modern bathroom, he delved deep into research.
Recognizing his knack for simplifying complex information and his authentic writing style, we were thrilled to welcome him aboard. Liam’s articles often merge practicality with style, ensuring readers find the perfect fit for their homes. Liam is an avid hiker off-duty and often jokes about finding the best “natural toilets” Mother Earth has to offer.