So, you’ve got a dripping bathtub faucet. Annoying, isn’t it? Well, fear not, my fellow DIY enthusiasts, because I’m here to show you exactly how to fix that pesky problem.
With a little bit of know-how and a few trusty tools, you’ll have that faucet working like new in no time. No need to call a plumber or spend a fortune on repairs. Just follow my step-by-step guide, and you’ll be enjoying a leak-free bathtub in no time.
Let’s dive in, shall we?
Key Takeaways
- Check washers and O-rings for wear or damage
- Identify the faucet type to determine the replacement parts needed
- Ensure all necessary tools and materials are gathered before starting the repair
- Carefully reassemble the faucet and test for leaks or drips
Signature Hardware 312542 Lena 72" Cast Iron Soaking Clawfoot Tub with Pre-Drilled Overflow Hole
Covered under Signature Hardware's 25 year limited
As an affiliate, we earn on qualifying purchases.
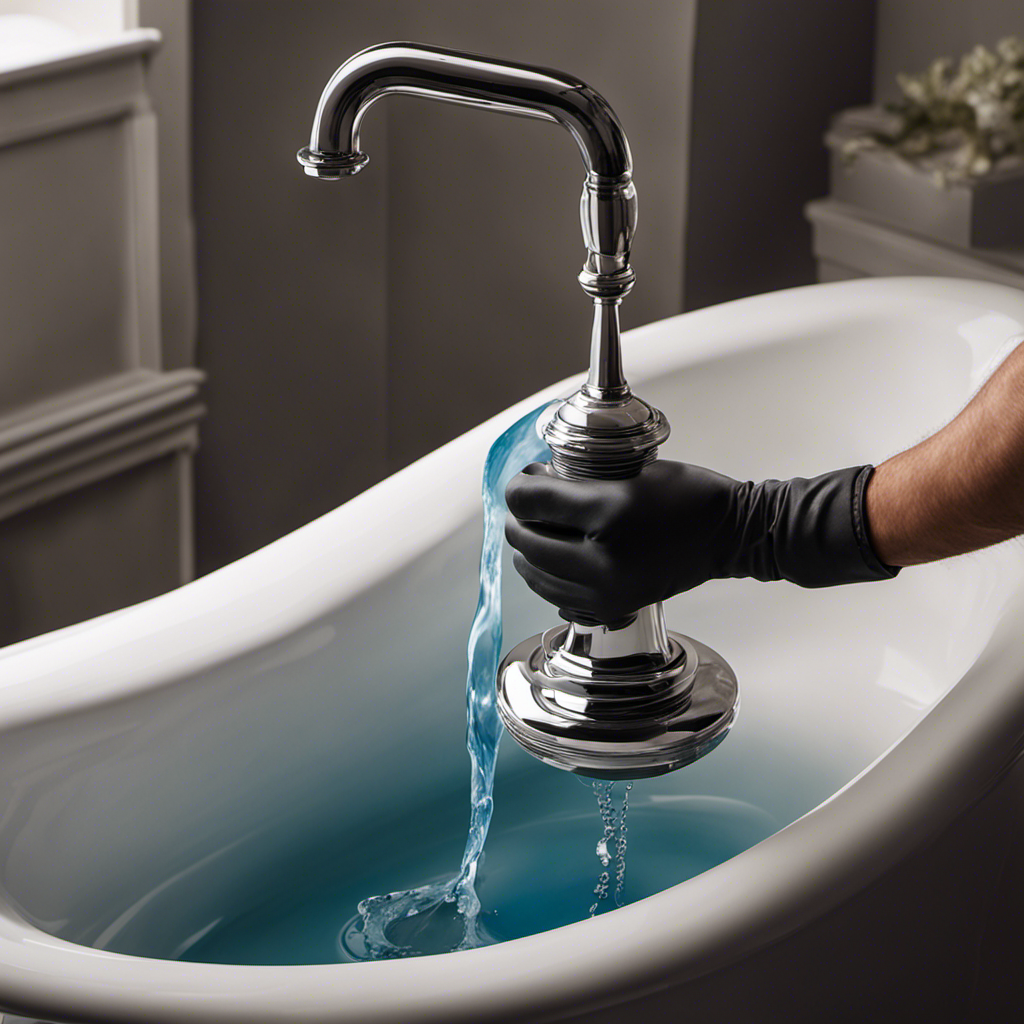
Identifying the Cause of the Dripping Faucet
To identify the cause of the dripping faucet, you should start by checking the washers and O-rings for any signs of wear or damage.
Common causes of a dripping bathtub faucet include worn-out washers, damaged O-rings, and loose or corroded valve seats.
Troubleshooting steps involve turning off the water supply to the bathtub and removing the faucet handle. Once the handle is removed, inspect the washers and O-rings for any signs of wear or damage. If they appear worn or damaged, replace them with new ones.
Additionally, check the valve seats for any signs of corrosion or damage. If necessary, use a valve seat wrench to remove and replace the valve seats.

KOHLER 715-0 Villager 60" x 30-1/4" Alcove Cast Iron Bathtub with Left-Hand Drain and Integral Apron, Safeguard Slip-Resistant Surface, White
Durable cast iron construction ensures long-lasting quality and strength
As an affiliate, we earn on qualifying purchases.
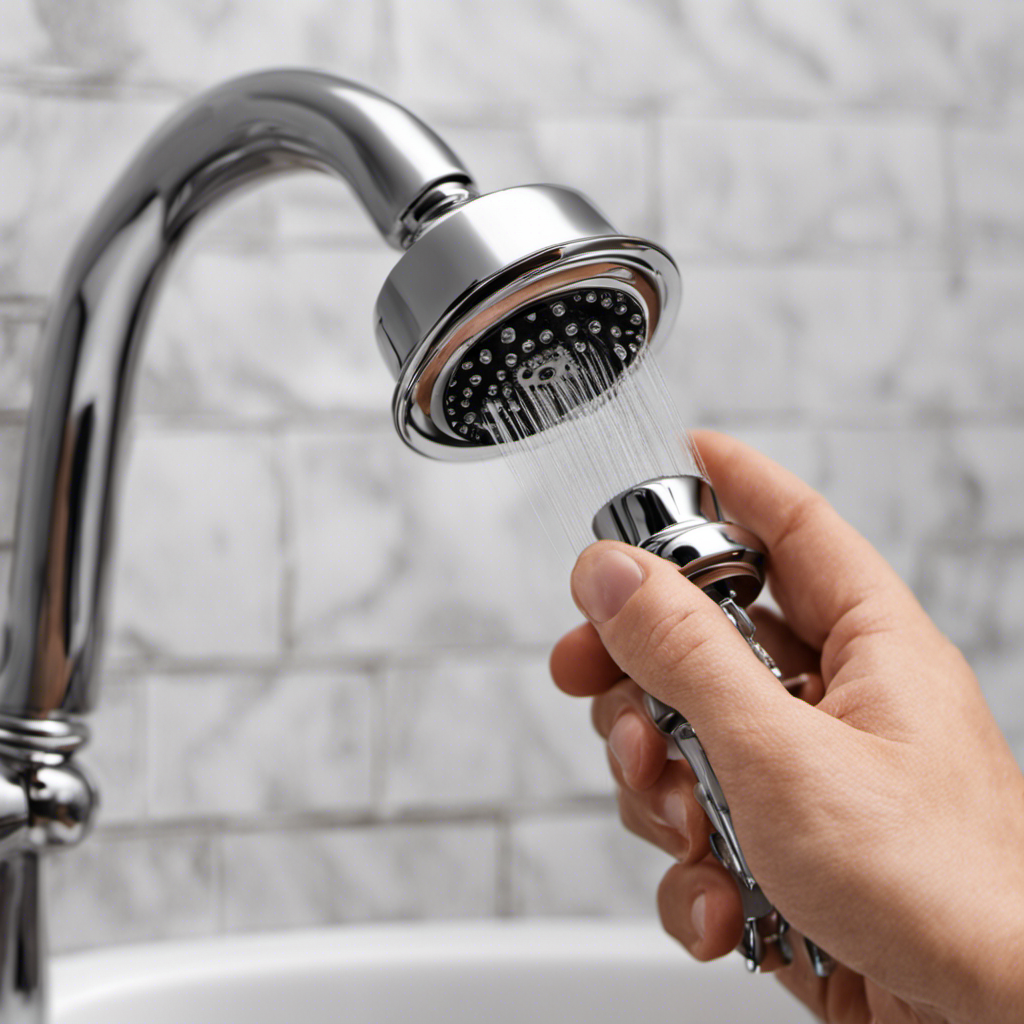
Gathering the Necessary Tools and Materials
First, gather all the tools and materials that you’ll need for the task. To fix a dripping bathtub faucet, you’ll need a few essential items.
Start by identifying the type of faucet you have, as this will determine the replacement parts you’ll need. Common types include compression, cartridge, ball, and ceramic disc faucets. Once you know the type, head to your local hardware store to purchase the appropriate replacement parts, such as washers, O-rings, cartridges, or valve seats. Make sure to choose high-quality parts that are compatible with your specific faucet model.
Additionally, gather a set of wrenches, screwdrivers, pliers, and a bucket to catch any water that may leak during the repair process.

Aqua Eden VCT7DS6731NLW 67-Inch Cast Iron Double Slipper Clawfoot Tub with 7-Inch Faucet Drillings, White
Drilled for deck mount faucets 7" center to center
As an affiliate, we earn on qualifying purchases.
Disassembling the Faucet Components
Now that you have gathered all the necessary tools and materials, it’s time to start disassembling the faucet components. Proper maintenance is key in ensuring the longevity of your faucet, and disassembling it correctly is a crucial step in the repair process. Here are three important steps to follow:
-
Shut off the water supply: Before you begin disassembling the faucet, make sure to turn off the water supply. This will prevent any potential leaks or water damage during the process.
-
Remove the handle: Start by removing the handle of the faucet. This can usually be done by locating the small screw underneath the handle and unscrewing it. Once the screw is removed, gently lift the handle off the faucet.
-
Take apart the cartridge: After removing the handle, you will need to disassemble the cartridge. Depending on the type of faucet, this may involve unscrewing it or using a specialized tool. Carefully follow the manufacturer’s instructions to avoid any damage.

KOHLER K-26109-LA-0 Entity 60-Inch x 30-Inch Alcove Bath with Integral apron, integral flange and left hand drain, White
Low stepover height allows easy entry and exit
As an affiliate, we earn on qualifying purchases.
Repairing or Replacing the Problematic Parts
Once the problematic parts have been identified, it’s time to proceed with the necessary repairs or replacements.
When it comes to fixing a dripping bathtub faucet, there are a few common issues that can be addressed using specific techniques.
One of the most common problems is a worn-out washer. To fix this, simply turn off the water supply and remove the handle and stem assembly. Replace the old washer with a new one and reassemble the faucet.
Another common issue is a faulty cartridge. To fix this, turn off the water supply, remove the handle and cartridge, and replace it with a new one. It’s important to follow the manufacturer’s instructions for your specific faucet model.
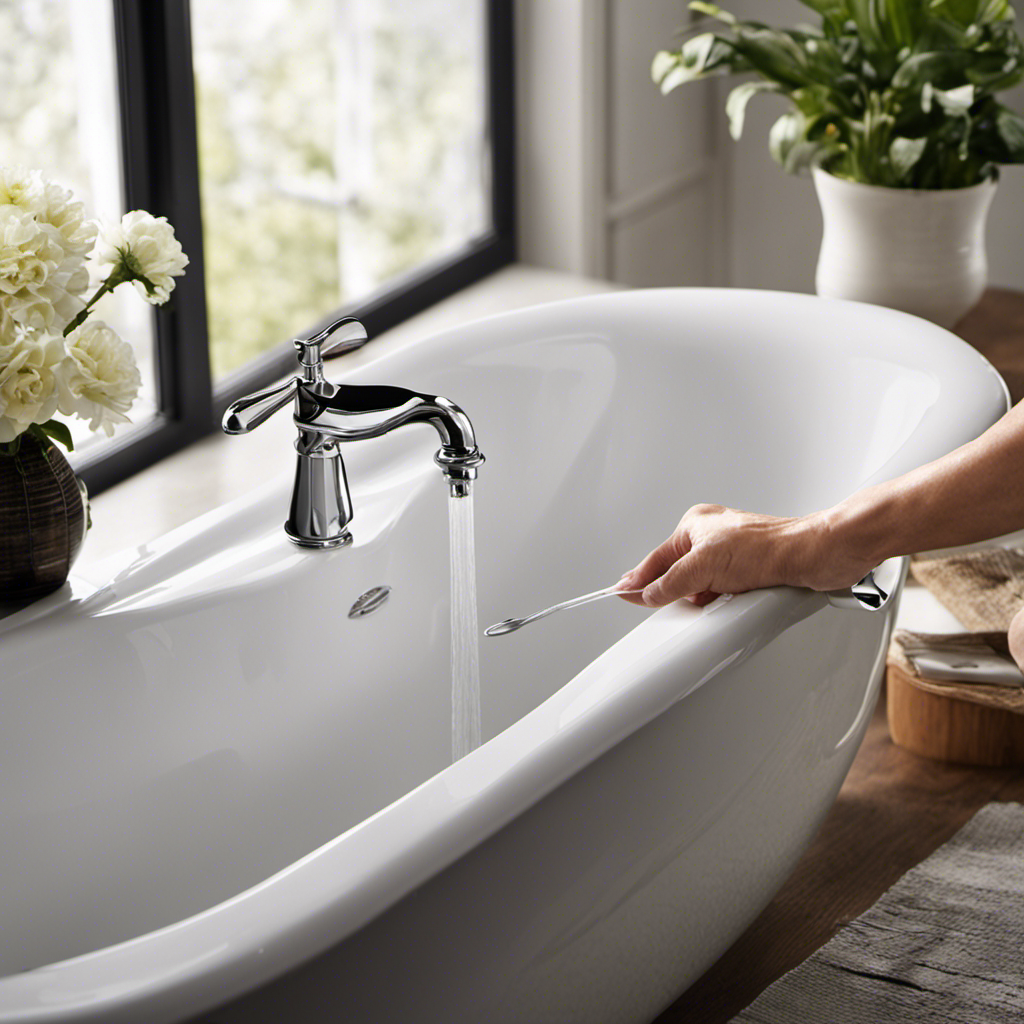
Reassembling and Testing the Faucet
After reassembling the faucet, it’s important to test it to ensure that the repairs were successful and there are no more leaks. Here are some common mistakes to avoid when reassembling a dripping bathtub faucet:
-
Over-tightening the faucet parts: This can cause damage to the threads and result in leaks. It’s important to tighten the parts just enough to create a watertight seal.
-
Incorrect placement of gaskets and washers: Make sure to carefully align and install the gaskets and washers in the correct order. Improper placement can lead to leaks.
-
Forgetting to turn off the water supply: Before reassembling the faucet, always remember to turn off the water supply to prevent any accidents or flooding.
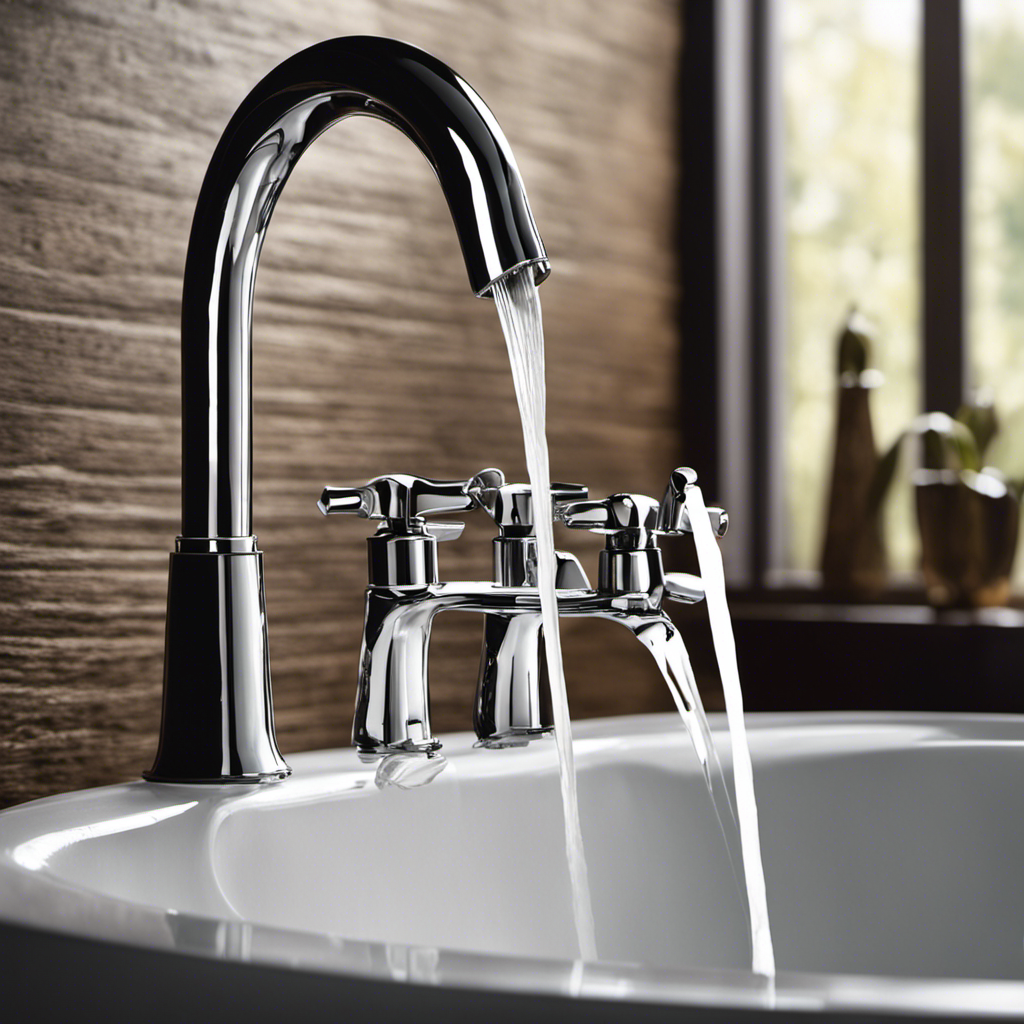
Tips for testing the functionality of a repaired bathtub faucet:
-
Slowly turn on the water supply: Gradually increase the water flow to check for any leaks or drips.
-
Check all connections: Inspect all the connections for any signs of leakage. Tighten any loose connections if necessary.
-
Test the hot and cold water: Make sure both the hot and cold water handles are functioning properly and adjust the temperature as desired.
Conclusion
In conclusion, fixing a dripping bathtub faucet requires several steps. First, you need to identify the cause of the problem. Once you have done that, gather the necessary tools and materials. Next, you will need to disassemble the components of the faucet. After that, you can either repair or replace the problematic parts. Once the repairs or replacements are done, you can reassemble the faucet. Finally, it’s important to test the faucet to ensure that the issue has been resolved. By following these steps, you can effectively address the issue and prevent further water wastage.
It is also important to investigate the truth of any theory surrounding faucet repair. This will ensure that you have accurate information and increase the likelihood of successful results. Remember to always approach the task with knowledge, technical skills, and attention to detail for optimal outcomes.