As I stand here, listening to the incessant drip-drip-drip of my leaking bathtub faucet, I can’t help but feel a surge of determination. It’s time to tackle this pesky problem head-on and put an end to the wasteful water loss.
In this article, I will guide you through the step-by-step process of fixing a leaking bathtub faucet. By identifying the source of the leak, shutting off the water supply, and replacing worn-out or damaged parts, you’ll have that faucet running smoothly in no time.
Let’s dive in!
Key Takeaways
- Identifying the source of the leak, such as worn-out washer or O-ring, loose or damaged valve seat, or faulty cartridge or valve stem.
- Shutting off the water supply by turning off the water supply valves under the sink and removing the handle to inspect and replace any damaged parts.
- Disassembling the faucet components by removing the handle, unscrewing the stem assembly, and removing the cartridge or valve for cleaning and lubrication.
- Replacing worn-out or damaged parts by inspecting handles, cartridge or valve stem, and rubber O-rings and washers, and purchasing and replacing the correct size and type of replacement parts.
Identifying the Source of the Leak
To fix a leaking bathtub faucet, you’ll first need to identify where the leak is coming from. There are several common causes of bathtub faucet leaks.
One possible cause is a worn-out washer or O-ring inside the faucet assembly. Another possible cause is a loose or damaged valve seat. Additionally, a faulty cartridge or valve stem can also lead to leaks.
It’s important to be aware of the signs of a leaking bathtub faucet, such as dripping water, water pooling around the faucet, or a constant dripping sound.
Once you have identified the source of the leak, you can proceed to the next step of shutting off the water supply to the faucet.
Shutting off the Water Supply
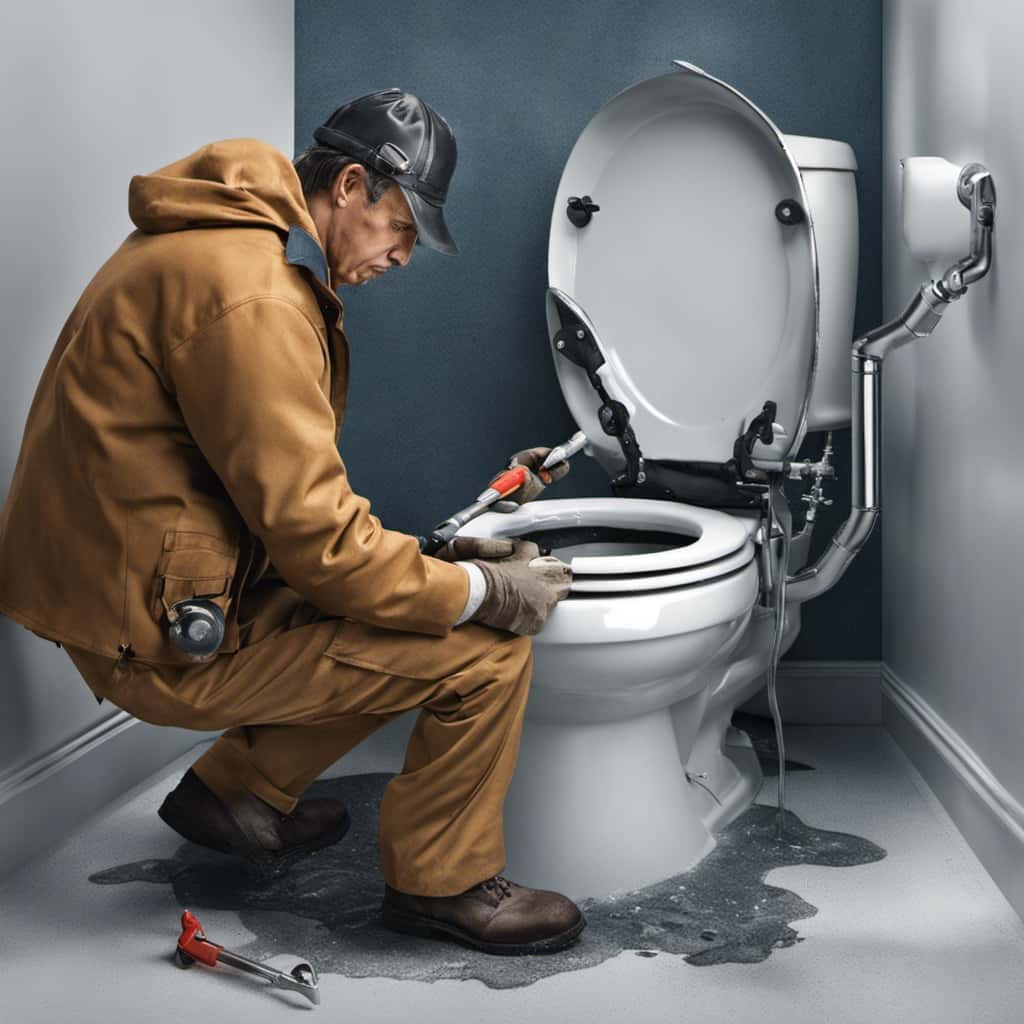
First, make sure you’ve turned off the water supply to stop the leaking. To repair the faucet handle, you’ll need to use a plumber’s wrench correctly. This tool will help you remove the handle and access the internal components of the faucet. Here’s a table to guide you through the process:
| Step | Instructions |
|---|---|
| 1 | Turn off the water supply valves under the sink. |
| 2 | Locate the screw on the handle and remove it. |
| 3 | Use the plumber’s wrench to loosen and remove the handle. |
| 4 | Inspect the handle and replace any damaged parts. |
Disassembling the Faucet Components
Once you’ve shut off the water supply, it’s time to start taking apart the different components of the faucet. Cleaning the faucet components and lubricating the moving parts are important steps in fixing a leaking bathtub faucet.
Here’s how to disassemble the faucet:
-
Remove the handle: Use a screwdriver or Allen wrench to loosen and remove the screw or set screw holding the handle in place. Once the screw is removed, gently lift the handle off the stem.
-
Unscrew the stem assembly: Use an adjustable wrench to unscrew the stem assembly from the valve body. Be careful not to damage the threads.
-
Remove the cartridge or valve: Depending on the type of faucet, you may need to remove a cartridge or valve. Follow the manufacturer’s instructions to carefully remove these components.
By cleaning the faucet components and lubricating the moving parts, you can ensure smooth operation and prevent future leaks.
Now that you’ve disassembled the faucet, it’s time to move on to replacing worn-out or damaged parts.
Replacing Worn-Out or Damaged Parts
Now that you’ve successfully disassembled the faucet, it’s time to determine which worn-out or damaged parts need to be replaced.
Start by inspecting the faucet handles. Look for any cracks, chips, or signs of wear. If the handles are loose or wobbly, you may need to replace the handle screws or the entire handle assembly.
Next, check the cartridge or valve stem for any signs of damage, such as leaks or corrosion. If you notice any issues, it’s best to replace the cartridge or valve stem to ensure a proper seal.
Finally, don’t forget to examine the rubber O-rings and washers. These small components can often cause leaks and should be replaced if worn or damaged.
You can find replacement parts at your local hardware store or online. Make sure to get the correct size and type for your specific faucet model.
Reassembling and Testing the Faucet
Remember to carefully reassemble the faucet by following the reverse order of disassembly, ensuring that each part is properly aligned and tightened.
To ensure the faucet is functioning correctly, it is important to conduct a thorough testing procedure. Here are some troubleshooting tips to help you along the way:
-
Check for leaks: Turn on the water supply and observe the faucet for any signs of leakage.
-
Test the handle: Ensure the handle moves smoothly and effortlessly, without any sticking or resistance.
-
Check the hot and cold water flow: Turn on both the hot and cold water to make sure they are flowing evenly and at the desired temperature.
Conclusion
In conclusion, fixing a leaking bathtub faucet requires careful identification of the source of the leak. This should be followed by shutting off the water supply and disassembling the faucet components. By replacing worn-out or damaged parts and reassembling the faucet, you can successfully resolve the issue.
Remember, a stitch in time saves nine, so addressing the problem promptly will prevent further damage and save you from unnecessary expenses. With these simple steps, you’ll be able to enjoy a leak-free and functional bathtub faucet once again.


