I’ve got the scoop on how to perfectly glaze your bathtub, and trust me, it’s easier than you think!
Glazing a bathtub can give it a fresh, shiny look and protect it from damage. In this article, I’ll guide you through the process step by step, from understanding the glazing process to caring for your newly glazed bathtub.
So, get ready to transform your bathroom into a spa-like oasis with a beautifully glazed bathtub. Let’s dive in!
Key Takeaways
- Understanding the different glazing techniques for porcelain and fiberglass tubs is crucial in choosing the right method.
- Properly preparing the bathtub surface by cleaning, sanding, and removing dust ensures a smooth and long-lasting finish.
- When choosing glazing materials, look for ones specifically designed for bathtub surfaces that offer resistance to water, chemicals, and stains.
- When applying the glaze, follow the manufacturer’s instructions, use high-quality brushes or rollers, and apply multiple thin coats for better control and coverage.
Top picks for "glaze bathtub"
Open Amazon search results for this keyword.
As an affiliate, we earn on qualifying purchases.
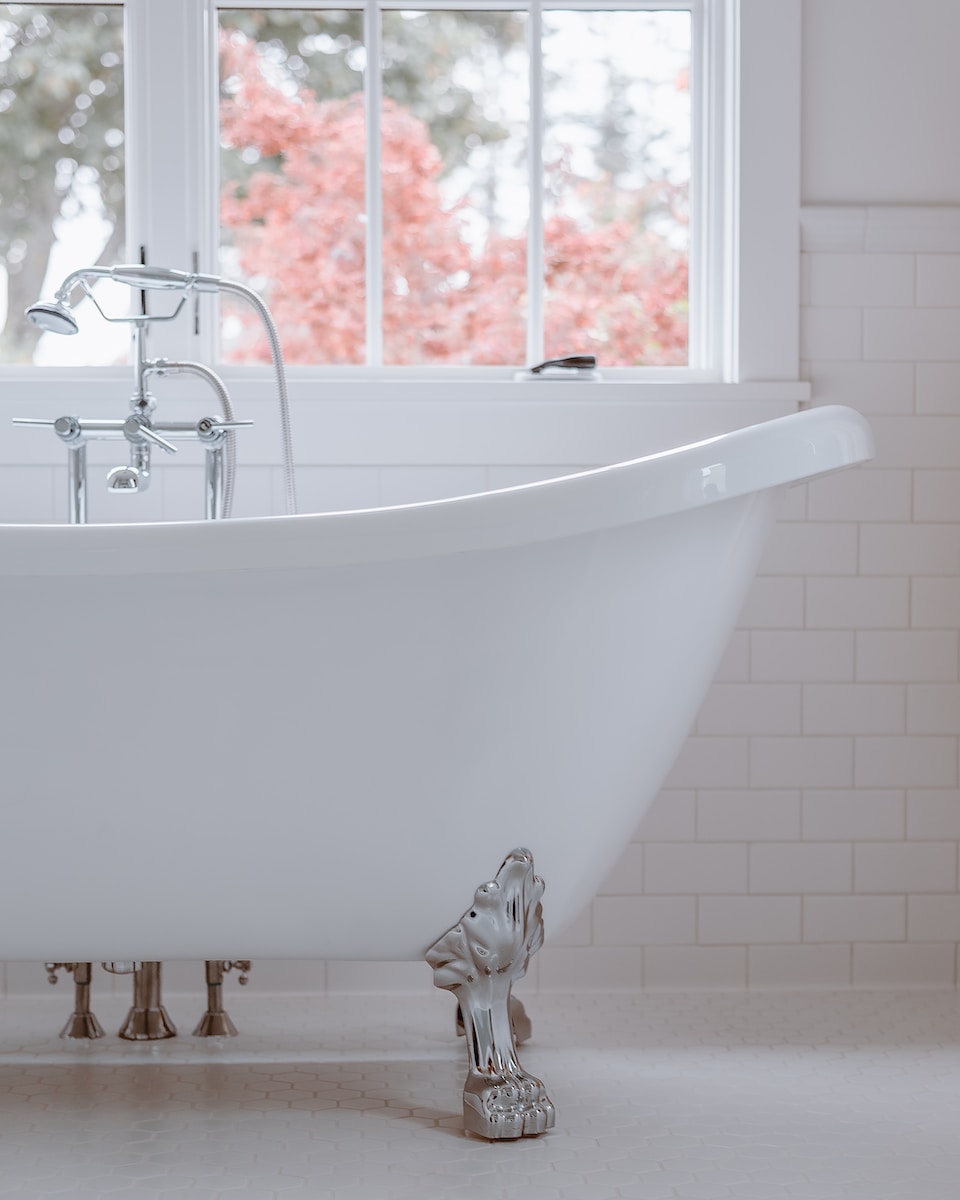
Understanding the Glazing Process
To glaze a bathtub, you’ll need to follow a specific process. Glazing techniques for different materials can vary, so it’s important to understand the pros and cons of each method.
For porcelain tubs, the most common glazing technique involves sanding down the surface to remove any imperfections, followed by applying multiple coats of glaze using a spray gun or brush. This method provides a smooth and glossy finish, but it can be time-consuming and requires precision.
Fiberglass tubs, on the other hand, can be reglazed using a specialized epoxy coating. This method is quicker and easier, but it may not last as long as glazing porcelain tubs.
Understanding the different glazing techniques and their pros and cons will help you choose the best method for your bathtub.
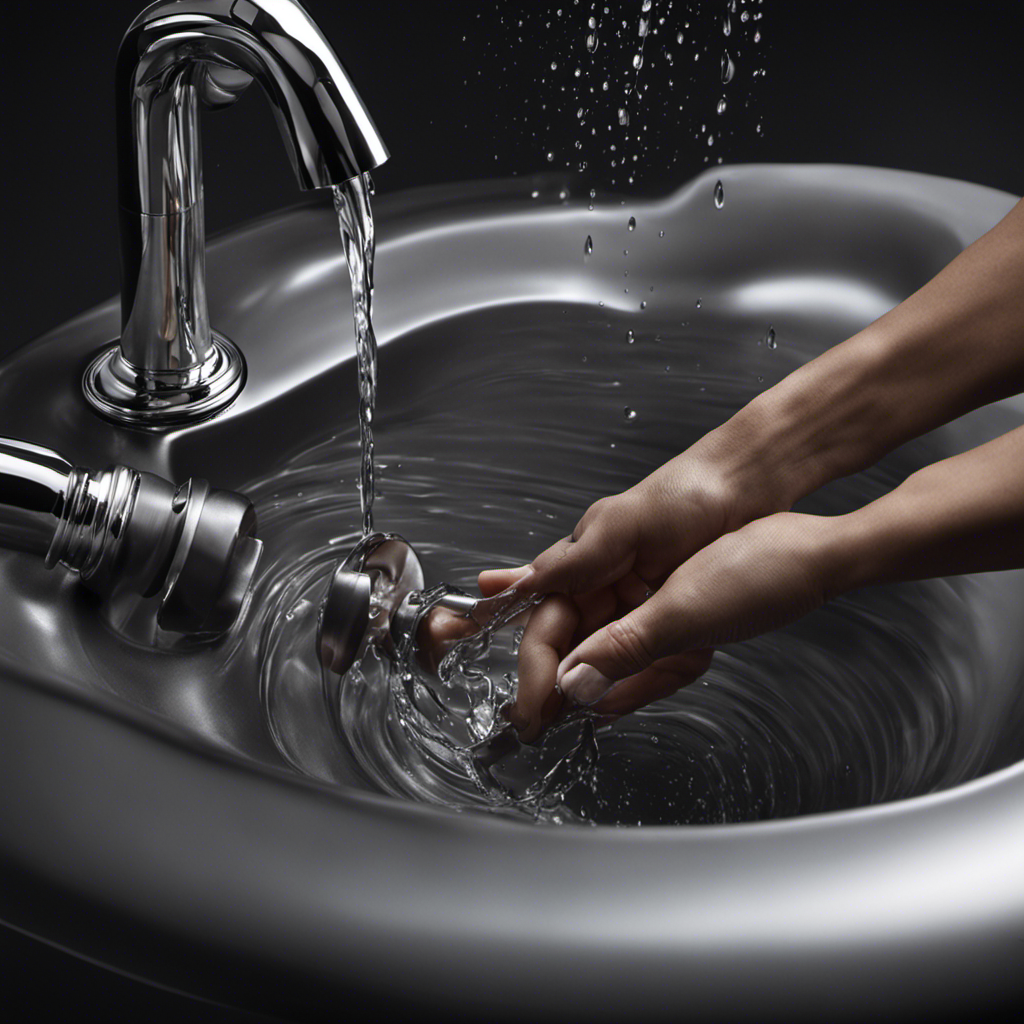
Preparing the Bathtub Surface
Before applying the glaze, make sure the bathtub surface is properly cleaned and dried. This step is crucial to ensure a smooth and long-lasting finish. To prepare the bathtub surface, follow these steps:
-
Begin by thoroughly cleaning the bathtub with a suitable cleaning solution. This will remove any dirt, grime, or soap scum that may be present.
-
Next, use a sanding process to roughen the surface of the bathtub. This will help the glaze adhere better and improve the overall finish. Be sure to wear protective gloves and a mask while sanding.
-
After sanding, wipe down the surface with a clean cloth to remove any dust or debris. Then, allow the bathtub to dry completely before proceeding with the glazing process.
Choosing the Right Glazing Materials
Now, it’s important to select the proper materials for your glazing project.
When evaluating glaze durability, there are a few key factors to consider. First, you’ll want to choose a glaze that is specifically designed for bathtub surfaces. Look for a glaze that is resistant to water, chemicals, and stains, as these are common issues in a bathroom environment.
Additionally, consider the level of gloss or shine that you desire for your bathtub. Some glazes offer a high gloss finish, while others have a more matte appearance.
Comparing different glazing techniques can also help you make an informed decision. Some glazes require multiple coats, while others are single-step applications.
Take the time to research and read reviews to ensure you choose a glaze that will provide long-lasting durability and the aesthetic you desire.
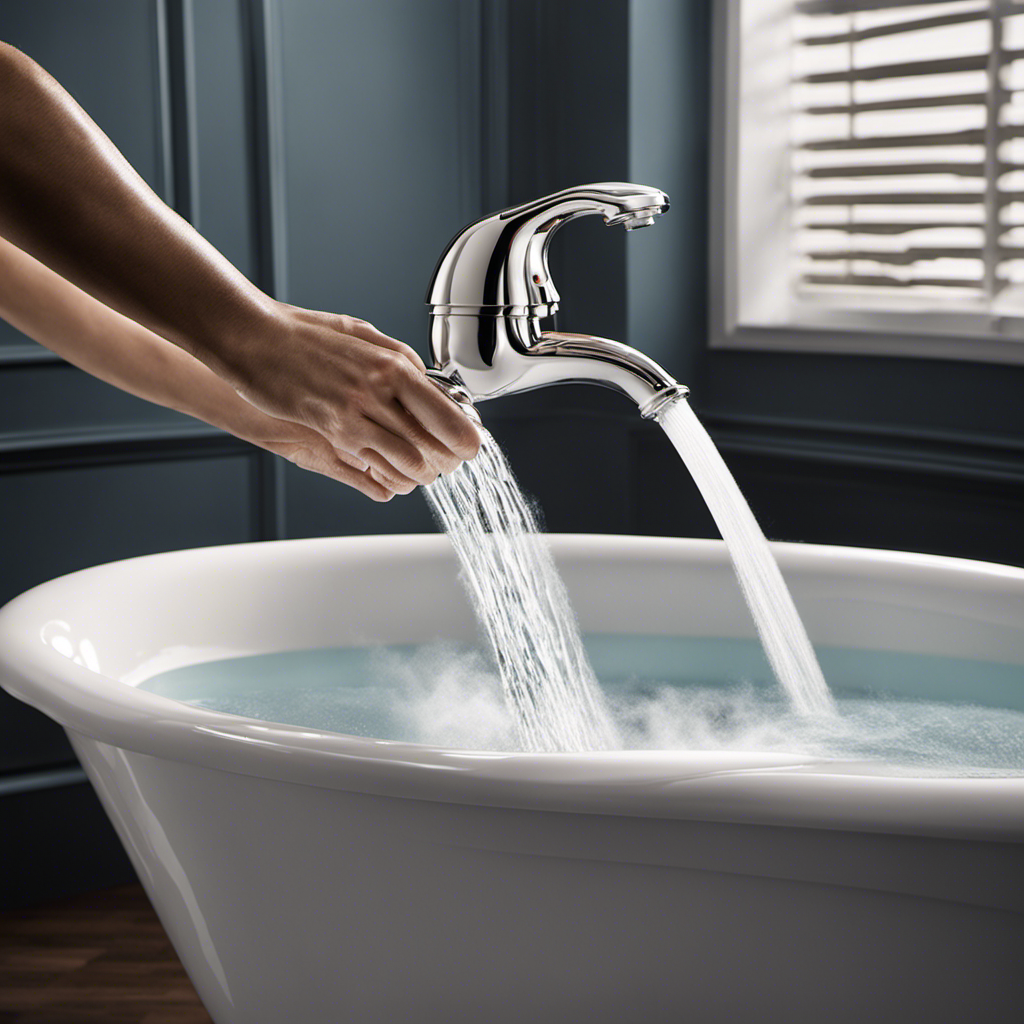
Applying the Glaze to the Bathtub
When applying the glaze to your bathtub, make sure to follow the manufacturer’s instructions carefully to ensure a smooth and even finish. Bathtub glazing techniques can vary depending on the type of glaze you are using, but there are some common mistakes to avoid.
Here are three important things to keep in mind:
-
Prep the surface: Before applying the glaze, thoroughly clean and dry the bathtub. Remove any old caulking or silicone sealant, and repair any chips or cracks. This will help the glaze adhere properly and result in a more durable finish.
-
Use the right tools: Choose a high-quality brush or roller specifically designed for glazing. This will ensure a smooth application and minimize streaks or bubbles.
-
Apply multiple thin coats: Rather than applying one thick coat, it is recommended to apply several thin coats of glaze. This allows for better control and reduces the risk of drips or uneven coverage.
By following these bathtub glazing techniques and avoiding common glazing mistakes, you can achieve a professional-looking finish that will prolong the life of your bathtub.
Transition: Now that you have successfully glazed your bathtub, it’s important to know how to care for it to maintain its beauty and longevity.
Caring for a Glazed Bathtub
To maintain the beauty and longevity of your newly glazed bathtub, it’s essential to follow these simple care instructions.
Bathtub maintenance is crucial for preventing glaze damage and ensuring that your bathtub stays in pristine condition for years to come.
Firstly, be sure to clean your bathtub regularly using a mild, non-abrasive cleaner. Avoid using harsh chemicals or abrasive scrubbing tools that can scratch the glaze.
Additionally, it’s important to avoid placing heavy objects directly on the surface of the tub, as this can cause cracks or chips in the glaze.
To prevent staining, wipe away any spills or stains immediately.
Lastly, consider using a protective mat or non-slip stickers to prevent slipping and to protect the glaze from wear and tear.
Conclusion
As I stand back and admire my newly glazed bathtub, I can’t help but compare it to a phoenix rising from the ashes.
Just as the phoenix sheds its old feathers and emerges with renewed beauty, my bathtub has been transformed into a stunning centerpiece of my bathroom.
The glazing process, with its careful preparation and precise application, has breathed new life into my worn-out tub.
Now, with the right care, my glazed bathtub will continue to shine for years to come, a symbol of rejuvenation and elegance in my home.