Are you prepared to become proficient in manually flushing a toilet? This detailed tutorial will demonstrate the precise technique to achieve a thorough and effective flush.
No need to fret, we’ve got you covered. We’ll walk you through gathering the necessary tools, locating the flush valve or flapper, and adjusting the water level if needed.
So, let’s dive in and become experts in the art of hand flushing!
Key Takeaways
- The necessary tools and supplies for hand flushing a toilet include a plunger, gloves, and a bucket.
- The flush valve or flapper can be located inside the toilet tank and should be inspected for any damage or misalignment.
- Lifting or releasing the flush valve initiates the hand flush, allowing water from the tank to rush into the bowl.
- The water level in the toilet bowl should be examined and adjusted if necessary using the float valve, as proper water level is crucial for a successful flush.

GIOTOHUN Cat Water Fountain Filter Replacement: 12 Cat Fountain Filter - 12 Pet Fountain Filter - 6 Carbon Filters & 6 Foam Filters - Suitable for GIOTOHUN Stainless Steel Cat Fountain S11
- Compatible with GIOTOHUN Stainless Steel Fountain: Fits GIOTOHUN 2.2L cat water dispenser
- Set of 12 Filters: Includes 6 carbon and 6 sponge filters
- Long-lasting Filters: Suitable for 3-6 months of use
As an affiliate, we earn on qualifying purchases.
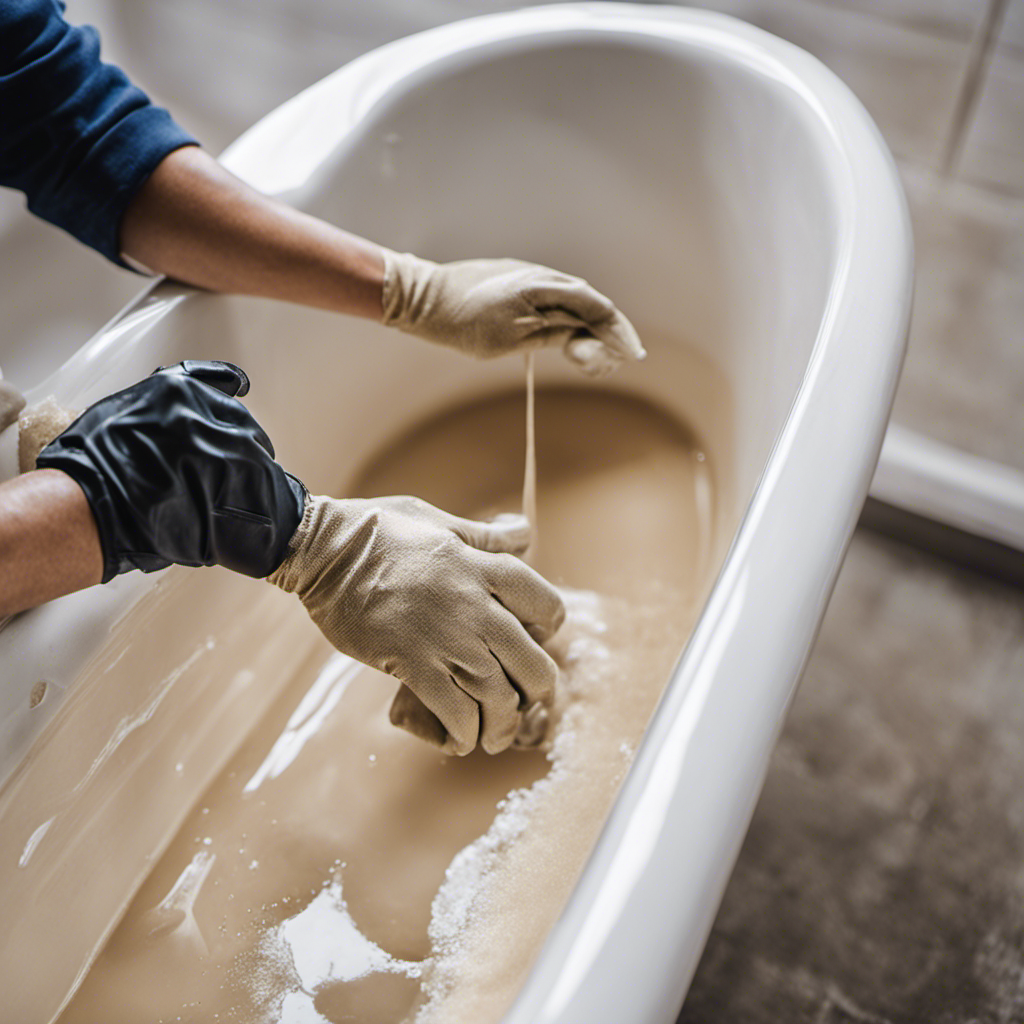
Gather Necessary Tools and Supplies
To gather the necessary tools and supplies for hand flushing a toilet, we’ll need to gather our own plunger, gloves, and a bucket. These items are essential for performing toilet maintenance and troubleshooting toilet issues effectively.
Here is a step-by-step guide on how to gather these tools and supplies:
- Plunger: Look for a plunger with a flange or bell-shaped rubber end. This type of plunger is specifically designed for toilets and provides a better seal. Ensure that the plunger handle is sturdy for ease of use.
- Gloves: Choose a pair of durable, waterproof gloves to protect your hands from any potential mess or bacteria. Nitrile or latex gloves are commonly used for toilet maintenance tasks.
- Bucket: Select a bucket with a capacity of at least 2 gallons to hold water for flushing the toilet manually. Make sure the bucket is clean and free from any contaminants.
Locate the Flush Valve or Flapper
Where can we find the flush valve or flapper to initiate a hand flush of the toilet? The flush valve or flapper is a crucial component of the toilet flush mechanism. To locate it, follow these steps:
- Lift the toilet tank lid:
Carefully remove the lid of the toilet tank by gently lifting it upwards. Place it in a safe and stable location nearby. - Identify the flush valve or flapper:
Look inside the toilet tank for a rubber or plastic component that covers the flush valve opening. This is the flapper. Alternatively, you may see a tall cylinder-shaped mechanism attached to the flush valve, known as the flush valve assembly. - Observe for any issues:
Take a moment to inspect the flush valve or flapper for any signs of damage, wear, or misalignment. If you notice any problems, such as cracks or leaks, it may be necessary to troubleshoot the toilet flush further.
Lift or Release the Flush Valve
Now, let’s lift or release the flush valve to initiate the hand flush of the toilet and ensure proper water flow. This step is crucial in effectively flushing the toilet and preventing any clogs or blockages.
By lifting or releasing the flush valve, we allow the water stored in the tank to rush into the bowl, effectively removing waste and cleaning the bowl. Hand flushing offers several benefits over automatic flushing systems, such as increased control over water flow and the ability to adjust the flushing power based on the amount of waste. It also reduces the risk of false flushes and conserves water.
Once we’ve lifted or released the flush valve, we can proceed to the next step of observing the water level and adjusting if necessary to ensure proper flushing.
Observe Water Level and Adjust if Necessary
After lifting or releasing the flush valve, we can now proceed to observe the water level in the toilet bowl and make any necessary adjustments. Here’s how you can do it:
- Look closely at the water level: Take a moment to examine the water level in the toilet bowl. It should be at a certain height, usually indicated by a water line or mark.
- Adjust the water level: If the water level is too low, you may need to adjust it to ensure a proper flush. To do this, locate the fill valve, which is usually a floating device or a lever. Gently move the device or lever to raise the water level.
- Test the flush: Once you’ve made the adjustment, it’s time to test the flush. Lift or release the flush valve again and see if the water level rises to the appropriate height and then drains completely.
Repeat the Hand Flushing Process if Needed
To ensure optimal flushing, we may need to repeat the hand flushing process if necessary. Sometimes, a single flush may not be sufficient to clear all the waste from the toilet bowl. In such cases, it’s important to repeat the process to ensure proper waste removal.
Here are some troubleshooting tips to help you determine if a repeat flush is needed:
- Check the water level: If the water level in the toilet bowl remains high after the initial flush, it indicates that the waste hasn’t been fully cleared. Repeat the hand flushing process to remove any remaining waste.
- Observe any clogs: If you notice that the water isn’t draining properly or if there’s visible evidence of a clog, it’s essential to repeat the flush. This will help dislodge any obstructions and ensure proper waste removal.
Frequently Asked Questions
How Do I Know if My Toilet Needs a Hand Flush?
To determine if your toilet needs a hand flush, look for signs of a clogged toilet such as slow drainage, gurgling sounds, or water rising. If these occur, it may be necessary to hand flush to clear the blockage.
Can I Use Any Type of Tool to Lift or Release the Flush Valve?
Yes, we can use various tools to lift or release the flush valve. Some common tools include a plunger, toilet auger, or a wire coat hanger. These tools can be used to unclog the toilet as well.
What Should I Do if the Water Level in the Toilet Bowl Is Too High After Flushing?
To adjust the water level in a toilet bowl, start by locating the fill valve. Turn the adjustment screw clockwise to lower the water level or counterclockwise to raise it. A clogged drain or faulty flapper valve could be causing the high water level.
Is It Possible to Damage the Flush Valve or Flapper While Hand Flushing a Toilet?
When hand flushing a toilet, there are potential risks to the flush valve or flapper. To avoid damage, ensure proper technique: 1) gently press down on the flapper or lever, 2) release slowly to prevent forceful impact.
How Often Should I Repeat the Hand Flushing Process if It Doesn’t Work the First Time?
If it doesn’t work the first time, we repeat the hand flushing process. Common mistakes include not applying enough force or not giving it enough time. It usually takes a few tries to clear the clog.
Conclusion
In conclusion, hand flushing a toilet is a simple process that anyone can do. By following the steps outlined above, you can easily lift or release the flush valve to initiate the flushing mechanism.
It’s interesting to note that the average person flushes a toilet approximately 2,500 times per year, consuming a significant amount of water. By hand flushing when necessary, we can conserve water and contribute to a more sustainable future.