Have you ever looked at your worn-out bathtub and wished you could give it a fresh, new look? Well, I have good news for you – reglazing a bathtub can be the answer to your prayers.
In this article, I’m going to share with you a step-by-step guide on how to reglaze a bathtub, transforming it into a sparkling centerpiece of your bathroom.
So, grab your gloves and let’s dive into the world of bathtub reglazing!
Key Takeaways
- Gather all necessary materials and clean the bathtub surface before reglazing.
- Consider using chemical strippers or sanding and scraping techniques to remove old paint or finish.
- Take safety precautions by wearing protective gear, ensuring proper ventilation, and following instructions.
- Repair any chips or cracks in the bathtub surface before reglazing.
Step 1: Preparing the Bathtub Surface
Before you begin, make sure you’ve gathered all the necessary materials for prepping the bathtub surface.
To reglaze a bathtub, you can either use bathtub refinishing products or hire professional reglazing services. If you choose to do it yourself, you’ll need to start by thoroughly cleaning the bathtub to remove any dirt, grime, or soap scum. Use a mild abrasive cleaner and a scrub brush to scrub the surface. Rinse it well and allow it to dry completely.
Next, inspect the bathtub for any cracks or chips. If you find any, repair them using a bathtub repair kit. Once the surface is clean and repaired, you can move on to the next step in the reglazing process.
Step 2: Cleaning and Removing Old Paint or Finish
When it comes to cleaning and removing old paint or finish from a bathtub, there are several key points to consider.
First, you have the option of using chemical strippers, which can effectively dissolve and remove the existing coating.
Additionally, sanding and scraping techniques can be used to physically remove the paint or finish.
However, it is important to always prioritize safety and take necessary precautions, such as wearing protective gear and working in a well-ventilated area, to avoid any potential health risks.
Chemical Stripper Options
There are various chemical stripper options available for reglazing a bathtub. When it comes to DIY bathtub reglazing, choosing the right chemical stripper is crucial for achieving a successful outcome.
Here are four effective options to consider:
-
Methylene Chloride-based strippers: These are strong and fast-acting, perfect for removing multiple layers of old paint or finish.
-
Citrus-based strippers: These eco-friendly alternatives are safer to use and have a pleasant scent. They work well on lighter coatings and are less likely to damage the bathtub surface.
-
Solvent-based strippers: These are versatile and effective in removing various types of finishes. They can be used on both acrylic and cast iron bathtubs.
-
Gel strippers: These thick, gel-like formulas cling to vertical surfaces, making them ideal for bathtub reglazing. They provide longer contact time and are easy to control.
Remember to read and follow the manufacturer’s instructions carefully when using chemical strippers. Proper ventilation and safety precautions are essential to ensure a smooth and successful reglazing process.
Sanding and Scraping Techniques
Sanding and scraping are effective techniques to remove old paint or finish from the bathtub surface. Sanding involves using sandpaper or a sanding block to smooth out the surface and create a rough texture for better adhesion. It is important to use the right grit sandpaper depending on the level of paint or finish that needs to be removed. For heavier coatings, a lower grit sandpaper like 80 or 120 can be used, while for lighter coatings, a higher grit like 220 or 320 is recommended. Scraping, on the other hand, involves using scraping tools such as a putty knife or a paint scraper to remove the paint or finish by gently scraping it off the surface. It is important to be cautious while scraping to avoid damaging the bathtub surface.
Here is an example of a table that highlights the different sanding techniques and scraping tools:
| Sanding Techniques | Scraping Tools |
|---|---|
| Sandpaper | Putty knife |
| Sanding block | Paint scraper |
| Grit selection | |
| Gentle pressure |
Safety Precautions to Consider
Before starting any sanding or scraping work, it’s important to take safety precautions into consideration. Here are four essential safety measures to keep in mind when reglazing a bathtub:
-
Wear protective gear: Ensure you have the appropriate safety equipment, such as gloves, goggles, and a respirator mask, to protect yourself from harmful chemicals and dust particles.
-
Ventilate the area: Open windows and use fans to ensure proper ventilation during the reglazing process. This will help minimize the inhalation of fumes and create a safer working environment.
-
Follow instructions carefully: Read and follow the instructions provided by the bathtub reglazing product manufacturer. Using the product according to the instructions will ensure your safety and achieve the best results.
-
Consider professional help: If you’re unsure about the reglazing process or if you’re dealing with complex issues, it’s recommended to seek professional assistance. They have the expertise and proper equipment to handle the job safely and effectively.
Step 3: Repairing Chips and Cracks
When it comes to restoring a surface, there are three key points to consider: filling in cracks, patching damaged areas, and smoothing out imperfections.
Filling in cracks is crucial to prevent further damage and ensure a smooth finish.
Patching damaged areas requires careful attention to detail and the use of appropriate materials to ensure a seamless repair.
Filling in Cracks
You’ll need to apply a crack filler to the damaged areas of the bathtub before reglazing it. Cracks in a bathtub can be unsightly and can also lead to further damage if not repaired properly.
Here are four steps to effectively fill in cracks in your bathtub:
-
Clean the cracked area: Use a mild detergent and a sponge to clean the cracked area of the bathtub. Make sure to remove any dirt, grime, or soap residue that may be present.
-
Prepare the crack filler: Choose a crack filler specifically designed for bathtub repairs. Follow the manufacturer’s instructions to prepare the crack filler mixture.
-
Apply the crack filler: Use a putty knife or a similar tool to apply the crack filler to the damaged areas of the bathtub. Make sure to fill in the cracks completely, smoothing the filler as you go.
-
Let it dry: Allow the crack filler to dry completely before moving on to the next step of reglazing the bathtub. This will ensure a strong and durable repair.
Patching Damaged Areas
To patch damaged areas in your bathtub, start by cleaning the surface with a mild detergent and sponge. This will ensure that the area is free from any dirt or grime that could interfere with the repair process.
Once the surface is clean and dry, you can begin repairing scratches and other minor damages. For scratches, you can use a bathtub repair kit that contains filler material and color matching compounds. Apply the filler to the damaged area, making sure to blend it in with the surrounding surface.
Then, use the color matching compound to match the color of your bathtub. This will help the repaired area blend in seamlessly with the rest of the tub.
Once the repair is complete, you can move on to smoothing out any imperfections, which we will discuss in the next section.
Smoothing Out Imperfections
Now that we have patched any damaged areas in the bathtub, it’s time to move on to the next step: smoothing out imperfections. This is an important part of the reglazing process, as it ensures a smooth and even surface for the new finish to adhere to.
Here are some effective smoothing techniques and surface preparation tips:
-
Sanding: Use a fine-grit sandpaper to sand down any rough spots or high points on the surface. This will help create a smooth and level surface for the reglazing.
-
Filling: If there are any deep cracks or chips, fill them in with a bathtub filler or putty. Smooth out the filler with a putty knife and let it dry completely before proceeding.
-
Cleaning: Thoroughly clean the bathtub with a non-abrasive cleaner to remove any dirt, grime, or soap scum. Rinse well and dry the surface completely.
-
Taping: To protect areas that won’t be reglazed, such as the faucet or drain, apply painter’s tape. This will ensure that only the desired areas are coated with the new finish.
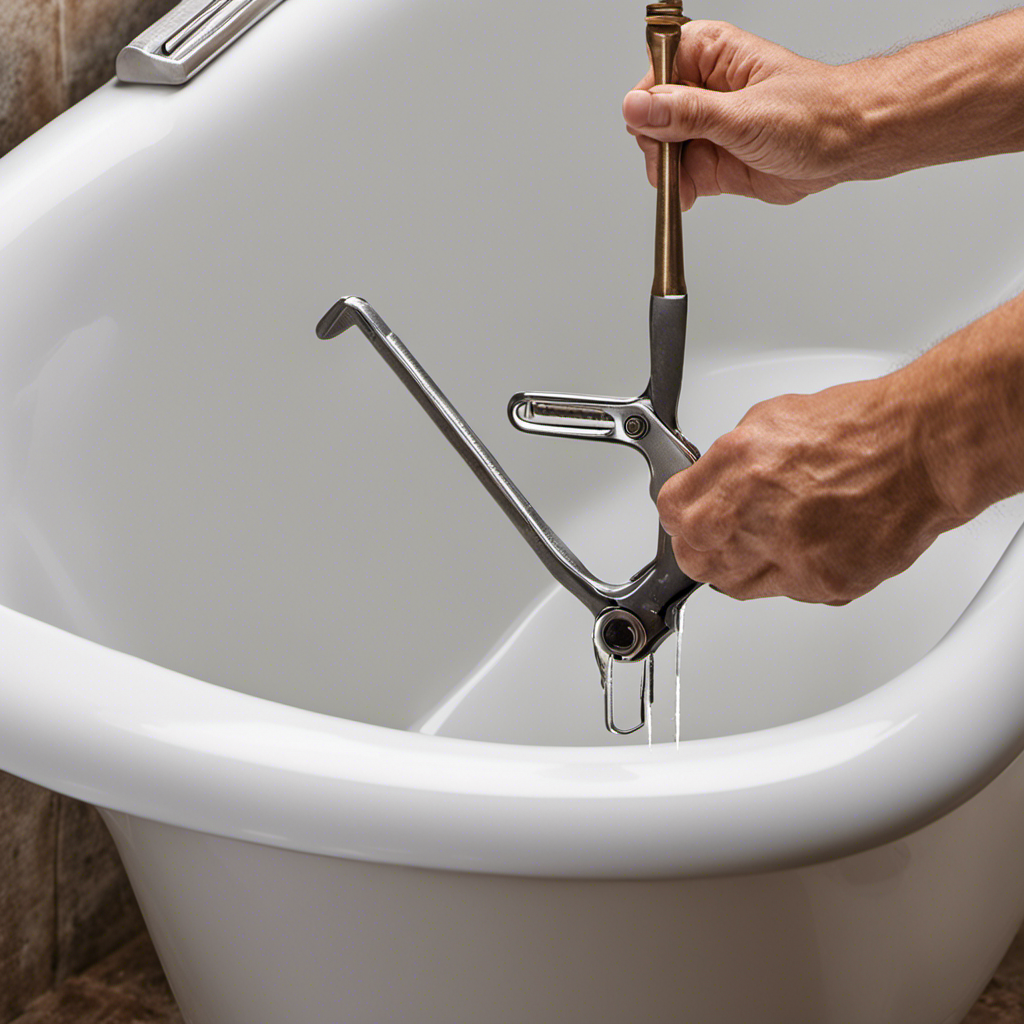
Step 4: Applying the Reglazing Primer
After thoroughly cleaning the bathtub, it’s time to start applying the reglazing primer. This step is crucial in ensuring a smooth and durable finish for your bathtub. The reglazing primer acts as a bonding agent between the old surface and the new reglazing coat, ensuring proper adhesion and longevity.
To apply the primer, begin by taping off any areas you don’t want to be painted, such as faucets or fixtures. Then, using a paintbrush or roller, evenly apply the primer to the entire surface of the bathtub. Make sure to follow the manufacturer’s instructions for proper application and drying time after applying the primer.
Step 5: Applying the Reglazing Coat
For an even and flawless finish, make sure you apply the reglazing coat using smooth and steady strokes. This final step in reglazing your bathtub is crucial for achieving a beautiful and long-lasting result.
Here are some important points to consider:
-
Importance of proper ventilation during the reglazing process: It’s essential to ensure that the area is well-ventilated when applying the reglazing coat. This will prevent the buildup of fumes and ensure your safety during the process.
-
Common mistakes to avoid when applying the reglazing coat: One common mistake is applying too thick of a coat, which can lead to dripping and unevenness. Another mistake is rushing the process and not allowing each coat to dry properly before applying the next one. It’s important to follow the manufacturer’s instructions carefully and take your time to achieve the best result.
Step 6: Curing and Finishing the Reglazed Bathtub
To achieve a durable and polished finish, gently sand the reglazed bathtub with fine-grit sandpaper before applying the final clear coat. This step is crucial for ensuring a smooth and flawless surface.
Once the sanding is complete, it is time to focus on curing and finishing the reglazed bathtub. There are various curing techniques and finishing options available, depending on the type of reglazing product used.
Some reglazing products require a specific curing time, while others may require heat or UV exposure to fully cure. It is important to carefully follow the manufacturer’s instructions for the specific product being used.
After the curing process is complete, you can choose from a range of finishing options, such as a matte or glossy finish, to achieve the desired look for your bathtub.
Conclusion
In conclusion, reglazing a bathtub can be a rewarding DIY project that can transform the look of your bathroom.
Just like how a caterpillar sheds its old skin to emerge as a beautiful butterfly, reglazing allows your bathtub to shed its old, worn-out appearance and become a stunning centerpiece in your bathroom.
With careful preparation, cleaning, and application of the reglazing materials, you can achieve a smooth, glossy finish that will make your bathtub look brand new.
So go ahead, take the plunge and give your bathtub the makeover it deserves!