I’ve got a little secret to share with you – removing the drain from a bathtub doesn’t have to be a daunting task. In fact, with the right tools and a little know-how, it can be a breeze.
So, if you’re tired of dealing with a clogged or outdated drain, you’ve come to the right place. In this article, I’ll walk you through the step-by-step process of removing the drain from your bathtub, from removing the drain cover to troubleshooting common issues.
Let’s get started!
Key Takeaways
- The tools needed for removing the bathtub drain include a screwdriver, pliers, a drain snake, and drain cleaner.
- The first step in removing the drain cover is to loosen the screws with a screwdriver and lift the cover off.
- The drain linkage can be disconnected by unscrewing the nut with pliers and detaching it from the drain pipe.
- To remove and replace the drain flange, use a wrench to loosen the screws, lift the flange out, inspect the gasket, and clean the drain pipe before installation.

HAUTMEC Tub Drain Remover Wrench Tool Heavy Duty Aluminum Shower Bathtub Drain Removal Tool PL0030
The dual ended tub drain wrench fits most inner diameter 1 3/8" and 1 1/2" tub drain shoe,ideal…
As an affiliate, we earn on qualifying purchases.
As an affiliate, we earn on qualifying purchases.
Tools Needed for Removing the Bathtub Drain
To remove the bathtub drain, you’ll need a few tools. The first tool you’ll need is a screwdriver. This will be used to remove any screws holding the drain cover in place.
Next, you’ll need a pair of pliers or a drain key. These tools will allow you to grip and turn the drain body counterclockwise. This will unscrew it from the drainpipe.
If you don’t have these tools, there are alternatives to drain removal. One alternative is using a drain snake. This can be used to clear any clogs without removing the drain. Another option is using a drain cleaner. This can dissolve any blockages.
However, if you’re looking to install a new bathtub drain or need to clean out the drain thoroughly, removing the drain is necessary.
Now that we have the necessary tools, let’s move on to the step-by-step guide to removing the drain cover.
HAUTMEC Tub Drain Remover Wrench Tool Heavy Duty Aluminum Shower Bathtub Drain Removal Tool PL0030
The dual ended tub drain wrench fits most inner diameter 1 3/8" and 1 1/2" tub drain shoe,ideal…
As an affiliate, we earn on qualifying purchases.
As an affiliate, we earn on qualifying purchases.
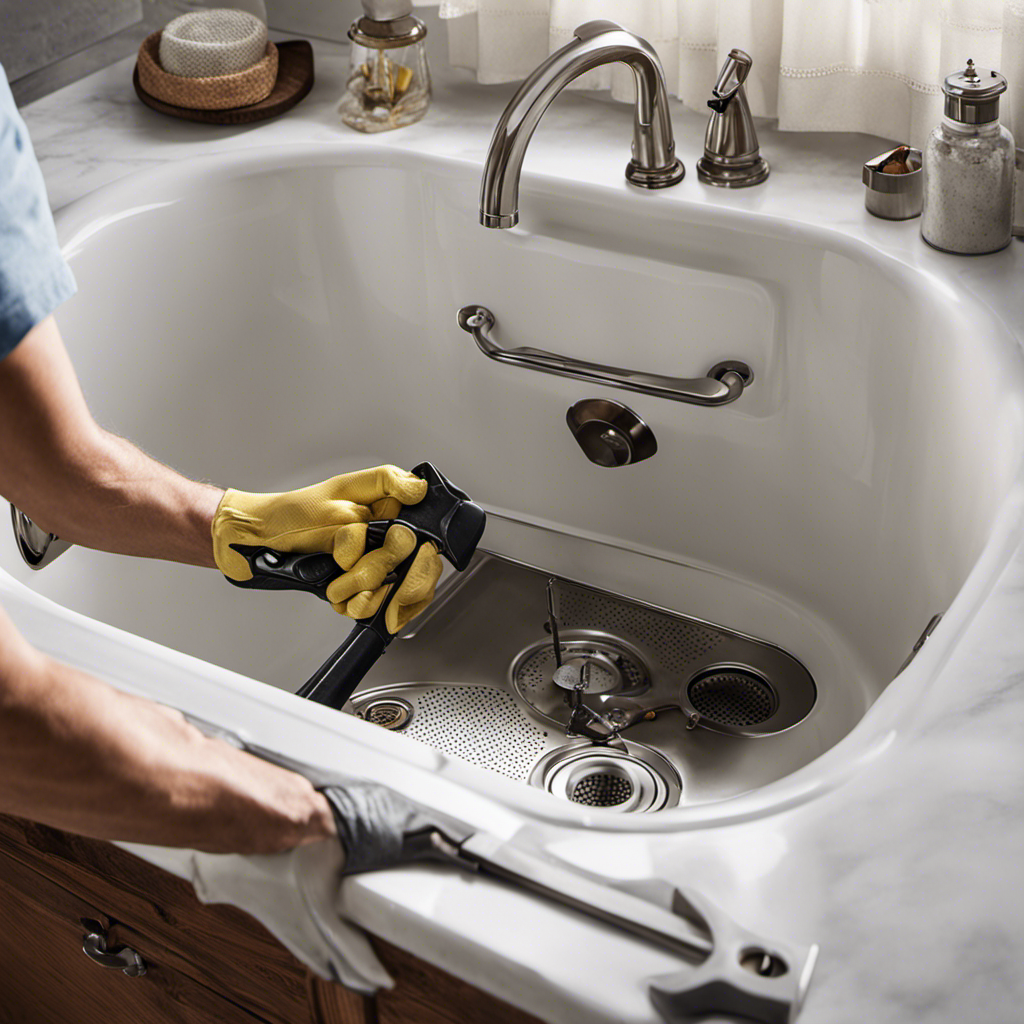
Step-By-Step Guide to Removing the Drain Cover
First, take a screwdriver and gently loosen the screws on the drain cover. Once the screws are loose, carefully lift the drain cover off the bathtub.
Proper maintenance of bathtub drains is essential to prevent clogs and ensure the efficient flow of water. Here are three reasons why using drain protectors is important:
- Prevents hair and debris from going down the drain, which can cause clogs and blockages.
- Helps maintain the proper water flow by preventing the buildup of soap scum and other residue.
- Extends the lifespan of your plumbing system by reducing the risk of damage from clogs.
By using drain protectors, you can easily remove accumulated hair and debris, minimizing the chances of clogs and reducing the need for costly repairs.
bathtub drain linkage disconnect pliers
As an affiliate, we earn on qualifying purchases.
As an affiliate, we earn on qualifying purchases.
How to Disconnect the Drain Linkage
Once you’ve loosened the screws on the drain cover, gently lift it off to access the drain linkage.
The drain linkage is the mechanism that connects the drain cover to the actual drain pipe.
To disconnect the drain linkage, you will need a pair of pliers.
Start by locating the horizontal rod that connects to the drain stopper.
Use the pliers to unscrew the nut that secures the rod to the drain pipe.
Once the nut is removed, you can easily detach the drain linkage from the drain pipe.
This allows you to clean the bathtub drain thoroughly and also prevents future clogs.
Regularly cleaning the drain and using a hair catcher can help prevent debris from clogging the drain in the first place.

Eastman Tip-Toe Bath Drain Assembly Kit with Flange and Drain Washer, 1-1/2 Inch x 11.5 Inch Coarse Thread, Chrome Plated, 35235
BATH DRAIN STOPPER KIT: Bathtub drain stop kit makes for an excellent addition to any home bathroom
As an affiliate, we earn on qualifying purchases.
As an affiliate, we earn on qualifying purchases.
Removing and Replacing the Drain Flange
When removing and replacing the drain flange, it’s important to have a wrench on hand to loosen the screws. The drain flange is the visible part of the drain assembly that sits on top of the bathtub.
Here are some steps to guide you through the process:
- Start by removing the screws that secure the drain flange to the bathtub.
- Once the screws are removed, carefully lift the drain flange out of the drain pipe.
- Inspect the drain gasket for any signs of damage or wear. If necessary, replace the gasket with a new one.
- Before installing the new drain flange, make sure to clean the drain pipe thoroughly to remove any debris or buildup.
By following these steps, you can easily remove and replace the drain flange, ensuring a proper seal and preventing any leaks.
Now, let’s move on to some tips for troubleshooting common drain removal issues.
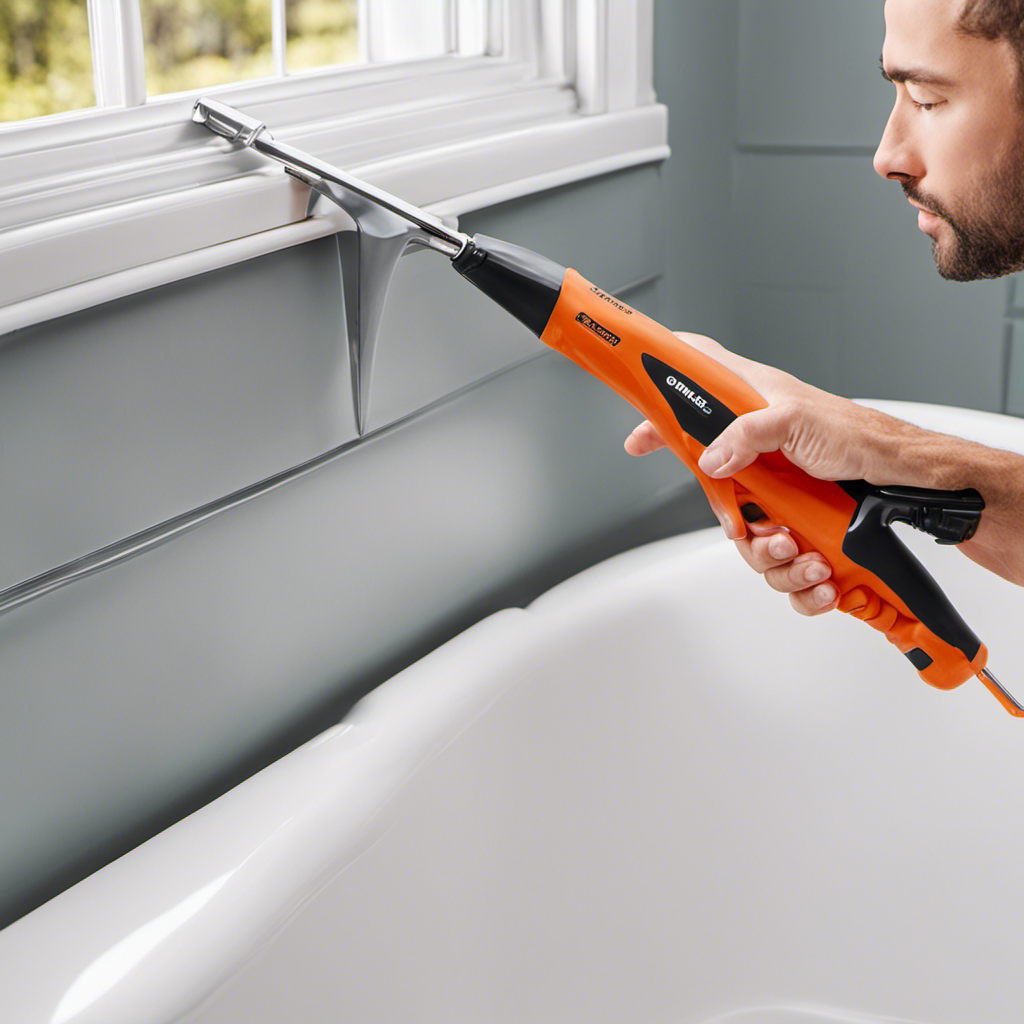
Tips for Troubleshooting Common Drain Removal Issues
If you encounter any difficulties during the removal process, a helpful tip is to apply some penetrating oil to the screws to help loosen them. This can make the removal process much easier and prevent any damage to the bathtub or drain. When removing a bathtub drain, it is important to avoid common mistakes that can cause further problems. One common mistake is using excessive force, which can damage the drain or surrounding area. Another mistake is not using the proper tools, such as a drain removal wrench or pliers. Additionally, not properly preparing the area by removing any excess water or debris can make the removal process more difficult. If you’re dealing with a stubborn drain, alternative methods such as using a drain removal tool or applying heat to the drain can help loosen it and make removal easier.
| Common Mistakes to Avoid | Alternative Methods for Removing a Stubborn Drain |
|---|---|
| Using excessive force | Using a drain removal tool |
| Not using proper tools | Applying heat to the drain |
| Not preparing the area | |
Frequently Asked Questions
Can I Remove the Bathtub Drain Without Any Tools?
Sure, I can remove the bathtub drain without any tools. However, it’s important to note that alternative methods may pose potential risks. It’s always best to consult a professional for a safe and effective removal.
How Long Does It Typically Take to Remove the Drain Cover?
Removing a stuck drain cover can be tricky. It requires patience and the right tools. Common challenges include rusted screws and tight seals. With some effort, it typically takes about 10-15 minutes to remove the drain cover.
Is It Necessary to Disconnect the Drain Linkage Before Removing the Drain Flange?
Yes, it is necessary to disconnect the drain linkage before removing the drain flange. However, you can also use a drain removal tool instead of disconnecting the linkage for an easier removal process.
Can I Reuse the Old Drain Flange or Should I Replace It?
I would recommend replacing the old drain flange rather than reusing it. There are several benefits to replacing it, such as ensuring a proper seal and preventing future leaks or issues with the bathtub drain.
What Should I Do if the Drain Removal Process Becomes Too Difficult or if I Encounter Any Complications?
If the drain removal process becomes difficult or complications arise, I would recommend trying alternative methods such as using a plunger or drain snake. If all else fails, it may be necessary to call a professional plumber for assistance.
Conclusion
So there you have it, folks! Removing the drain from a bathtub is no easy feat, but with the right tools and a little bit of know-how, you can conquer this daunting task.
From removing the drain cover to disconnecting the drain linkage and replacing the drain flange, we’ve covered it all.
Now you can proudly say that you have mastered the art of drain removal! Trust me, if I can do it, so can you.
Go forth and conquer those drains!