I’ve always wondered how to remove the drain from a bathtub. It seems like such a simple task, but it can be quite tricky if you don’t know what you’re doing.
That’s why I’ve put together this article, to guide you through the process step by step. With the right tools and a little know-how, you’ll be able to remove that pesky drain in no time.
So let’s get started and make your bathtub maintenance a breeze!
Key Takeaways
- The tools required for removing the drain from a bathtub include a drain wrench or drain key, pliers or adjustable wrench, a bucket or container for catching water and debris, and a set screw to locate and unscrew.
- Step-by-step instructions for removing the drain include unscrewing the drain cover using a flathead screwdriver, avoiding using the wrong type of screwdriver or insufficient force, considering alternative methods like drain removal tools or pliers, and using caution to prevent damage to the drain or surrounding area.
- Common problems encountered when removing the drain include using incorrect tools leading to difficulties and damage, dealing with stubborn or corroded drains, applying penetrating oil or using a pipe wrench for leverage, and troubleshooting with patience and consideration.
- Tips and tricks for a successful drain removal include applying heat with a hairdryer to loosen stubborn or corroded drains, setting the hairdryer to the highest heat setting, directing hot air towards the drain connection, using a wrench or pliers to twist and loosen the drain, and wearing protective gloves and exercising caution.
Tools Required for Removing the Drain
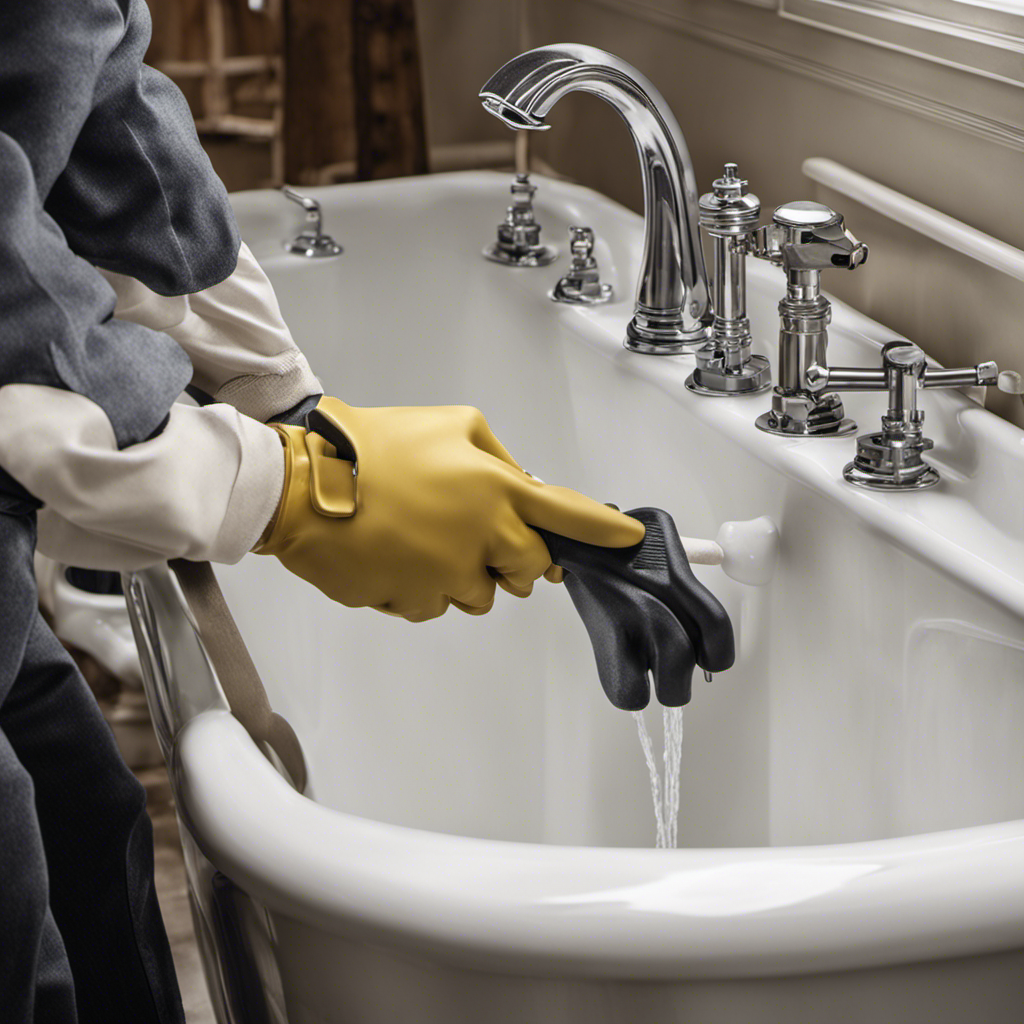
You’ll need a few tools to remove the drain from the bathtub. Firstly, you’ll require a drain wrench or a drain key. This specialized tool is designed to fit into the drain and allows you to loosen and remove the drain. Additionally, a pair of pliers or adjustable wrench can be useful for gripping and turning the drain if it’s stuck. It’s important to have a bucket or a container nearby to catch any water or debris that may come out during the removal process.
To ensure proper drain removal, start by locating the set screw on the drain. Unscrew it using the appropriate tool.
Next, insert the drain wrench or drain key into the drain and turn it counterclockwise to loosen and remove the drain. Use the pliers or adjustable wrench if needed.
Once the drain is removed, clean the area and inspect for any damage or blockages.
Follow these proper drain removal techniques to successfully remove the drain from your bathtub.
Step-By-Step Instructions for Removing the Drain
To start, simply unscrew the drain cover using a flathead screwdriver. This is the most common and straightforward method for removing the drain from a bathtub. However, there are some common mistakes that people often make during this process.
One common mistake is using the wrong type of screwdriver, which can lead to stripped screws or damage to the drain cover. Another mistake is not applying enough force when unscrewing, which can make the process more difficult and time-consuming.
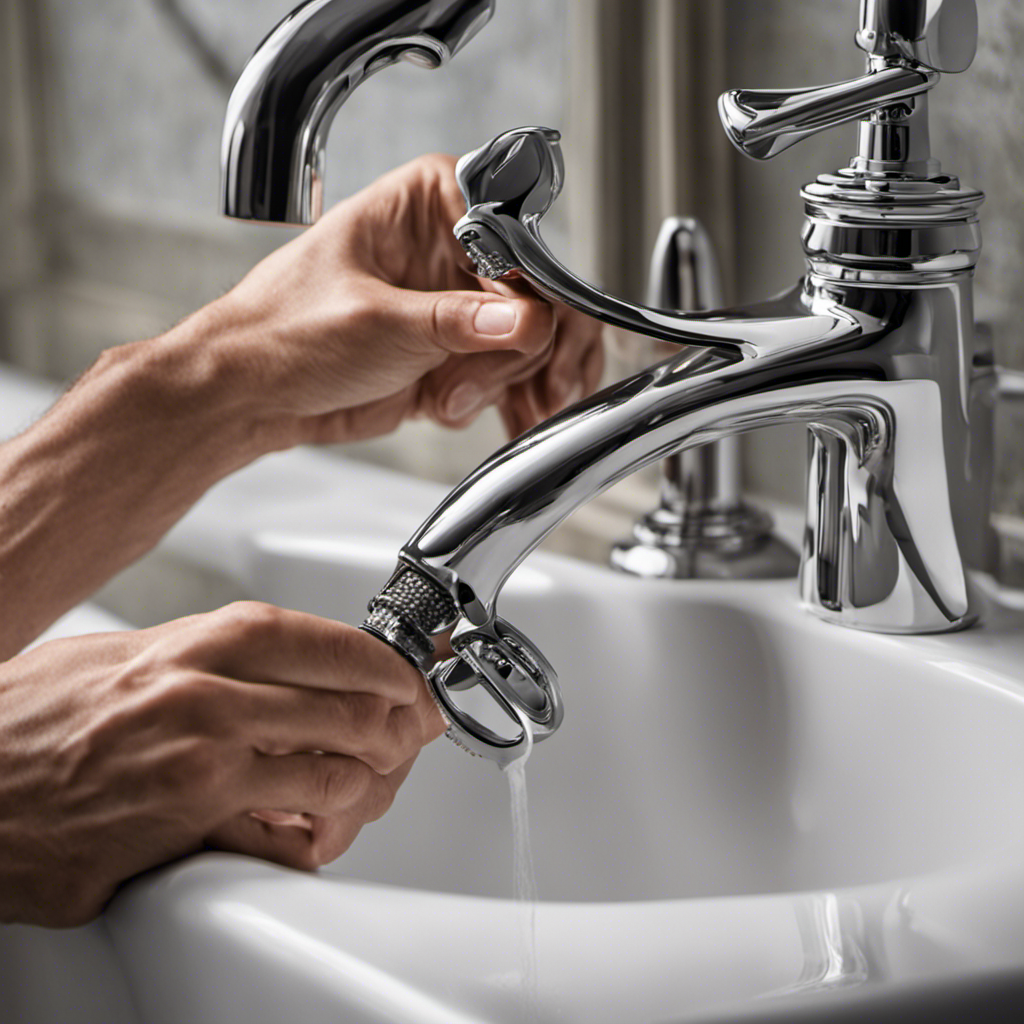
Alternatively, there are other methods for drain removal, such as using a drain removal tool or a pair of pliers. These tools can provide more leverage and make the process easier. However, it’s important to use caution and follow the instructions carefully to avoid damaging the drain or surrounding area.
Transitioning into the next section, let’s now discuss the common problems encountered when removing the drain.
Common Problems Encountered When Removing the Drain
One problem that often arises when removing the drain is using the incorrect tool, which can lead to difficulties and potential damage. It is crucial to use the appropriate wrench or pliers specifically designed for drain removal.
Another potential complication is encountering a stubborn or corroded drain that is challenging to loosen. In such cases, applying penetrating oil or using a pipe wrench with a longer handle can provide more leverage to loosen the drain. Additionally, if the drain is still not budging, heating the area with a hairdryer can help expand the metal and make it easier to remove.
Troubleshooting these issues requires patience and careful consideration of the specific problem at hand. By using the proper tools and techniques, you can overcome these potential complications and successfully remove the drain.
Now, let’s move on to some tips and tricks for a successful drain removal.
Tips and Tricks for a Successful Drain Removal
When trying to remove a stubborn or corroded drain, applying heat with a hairdryer can make it easier to loosen and remove. This method is especially effective when dealing with drains that have been in place for a long time or have accumulated rust and debris.
To begin, ensure that the hairdryer is set to the highest heat setting. Direct the hot air towards the drain, focusing on the area where it connects to the bathtub or pipe. The heat will help to expand the metal, making it more pliable and easier to work with.
Once the drain has been heated for a few minutes, you can use a wrench or pliers to gently twist and loosen it. Remember to exercise caution and wear protective gloves to avoid burns or injury.
Following these best practices for drain removal troubleshooting will help you successfully remove even the most stubborn drains.
Safety Precautions to Consider During Drain Removal
Make sure you wear protective gloves and exercise caution to prevent burns or injury while removing a stubborn or corroded drain. Safety gear is essential when dealing with potential hazards during drain removal. Here are four important precautions to consider:
-
Eye Protection: Wear goggles or safety glasses to shield your eyes from debris or splashes of cleaning chemicals.
-
Respiratory Protection: Use a face mask or respirator to avoid inhaling harmful fumes or particles.
-
Hand Protection: Wear heavy-duty gloves to protect your hands from sharp edges, corrosive substances, or hot surfaces.
-
Adequate Lighting: Ensure the area is well-lit to avoid accidents and to properly assess any potential dangers.
Conclusion
Removing the drain from a bathtub may seem daunting, but it can be done successfully with the right tools and step-by-step instructions.
By following proper safety precautions and utilizing helpful tips and tricks, you can easily tackle this project.
Remember to be patient and persistent, as common problems may arise during the removal process.
So go ahead and take the plunge. You’ll be amazed at the satisfying feeling of conquering this drain removal challenge!
It’s like winning an Olympic gold medal for bathtub maintenance!


