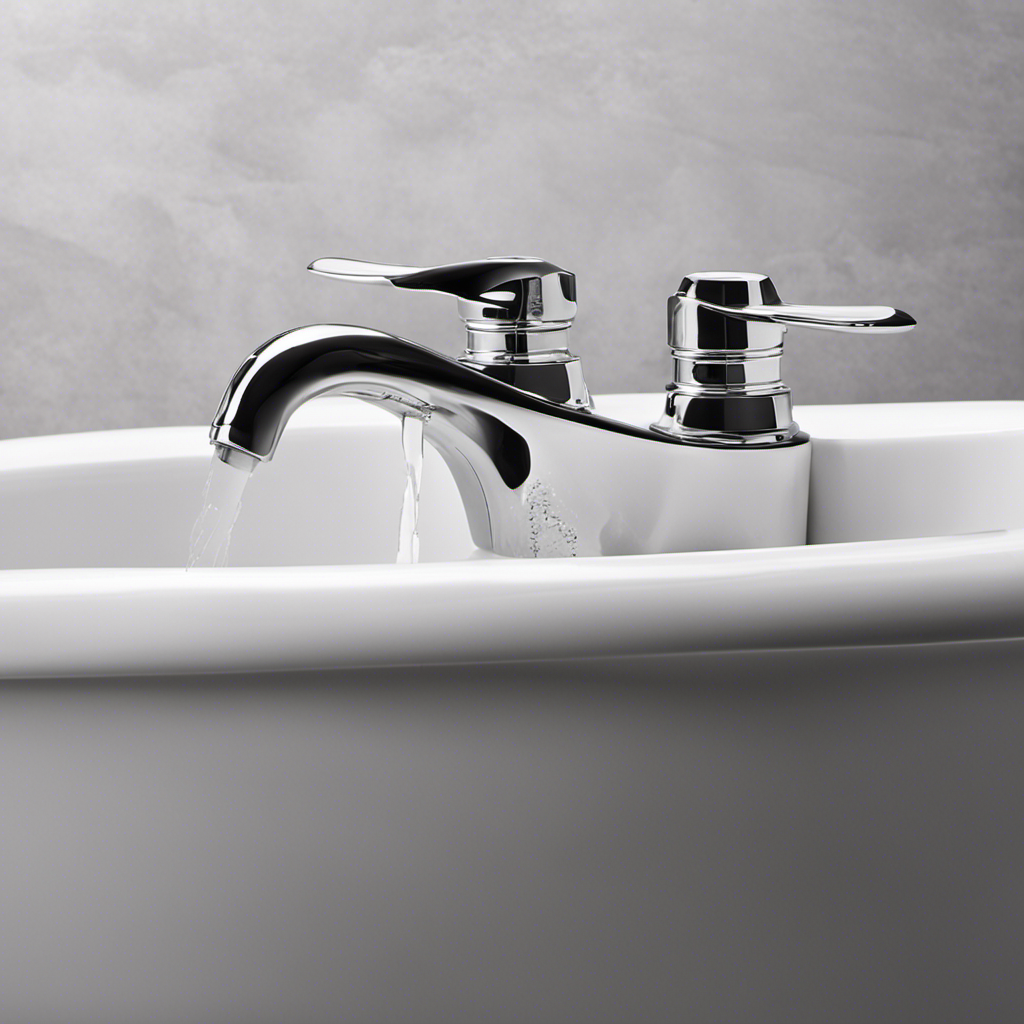

Hey there! Ever found yourself frustrated with a leaky or outdated bathtub faucet? Well, fear not! In this article, I’ll show you step-by-step how to replace that pesky faucet and give your bathroom a fresh new look.
We’ll cover everything from shutting off the water supply to testing for leaks, ensuring you have all the tools and materials needed along the way.
So, let’s dive in and get your bathtub faucet working like a charm again!
Key Takeaways
- Using the right size and type of wrench is important when replacing a bathtub faucet.
- Plumber’s tape should be used for a watertight seal when connecting the new faucet.
- Consider the style, finish, functionality, durability, and quality of the new faucet.
- Shut off the main water valve before removing the old faucet and check for leaks or drips afterwards.
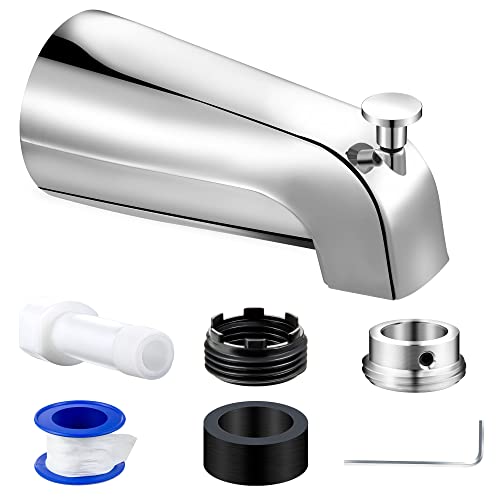
Dreyoo Tub Spout (Universal Fits 1/2" Copper Pipe, 1/2" IPS and 3/4" IPS), Bathroom Bathtub Faucet with Adapters and Hex Wrench (Chrome,Simple)
Universal Diverter Tub Spout: this Dreyoo tub spout with diverter is compatible with 1/2" copper pipe connection, 1/2"…
As an affiliate, we earn on qualifying purchases.
As an affiliate, we earn on qualifying purchases.
Tools and Materials Needed
You’ll need a wrench and plumber’s tape to replace the bathtub faucet. When it comes to replacing a bathtub faucet, there are a few common mistakes that you should avoid.
Firstly, make sure to turn off the water supply before starting any work. This will prevent any unwanted leaks or water damage.
Another mistake to avoid is using the wrong size or type of wrench. It’s important to use the right tools to ensure a proper fit and prevent any damage to the faucet or plumbing.
Additionally, be sure to use plumber’s tape when connecting the new faucet to the pipes. This will create a watertight seal and prevent any leaks.
When choosing a new bathtub faucet, there are some tips to keep in mind. Consider the style and finish that will best complement your bathroom decor. Whether you prefer a modern, sleek design or a more traditional look, there are countless options available.
Additionally, consider the functionality of the faucet. Do you prefer a single-handle or a double-handle faucet? This will depend on your personal preference and needs.
Lastly, consider the durability and quality of the faucet. It’s important to choose a faucet that is made from high-quality materials to ensure it will last for years to come.
wrench for plumbing repairs
As an affiliate, we earn on qualifying purchases.
As an affiliate, we earn on qualifying purchases.
Shutting Off the Water Supply
When shutting off the water supply, it’s important to locate the main valve in your home. This valve is typically located near the water meter or where the main water line enters your house.
To ensure a smooth process, here are some key points to remember:
- Turn off the main water valve to prevent any water flow.
- Use caution when operating the valve to avoid any damage.
- Familiarize yourself with the valve location beforehand for quick action in emergencies.
- Check for any leaks or drips after turning off the valve.
- Contact a professional plumber if you encounter any difficulties or if the valve is not functioning properly.

D-NYX 1, 4 or 5 Rolls 1/2 Inch(W) X 520 Inches(L) Teflon Plumbers Tape, Duct Sealant Tape for Shower Head, Plumbing Thread Tap, Water Pipe Sealing Plumbers PTFE Thread Seal (1 Pack)
SIZE: Teflon tape roll has a width of 1/2 inch and a length of 520 inches, which can…
As an affiliate, we earn on qualifying purchases.
As an affiliate, we earn on qualifying purchases.
Removing the Old Faucet
To start, it’s important to locate the shut-off valves under the sink. Once you’ve turned off the water supply, you can proceed with removing the old faucet. Proper disposal of the old faucet is crucial to ensure a clean and safe working environment. Here are some common issues encountered during faucet removal:
| Issue | Cause | Solution |
|---|---|---|
| Leaking | Worn-out seals or O-rings | Replace seals or O-rings |
| Stuck handles | Mineral deposits or rust | Apply penetrating oil and gently twist |
| Corroded connections | Old or damaged pipes | Replace corroded parts |
When removing the old faucet, be sure to follow these steps:
- Gather the necessary tools such as a wrench, pliers, and a bucket.
- Disconnect the supply lines and remove any mounting nuts or screws.
- Lift the old faucet off the sink.
- Properly dispose of the old faucet according to local regulations.
Remember to take your time and be cautious during the removal process to avoid any unnecessary damage.
single-handle bathtub faucet
As an affiliate, we earn on qualifying purchases.
As an affiliate, we earn on qualifying purchases.
Installing the New Faucet
Once the old faucet has been successfully removed, it’s time to install the new one. Here are the steps to follow:
-
Gather all the necessary tools and materials: new faucet, plumber’s tape, adjustable wrench, and screwdriver.
-
Connect the water lines to the new faucet, making sure they are securely attached.
-
Use plumber’s tape to seal the connections and prevent any leaks.
-
Adjust the water temperature by following the manufacturer’s instructions for your specific faucet model.
-
Double-check all connections and make sure everything is tight and secure.
Now that the new faucet is installed, it’s important to test and check for any leaks. This will ensure that the installation was done correctly and that your new faucet is functioning properly.
Testing and Checking for Leaks
Now that the new faucet is installed, make sure to turn on the water and carefully inspect for any leaks. Testing the faucet is an important step to ensure that everything is working properly. There are a few common leaks to watch out for when testing your new bathtub faucet. These include leaks at the base of the faucet, leaks at the handles, and leaks from the spout. To help you identify and address these leaks, here is a helpful table:
| Testing Method | Common Leaks | Action Required |
|---|---|---|
| Turn on the water | Base of the faucet | Tighten the faucet nut |
| Rotate the handles | Handle leaks | Check and replace O-rings |
| Use the spout | Spout leaks | Replace the cartridge or washer |
Frequently Asked Questions
How Much Does It Cost to Replace a Bathtub Faucet?
Replacing a bathtub faucet can vary in cost depending on whether you hire a professional or do it yourself. Professional installation can range from $150 to $500, while a DIY replacement can cost as low as $50 for the faucet.
Can I Replace a Bathtub Faucet Myself or Do I Need to Hire a Professional?
Yes, you can replace a bathtub faucet without any prior plumbing experience. To do so, you will need a few tools such as an adjustable wrench, pliers, and Teflon tape.
What Are the Signs That Indicate a Bathtub Faucet Needs to Be Replaced?
When a bathtub faucet needs to be replaced, there are several signs to look out for. These can include leaks, low water pressure, and difficulty turning the handle. It’s important to follow the proper bathtub faucet replacement process and avoid common mistakes.
Are There Any Specific Safety Precautions to Keep in Mind When Replacing a Bathtub Faucet?
When replacing a bathtub faucet, it’s important to take certain safety precautions. By turning off the water supply, using proper tools, and following installation tips, you can avoid common mistakes and ensure a successful replacement.
How Long Does It Typically Take to Replace a Bathtub Faucet?
On average, it takes about 1-2 hours to replace a bathtub faucet. The tools you’ll need include an adjustable wrench, screwdriver, plumber’s tape, and a new faucet.
Conclusion
In conclusion, replacing a bathtub faucet may seem daunting, but it can be a straightforward process with the right tools and materials.
As I turned off the water supply and carefully removed the old faucet, I felt a sense of accomplishment.
Installing the new faucet was like adding the final touch to a beautifully renovated bathroom.
With anticipation, I turned on the water and watched as it flowed smoothly, without any leaks.
It was a satisfying moment, knowing that I had successfully completed the task and improved the functionality of my bathtub.