Have you ever wondered how long it takes to reglaze a bathtub? Well, you’re in luck! In this article, we’ll walk you through the entire process, step by step, and give you all the details you need to know.
From factors that affect reglazing time to tips for maintaining a reglazed bathtub, we’ve got you covered.
So sit back, relax, and let us guide you through the world of bathtub reglazing.
Key Takeaways
- The time it takes to reglaze a bathtub can vary depending on factors such as the condition of the bathtub, complexity of the reglazing process, size of the bathtub, and number of coats required for a durable finish.
- Preparing the bathtub for reglazing involves steps like scrubbing away dirt and grime, removing old caulking, repairing chips or cracks, sanding the surface, and applying a primer.
- The reglazing process includes cleaning the tub thoroughly, repairing any damage, applying the primer, applying the glaze, and following manufacturer’s instructions for drying times and number of coats.
- Drying and curing the reglazed bathtub properly involves keeping the bathroom well-ventilated, avoiding using the bathtub during the curing period, avoiding placing objects or heavy items on the surface, using mild non-abrasive cleaners for cleaning, and allowing the tub to fully cure before using it.
Factors That Affect Reglazing Time
Factors like the condition of your bathtub and the complexity of the reglazing process can affect how long it’ll take you to reglaze your bathtub.
The condition of your bathtub plays a significant role in determining the time required for reglazing. If your bathtub has extensive damage, such as cracks or chips, it will require more time to repair and prepare the surface before reglazing can begin.
Additionally, the complexity of the reglazing process itself can impact the time it takes. Different types of tubs may require different techniques and materials, which can affect the overall time frame.
Other cost factors, such as the size of your bathtub and the number of coats needed for a durable finish, can also influence the duration.
Common mistakes to avoid include rushing the preparation process, applying an insufficient number of coats, or failing to properly cure the reglazing material. Taking the time to address these factors and avoid common mistakes will ensure a successful and long-lasting reglazing job.
Preparing the Bathtub for Reglazing
Before you can reglaze your bathtub, you need to prepare it properly. This step is crucial to ensure a successful and long-lasting reglazing job. To help you understand the importance of bathtub cleaning and surface preparation, here are a few things to consider:
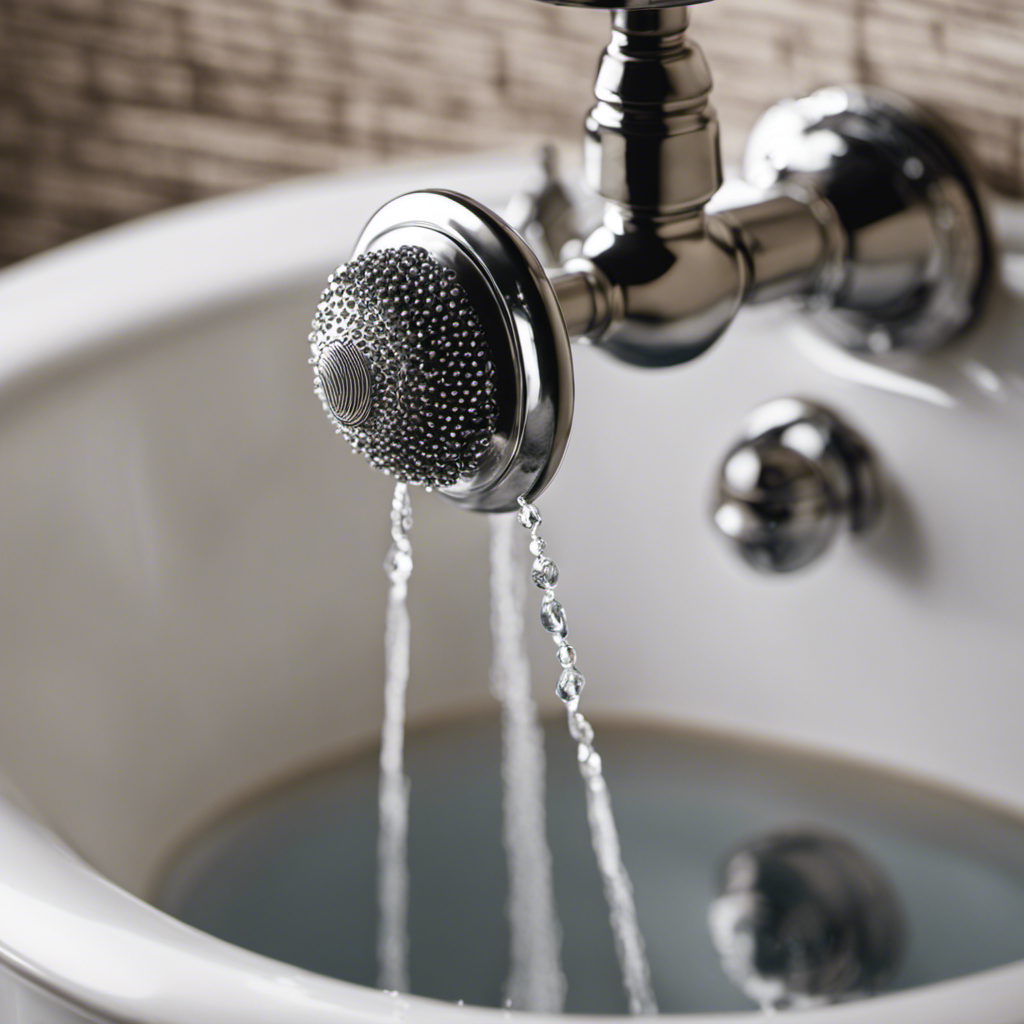
- Scrubbing away dirt and grime: Cleaning the bathtub thoroughly will remove any dirt, soap scum, or residues that may interfere with the adhesion of the new glaze.
- Removing old caulking: It’s essential to remove old caulk around the edges of the bathtub to create a clean surface for the reglazing process.
- Repairing chips or cracks: Any chips or cracks in the bathtub should be repaired before reglazing to ensure a smooth and even surface.
- Sanding the surface: Sanding the bathtub surface helps to create micro-abrasions that improve the adhesion of the new glaze.
- Applying a primer: A primer is typically applied after cleaning and sanding the surface. It helps promote adhesion and ensures a professional finish.
Now that you’ve prepared your bathtub properly, let’s move on to the next step: the reglazing process step by step.
The Reglazing Process Step by Step
Now that you’ve properly prepared your bathtub, it’s time to walk you through the step-by-step process of reglazing.
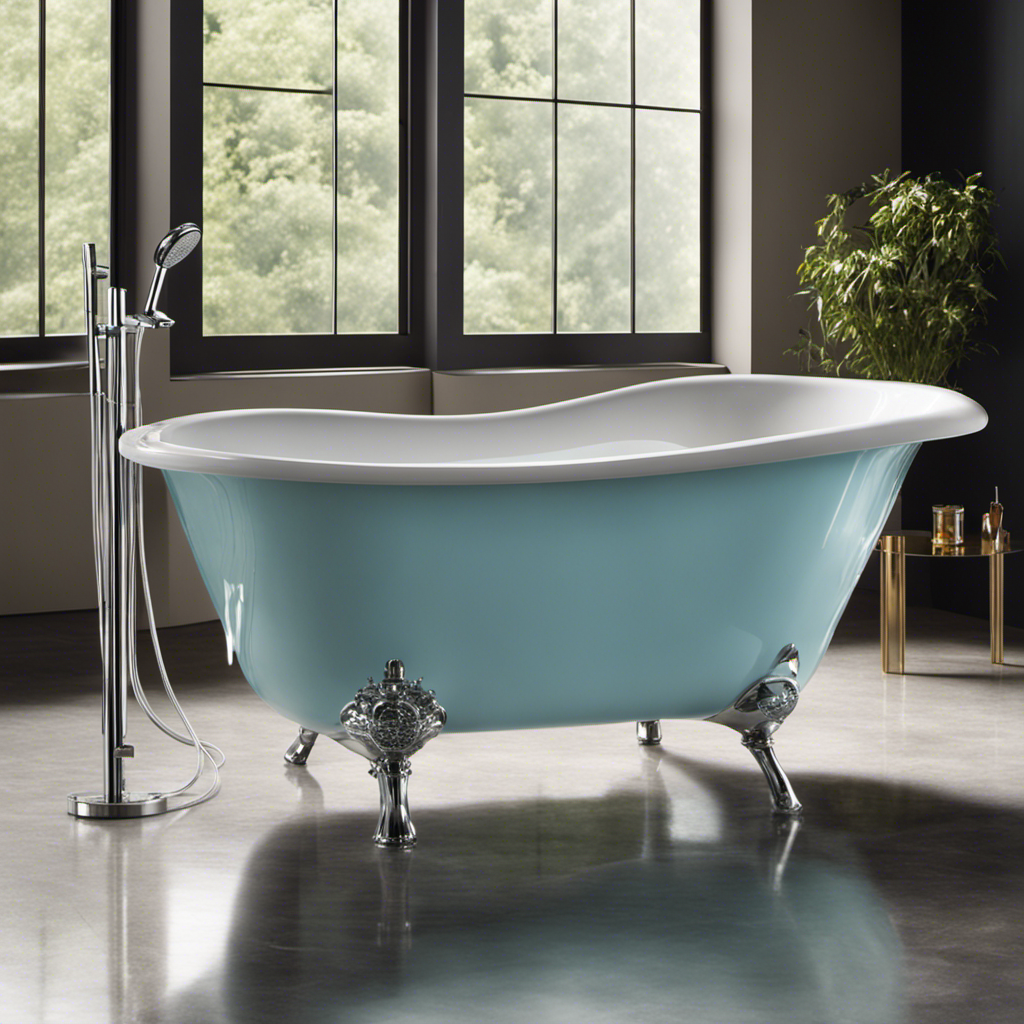
Reglazing your bathtub can be a cost-effective way to restore its appearance and durability. The process involves applying a new layer of glaze to the surface of the tub, covering up any chips, stains, or scratches.
Here is a breakdown of the reglazing process:
-
Clean the tub thoroughly: Remove any dirt, grime, or soap scum from the surface of the tub using a non-abrasive cleaner.
-
Repair any damage: Fill in any chips or cracks using a bathtub repair kit. Allow the repairs to dry completely before proceeding.
-
Apply the primer: Use a brush or roller to apply a coat of primer to the entire surface of the tub. This will help the new glaze adhere properly.
-
Apply the glaze: Use a spray gun or brush to apply the glaze evenly to the tub. Make sure to follow the manufacturer’s instructions for drying times and number of coats.
Reglazing your bathtub can be a cost-effective solution to common bathtub problems such as chipping, staining, and scratches. The cost of reglazing can vary depending on the size of your tub and the extent of the damage.
On average, you can expect to pay between $300 and $600 for professional reglazing services. However, if you’re willing to put in some time and effort, you can also purchase a DIY reglazing kit for around $50 to $100. Just keep in mind that DIY reglazing may not produce the same long-lasting results as professional services.
Drying and Curing Time
Once the glaze has been applied to the tub, it typically takes 24 to 48 hours for it to dry and cure completely. The curing process is crucial to ensure that the new finish on your bathtub is strong, durable, and long-lasting. During this time, it is important to follow proper drying techniques to avoid any damage to the newly reglazed surface.
Here are some tips to help you through the drying and curing process:
- Keep the bathroom well-ventilated to promote air circulation and speed up the drying time.
- Avoid using the bathtub during the curing period to prevent any accidental damage.
- Do not place any objects or heavy items on the surface as it can create indentations or cause the glaze to crack.
- Be cautious while cleaning the tub during this time, using only mild, non-abrasive cleaners.
- Patience is key! Allow the tub to fully cure before using it, ensuring a beautiful and long-lasting finish.
Tips for Maintaining a Reglazed Bathtub
To keep your newly reglazed tub looking its best, it’s important to follow these maintenance tips. First, avoid using abrasive cleaners or scrub brushes that could damage the reglazed surface. Instead, opt for mild, non-abrasive cleaners specifically designed for reglazed tubs. Regularly wipe down the tub after each use to prevent water spots and soap scum buildup. Additionally, avoid using bath bombs or other bath products that contain dyes or oils, as they can stain the reglazed surface. To protect the reglazing and extend its lifespan, consider using a bath mat or a non-slip coating on the bottom of the tub. Lastly, make sure to address any chips or cracks promptly to prevent further damage. By following these maintenance tips, you can ensure that your reglazed bathtub stays in pristine condition for years to come.
| Maintenance Tips | Description |
|---|---|
| Use non-abrasive cleaners | Avoid using abrasive cleaners or scrub brushes that could damage the reglazed surface. |
| Regularly wipe down the tub | Prevent water spots and soap scum buildup by regularly wiping down the tub after each use. |
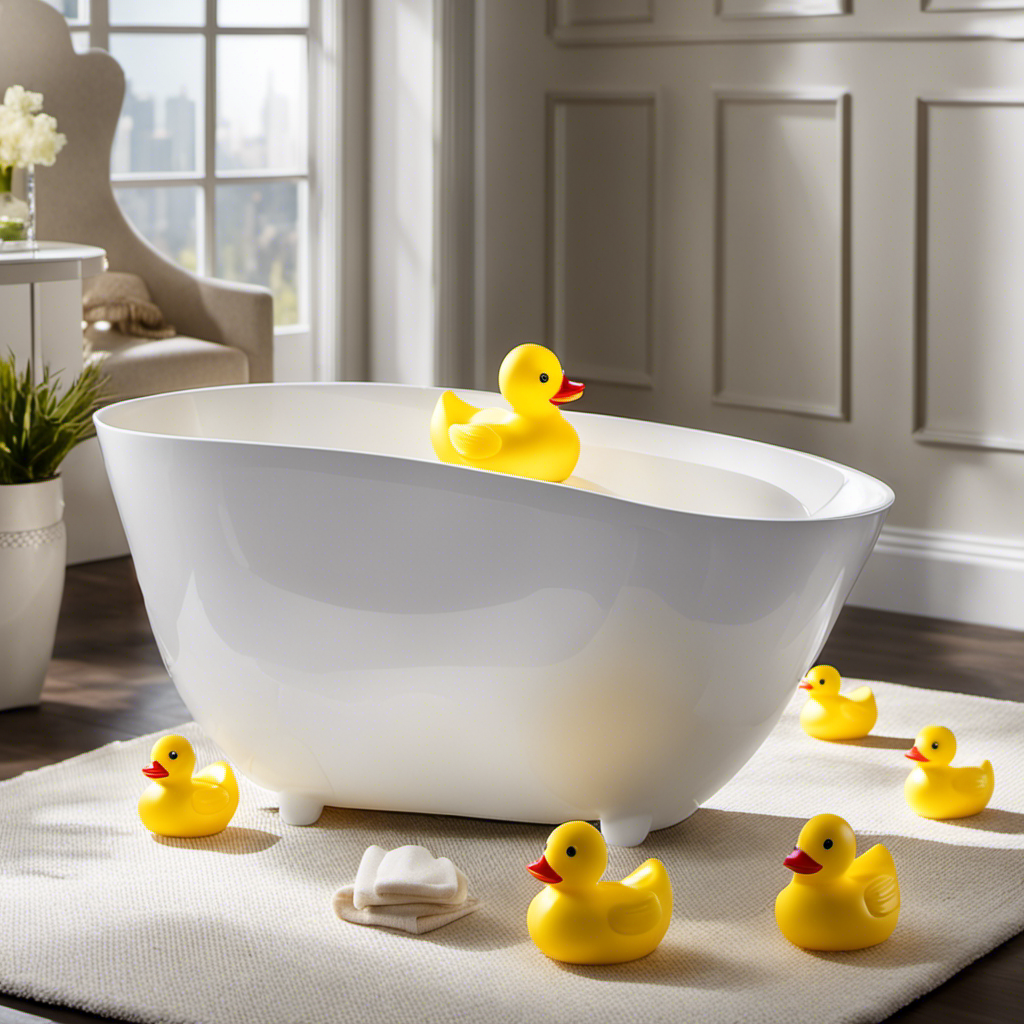
| Avoid dyes and oils | Avoid using bath products that contain dyes or oils, as they can stain the reglazed surface. |
| Use a bath mat or non-slip coating | Protect the reglazing and prevent slips by using a bath mat or applying a non-slip coating on the bottom of the tub. |
| Address chips and cracks promptly | Prevent further damage by addressing any chips or cracks as soon as they appear. |
When it comes to maintaining a reglazed bathtub, using the right products and following proper care techniques is essential. By investing in the best bathtub reglazing products and following these maintenance tips, you can ensure that your newly reglazed tub remains in pristine condition for years to come. While the bathtub reglazing cost may vary depending on factors such as the size and condition of the tub, the longevity of the reglazing can make it a cost-effective choice in the long run. So, take the necessary steps to maintain your reglazed bathtub and enjoy its renewed beauty for many relaxing soaks to come.
Frequently Asked Questions
How Much Does Bathtub Reglazing Typically Cost?
Bathtub reglazing costs can vary depending on factors like the size of the tub, the condition of the surface, and the type of reglazing process. Factors that affect the cost of bathtub reglazing include the materials used, the skill level of the professional, and the location.
Can I Use My Bathtub Immediately After It Has Been Reglazed?
After reglazing your bathtub, you may be eager to jump right in. While it may be tempting, allow time for the glaze to fully dry. Rushing could lead to a less durable finish.
Is Reglazing a Bathtub a DIY Project or Should I Hire a Professional?
Reglazing a bathtub can be a DIY project, but hiring a professional has its benefits. They have the experience and tools to ensure a high-quality job. Consider the pros and cons before deciding.
What Is the Average Lifespan of a Reglazed Bathtub?
On average, a reglazed bathtub can last for about 10-15 years with proper care. To extend its lifespan, remember to avoid using abrasive cleaners and always clean it gently.
Are There Any Specific Cleaning Products I Should Avoid Using on a Reglazed Bathtub?
To properly maintain a reglazed bathtub, avoid using specific cleaning products that can damage the surface. Stick to gentle, non-abrasive cleaners and avoid anything with harsh chemicals or abrasive scrubbing pads.
Conclusion
So, there you have it! Now you know how long it takes to reglaze a bathtub.
It may seem like a simple process, but it actually requires careful preparation, meticulous application, and ample drying and curing time.
While it may not take forever, it certainly isn’t a quick fix. However, the results are worth the wait.
A reglazed bathtub can transform your bathroom and make it feel like a luxurious spa retreat.
So, be patient and let the reglazing process work its magic!

Liam’s journey with us started as a consumer. Having faced challenges while setting up his own modern bathroom, he delved deep into research.
Recognizing his knack for simplifying complex information and his authentic writing style, we were thrilled to welcome him aboard. Liam’s articles often merge practicality with style, ensuring readers find the perfect fit for their homes. Liam is an avid hiker off-duty and often jokes about finding the best “natural toilets” Mother Earth has to offer.