Replacing a bathtub is no small task. It requires careful planning, precise execution, and a significant time commitment. In my experience, the process can be broken down into several steps:
- Gathering materials and tools
- Removing the old bathtub
- Preparing the area and plumbing
- Installing the new bathtub
- Connecting the plumbing fixtures
- Adding the finishing touches
Each step must be completed with utmost care in order to ensure a successful bathtub replacement.
So, how long does it actually take to replace a bathtub? Let’s dive in and find out.
Key Takeaways
- The time it takes to replace a bathtub can vary depending on factors such as the type and quality of the new bathtub, the skill level of the person performing the installation, and any unexpected issues that may arise during the process.
- Proper preparation and removal of the old bathtub, including disconnecting plumbing fixtures and following safety precautions, are crucial for a smooth and hassle-free removal.
- Plumbing considerations during installation, such as ensuring correct pipe measurements, proper drain connections, and adequate water pressure, can help avoid common plumbing problems and ensure optimal bathtub performance.
- Finishing touches such as caulking and sealing are essential for preventing water damage and ensuring a watertight seal, while thorough clean-up and regular maintenance help maintain the bathtub’s condition and prevent future issues.

Brondell Bidet Toilet Seat Non-Electric Swash Ecoseat, Fits Elongated Toilets, White - Dual Nozzle System, Ambient Water Temperature - Bidet with Easy Installation
CLEAN AND REFRESHING: With Brondell’s Ecoseat 101 Bidet, you’ll experience a soothing, freshwater wash that leaves you feeling...
As an affiliate, we earn on qualifying purchases.
Gathering Materials and Tools
Gathering materials and tools doesn’t take too long if you have a comprehensive list. When it comes to replacing a bathtub, having the right tools and materials is crucial for a smooth and efficient process.
First and foremost, you’ll need a new bathtub, which can vary in cost depending on the type and quality you choose. Additionally, you’ll need a pry bar or a crowbar to remove the old bathtub, a utility knife to cut through any sealant or caulking, and a wrench or pliers to disconnect the plumbing fixtures.
Other necessary materials include plumber’s putty, caulk, and waterproofing membrane. It is important to have all these items ready before starting the bathtub replacement process to avoid any delays or setbacks.

BIGCOW Ultra-Slim Bidet Attachment for Toilet - Dual Nozzle (Frontal & Rear Wash) with Adjustable Cold Water Pressure and Stainless Steel Inlet - Hygienic Solution for Fresh Cleanliness, Silver 1 Pcs
【Dual Spraying Modes】- This toilet bidet offers both rear wash for thorough cleaning and a specially designed frontal...
As an affiliate, we earn on qualifying purchases.
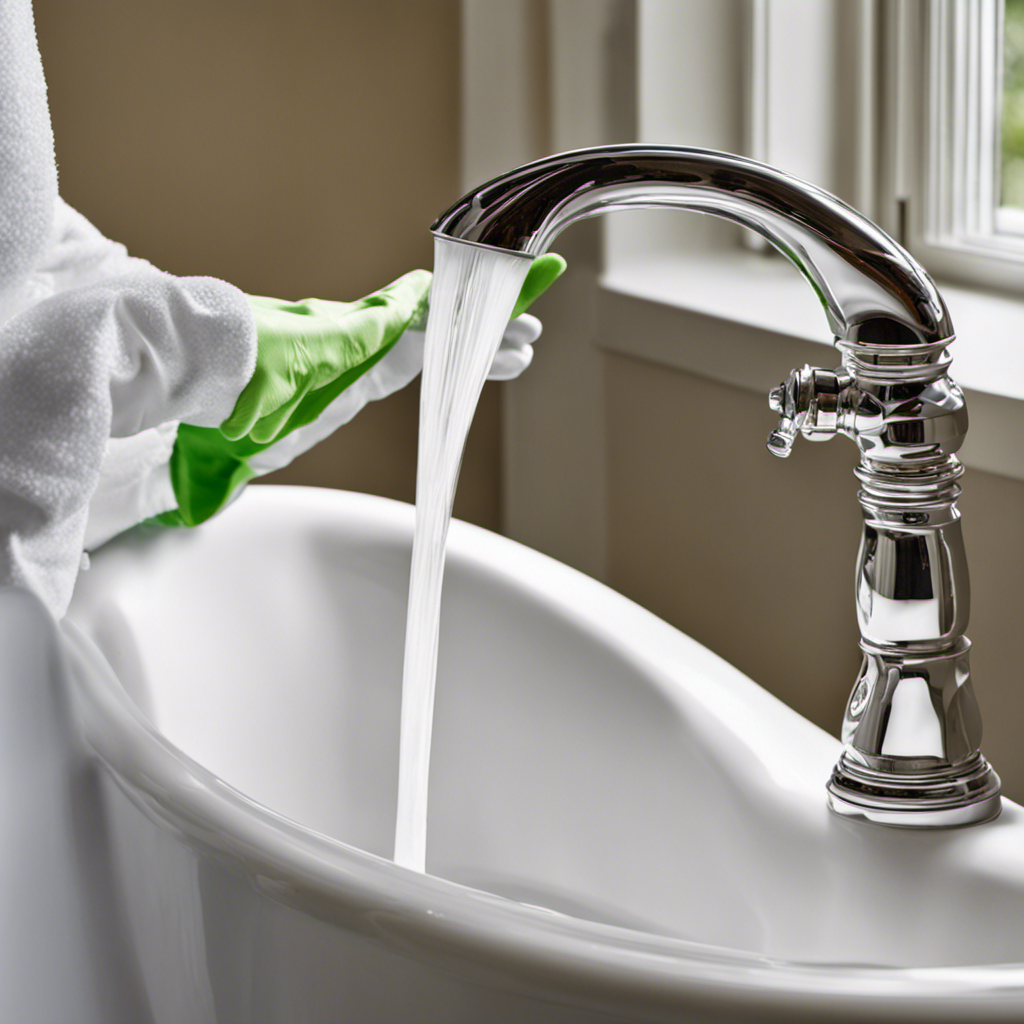
Removing the Old Bathtub
Once you’ve dismantled and detached the old bathtub, you can start preparing the area for the new one. The bathtub removal process requires careful attention to safety precautions to avoid any accidents or injuries. Here are the steps to remove the old bathtub safely:
- Turn off the water supply and disconnect the plumbing.
- Use a utility knife to cut through the caulk around the edges of the bathtub.
- Carefully remove any screws or nails securing the bathtub to the wall or floor.
By following these safety precautions and steps, you can ensure a smooth and hassle-free removal of the old bathtub.
Now that the old bathtub is out of the way, we can move on to preparing the area and plumbing for the installation of the new bathtub.

LUXE Bidet NEO 120 - Single Nozzle, Self-Cleaning, Non-Electric Bidet Attachment for Toilet Seat, Adjustable Water Pressure, Rear Wash (White)
THE ULTIMATE VALUE – With a sleek design and high-quality parts, Our Bidet Attachment will give your bathroom...
As an affiliate, we earn on qualifying purchases.
Preparing the Area and Plumbing
When it comes to installing a new bathtub, there are a few key plumbing considerations that need to be taken into account.
From ensuring proper water supply and drainage connections to determining the location of the faucets and showerheads, these factors play a crucial role in the overall functionality of the bathtub.
Additionally, the importance of area preparation cannot be overstated. It involves making sure the space is properly measured, leveled, and free from any obstacles or debris that may hinder the installation process.
Plumbing Considerations During Installation
During the installation process, it’s important to consider plumbing requirements. Proper plumbing is crucial for the successful installation of a new bathtub. Here are some common plumbing problems that can arise during bathtub installation:
-
Incorrect pipe measurements: One of the most common issues is when the pipes are not measured accurately, resulting in leaks or improper fittings.
-
Improper drain connections: Another common problem is when the drain is not connected properly, leading to water leakage or drainage issues.
-
Inadequate water pressure: If the water pressure is not sufficient, it can affect the performance of the bathtub, leading to a less satisfying bathing experience.
To avoid these plumbing mishaps during bathtub replacement, here are some helpful tips:
-
Hire a professional plumber: A skilled plumber can ensure that all the plumbing requirements are met and that the installation is done correctly.
-
Double-check measurements: Take accurate measurements of the existing plumbing system and the new bathtub to ensure a proper fit.
-
Use quality materials: Invest in high-quality pipes, fittings, and valves to prevent future leaks or issues.
Considering these plumbing considerations during bathtub installation is crucial for a smooth and successful replacement process.
Now, let’s move on to the importance of area preparation.
Importance of Area Preparation
To ensure a smooth installation process, you should thoroughly prepare the area where the new bathtub will be placed. Proper preparation is crucial for a successful bathtub installation.
Here are some tips to help you get it right.
First, make sure the area is clean and free from any debris or old caulk. This will provide a clean surface for the new bathtub to be installed.
Next, measure the dimensions of the bathtub and ensure that the area is large enough to accommodate it. Common mistakes to avoid include not checking for levelness and not ensuring that the floor is properly supported.
Taking the time to properly prepare the area will save you from future headaches and ensure a long-lasting, properly installed bathtub.

LUXE Bidet NEO 120 - Single Nozzle, Self-Cleaning, Non-Electric Bidet Attachment for Toilet Seat, Adjustable Water Pressure, Rear Wash (Blue)
THE ULTIMATE VALUE – With a sleek design and high-quality parts, Our Bidet Attachment will give your bathroom...
As an affiliate, we earn on qualifying purchases.
Installing the New Bathtub
Installing a new bathtub requires careful consideration of the time required for installation as well as the necessary tools and materials needed.
The time it takes to install a bathtub can vary depending on factors such as the complexity of the installation and the experience level of the person performing the task.
In terms of tools and materials, a few key items that are typically needed include a level, a wrench, plumbing tape, and caulk.
Time Required for Installation
You can typically expect the installation of a new bathtub to take around five to seven hours. This timeframe includes the removal of the old bathtub, preparation of the space, and the actual installation of the new bathtub.
The process may vary depending on the complexity of the project and any additional features you choose to include. Here are a few factors that can affect the time required for installation:
- Plumbing modifications: If you need to make changes to the existing plumbing system, it may add extra time to the installation process.
- Tile work: If you plan on tiling around the bathtub, it will require additional time for the tile installation and curing.
- Accessibility: If the bathroom is located on an upper floor or in a difficult-to-access area, it may take longer to transport the new bathtub and complete the installation.
Considering these factors, it is important to budget enough time for the installation process. Once the new bathtub is successfully installed, you can move on to the next step: gathering the necessary tools and materials.
Tools and Materials Needed
Once the old bathtub is removed, gathering the necessary tools and materials is the next step in the bathtub installation process. To ensure a smooth and successful installation, it’s important to have the right equipment on hand. Here is a list of tools and materials needed for bathtub replacement:
| Tools | Materials | Others |
|---|---|---|
| Adjustable wrench | New bathtub | Safety goggles |
| Screwdriver | Plumbing tape | Gloves |
| Pry bar | Silicone caulk | Level |
| Pipe wrench | Plumbers putty | Measuring tape |
Having these tools and materials ready will save time and prevent common mistakes in bathtub replacement. For example, the adjustable wrench and screwdriver are essential for removing the old bathtub’s fixtures. Plumbing tape and silicone caulk ensure a watertight seal. Safety goggles and gloves protect against potential hazards. Using a level and measuring tape guarantees proper alignment and fit. By being well-prepared, you can avoid delays and complications during the bathtub installation process.
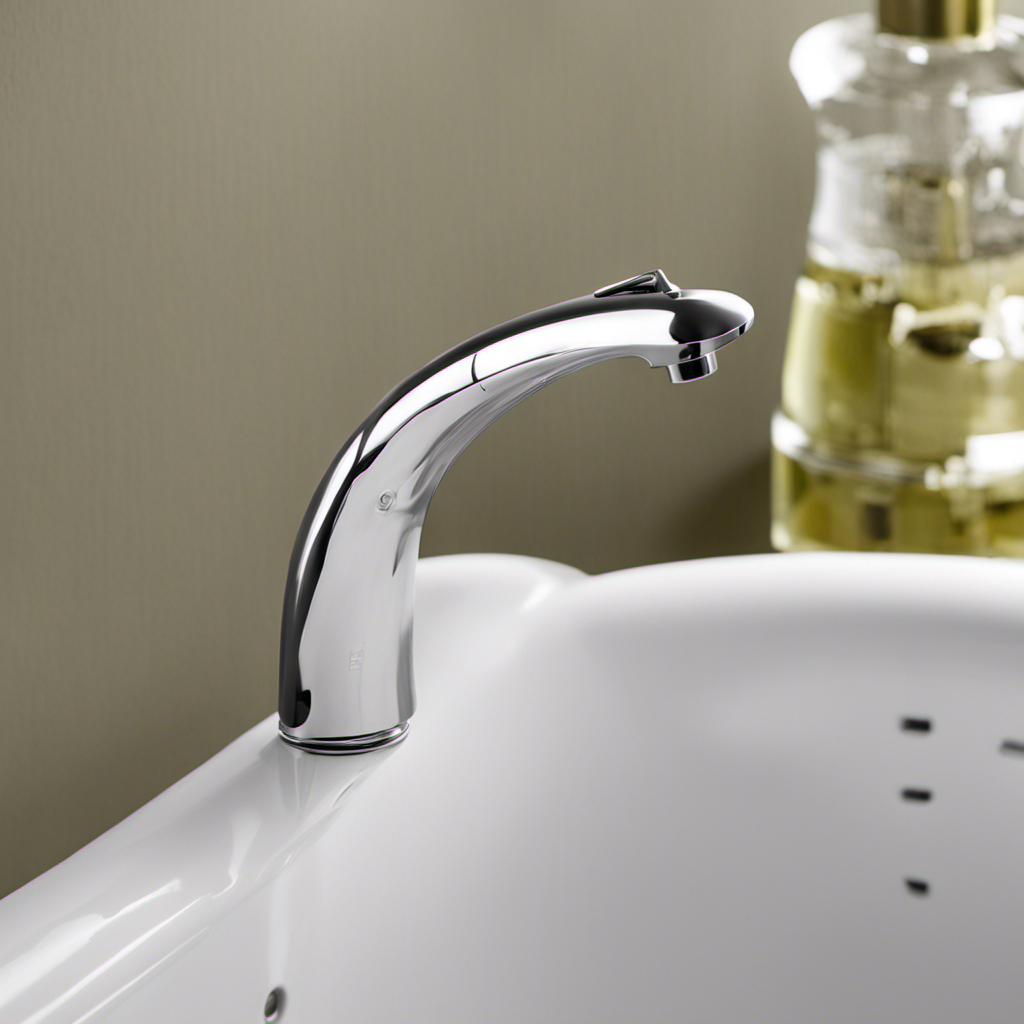
Connecting the Plumbing Fixtures
To connect the plumbing fixtures, it shouldn’t take too long if you have the necessary tools and materials ready. Here are some common mistakes to avoid when making plumbing connections:
-
Using the wrong size fittings: One of the most common mistakes is using fittings that don’t match the size of the pipes. This can lead to leaks and other plumbing issues.
-
Forgetting to use Teflon tape: Teflon tape is an essential tool for creating watertight connections. It helps prevent leaks by sealing the threads of the fittings.
-
Over-tightening the connections: While it’s important to tighten the connections properly, over-tightening can cause damage to the fittings or even crack the pipes. Use a wrench to tighten the connections just enough to create a seal.
Finishing Touches and Clean-up
After completing the plumbing connections, it’s important to finish with any necessary touches and clean up the work area. One crucial step in this process is caulking and sealing. This helps to prevent water damage and ensures a watertight seal around the bathtub. To achieve the best results, use a high-quality silicone caulk that is specifically designed for bathrooms. Apply the caulk evenly along the joints and edges of the bathtub, smoothing it out with a caulk tool or your finger. Be thorough and precise to ensure there are no gaps or spaces where water can seep through. Additionally, take some time to clean up the work area, removing any debris or tools that may have accumulated during the installation process. This will leave your bathroom looking clean and tidy, while also preventing any potential hazards or accidents. By following these tips, you can ensure a professional finish and prevent any future water damage.
| Importance of Caulking and Sealing | Tips for Preventing Water Damage |
|---|---|
| Prevents water leaks | Regularly inspect plumbing |
| Ensures a watertight seal | Fix any leaks promptly |
| Creates a professional finish | Install a water alarm |
| Protects against water damage | Keep gutters and downspouts clean |
Conclusion
After a long and arduous journey, I finally completed the task of replacing my bathtub. Who knew it would take so much time and effort?
From gathering the materials and tools to removing the old tub, every step seemed to be a never-ending process. But hey, at least now I can enjoy a relaxing soak in my brand new bathtub.
It may have taken forever, but the end result is definitely worth it. Just don’t ask me to do it again anytime soon!