
I’ve always loved the relaxing sensation of standing under a warm shower, but my bathtub faucet just wasn’t cutting it anymore. That’s when I decided to take matters into my own hands and add a shower head to my bathtub faucet.
In this article, I’ll guide you through the process step-by-step, from gathering the necessary tools and materials to testing and adjusting the flow of your new shower head.
Get ready to transform your bathtub into a luxurious shower experience!
Key Takeaways
- Consider the type of shower head that suits your preference and bathroom decor.
- Make sure to check the water pressure in your home before choosing a shower head.
- Regularly clean the shower head to prevent clogs and ensure proper water flow.
- Test and adjust the shower head flow to optimize water pressure and flow.

Shower Faucet Set, 12" Ceiling Mount Rainfall Shower System with 2 Rain Shower Head and Multi-function Handheld Head Push Button Diverter Shower Faucet Trim Kit (12", Matte Black)
COMPREHENSIVE SHOWER SYSTEM- This shower faucet set comes with two shower heads that can be used together or...
As an affiliate, we earn on qualifying purchases.
Gathering the Necessary Tools and Materials
You’ll need a few tools and materials to get started.
When it comes to choosing the right shower head, there are a few factors to consider. First, decide on the type of shower head you prefer. There are fixed shower heads, handheld shower heads, and rain shower heads, each offering a different shower experience.
Consider the water pressure in your home as well, as some shower heads are designed to work better with low water pressure. Additionally, think about the style and finish that will complement your bathroom decor.
Once you have chosen the perfect shower head, proper maintenance is essential to keep it working efficiently. Regularly clean the shower head by removing any mineral deposits or debris that may clog the nozzles. This will ensure a steady flow of water and prevent any issues.

VANFOXLE Shower Faucet Set Matte Black Shower System,Push Button Diverter Shower Faucet with 2 in 1 Handheld,Ceiling Mount 10 Inch Shower Head with 6 Inch Wall Mount Shower Head
Push Button Diverter: Vanfoxle has developed an improved version of water control —— Replacing the traditional square-shaped controller...
As an affiliate, we earn on qualifying purchases.
Removing the Existing Bathtub Faucet
Removing the existing bathtub faucet can be accomplished by following a few simple steps. Here’s what you need to do:
-
Turn off the water supply: Locate the shut-off valves for both hot and cold water and turn them off. This will prevent any water from flowing while you work on the faucet.
-
Remove the faucet handle: Use a screwdriver or an Allen wrench to remove the screw or set screw that holds the handle in place. Once removed, the handle should easily slide off.
-
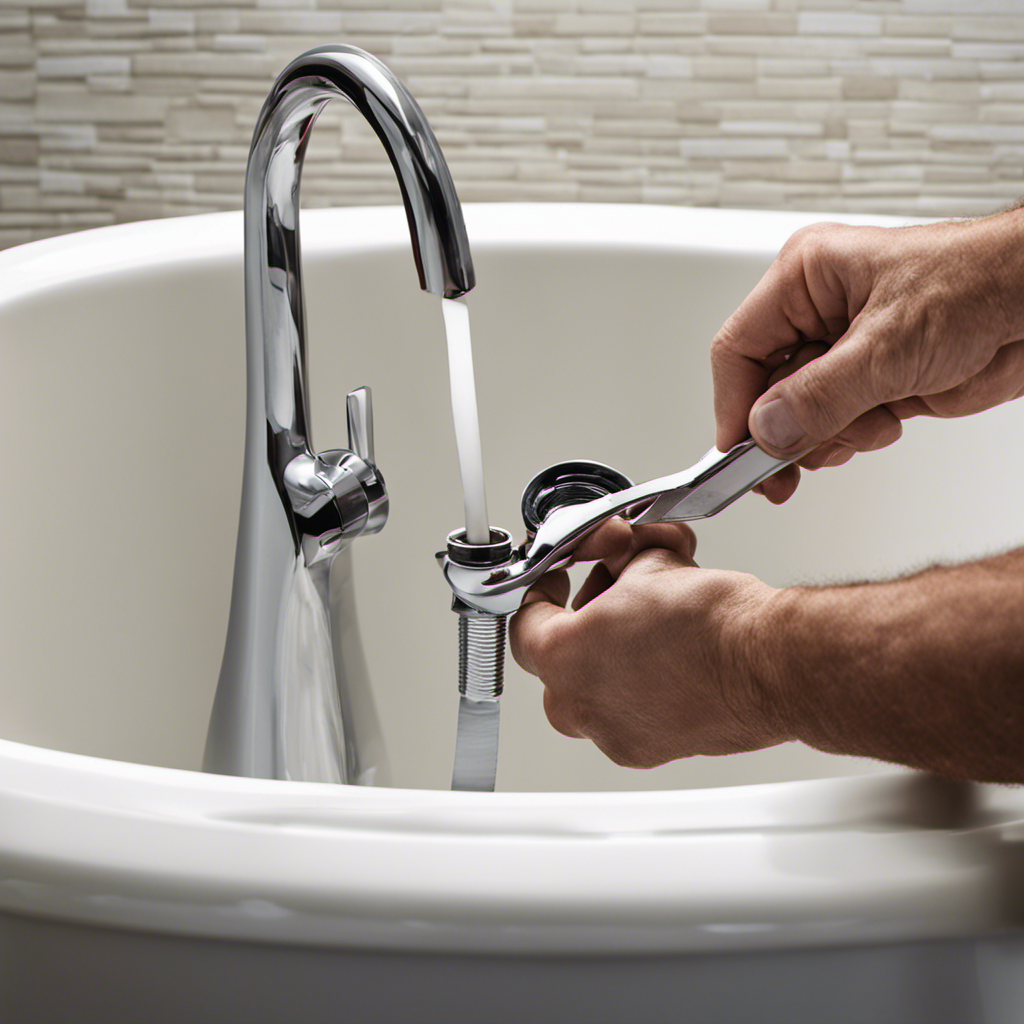
Unscrew the faucet: Use an adjustable wrench to loosen and remove the nut that secures the faucet to the bathtub. Once the nut is removed, you can pull the faucet out.
By following these steps, you can successfully remove your existing bathtub faucet, making way for upgrading or replacing it.
Now, let’s move on to the next section, which is installing the shower head diverter valve.

gotonovo Rainfall Bathroom Shower System Rain Shower Head and Handle Set Wall Mounted Shower Complete Combo Solid Brass Pressure Balancing Shower Mixer Valve 10 Inch Matte Black
1. 10-Inch Rainfall Shower Head – Luxurious Shower Experience: Oversized 10-inch square rainfall shower head delivers wide, even...
As an affiliate, we earn on qualifying purchases.
Installing the Shower Head Diverter Valve
To install the shower head diverter valve, make sure you have the necessary tools and materials ready. You will need an adjustable wrench, plumber’s tape, and a new shower head diverter valve.
Start by turning off the water supply to the bathtub faucet.
Next, unscrew the existing shower head from the diverter valve.
Apply plumber’s tape to the threads of the new diverter valve.
Screw the new diverter valve onto the bathtub faucet tightly by hand, and then use the adjustable wrench to give it an extra turn.
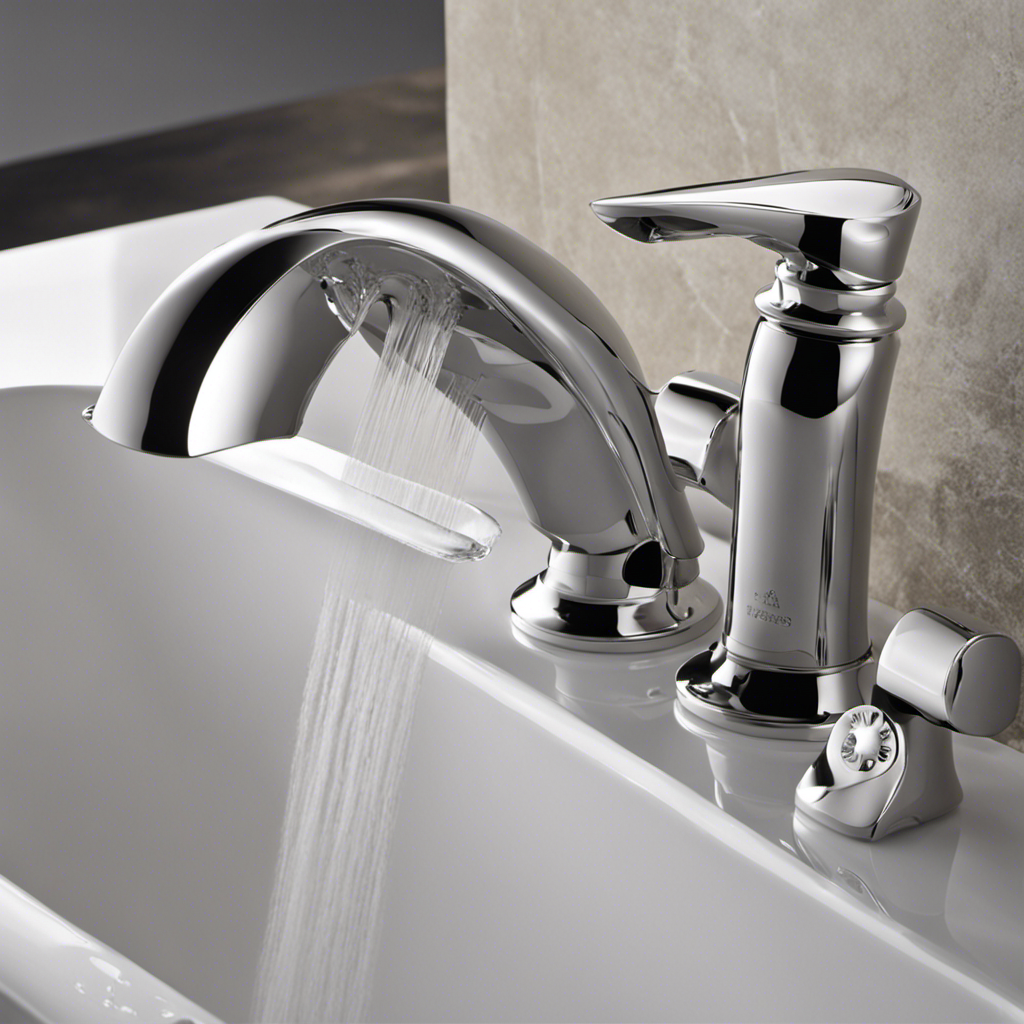
Finally, attach the shower head to the diverter valve and turn on the water supply.
Troubleshooting common issues with shower head diverter valves include leaks, low water pressure, and difficulty switching between the bathtub faucet and shower head.
When comparing different types of shower head diverter valves, consider factors such as durability, ease of installation, and compatibility with your existing bathtub faucet.

Gabrylly Shower System, Wall Mounted Shower Faucets Sets Complete for Bathroom with High Pressure 10" Rain Shower head and 3-Setting Handheld Shower Head Set, 2 Way Shower Valve Kit, Brushed Nickel
【Pressure Balance Shower Valve】Constructed of solid brass materials, The Shower Fixtures with a rough-in valve will be no...
As an affiliate, we earn on qualifying purchases.
Attaching the Shower Head to the Diverter Valve
Now it’s time to connect the shower head to the diverter valve. This is an important step in the process of adding a shower head to a bathtub faucet. Here are three key things to keep in mind:
-
Properly tighten the connection: Use a wrench to ensure a secure and leak-free connection between the shower head and the diverter valve. This will prevent any water from escaping and ensure a steady flow.
-
Troubleshoot common issues: If you experience low water pressure or a clogged shower head, check for any debris or mineral build-up that may be blocking the flow. Clean the shower head or consider using a water softener to improve water quality.
-
Consider alternative shower head options: If you’re not satisfied with the performance of your current shower head, explore alternative options such as rain shower heads or handheld shower heads. These can provide a more customized and enjoyable shower experience.
Testing and Adjusting the Shower Head Flow
After connecting the shower head to the diverter valve, it’s important to test and adjust the flow to ensure an optimal bathing experience. Troubleshooting common issues with shower head flow is crucial to maximize water pressure and flow.
Start by turning on the water and checking if the flow is too weak or uneven. If so, remove the shower head and clean it thoroughly to remove any mineral buildup or debris that may be blocking the flow. Additionally, check the diverter valve for any clogs or obstructions.
If the flow is still not satisfactory, consider installing a flow restrictor or removing one if it’s already in place. Adjusting the shower head’s angle and height can also help maximize water pressure and flow.
Conclusion
In conclusion, adding a shower head to a bathtub faucet is like giving your bathtub a magical transformation. It’s as if your bathtub has acquired a new superpower, allowing it to provide both the soothing comfort of a bath and the invigorating spray of a shower.
With the right tools and materials, removing the existing faucet and installing the shower head diverter valve can be a breeze. Just remember to test and adjust the shower head flow to ensure a perfect showering experience.
So go ahead, let your bathtub embrace its newfound showering abilities and indulge in the ultimate bathing experience.