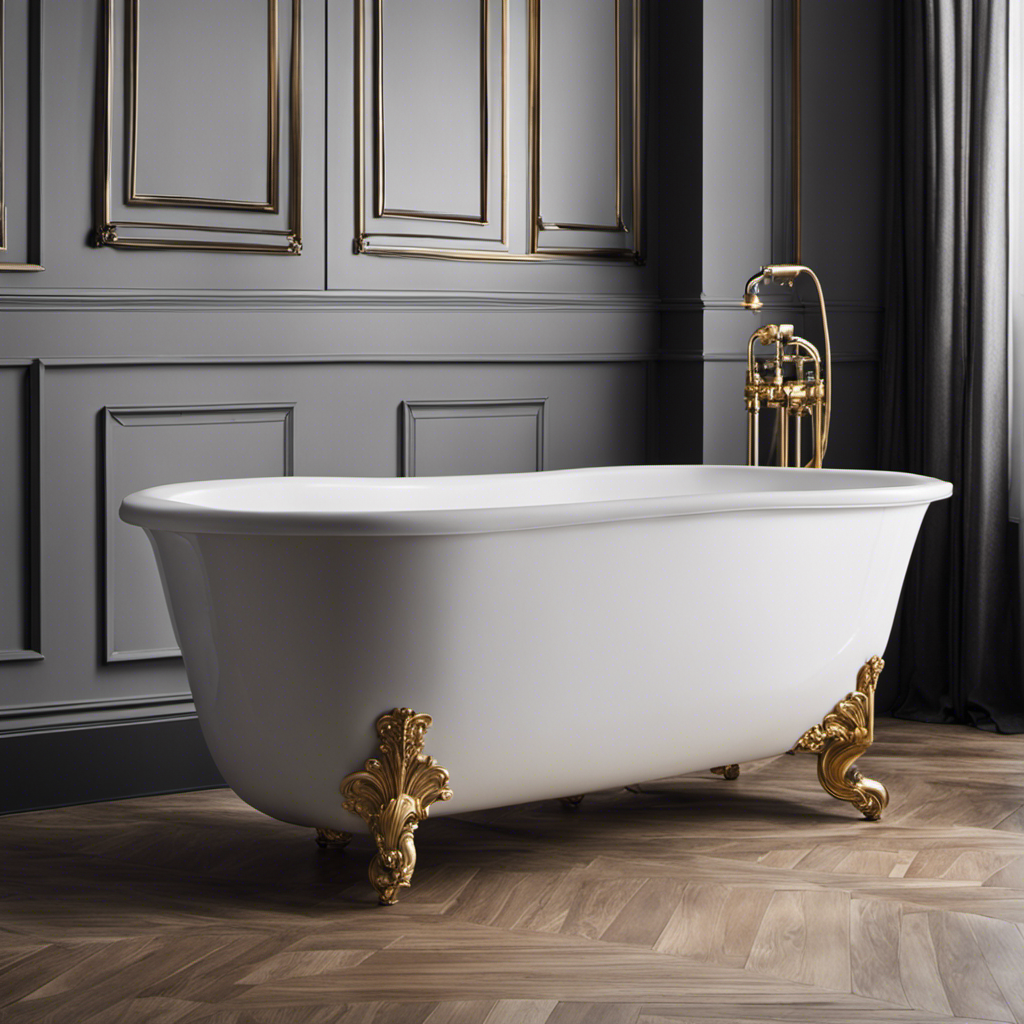
Hey there! Ever wished you could transform your ordinary bathtub into a luxurious shower? Well, you’re in luck because I’ve got all the step-by-step instructions you need to make it happen.
In this article, I’ll guide you through the process of adding a shower to your bathtub, from assessing feasibility to connecting the drain.
So, let’s dive right in and turn your bathroom into a spa-like oasis!
Key Takeaways
- Conduct a feasibility analysis to determine if adding a shower is possible
- Assess existing plumbing system for water pressure and drainage capacity
- Consider structural integrity of bathroom walls and floor
- Estimate cost involved in adding a shower

Pyhomestrim Clawfoot Tub Shower Kit, Add On Shower Units With Bathcock Diverter Faucet and 48" X 27“ Rectangular Claw foot Tub Shower Curtain Rod Kit,Claw foot Tub Shower Faucet Set,Chrome Plated
NEW DESIGN CLAWFOOT TUB AND SHOWER FAUCET COMBO:This Pyhometrim claw foot tub shower kit comes with clawfoot tub…
As an affiliate, we earn on qualifying purchases.
As an affiliate, we earn on qualifying purchases.
Assessing the Feasibility of Adding a Shower
Before you start, you’ll want to determine if adding a shower to your bathtub is possible. This requires conducting a feasibility analysis and estimating the cost involved.
Begin by assessing the existing plumbing system to see if it can accommodate a shower. Check if there is sufficient water pressure and drainage capacity.
Next, consider the structural integrity of the bathroom walls and floor. Adding a shower may require reinforcing the structure to support the additional weight and prevent water damage.
Additionally, evaluate the space available in your bathroom to ensure there is enough room for a shower enclosure.
Once you have completed the feasibility analysis and estimated the costs, you can move on to the next step of gathering the necessary tools and materials for the project.

HoliSpa Tub Shower Faucet, Matte Black Shower Faucet Set with 8-Inch All-Metal Rainfall Showerhead and Bathtub Spout, Single-Handle Tub Shower-Trim Kit Included Valve, Matte Black
IMPORTANT: If you just want to replace the shower trim, HoliSpa shower trim kit is NOT-suitable for you….
As an affiliate, we earn on qualifying purchases.
As an affiliate, we earn on qualifying purchases.
Gathering the Necessary Tools and Materials
In order to successfully complete the task of adding a shower to a bathtub, there are several essential tools that will be needed. These include a drill, adjustable wrench, pipe cutter, and a level, among others.
Additionally, a required materials checklist should be followed, which includes items such as shower valves, pipes, and fittings.
Essential Tools Needed
To add a shower to your bathtub, you’ll need a few essential tools. Here is a step-by-step guide on the essential tools needed to add a shower to your bathtub:
-
Adjustable wrench: This tool is necessary for loosening and tightening plumbing connections.
-
Pipe cutter: Use this tool to cut the water supply pipes to the desired length.
-
Teflon tape: Apply this tape to the threaded connections to create a watertight seal.
-
Caulk gun: Use a caulk gun to apply silicone caulk around the shower fixtures to prevent leaks.
-
Screwdrivers: Both flathead and Phillips screwdrivers are necessary for removing and installing shower fixtures.
Assessing costs is crucial to determine your budget for the project. Additionally, finding professional help is recommended for complex plumbing tasks to ensure the job is done correctly and safely.
Required Materials Checklist
When installing a shower, it’s important to have all the necessary materials on hand. Assessing costs and finding professional help are crucial steps in ensuring a successful shower installation project.
Here is a checklist of the required materials:
-
Shower kit: This includes the showerhead, faucet, and handles. Make sure to choose a kit that matches your bathroom decor and meets your functional needs.
-
Shower drain: This is an essential component for proper water drainage. Consider the type of drain you need based on your bathtub and plumbing system.
-
Waterproofing materials: To prevent water damage, you’ll need waterproofing membranes or coatings for the shower walls and floor.
Assessing costs involves researching the prices of these materials, as well as any additional items you may need. It’s also important to consider the cost of professional help if you’re not confident in your own abilities.
Finding a reputable plumber or contractor can ensure that the installation is done correctly and to code.
Gathering Supplies Efficiently
Gathering all the necessary supplies for a successful shower installation project can be made more efficient by creating a detailed checklist.
To start, you’ll need an efficient showerhead that will provide a satisfying shower experience while conserving water. Look for showerheads that are labeled as low-flow or water-saving.
Next, consider water pressure optimization. If your water pressure is too low, you may need to install a pressure booster or adjust the water pressure regulator.
Additionally, you’ll need a shower arm and flange, which are essential for connecting the showerhead to the water supply. Don’t forget to gather plumbing tape to ensure a watertight seal.
Finally, purchase any necessary tools like a wrench, pliers, and a screwdriver. With a comprehensive checklist, you can streamline the process of gathering supplies needed for your shower installation.
Now, let’s move on to preparing the bathtub for shower installation.

Vorhixa 6 Pcs Plumbing Tools Kit with Angle Stop Wrench & 1/2-Inch Compression Sleeve Puller, Professional Plumbers Wrench, Sandpaper and Storage Bag for Frozen/Corroded Angle Stop
All-in-One Angle Stop Valve Kit: Quickly replace compression angle stops and remove compression rings with step-by-step instructions, designed…
As an affiliate, we earn on qualifying purchases.
As an affiliate, we earn on qualifying purchases.
Preparing the Bathtub for Shower Installation
To ensure a successful shower installation, it’s crucial to properly waterproof the bathtub and install the drain correctly.
First, I’ll apply a waterproofing membrane to the walls and floor of the bathtub area. This will create a tight seal and prevent any water leakage.
Next, I’ll carefully install the drain. It’s important to align it properly and securely connect it to the plumbing system.
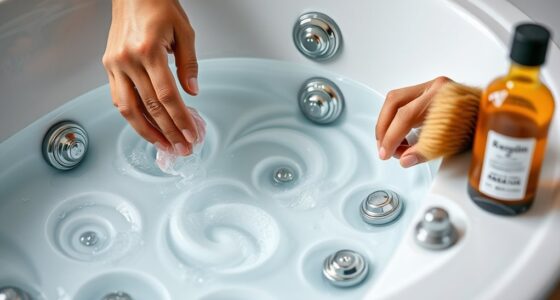
Waterproofing the Bathtub
Make sure you’re using a waterproofing membrane to protect the bathtub from moisture. This is an essential step in ensuring the longevity and durability of your shower installation.
Here are three important points to consider when waterproofing your bathtub:
-
Clean the surface thoroughly: Before applying the waterproofing membrane, ensure that the bathtub is clean and free from any dirt, grime, or soap residue. Use a mild cleaner and scrub the surface gently to remove any impurities that may affect the adhesion of the membrane.
-
Apply the waterproofing membrane: Use a paintbrush or roller to apply the waterproofing membrane evenly on the bathtub surface. Make sure to cover all areas, including the corners and edges. Follow the manufacturer’s instructions for the recommended number of coats and drying time.
-
Seal the joints and seams: Pay close attention to the joints and seams where the bathtub meets the walls or other surfaces. Apply a waterproof sealant to these areas to prevent any water leakage.
By following these steps, you can ensure that your bathtub is properly waterproofed and protected from moisture. This will not only contribute to the longevity of your shower installation but also help in maintaining the overall condition of your bathtub.
Now that the bathtub is waterproofed, let’s move on to the next step: proper drain installation.
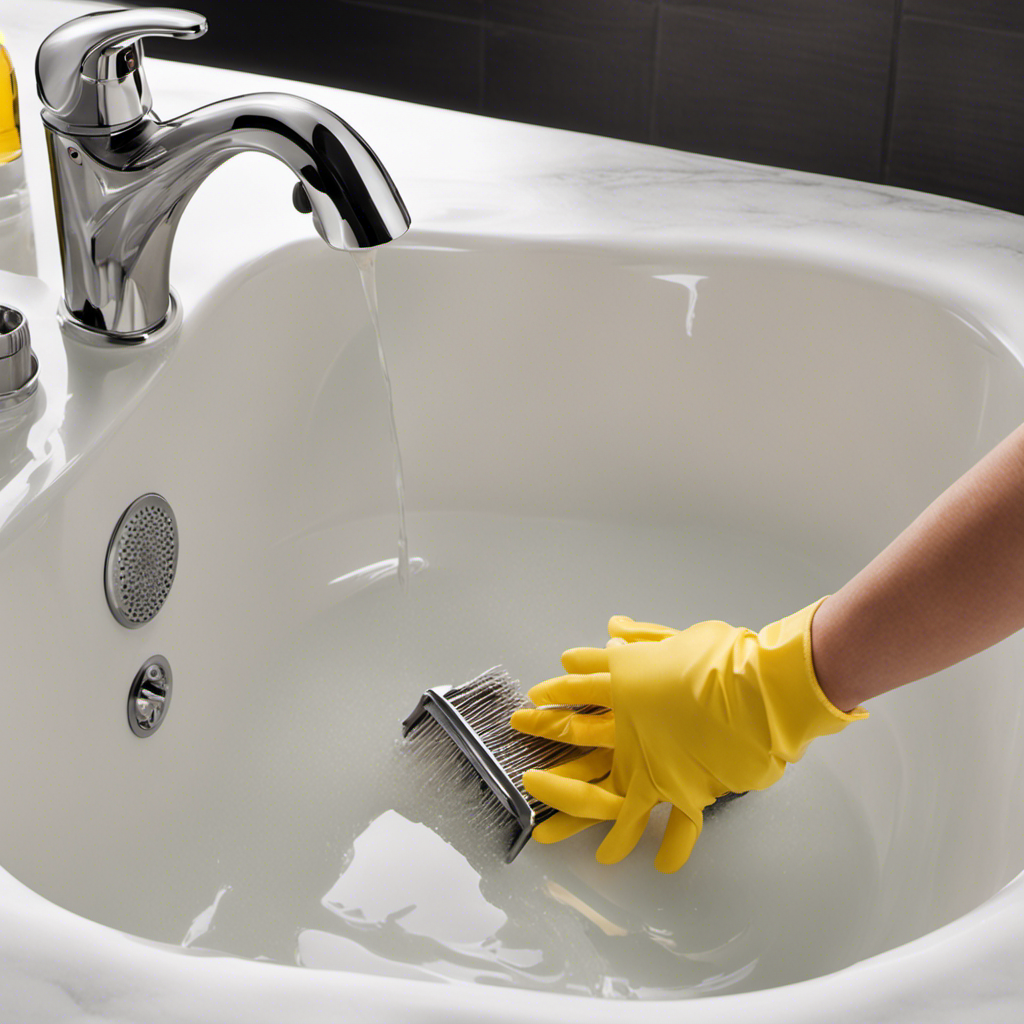
Proper Drain Installation
Now that the bathtub is waterproofed, let’s focus on properly installing the drain. The drainage system plays a crucial role in ensuring that water flows efficiently out of the bathtub.
Here is a step-by-step guide on how to install the drain:
- Start by placing the drain flange into the drain hole at the bottom of the bathtub.
- Apply plumber’s putty around the flange to create a watertight seal.
- Insert the drain body into the flange and tighten it using a wrench.
- Connect the drain pipe to the drain body using a slip nut and washer.
- Ensure that all connections are tight and secure to prevent any leaks.
By following these steps, you can ensure a proper plumbing connection for your bathtub’s drainage system.
Now, let’s move on to installing the showerhead and faucet to complete the shower installation process.

UCANVIN Shower & Bathtub Waterproofing Polyethylene Inside Corner Membrane (4 Pieces, Water Resistant, Art Deco)
【Package Contents】There are 4 pieces inside corner waterproofing shower membrane in one package, soft and waterproof features makes…
As an affiliate, we earn on qualifying purchases.
As an affiliate, we earn on qualifying purchases.
Installing the Showerhead and Faucet
First, you’ll need to attach the showerhead and faucet securely to the wall. This step is crucial to ensure proper functionality and stability of your shower setup. Follow these steps to install the showerhead and faucet correctly:
- Begin by locating the pre-existing holes in the wall for the showerhead and faucet. If there are no existing holes, mark the desired locations using a pencil or marker.
- Use a drill and the appropriate drill bit to create holes in the wall for the showerhead and faucet. Make sure to align the holes with the markings.
- Insert the showerhead and faucet into their respective holes, ensuring a snug fit. Use a screwdriver to tighten the screws or bolts that secure them in place.
Connecting the Shower Drain
To connect the shower drain, you’ll need to carefully align the drainpipe with the drain hole in the floor and tighten the connecting nut securely. Here’s a step-by-step guide on how to properly connect the shower drain for a smooth and efficient drain installation.
- Begin by placing the rubber gasket onto the drain flange.
- Insert the drain flange into the drain hole and ensure it sits flush with the floor.
- From underneath the shower, thread the drainpipe onto the drain flange until it is snug.
- Use a wrench to tighten the connecting nut securely.
Check for any leaks by running water through the drain.
Once confirmed leak-free, proceed to connect the showerhead according to the manufacturer’s instructions.
Waterproofing the Bathtub Area
After properly connecting the shower drain, it’s important to waterproof the bathtub area to prevent any water damage. Waterproofing techniques are crucial in ensuring the longevity and durability of the shower installation.
Here are the steps to effectively waterproof the bathtub area:
-
Prepare the surface: Clean the bathtub area thoroughly, removing any dirt, old caulk, or grime. Ensure that the surface is dry before proceeding.
-
Select the waterproofing method: There are various waterproofing techniques available, such as using a liquid waterproofing membrane or applying a waterproofing sheet. Choose the method that suits your needs and follow the manufacturer’s instructions.
-
Apply the waterproofing material: Using a brush or roller, apply the waterproofing material evenly over the entire bathtub area, including the walls around it. Pay close attention to corners, edges, and joints to ensure complete coverage.
Properly waterproofing the bathtub area is essential in preventing water leakage and potential damage to the surrounding structures. Remember to select high-quality shower fixtures that are also designed to withstand moisture and ensure a watertight seal.
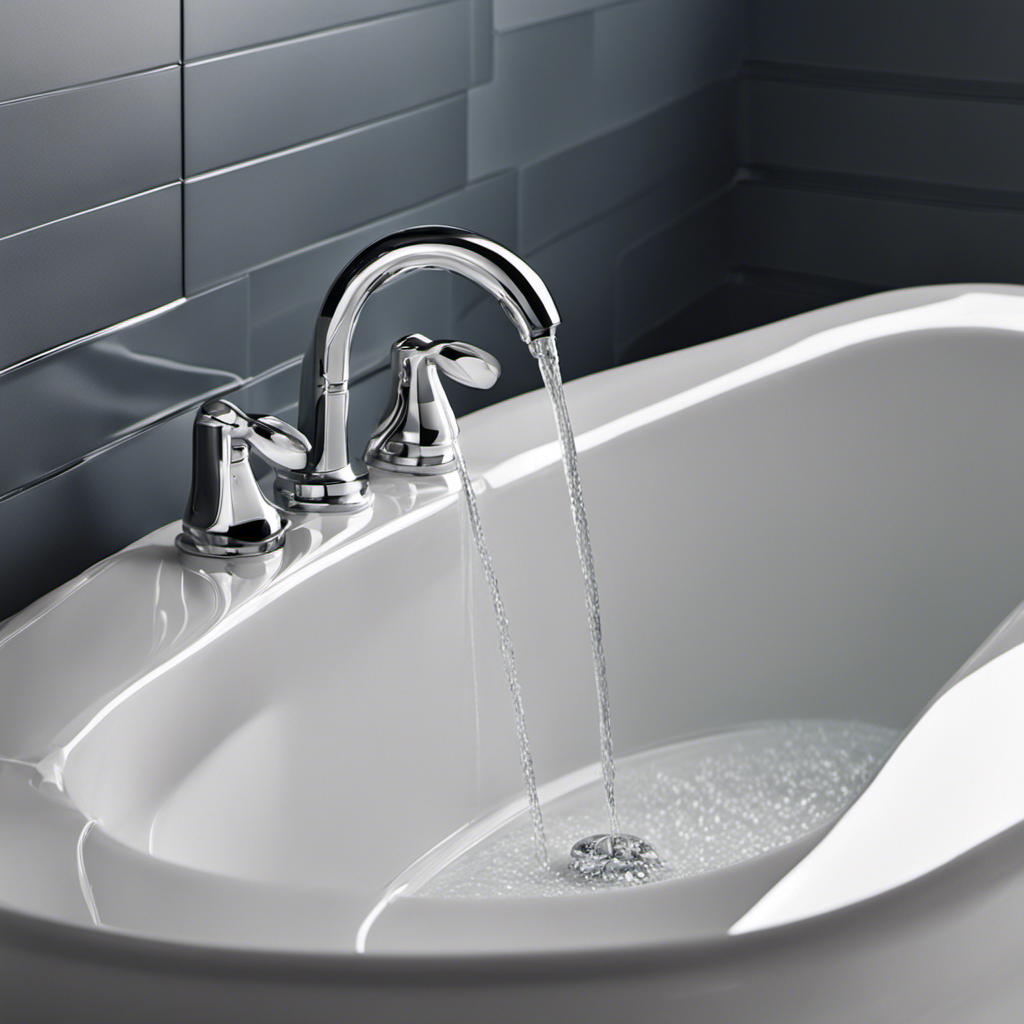
Testing and Adjusting the Shower System
Make sure you test and adjust the shower system to ensure proper water flow and temperature control. This step is crucial in making sure your new shower is functioning correctly. Here are some testing procedures and troubleshooting tips to help you along the way:
| Testing Procedures | Troubleshooting Tips |
|---|---|
| 1. Turn on the water supply valve. | 1. If there is no water flow, check if the supply valve is fully open. |
| 2. Check for any leaks in the system. | 2. If there are leaks, tighten the connections or replace faulty parts. |
| 3. Test the water flow by turning on the showerhead. | 3. If the water flow is weak, clean or replace the showerhead. |
| 4. Adjust the temperature by using the shower handle. | 4. If the water temperature is inconsistent, check the mixing valve for any issues. |
| 5. Ensure proper drainage by running the shower for a few minutes. | 5. If the water doesn’t drain properly, check for clogs in the drain pipe. |
Conclusion
In conclusion, adding a shower to a bathtub is a feasible project that can be accomplished with the right tools and materials.
By assessing the feasibility, gathering the necessary tools, and preparing the bathtub, the installation process can begin.
Installing the showerhead and faucet, connecting the shower drain, and waterproofing the bathtub area are crucial steps in ensuring a successful shower system.
Finally, testing and adjusting the shower system will ensure that everything is working properly.
By following these step-by-step instructions, you can successfully add a shower to your bathtub.