As a homeowner, I know the importance of maintaining a watertight seal in the bathroom. One crucial skill every homeowner should master is how to apply caulk to a bathtub. By properly sealing the corners and edges, you can prevent water damage and keep your bathroom looking fresh and clean.
In this article, I will guide you through the step-by-step process of choosing the right caulk, preparing the surface, applying the caulk, and finishing the job like a pro. Let’s get started!
Key Takeaways
- Choose the right caulk for your bathtub material
- Thoroughly clean and prepare the surface before applying caulk
- Use mold and mildew resistant caulk to ensure longevity
- Apply and smooth the caulk properly, and allow it to cure before exposing it to water.
Top picks for "apply caulk bathtub"
Open Amazon search results for this keyword.
As an affiliate, we earn on qualifying purchases.
Choosing the Right Caulk for Your Bathtub
To choose the right caulk for your bathtub, you’ll want to consider factors such as the type of bathtub material and the specific caulk’s properties.
When it comes to caulk color options, there are a variety of choices available to match your bathtub and bathroom decor. However, it’s important to remember that the color of caulk is purely aesthetic and does not affect its performance.
The more crucial aspect is selecting the right type of caulk for your bathtub’s surface. Different types of caulk are designed for different surfaces, such as acrylic, fiberglass, or porcelain. It is important to choose a caulk that is specifically formulated for your bathtub material to ensure proper adhesion and longevity.
Taking the time to consider both the color options and the appropriate type of caulk will help you make the best choice for your bathtub.
Preparing the Bathtub Surface for Caulking
Before applying caulk to my bathtub, it’s crucial to prepare the surface properly.
First, I need to clean the surface thoroughly, removing any dirt, grime, or soap scum.
Next, I should remove any old caulk that may be present, using a caulk removal tool or a putty knife.
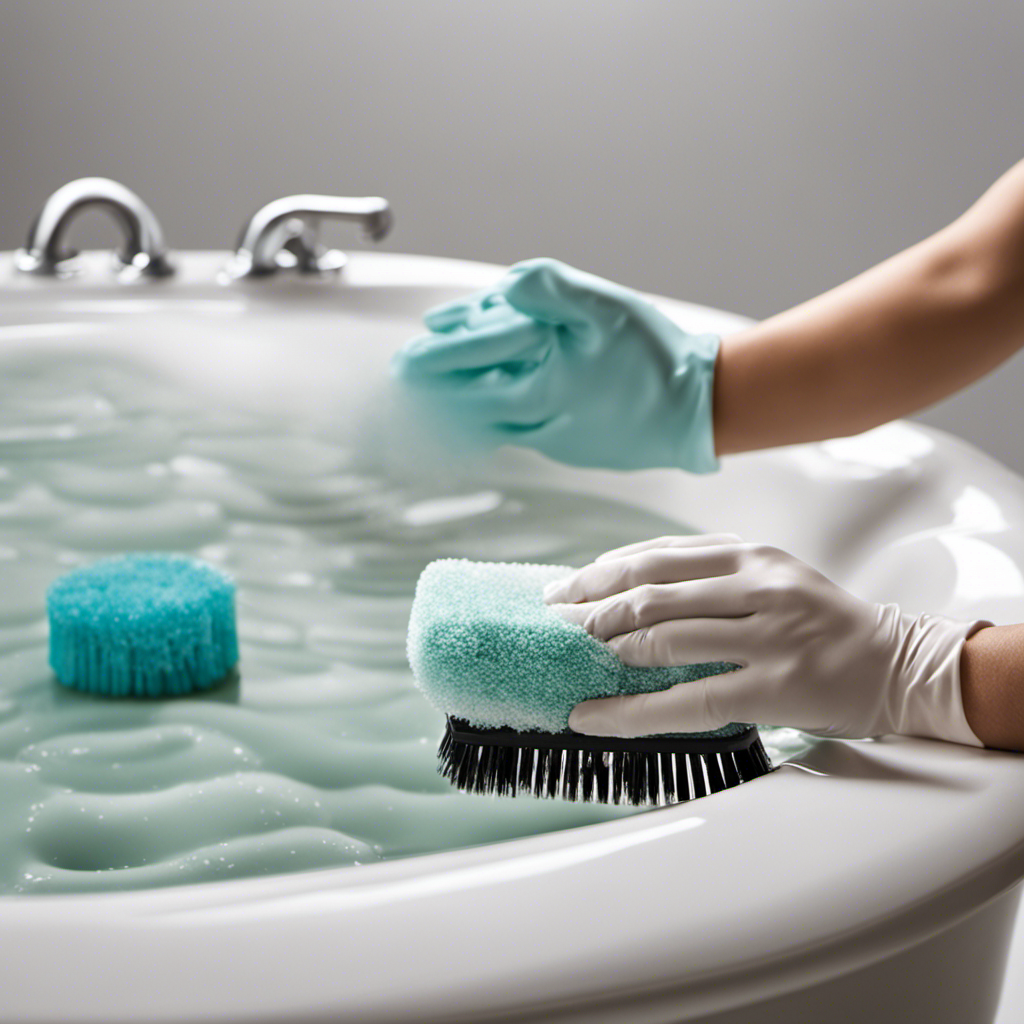
Cleaning the Surface
First, make sure you’ve thoroughly cleaned the surface before applying the caulk. Cleaning the surface is an essential step in ensuring a proper caulk application.
To begin, gather the necessary cleaning tools such as a scrub brush, mild detergent, and water. Start by removing any loose debris or old caulk using a putty knife or caulk remover tool.
Next, mix the mild detergent with water to create a soapy solution. Dip the scrub brush into the solution and vigorously scrub the surface to remove any dirt, grime, or soap scum.
Rinse the area with clean water and wipe it dry with a clean cloth. It is crucial to have a clean and dry surface before applying the caulk to ensure it adheres correctly and provides a long-lasting seal.
Removing Old Caulk
After you’ve thoroughly cleaned the surface, you can start removing the old caulk using a putty knife or caulk remover tool.
The best tools for caulk removal are those that can effectively scrape away the old caulk without damaging the surface. A putty knife with a sharp, angled blade is ideal for this task.
Begin by inserting the blade of the putty knife into the caulk, then carefully push and pull it along the caulk line to loosen and lift the old caulk.
If the caulk is stubborn, you can use a caulk remover tool, which is specifically designed to soften and dissolve caulk for easier removal. Simply apply the caulk remover to the old caulk, wait for it to soften, and then scrape it away with the putty knife.
These caulk removal techniques will ensure a clean and smooth surface for your new caulk application.
Drying the Bathtub
Once you’ve finished cleaning the surface, make sure it’s completely dry before moving on. Proper drying of the bathtub is crucial for a successful caulk application. Moisture on the surface can prevent the caulk from adhering properly, leading to cracking and an ineffective seal.
The drying time of a bathtub depends on various factors such as the material it’s made of and the level of humidity in the room. On average, it takes around 24 hours for a bathtub to fully dry. However, it’s always recommended to check the manufacturer’s guidelines for specific drying times.
To prevent caulk cracking, it’s important to ensure that the bathtub is thoroughly dry before applying the caulk. Using a fan or opening windows can help expedite the drying process.
Removing Old Caulk From the Bathtub
When it comes to removing old caulk from the bathtub, knowing the best method is crucial for a successful outcome.
One of the most effective techniques I’ve found is using a caulk removal tool or a utility knife to carefully cut along the edges of the caulk, allowing for easier removal.
However, it’s important to note that the time required for this process can vary depending on the amount and condition of the caulk. Generally, it can take anywhere from 30 minutes to a couple of hours to completely remove the old caulk.
Best Caulk Removal Method
To remove the old caulk from your bathtub, you’ll want to carefully score it with a utility knife before using a caulk removal tool.
When it comes to the best caulk removal tools, there are a few options to consider. One popular choice is a caulk removal tool with a sharp, angled blade that can easily cut through the caulk without damaging the surface.
Another option is a caulk removal tool with a triangular shape, which allows for better control and precision when removing the caulk.
If you’re looking for alternative caulk removal methods, you can also try using a heat gun or a hairdryer to soften the caulk before scraping it away with a putty knife.
Remember to always wear protective gloves and goggles when removing caulk to ensure your safety.
Time Required for Removal
The amount of time it takes to remove the old caulk from your bathtub will depend on the size and complexity of the job. However, there are a few tips that can help you expedite the process and estimate the removal time more accurately.
-
Prepare the area: Before you begin, make sure to remove any loose debris or mold around the caulked area. This will make the removal process easier and quicker.
-
Use the right tools: Invest in a good caulk removal tool or utility knife to efficiently cut away the old caulk. These tools are specifically designed to make the process faster and more precise.
-
Apply a caulk softener: If the caulk is stubborn and difficult to remove, consider using a caulk softener. This product helps to loosen the caulk, making it easier to scrape away.
-
Be patient and thorough: Take your time to ensure that all the old caulk is completely removed. Leaving behind any remnants can interfere with the new caulk’s adhesion and durability.
Applying Caulk to the Bathtub Corners
First, make sure you have thoroughly cleaned the bathtub corners before applying caulk. This step is crucial to ensure proper adhesion and a long-lasting seal.
To apply caulk to the bathtub corners, start by cutting the tip of the caulk tube at a 45-degree angle. Insert the tube into a caulk gun and squeeze a small bead of caulk along the edges of the corners.
Use a caulk smoothing tool or a wet finger to smooth and shape the caulk, ensuring it fills any gaps or cracks. Wipe away any excess caulk with a damp cloth before it dries.
If you encounter any issues during the caulk application, such as air bubbles or uneven lines, troubleshoot by applying less pressure on the caulk gun and practicing a steady hand movement.
Caulking the Bathtub Edges and Joints
Make sure you’ve cleaned the corners of the bathtub thoroughly before caulking to ensure a proper seal. When it comes to caulking the edges and joints of your bathtub, following the right techniques is essential for a successful outcome. Here are four key tips to keep in mind:
-
Choose the right caulk: Select a caulk that is specifically designed for bathroom use and is mold and mildew resistant. This will ensure that your caulk lasts longer and remains in good condition.
-
Prepare the surface: Clean the edges and joints of the bathtub with a mild cleaner and scrub away any dirt or soap scum. Make sure the area is completely dry before applying the caulk.
-
Apply the caulk evenly: Use a caulk gun to apply a thin, even bead of caulk along the edges and joints. Hold the gun at a 45-degree angle and apply gentle pressure to control the flow of caulk.
-
Smooth and shape the caulk: Use a caulk smoothing tool or your finger to smooth and shape the caulk, creating a neat and professional finish. Wipe away any excess caulk with a damp cloth.
Smoothing and Finishing the Caulk Application
To achieve a professional and polished look, use a caulk smoothing tool or your finger to smooth and shape the caulk along the edges and joints of your bathtub. This step is crucial in ensuring that the caulk adheres properly and creates a seamless finish. When it comes to smoothing techniques, there are a few options to choose from. You can use a caulk smoothing tool, which is specifically designed for this purpose. Alternatively, you can use your finger, making sure to wet it with water or a soapy solution to prevent the caulk from sticking. Gently run the tool or your finger along the caulk, applying even pressure to create a smooth and even surface. The table below highlights some popular caulk application tools and their features:
| Tool | Features |
|---|---|
| Caulk Smoothing Tool | Non-stick surface, Comfortable grip |
| Finger | Easy to control, No additional cost |
Drying and Curing the Caulk on Your Bathtub
Once the caulk has been smoothed and shaped along the edges and joints, you need to give it enough time to dry and cure properly. This is crucial for ensuring a long-lasting and watertight seal in your bathtub. Here are four important things to keep in mind during the drying and curing process:
-
Curing Time: The curing time for caulk can vary depending on the type and brand you’re using. Generally, it takes around 24 to 48 hours for the caulk to fully cure. Make sure to check the instructions on the caulk tube for specific drying and curing times.
-
Avoid Water Exposure: During the curing process, it’s important to prevent any water exposure. This means avoiding using the bathtub or shower for at least 24 hours after applying the caulk. Water can disrupt the curing process and result in a weaker seal.
-
Proper Ventilation: To speed up the drying and curing process, ensure proper ventilation in the bathroom. Open windows or use fans to promote air circulation. This will help the caulk dry faster and reduce the chances of discoloration.
-
Preventing Caulk Discoloration: To prevent caulk discoloration, avoid using harsh cleaning products or abrasive materials on the caulk. These can cause the caulk to fade or become discolored. Instead, use mild soap and water for cleaning and be gentle when scrubbing the caulk.
Conclusion
In conclusion, applying caulk to your bathtub is crucial for maintaining its longevity and preventing water damage. By choosing the right caulk and preparing the surface properly, you can ensure a seamless and watertight seal.
Taking the time to remove old caulk and applying it carefully to corners and edges will result in a professional-looking finish. It is important to smooth and finish the caulk application for a polished appearance.
Once dried and cured, your bathtub will be protected and ready for use. It will act as a fortress, shielding against water infiltration.