
So you want to attach a shower hose to your bathtub faucet? Well, you’ve come to the right place! In this step-by-step guide, I’ll show you exactly how to do it.
With just a few tools and materials, you’ll be able to enjoy the convenience of a handheld shower in no time. Say goodbye to the limitations of a fixed showerhead and hello to a more versatile bathing experience.
Let’s get started, shall we?
Key Takeaways
- There are three main types of bathtub faucets: compression, ball, and cartridge.
- Look for a single handle or knob for ball or cartridge faucets, or separate handles for compression faucets.
- Check the water flow to ensure proper water pressure for the shower hose.
- Having the right tools and materials is essential for a secure and leak-free attachment.

SR SUN RISE 12 Inch Rain Shower System, High Pressure Shower Heads and Handheld 6-Spray Combo Set Slide Bar Shower Faucets Sets Complete Included Valve and Trim Kit for Bathroom, Brushed Nickel
Perfect for New & Remodel Bathroom: SR SUN RISE Shower Valve (included) NOT compatible with existing valve, must...
As an affiliate, we earn on qualifying purchases.
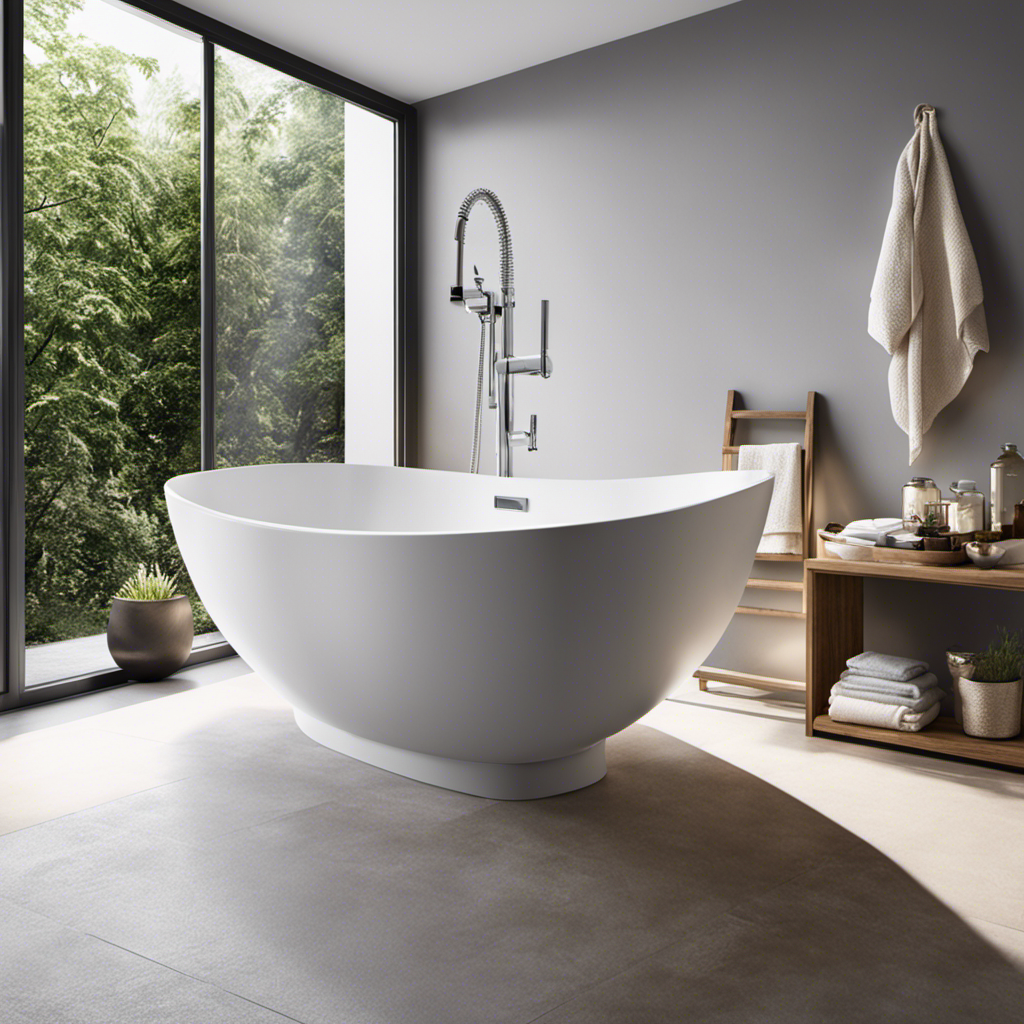
Assessing Your Bathtub Faucet
Before you can attach the shower hose to your bathtub faucet, you need to assess its condition and compatibility. Identifying common bathtub faucet types is the first step in this process.
There are three main types: compression, ball, and cartridge. To determine the type, look for a single handle or knob that controls both hot and cold water (ball or cartridge), or separate handles for hot and cold water (compression).
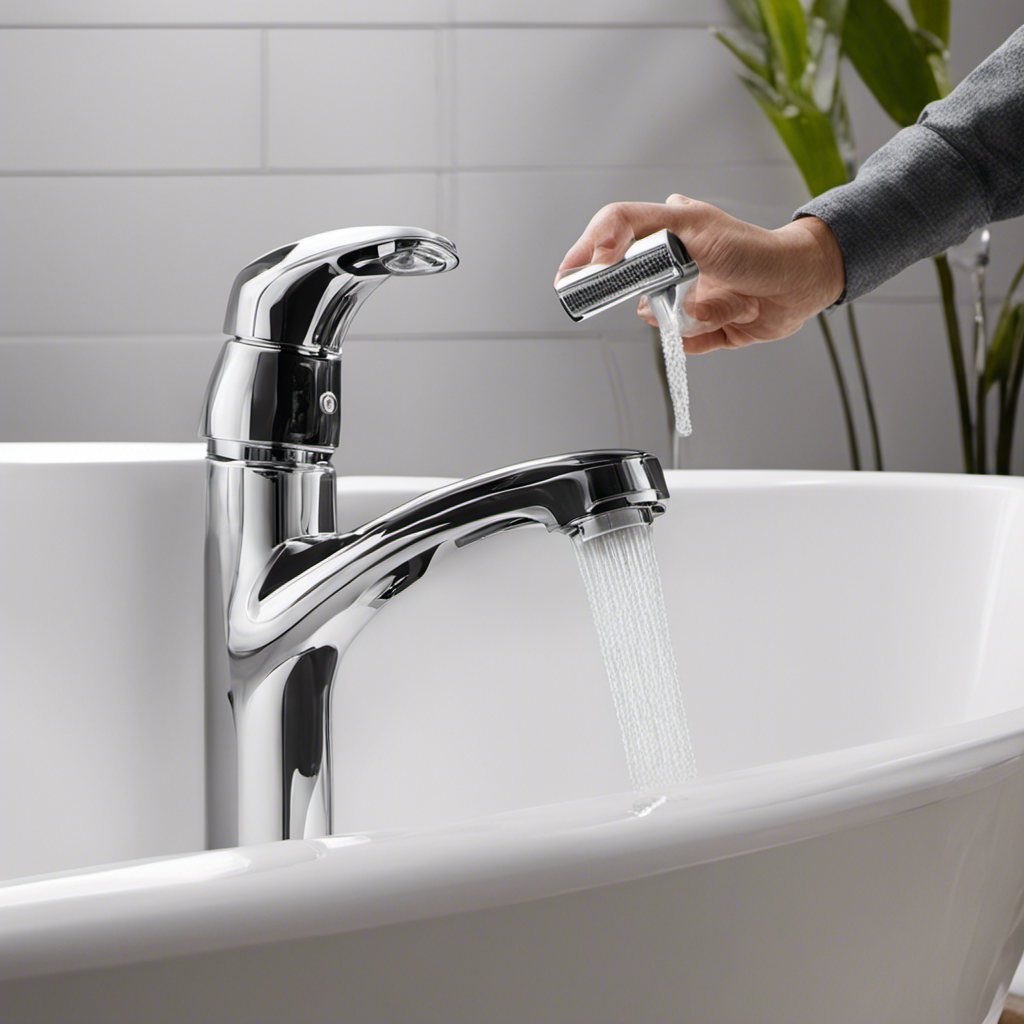
Understanding the importance of proper water pressure is also crucial. Low water pressure can affect the functionality of your shower hose, so it’s important to check if your faucet provides enough pressure.
You can do this by turning on the faucet and observing the water flow. If it’s weak or inconsistent, you may need to address the water pressure issue before attaching the shower hose.
MakeFit Dual Handheld Shower Head Combo, 2-in-1 Rain Shower Heads System 8 Inch Rainfall Shower Head and 10 Modes High Pressure Hand Held Showerhead with Built-in Power Wash
【2-in-1 Dual Shower Head with Handheld】MakeFit Dual Shower Head Combo kit, comprising of a high pressure rain shower...
As an affiliate, we earn on qualifying purchases.
Gathering the Necessary Tools and Materials
Now that you’ve got all the necessary tools and materials, it’s time to start the installation process.
Choosing the right shower hose is crucial to ensure a secure and leak-free attachment. Look for a hose that is made from durable materials like stainless steel or reinforced PVC. Additionally, consider the length of the hose to ensure it reaches comfortably from the faucet to the shower area.
When it comes to finding the best attachment method, there are a few options to consider. One common method is using a threaded adapter that screws onto the faucet spout. This provides a secure connection and prevents leaks. Another option is a quick-connect adapter, which allows for easy installation and removal of the hose. Whichever method you choose, make sure it is compatible with your faucet and provides a tight seal to avoid any water leakage.
Now that you have chosen the right shower hose and attachment method, let’s move on to the next step: removing the existing showerhead.

Iriber Shower System Wall Mounted Shower Faucet Mixer Set with Luxury High Pressure Shower head and 3-Setting Handheld, Bathroom Shower Trim Kit Contain Pressure Balance Valve,Brushed Gold
Package include: 1*10 inch Round rain shower head, 1*handheld shower head, 1*16 inches shower arm(Brass), 1*1.5M shower hose(304...
As an affiliate, we earn on qualifying purchases.
Removing the Existing Showerhead
To remove the existing showerhead, you’ll need a pair of pliers and a cloth to protect the finish. Here’s a step-by-step guide on how to do it:
-
Start by turning off the water supply to the shower. You can usually find the shut-off valve near the shower or in the basement.
-
Take the cloth and wrap it around the base of the showerhead to protect the finish from scratches.
-
Use the pliers to grip the showerhead firmly. Turn the showerhead counterclockwise to loosen it. It may require some force, so be careful not to damage the plumbing.
-
Once the showerhead is loose, continue unscrewing it by hand. Remove the showerhead completely from the shower arm.

VANFOXLE Shower Faucet Set Matte Black Shower System,Push Button Diverter Shower Faucet with 2 in 1 Handheld,Ceiling Mount 10 Inch Shower Head with 6 Inch Wall Mount Shower Head
Push Button Diverter: Vanfoxle has developed an improved version of water control —— Replacing the traditional square-shaped controller...
As an affiliate, we earn on qualifying purchases.
Attaching the Shower Hose
Make sure you have the appropriate connectors and a wrench handy to secure the shower hose tightly. Proper installation of the shower hose is essential to ensure a leak-free and functional setup. There are different attachment methods available, depending on the type of bathtub faucet you have. Here is a step-by-step guide on how to attach the shower hose to your bathtub faucet:
- Start by removing the aerator or any attachments from the faucet spout.
- Take one end of the shower hose and connect it to the faucet using the appropriate connector. Ensure it is tight and secure.
- Attach the other end of the shower hose to the handheld showerhead. Again, use the appropriate connector and tighten it.
- Once everything is connected, turn on the water to check for any leaks. If there are any, tighten the connections further using a wrench.
By following these steps, you can properly attach the shower hose to your bathtub faucet using the appropriate connectors and achieve a secure and leak-free installation.
| Attachment Method | Connector Type |
|---|---|
| Screw-On | Threaded |
| Snap-On | Quick Connect |
| Clamp-On | Hose Clamp |
| Push-On | Push-Fit |
Testing and Troubleshooting
You can troubleshoot any potential issues by checking for water leaks and ensuring all connections are tightened properly. Here are some tips for optimizing water flow and troubleshooting common issues:
-
Check for leaks: Inspect the shower hose and all connections for any signs of water leakage. Tighten any loose connections or replace damaged parts.
-
Clean the showerhead: Over time, mineral deposits can build up and restrict water flow. Remove the showerhead and soak it in a mixture of vinegar and water to dissolve the deposits. Rinse thoroughly before reattaching.
-
Remove aerator or flow restrictor: Some showerheads have aerators or flow restrictors that limit water flow. If you prefer a stronger flow, remove these components following the manufacturer’s instructions.
-
Increase water pressure: If the water flow is consistently low, check if the water pressure in your home is set too low. Adjust the water pressure regulator or consult a plumber for assistance.
Conclusion
In conclusion, attaching a shower hose to your bathtub faucet is a simple and convenient way to enhance your bathing experience.
By following the steps outlined in this article, you can easily transform your bathtub into a versatile shower.
For example, imagine coming home after a long day at work and being able to soak in a warm bath while also enjoying the relaxing sensation of a shower.
This combination of water therapies can help you unwind and rejuvenate in the comfort of your own home.