
Are you tired of dealing with stubborn stains and grime in your bathtub? Well, look no further! In this article, we’ll show you how to bleach your bathtub and restore it to its former sparkling glory.
With just a few simple steps, you’ll have a clean and fresh tub that’s ready for your next relaxing soak. So grab your gloves and let’s get started on making your bathtub shine like never before.
Key Takeaways
- Consider factors such as type of stains and material of the bathtub when choosing the right bleach.
- Prepare the bathtub by removing items, cleaning it with mild detergent and warm water, and wearing protective gear.
- Create and apply the bleach solution by pouring it around the edges of the tub, spreading it evenly with a scrub brush or sponge, and letting it sit for a few minutes before scrubbing.
- Maximize bleach effectiveness by following instructions on the product label, waiting for about 30 minutes, and maintaining a clean and bleached bathtub regularly.
bathroom bleach for tubs
As an affiliate, we earn on qualifying purchases.
As an affiliate, we earn on qualifying purchases.
Choosing the Right Bleach
To choose the right bleach for your bathtub, you’ll need to consider factors such as the type of stains you’re dealing with and the material of your bathtub. There are different types of bleach available, each with its own strengths and limitations. Chlorine bleach is a common choice, as it is effective at removing tough stains and disinfecting the surface. Oxygen bleach, on the other hand, is a gentler option that is safe to use on delicate materials like acrylic or fiberglass. Whichever type you choose, always remember to follow safety precautions such as wearing gloves and proper ventilation.
Transitioning into the next section, once you’ve selected the appropriate bleach, it’s time to prepare your bathtub for the bleaching process.

Rubber Kitchen Dishwashing Gloves – 4 Pairs Colorful Reusable Household Cleaning Gloves for Washing Dishes and Cleaning Tasks, Flexible Long-lasting and Non-Slip (Medium, Blue+Pink+Yellow+Red)
Material: These household cleaning gloves are made of soft and skin-friendly natural rubber, providing protection from corrosive liquids…
As an affiliate, we earn on qualifying purchases.
As an affiliate, we earn on qualifying purchases.
Preparing the Bathtub for Bleaching
Before starting, make sure you’ve gathered all the necessary cleaning supplies.
Preparing the surface of your bathtub is crucial before bleaching. Firstly, remove any items from the bathtub, such as bath mats or toiletries.
Next, give the bathtub a thorough clean with a mild detergent and warm water to remove any dirt or grime. Rinse it well and let it dry completely.
Now, it’s time to focus on safety precautions. Put on protective gloves and safety goggles to shield your skin and eyes from the bleach. Open windows or turn on the ventilation fan to ensure proper air circulation.
Lastly, cover nearby surfaces with plastic sheets or towels to prevent any accidental spills or stains.

Broan-Nutone® Bathroom Exhaust Fan, 50 CFM Modern Grille, Energy Star Fan, 2.0 Sones
50 CFM BATHROOM EXHAUST FAN: 50 CFM is sufficient ventilation to remove, moisture, odor and pollutants from your…
As an affiliate, we earn on qualifying purchases.
As an affiliate, we earn on qualifying purchases.
Gathering the Necessary Supplies
Make sure you’ve gathered all the necessary cleaning supplies for the task at hand.
When it comes to bleaching a bathtub, choosing the right gloves is essential. Opt for heavy-duty rubber gloves that can protect your hands from the harsh chemicals in the bleach.
Safety precautions should be taken seriously during the entire process. Before you start, make sure the bathroom is well-ventilated by opening windows or turning on a fan. This will help dissipate any fumes that may arise from the bleach.
Additionally, wear protective eyewear to shield your eyes from any splashes or drips. It’s also important to read and follow the instructions on the bleach bottle carefully to ensure proper usage.

Holikme 7 Pack Deep Cleaning Brush Set, Scrub Pads with Scraper Tip for Pool Walls, Bathroom, Grout, Floor, Bike, Tub, Shower, Kitchen Surface (Green)
7 pack grout cleaning brushes with multiple usages includes 2 scrub brushes, 1 tile lines brush, 3 groove…
As an affiliate, we earn on qualifying purchases.
As an affiliate, we earn on qualifying purchases.
Creating a Bleach Solution
Choosing the right gloves is essential when creating a bleach solution for cleaning the bathtub. While bleach is an effective cleaner, it can pose potential risks if not used properly. If you are concerned about the harsh chemicals in bleach or want to explore alternatives, there are options available.
One alternative is hydrogen peroxide, which is a milder bleach substitute that can still effectively remove stains and disinfect surfaces. Another option is vinegar, which has natural cleaning properties and can be mixed with water to create a solution for cleaning the bathtub. However, it is important to note that bleach alternatives may not be as strong as bleach itself, so you may need to scrub a bit more to achieve the desired results.
Additionally, always remember to wear gloves and work in a well-ventilated area when working with any cleaning solution, including bleach or its alternatives, to minimize potential risks.
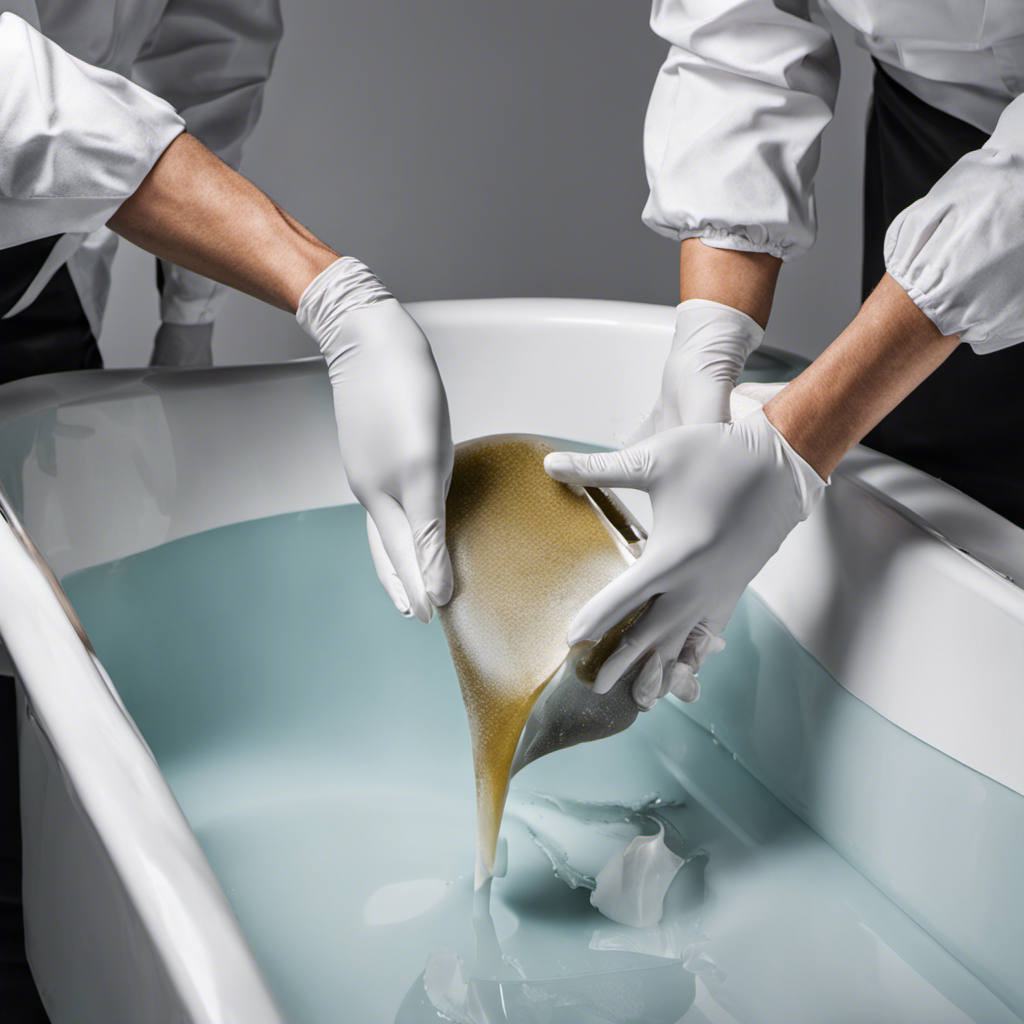
Applying the Bleach Solution to the Bathtub
After applying the solution, let it sit for a few minutes before scrubbing the surface of the bathtub.
To ensure an even application of bleach, start by pouring the solution around the edges of the tub and then work your way towards the center.
Use a scrub brush or sponge to spread the bleach over the entire surface, making sure to cover any stains or discoloration.
While applying the bleach, it’s important to avoid inhaling the fumes. Open a window or turn on the ventilation fan to prevent the buildup of bleach vapors in the bathroom.
By applying the bleach evenly and taking precautions to avoid bleach fumes, you can effectively clean and disinfect your bathtub.
Now, let the bleach solution sit for a few minutes to allow it to work its magic.
Letting the Bleach Solution Sit
When it comes to letting the bleach solution sit in your bathtub, there are two key points to consider: optimal waiting time and maximizing bleach effectiveness.
The optimal waiting time refers to the amount of time you should let the bleach solution sit on the bathtub surface before rinsing it off. This waiting time allows the bleach to effectively kill any bacteria or mold present and ensures a thorough cleaning.
To maximize bleach effectiveness, it is important to follow the instructions on the bleach product label, as different bleach concentrations require different waiting times for maximum effectiveness.
Optimal Waiting Time
The optimal waiting time for the bleach to sit in the bathtub is about 30 minutes. This is crucial for maximizing bleach effectiveness and ensuring a thorough cleaning. During this time, the bleach solution penetrates and breaks down any dirt, grime, or stains on the surface.
It is important to give the bleach enough time to work its magic, but not too long to avoid damage to the bathtub’s finish. While waiting, it is recommended to keep the bathroom well-ventilated to prevent any strong fumes.
Once the waiting time is over, proper drying techniques should be employed. Use a clean cloth or towel to wipe down the bathtub, removing any excess bleach solution. This helps in preventing any residue or streaks, leaving your bathtub clean and sparkling.
Transitioning into the next section, now that you know the optimal waiting time and proper drying techniques, let’s explore some tips for maximizing bleach effectiveness.
Maximizing Bleach Effectiveness
To get the most out of bleach, it’s essential to follow the recommended waiting time and ventilation guidelines. Maximizing bleach effectiveness requires a thorough understanding of its properties and how to use it properly.
First and foremost, ensure that the area you plan to bleach is well-ventilated to avoid inhaling harmful fumes. Open windows and turn on fans to circulate fresh air. Additionally, always wear protective gloves and eye goggles to prevent any potential skin or eye irritation.
When using bleach, it’s crucial to follow the instructions on the packaging carefully. Let the bleach sit on the surface for the recommended amount of time to allow it to effectively kill germs and remove stains.
Scrubbing and Rinsing the Bathtub
Make sure you scrub the bathtub thoroughly and rinse it well to remove any remaining bleach residue. Proper scrubbing techniques are essential to ensure a clean and damage-free bathtub.
Start by using a non-abrasive sponge or cloth to scrub the surface gently. Avoid using harsh scrub brushes or abrasive cleaners as they can scratch and damage the bathtub’s finish. Instead, opt for a gentle cleaner or a mixture of baking soda and water for a natural alternative.
Work in small sections, focusing on any stained or dirty areas. Rinse the scrubbed area with warm water, ensuring all the bleach and cleaning solution is completely removed. This step is crucial in preventing bleach damage and leaving your bathtub sparkling clean.
Remember to dry the surface thoroughly after rinsing to prevent any potential water spots or streaks.
Drying and Inspecting the Bathtub
To ensure a clean and well-maintained bathtub, it is crucial to pay attention to proper drying techniques, identify any potential issues, and conduct a thorough inspection.
Proper drying techniques involve using clean, dry towels or a fan to remove excess moisture, preventing the growth of mold and mildew.
Identifying potential issues such as cracks, chips, or discoloration allows for timely repairs, preventing further damage.
Lastly, a thorough inspection ensures that all areas of the bathtub are clean and in good condition, providing a safe and enjoyable bathing experience.
Proper Drying Techniques
After rinsing the bathtub thoroughly, it’s important to dry it completely to prevent any water spots or streaks. Proper drying techniques not only ensure a clean and shiny bathtub, but also help prevent mold growth.
To effectively dry your bathtub, follow these steps:
- Use a clean, dry microfiber cloth or towel to wipe down the entire surface of the tub.
- Pay extra attention to the corners, edges, and any crevices where water may accumulate.
- Open windows or turn on exhaust fans to ensure proper ventilation and help speed up the drying process.
- If necessary, use a hairdryer on a cool setting to remove any remaining moisture.
- Inspect the bathtub for any signs of water spots or streaks, and repeat the drying process if needed.
Identifying Potential Issues
You can easily identify potential issues by checking for any cracks, leaks, or discoloration in the bathroom fixtures. These can indicate underlying problems that may pose potential risks to your safety and the integrity of your bathroom.
Here are some key points to consider when inspecting your bathroom fixtures:
-
Cracks: Look for any visible cracks on the surface of your bathtub, sink, or toilet. Cracks can weaken the structure and lead to leaks or even breakage.
-
Leaks: Check for any signs of water leakage around the fixtures. This could include water stains, dampness, or water pooling on the floor. Addressing leaks promptly is essential to prevent water damage and mold growth.
-
Discoloration: Pay attention to any discoloration on the fixtures, such as rust or stains. Discoloration can indicate water quality issues or mineral buildup, which may affect the performance and lifespan of your fixtures.
Ensuring Thorough Inspection
Now that you’ve identified potential issues in your bathtub, it’s important to ensure a thorough inspection before moving on to the next step.
This will help you determine the extent of the stains and the best approach for cleaning them.
Start by removing any bath mats, shower curtains, or any other accessories from the bathtub to get a clear view of the surface. Use a flashlight to inspect hard-to-reach areas like corners and drains.
Look for any stubborn stains, mold, or mildew that may require special attention. Take note of any areas that need extra cleaning or repairs to prevent future stains.
Maintaining a Clean and Bleached Bathtub
To maintain a clean and bleached bathtub, make sure to regularly scrub the surface with a bleach-based cleaner. This will help remove any dirt, grime, and soap scum that can accumulate over time.
Here are three important steps to effectively maintain bathtub hygiene and prevent mold and mildew growth:
- Start by applying the bleach-based cleaner to the entire surface of the bathtub.
- Use a scrub brush or sponge to scrub the bathtub in circular motions, paying special attention to areas prone to mold and mildew, such as the corners and grout lines.
- Rinse the bathtub thoroughly with water to remove any residue from the cleaner.
Frequently Asked Questions
How Long Should I Let the Bleach Solution Sit in the Bathtub Before Scrubbing and Rinsing?
To achieve optimal results, allow the bleach solution to sit in your bathtub for at least 10 minutes before scrubbing and rinsing. This ensures that the bleach has enough time to effectively disinfect and remove stains.
Can I Use Any Type of Bleach for Bleaching the Bathtub?
You can use any type of bleach for bleaching the bathtub, but be cautious with colored tubs as it may cause discoloration. Alternative methods may not deliver the same level of cleanliness and disinfection that bleach provides.
How Often Should I Bleach My Bathtub to Maintain Its Cleanliness?
For optimal cleanliness, bleach your bathtub regularly. Use any type of bleach, as long as it’s suitable for cleaning. The frequency depends on usage and personal preference, but a general rule is once a week or whenever it starts looking dirty.
Is It Necessary to Wear Protective Gloves and Clothing When Applying the Bleach Solution to the Bathtub?
It’s important to wear protective gloves and clothing when applying bleach to your bathtub. Not only does it ensure your safety, but it also enhances the effectiveness of the solution in cleaning and disinfecting the tub.
Should I Use a Specific Type of Brush or Sponge for Scrubbing the Bathtub After Applying the Bleach Solution?
To scrub the bathtub after applying the bleach solution, it is recommended to use a brush with stiff bristles rather than a sponge. The brush will provide better scrubbing power and help remove stubborn stains effectively.
Conclusion
In conclusion, bleaching your bathtub is a simple yet effective way to maintain a clean and sanitary bathroom environment. By following the steps outlined in this article, you can easily remove stains, grime, and bacteria from your bathtub.
Did you know that according to a study conducted by the National Sanitation Foundation, the average bathtub harbors over 2,000 bacteria per square inch? This shocking statistic should serve as a reminder of the importance of regular cleaning and bleaching to ensure a healthy living space for you and your family.