Looking to create the perfect bathtub that suits your unique style and needs? Well, you’re in luck! In this article, we’ll guide you through the process of building a custom bathtub, step by step.
With the right materials, proper design, and careful installation, you’ll soon be soaking in your dream tub.
So, let’s dive in and discover how to bring your vision to life.
Key Takeaways
- Choose the right material for your custom bathtub, considering factors such as durability, ease of cleaning, and design options. Acrylic, cast iron, and fiberglass are common options to consider.
- Carefully design the structure of the bathtub to complement the overall aesthetic of the bathroom and ensure a seamless fit. Consider the shape and dimensions of the bathtub and take accurate measurements of the installation area.
- Properly install the plumbing and drainage systems, making sure to securely connect water supply lines, drain pipes, and using quality drain traps to prevent leaks and clogs. Test water flow and check for any issues.
- Ensure proper waterproofing and insulation of the bathtub to prevent water damage, mold growth, and conserve energy. Use high-quality sealants, insulating sleeves for pipes, and apply waterproof membranes. Additionally, consider finishing touches such as waterproof paint and bathtub accessories for added functionality and maintenance.

59 Inch Acrylic Freestanding Bathtub, Deep Soaking Tub with Non-Slip Base, cUPC Certified Free Standing Tub, Chrome Drain Bath Tub, Modern Tub for Bathrooms, White
- Material: High-gloss 4mm acrylic construction
- Durability: Scratch-resistant Lucite acrylic with fiberglass reinforcement
- Heat Retention: Superior heat retention with double-wall insulation
As an affiliate, we earn on qualifying purchases.
As an affiliate, we earn on qualifying purchases.
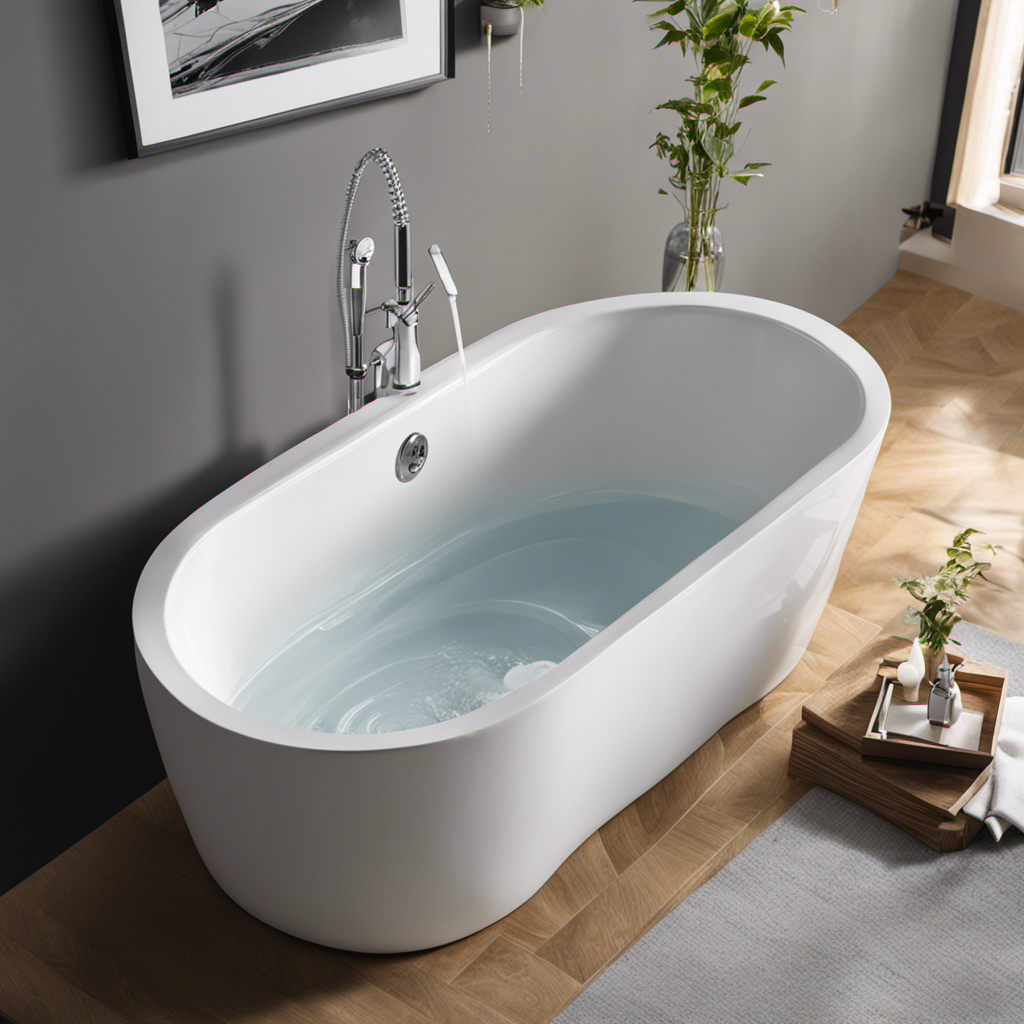
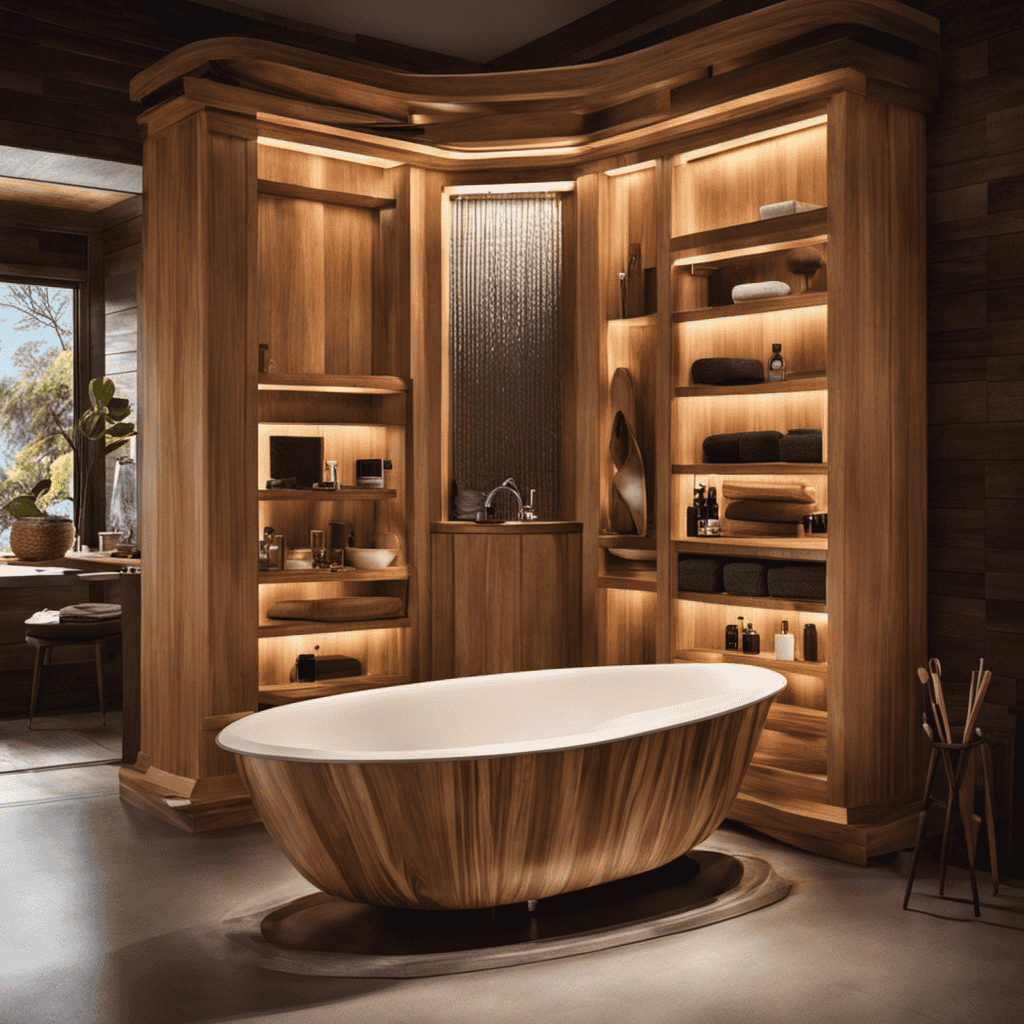
Selecting the Right Materials
When building a custom bathtub, it’s important to consider the right materials to use. There are several bathtub material options available, each with their own pros and cons.
One popular option is acrylic. Acrylic bathtubs are lightweight, durable, and easy to clean. They also offer a wide range of design options and are relatively affordable. However, they are prone to scratching and can fade over time.
Another option is cast iron. Cast iron bathtubs are known for their durability and heat retention properties. They are also resistant to scratching and fading. However, they are heavy and require extra support during installation.
Lastly, there is the option of fiberglass. Fiberglass bathtubs are lightweight, affordable, and easy to install. However, they can be prone to cracking and are not as durable as other materials.
Consider these pros and cons when selecting the right material for your custom bathtub.
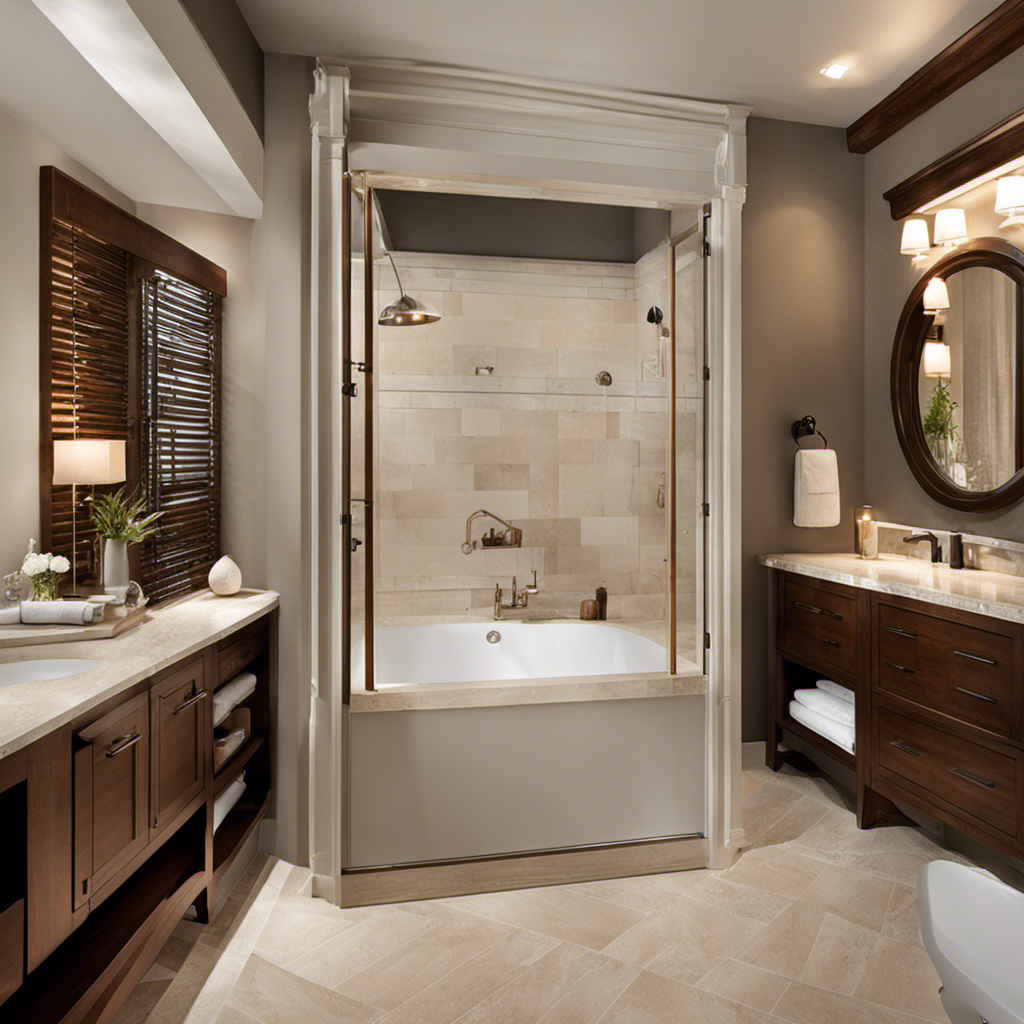
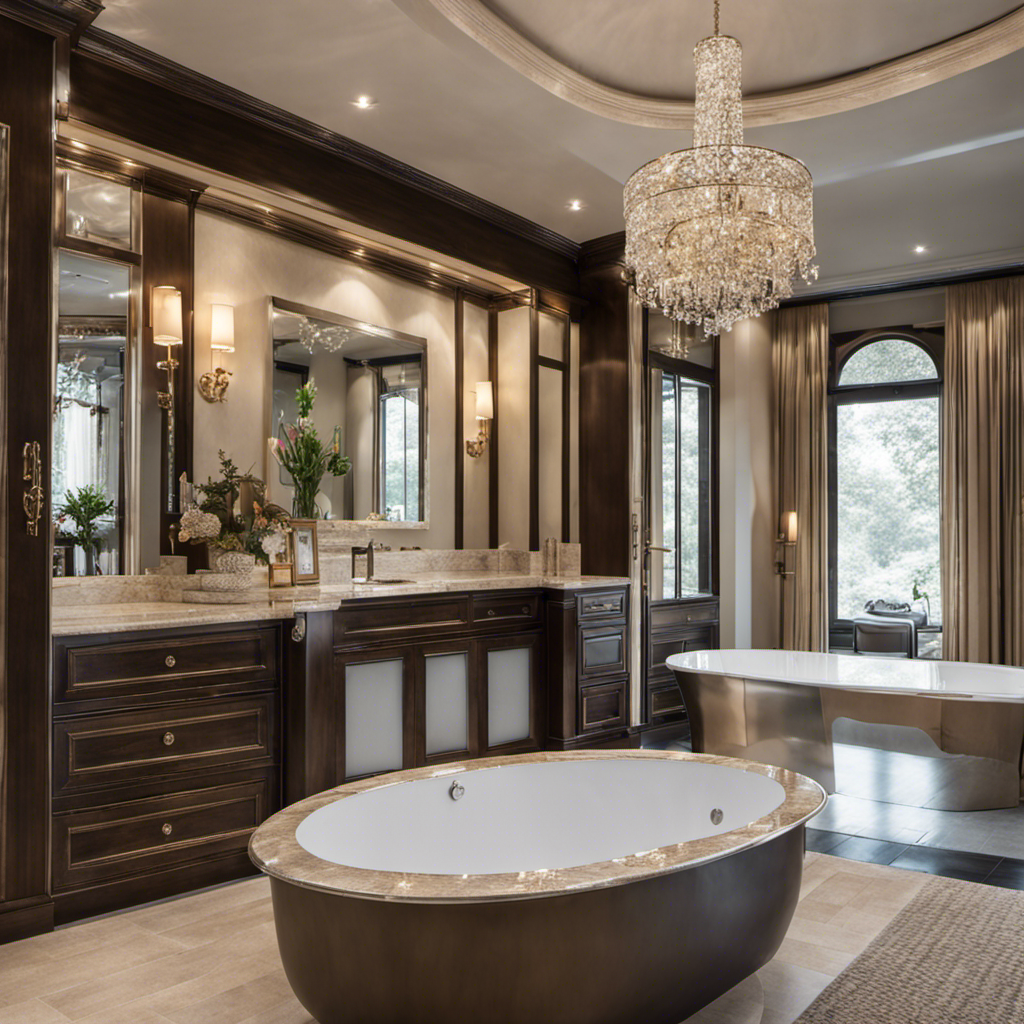
Designing the Bathtub Structure
To ensure a sturdy structure, it’s important to consider the materials and dimensions of your custom bathtub.
When it comes to the design of your bathtub, the shape and dimensions play a crucial role. The shape of your bathtub should complement the overall aesthetic of your bathroom while also providing comfort and functionality. Popular options include rectangular, oval, and corner-shaped bathtubs.
Additionally, the dimensions of your bathtub should be carefully considered to ensure it fits perfectly in your space. Take accurate measurements of the area where the bathtub will be installed, considering the length, width, and depth. This will help you avoid any issues with installation and ensure a seamless fit.
Installing Plumbing and Drainage Systems
Make sure you connect the plumbing and drainage systems correctly for proper installation and functionality.
When installing your custom bathtub, it is crucial to prevent water leaks and maintain proper water flow. Start by connecting the water supply lines to the faucet and hot water valve. Use plumber’s tape to ensure a tight seal and prevent leaks.
Next, connect the drain pipe to the bottom of the bathtub, making sure it is securely fastened. Use a quality drain trap to prevent clogs and allow for easy cleaning.
Finally, test the water flow by turning on the faucet and checking for any leaks or blockages. Adjust the connections if needed, ensuring a smooth and uninterrupted water flow.
Waterproofing and Insulation
Properly insulating and waterproofing your plumbing and drainage systems is essential to prevent leaks and maintain functionality. Here are some key techniques and materials to consider:
-
Sealants: Use high-quality sealants to create a watertight barrier around joints and connections in your plumbing system.
-
Insulating sleeves: Wrap your pipes in insulating sleeves to protect them from extreme temperatures and reduce the risk of freezing or bursting.
-
Waterproof membranes: Apply waterproof membranes to the walls and floors surrounding your plumbing fixtures to prevent water damage and mold growth.
-
Pipe insulation: Insulate your pipes with foam or fiberglass sleeves to conserve energy by reducing heat loss and prevent condensation.
Finishing Touches and Maintenance Tips
Adding a layer of waterproof paint to the walls and floors is an effective way to prevent moisture from seeping into your plumbing fixtures. This simple step can help maintain the integrity of your custom bathtub and prolong its lifespan. In addition to waterproofing, there are other finishing touches and maintenance tips you can consider to enhance the functionality and appearance of your bathtub. One way to personalize your bathing experience is by adding bathtub accessories such as a shower caddy, bath mat, or a bath pillow for added comfort. When it comes to cleaning, using the right cleaning products is crucial to prevent damage to the bathtub’s surface. Non-abrasive cleaners and gentle scrubbing tools are recommended to keep your custom bathtub looking pristine.
| Bathtub Accessories | Cleaning Products |
|---|---|
| Shower Caddy | Non-abrasive Cleaners |
| Bath Mat | Gentle Scrubbing Tools |
| Bath Pillow | |
Conclusion
So there you have it, your very own custom bathtub!
By following the steps in this guide, you’ve successfully created a luxurious and personalized addition to your bathroom.
Now, as you relax in your new bathtub, you can enjoy the satisfaction of knowing that you built it with your own two hands.
Remember to take good care of it by regularly cleaning and maintaining it.
With proper care, your custom bathtub will provide you with years of relaxation and enjoyment.
Happy bathing!