I’ve always believed in the power of a relaxing bath to wash away the stress of the day.
But recently, I noticed a troubling problem: the caulk around my bathtub was starting to crack and peel.
It was time to take matters into my own hands and learn how to calk a bathtub.
In this step-by-step guide, I’ll show you how to gather the necessary tools, prepare the surface, apply the caulk, and make sure it dries and cures properly.
Let’s get started and restore the tranquility of your bathing experience.
Key Takeaways
- Choose a waterproof caulk designed for bathroom use.
- Thoroughly clean the area before applying new caulk.
- Use the right type of caulk based on bathtub material and moisture levels.
- Smooth and shape the caulk using a caulk smoothing tool or your finger.
Gathering the Necessary Tools
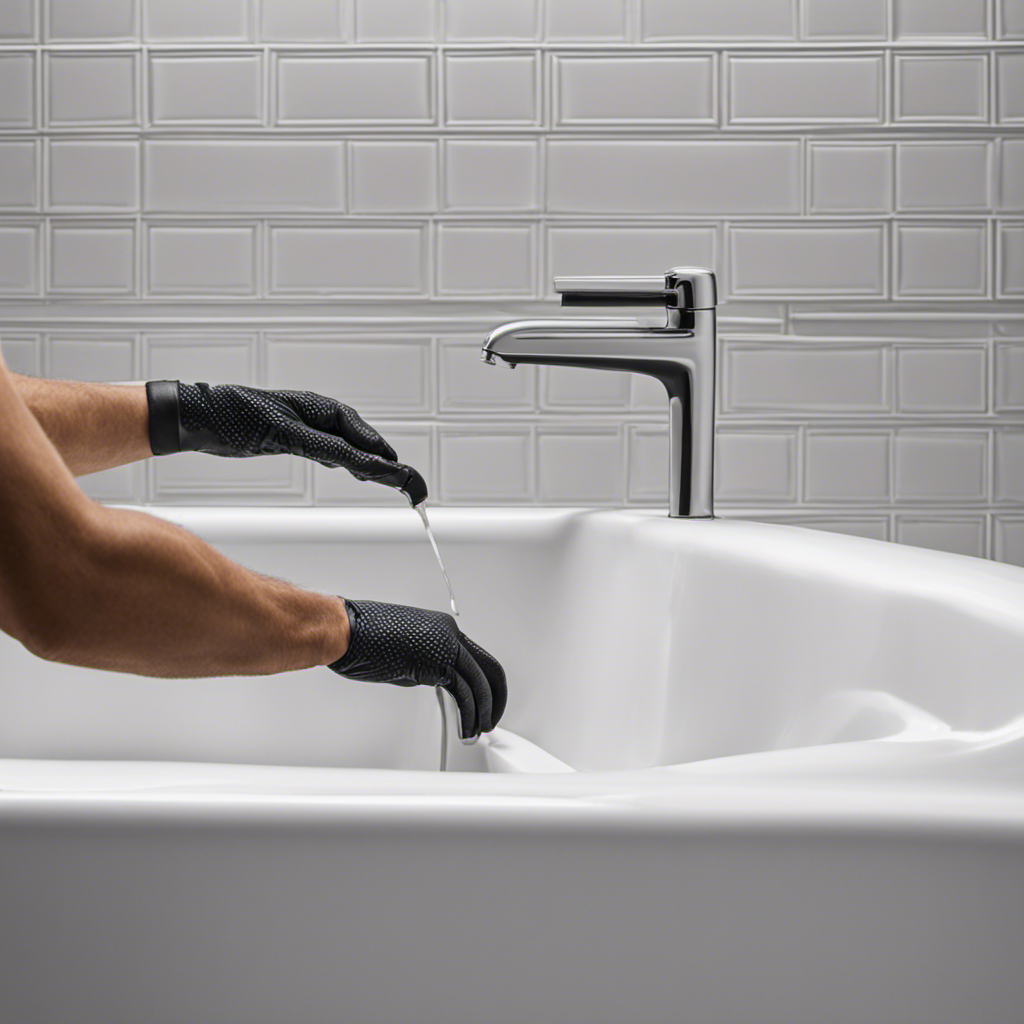
You’ll need to gather a few tools before you can start calking the bathtub.
Firstly, it’s important to choose the right caulk for the job. Look for a waterproof caulk that is specifically designed for bathroom use.
Next, gather some basic tools such as a utility knife, caulk gun, and a scraper or putty knife. These will come in handy during the process.
Before applying new caulk, you’ll need to remove any old caulk. To make this easier, try using a heat gun or hairdryer to soften the caulk. Then, use the scraper or putty knife to carefully remove the old caulk.
Make sure to thoroughly clean the area before applying the new caulk.
Preparing the Bathtub Surface
Before applying the caulk, make sure the surface is clean and dry. Cleaning the bathtub surface is an important step to ensure the caulk adheres properly.
Start by removing any loose or old caulk using a caulk remover tool or a putty knife. Then, thoroughly clean the surface with a mild detergent and warm water. Rinse off any residue and dry the surface completely.
Choosing the right caulk for the job is equally important. Look for a caulk specifically designed for bathrooms or wet areas. Silicone caulk is a popular choice as it is waterproof and flexible. Make sure to read the label for specific instructions on application and drying time.
Once the surface is clean and dry, you are ready to proceed with applying the caulk.
Applying the Caulk
After cleaning and drying the surface, it’s time to apply the caulk. Here are three important things to keep in mind when applying caulk to your bathtub:
-
Common caulk application mistakes: Avoid these blunders to ensure a successful caulk job. One common mistake is applying too much caulk, which can lead to messy results and wastage. Another mistake is not using the right tools, such as a caulk gun or a putty knife, which can make the application process difficult. Lastly, failing to smooth and shape the caulk properly can result in an uneven and unattractive finish.
-
Choosing the right type of caulk for your bathtub: There are different types of caulk available, such as silicone, acrylic latex, and adhesive caulk. Consider factors like the material of your bathtub, the level of moisture in your bathroom, and the color you desire. This will help you select the appropriate caulk that will adhere well and provide a durable and waterproof seal.
-
Smoothing and shaping the caulk: Once you have applied the caulk, use a caulk smoothing tool or your finger to carefully smooth and shape the caulk. This will create a neat and professional-looking finish. Be sure to remove any excess caulk and wipe away any smudges or fingerprints with a damp cloth.
Now that the caulk is applied, let’s move on to the next step of smoothing and shaping it for a perfect result.
Smoothing and Shaping the Caulk
Once the caulk is applied, it’s important to use a caulk smoothing tool or your finger to carefully smooth and shape it for a professional finish.
Start by dampening your finger or the smoothing tool with water or a mixture of water and dish soap to prevent the caulk from sticking.
Next, gently run your finger or the tool along the caulk line, applying even pressure to create a smooth and uniform surface. Be sure to remove any excess caulk as you go to avoid clumps or bumps.
Pay close attention to corners and edges, using your finger or the tool to create clean, crisp lines.
Common mistakes to avoid include pressing too hard, which can cause the caulk to squeeze out, and not smoothing the caulk enough, resulting in an uneven appearance.
Once you’ve finished shaping, allow the caulk to dry and cure according to the manufacturer’s instructions. This will ensure a strong and long-lasting seal.
Allowing the Caulk to Dry and Cure
To ensure a strong and long-lasting seal, you should allow the caulk to dry and cure according to the manufacturer’s instructions. Here are the steps to follow:
-
Proper ventilation during the drying process: It’s crucial to have good airflow in the room where you applied the caulk. This will help the caulk dry faster and prevent any potential odor buildup.
-
Importance of checking for any cracks or gaps in the caulk after it has dried: Once the caulk has completely dried and cured, it’s essential to inspect the seal for any cracks or gaps. These can compromise the effectiveness of the caulk and lead to water leakage. If you notice any issues, you can reapply caulk to fix them.
-
Give it enough time: It’s important to be patient and allow the caulk to fully dry and cure. This usually takes around 24 hours, but it’s best to refer to the manufacturer’s instructions for specific drying times.
Conclusion
So there you have it, folks! You’ve successfully learned how to calk a bathtub.
Remember, with just a few simple steps and the right tools, you can transform your old, leaky tub into a watertight haven.
It’s like giving your bathtub a cozy sweater that keeps it warm and snug.
Now you can enjoy long, relaxing soaks without any worries.
So go ahead, grab your caulk gun and get to work.
Your bathtub will thank you!


