Have you ever wondered how to properly seal your bathtub to prevent leaks and water damage? Well, look no further!
In this article, I’ll guide you through the step-by-step process of caulking a bathtub with silicone. From selecting the right caulk to finishing and maintaining the seal, I’ll provide you with all the knowledge and information you need to tackle this DIY project with confidence.
So let’s dive in and get that bathtub sealed tight!
Key Takeaways
- Consider the type of material and level of moisture resistance needed for your bathtub.
- Prioritize functionality over aesthetics when choosing caulk colors.
- Compare different caulk brands to ensure high quality and durability.
- Read reviews and consult professionals for informed decision-making.

600ml Sausage Pneumatic Caulking Gun Silicone Sealant Gun Air Rubber Gun Caulk Applicator Tool with 10 Transparent Glue Nozzles
It is suitable for most glass adhesives, sheet metal adhesives and structural adhesives. It is widely used in...
As an affiliate, we earn on qualifying purchases.
Selecting the Right Caulk
You’ll need to choose the right caulk for your bathtub, based on factors like the type of material and the level of moisture resistance you need.
When it comes to selecting caulk colors, it’s important to consider the overall aesthetic of your bathroom. Many caulk brands offer a variety of color options, allowing you to match or complement the color of your bathtub or tiles. However, it’s essential to prioritize functionality over aesthetics.
Comparing different caulk brands is crucial to ensure you choose a high-quality product that will provide long-lasting durability and water resistance. Look for reputable brands that are specifically designed for bathroom use.
Reading reviews and consulting with professionals can also help you make an informed decision when choosing the right caulk for your bathtub.

SILIGUN™ Gen-3 Compact Caulking Gun - No Drip Caulk Gun - Patented Design - Lightweight ABS Frame - Works with All 10 oz Tubes
Compact Convenience – Seal up windows, trim, tile, and more with your innovative no drip caulk gun from...
As an affiliate, we earn on qualifying purchases.
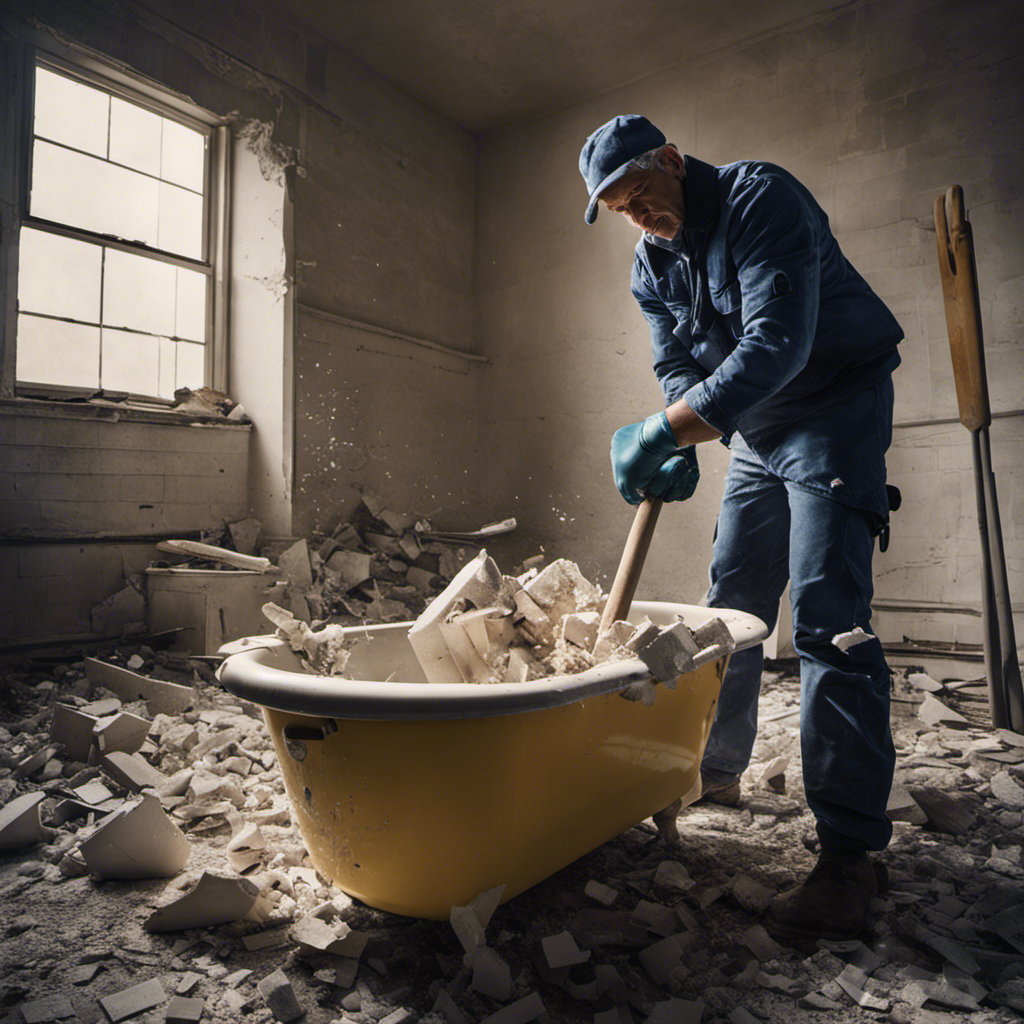
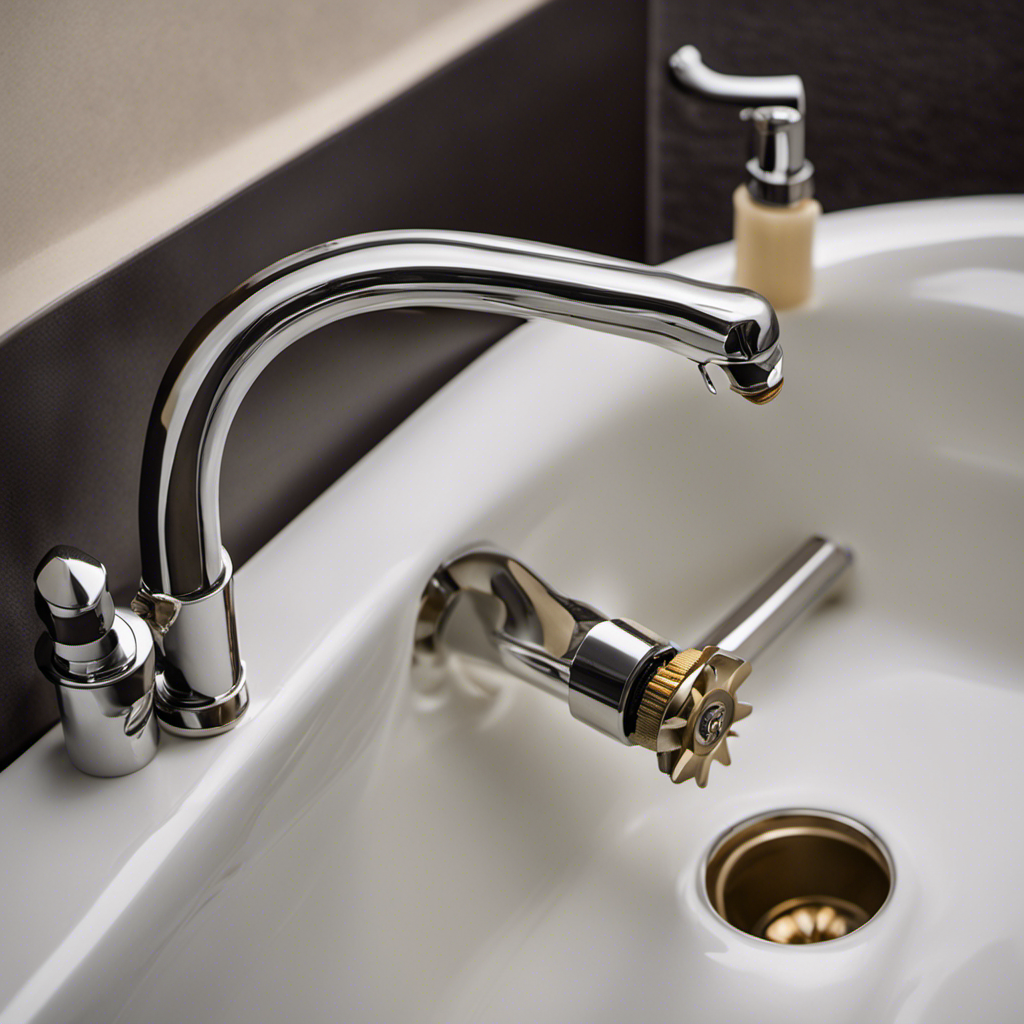
Preparing the Bathtub Surface
Before starting, make sure the surface is clean and dry to ensure proper adhesion. Cleaning the bathtub surface and removing old caulk is an essential step in preparing for caulking.
Here’s a simple guide to help you get started:
-
Gather your supplies: You’ll need a caulk removal tool, a utility knife, a scraper, and a cleaning solution suitable for your bathtub material.
-
Remove the old caulk: Use the caulk removal tool or utility knife to carefully scrape away the old caulk. Be thorough and remove all traces of the old caulk.
-
Clean the surface: Use a cleaning solution and a scrub brush or sponge to thoroughly clean the bathtub surface. Remove any dirt, grime, or soap scum, ensuring a clean and smooth surface for the new caulk.
-
Dry the surface: After cleaning, make sure the surface is completely dry before applying the new caulk. Use a towel or allow sufficient time for the surface to air dry.

Saker Caulk Gun Kit, Manual Caulking Gun with 11-in-1 Caulking Tool Set, Silicone Sealant Finishing Tools, Grout Scrapers & Shapers with Masking Tape for Bathroom, Kitchen, Window & Home Repair
Easy, Smooth, Dripless Operation:The Saker Caulking Tool Set features a lightweight, manual dripless caulk gun with a smooth...
As an affiliate, we earn on qualifying purchases.
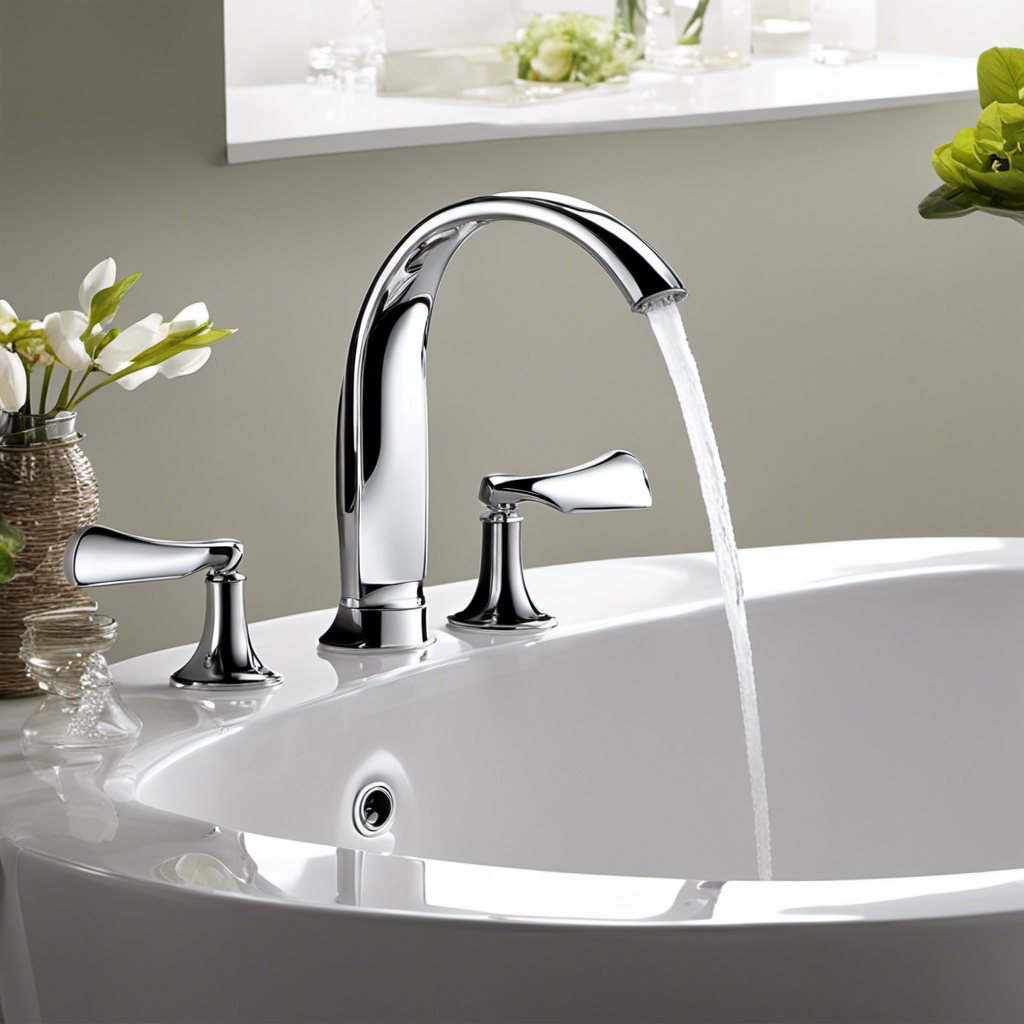
Applying the Silicone Caulk
To apply the silicone caulk, start by cutting the tip of the caulk tube at a 45-degree angle. This will allow for a smooth and controlled flow of caulk while preventing any clogging.
Before starting, ensure that the bathtub surface is clean and dry.
Hold the caulk gun at a slight angle and apply a thin bead of caulk along the joint between the bathtub and the wall, making sure to cover the entire area.
Use a caulk smoothing tool or your finger to smooth out the caulk and create a neat finish.
If you encounter any air bubbles or unevenness, simply scrape off the excess caulk and reapply.
Remember to work in small sections to avoid the caulk drying too quickly.
With these caulk application techniques and troubleshooting tips, you’ll be able to achieve a professional-looking caulk job on your bathtub.

Caulk Gun Kit Smooths No-drip Silicone Caulking Gun and Caulking Tools, Sealant Tools Grout Scraper For Kitchen Bathroom Sink Joint,With Gift Box Works 10OZ Tubes blue
Leikius caulk gun kit, a premium set designed for professionals and DIY user. Each caulking tool in our...
As an affiliate, we earn on qualifying purchases.
Smoothing and Finishing the Caulk
After applying the silicone caulk, use a caulk smoothing tool or your finger to create a neat finish and smooth out any imperfections. Here are some tips to help you achieve a professional finish:
-
Apply caulk evenly: Start by holding the caulk gun at a 45-degree angle and applying a steady bead of caulk along the joint. Make sure to maintain a consistent pressure to avoid gaps or unevenness.
-
Avoid air bubbles: To prevent air bubbles from forming in the caulk, gently tap the caulk line with your finger or use a caulk smoothing tool to smooth it out. This will ensure a seamless appearance.
-
Use caulk finishing tools: Invest in a caulk smoothing tool or a caulk finishing kit. These tools will help you achieve a smooth, professional finish by removing excess caulk and shaping the joint.
-
Troubleshoot common caulk smoothing issues: If you encounter smearing or unevenness, dampen your finger or the tool with a small amount of soapy water. This will help glide over the caulk and create a smoother finish.
By following these tips, you can achieve a neat and professional-looking caulk finish.
Now let’s move on to the next step: curing and maintaining the caulk.
Curing and Maintaining the Caulk
Now, let’s talk about how you can ensure the proper curing and maintenance of your newly applied caulk. Properly curing the caulk is essential for its long-term durability and effectiveness. Silicone caulk typically takes around 24 to 48 hours to fully cure, but it’s important to check the product’s specific instructions for accurate curing time. During this time, it’s crucial to prevent any water exposure or disturbance to allow the caulk to dry and form a strong bond. Additionally, regular maintenance is key to preventing mold growth. Keep the caulk clean by wiping it down regularly with a mild detergent and water solution. Also, make sure to inspect the caulk periodically for any signs of wear or damage, and reapply if necessary. By following these steps, you can ensure the longevity and effectiveness of your caulk.
| Preventing Mold | Curing Time |
|---|---|
| Keep caulk clean | 24-48 hours |
| Regular inspection | |
| Reapply if necessary | |
| Avoid water exposure | |
| No disturbance during curing |
Frequently Asked Questions
Can I Use Any Type of Caulk for Caulking a Bathtub With Silicone?
Yes, you can use different types of caulk for caulking a bathtub with silicone. However, silicone caulk is often preferred for its durability, flexibility, and resistance to water.
How Long Does the Caulk Need to Cure Before I Can Use the Bathtub?
The cure time for caulk before using the bathtub varies based on the product, but typically it takes around 24-48 hours. It’s important to follow best practices for bathroom renovations to ensure a proper seal and long-lasting results.
Can I Apply Silicone Caulk Over Existing Caulk?
Yes, you can apply silicone caulk over existing caulk. It’s important to remove any loose or moldy caulk first. Recaulking benefits include better waterproofing and a cleaner appearance. There are alternative caulk options like acrylic or latex.
How Often Should I Recaulk My Bathtub?
I recaulk my bathtub every couple of years to keep it looking fresh and prevent water damage. To remove old caulk, I use a scraper or caulk remover. There are alternative caulk options available, such as acrylic or latex caulk.
Can I Use the Same Silicone Caulk for Both the Bathtub and the Shower?
Yes, you can use the same silicone caulk for both the bathtub and the shower. However, it’s important to consider color options and different caulk brands to ensure a cohesive and long-lasting seal.
Conclusion
Well, congratulations! You’ve successfully caulked your bathtub with silicone. Now you can sit back, relax, and enjoy the peace of mind that comes with knowing your bathtub is sealed tight.
It may not be the most glamorous task, but hey, who needs a fancy spa when you can spend your time perfecting your caulk lines? Trust me, it’s the little things in life that bring the most satisfaction.
So go ahead, take a moment to revel in your caulk mastery. You’ve earned it.