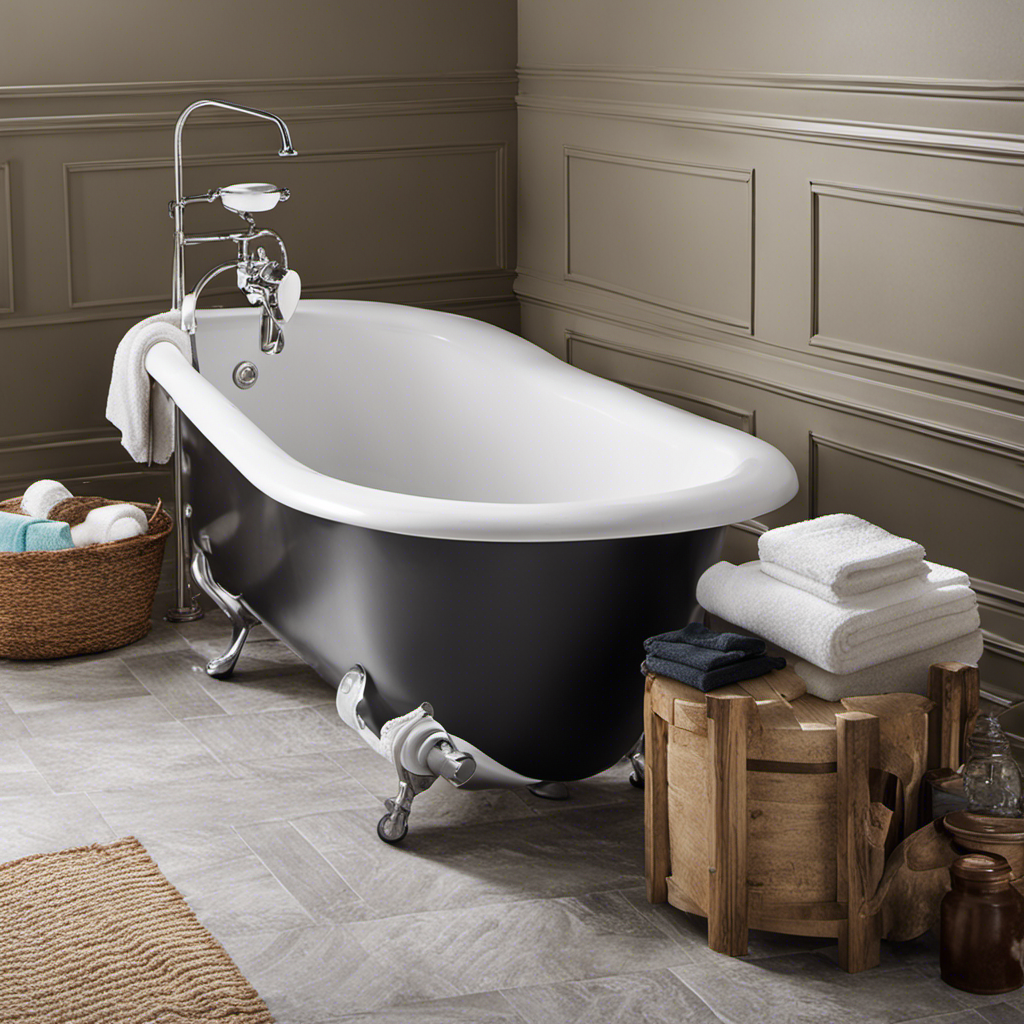
I’ve always been a DIY enthusiast, and one of the most important skills I’ve learned is how to caulk around a bathtub. It may seem like a small task, but it can make a huge difference in keeping your bathroom clean and preventing water damage.
In this step-by-step guide, I’ll show you the right caulk to choose, how to prepare the bathtub surface, and the best techniques for applying and smoothing the caulk.
Let’s get started on this essential bathroom maintenance task.
Key Takeaways
- Choose silicone-based caulk for bathtubs.
- Thoroughly clean and prepare the bathtub surface before applying caulk.
- Use a mild cleanser to remove soap scum and residue.
- Properly ventilate the bathroom and ensure the surface is completely dry before applying caulk.

GE Advanced Silicone Caulk for Kitchen & Bathroom, White, 2.8 fl oz Tube, 1 Pack – 100% Waterproof Silicone Sealant, 5X Stronger Adhesion, Shrink & Crack Proof
- Waterproof Sealant: Provides 100% waterproof protection
- Flexible and Durable: Remains flexible to adapt to surfaces
- Fast Water Resistance: Becomes water-resistant in 30 minutes
As an affiliate, we earn on qualifying purchases.
As an affiliate, we earn on qualifying purchases.
Choosing the Right Caulk
When choosing the right caulk for your bathtub, it’s important to consider the type of material your bathtub is made of. This will help ensure that the caulk adheres properly and provides a waterproof seal.
There are different types of caulk available, but for bathtubs, I recommend using a silicone-based caulk. Silicone caulk is flexible, durable, and resistant to water and mildew. It also has a longer drying time, which allows for better adhesion and reduces the likelihood of cracking or shrinking.
Look for waterproof caulk options that are specifically designed for use in wet areas, such as bathrooms. These caulks are formulated to withstand constant exposure to water and humidity, ensuring a long-lasting seal around your bathtub.
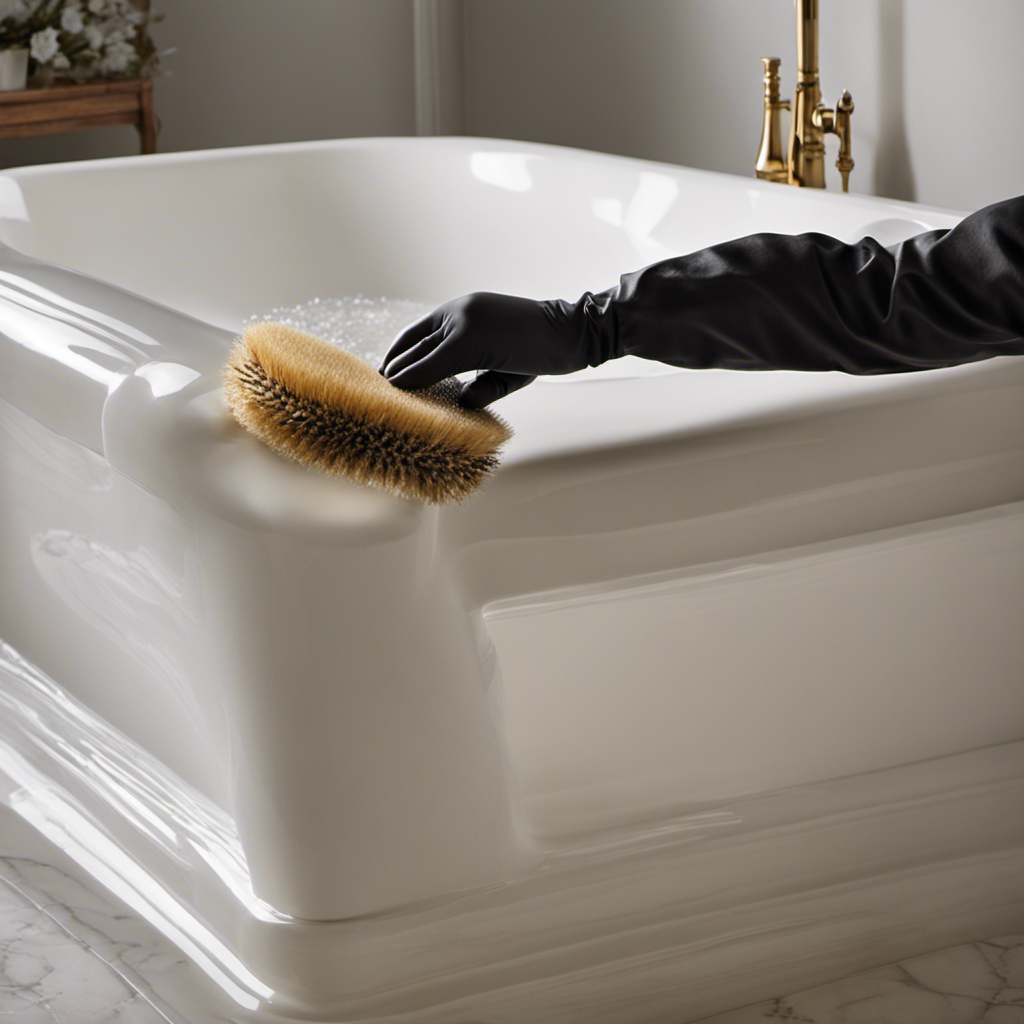
Preparing the Bathtub Surface
Before applying new caulk around the bathtub, it is important to thoroughly clean the surface to ensure proper adhesion.
Start by removing any loose debris or dirt using a brush or sponge.
Next, use a mild detergent or cleaner to remove any soap scum or residue.
Finally, rinse the surface thoroughly with water and allow it to dry completely before moving on to the next step.
If there is old caulk present, it must be removed before applying new caulk.
Begin by using a caulk removal tool or a utility knife to carefully cut away the old caulk.
Be sure to remove all traces of the old caulk to create a clean surface for the new caulk to adhere to.
Cleaning the Surface
To clean the surface, start by wiping it down with a mild cleanser and a sponge. This will remove any dirt or grime that may be present.
Next, focus on removing soap scum, which can accumulate over time and make the surface slippery. Use a bathroom cleaner specifically designed to tackle soap scum and scrub gently with a sponge or scrub brush.
Rinse thoroughly to ensure all residue is removed. To prevent mold growth, it’s important to dry the surface completely. Wipe it down with a clean, dry cloth or towel.
Lastly, make sure to ventilate the bathroom properly to reduce moisture levels. Proper cleaning is crucial to ensure a clean and mold-free surface before applying new caulk.
Removing Old Caulk
You can start by using a putty knife to gently scrape away the old caulk from the edges of the bathtub. This step is crucial to ensure proper adhesion of the new caulk and to create a clean surface for the application. Here are some tools you might need for this task:
| Tools Needed | Description |
|---|---|
| Putty knife | A flat, flexible tool used for scraping and applying caulk. |
| Razor blade | A sharp blade that can help remove stubborn caulk residue. |
| Caulk remover | A chemical solution that softens the caulk for easier removal. |
To remove the old caulk, follow these steps:
- Start by inserting the putty knife between the caulk and the bathtub edge.
- Gently pry the caulk away from the surface, being careful not to damage the bathtub.
- Use the razor blade to remove any remaining caulk residue.
- If needed, apply caulk remover to soften stubborn caulk.
- Wipe away any debris with a clean cloth.
Applying the Caulk
When applying the caulk, make sure to use smooth, even strokes to create a neat and professional finish. Here are some tips for achieving a professional-looking caulk finish:
-
Preparation: Before starting, clean the area thoroughly to remove any dirt or old caulk. Use a caulk removal tool to scrape away any remaining residue.
-
Choose the right caulk: Select a caulk that is specifically designed for bathroom use. Silicone caulk is a popular choice as it is resistant to mold and mildew.
-
Cut the tip: Cut the tip of the caulk tube at a 45-degree angle to create a small hole. This will allow for better control and precision during application.
-
Smooth and shape: Apply the caulk in a continuous bead along the joint, ensuring full coverage. Use a caulk smoothing tool or your finger to smooth and shape the caulk for a professional finish.
Avoid these common caulk application mistakes:
-
Applying too much caulk, resulting in messy and uneven lines.
-
Not smoothing the caulk properly, leaving a rough and unprofessional appearance.
-
Not allowing enough drying time, leading to smudging and smearing.
-
Using the wrong type of caulk for the specific application, resulting in poor adhesion and durability.
Smoothing and Shaping the Caulk
In order to achieve a professional finish when caulking around a bathtub, it is important to smooth and shape the caulk properly. This step is crucial as it helps to create a clean and polished look.
Here are some techniques and tips to help you achieve a professional finish and avoid common caulk mistakes:
-
Use a caulk smoothing tool or your finger: After applying the caulk, use a caulk smoothing tool or your finger to smooth the caulk along the joint. This will help to create a neat and even finish.
-
Wet your finger or smoothing tool: Wetting your finger or smoothing tool with water or a mild soap solution can help to prevent the caulk from sticking and make it easier to shape.
-
Apply consistent pressure: When smoothing the caulk, apply consistent pressure to ensure that it fills the joint completely and adheres properly.
-
Shape the caulk: Use your finger or a caulk shaping tool to shape the caulk into a concave or rounded profile. This will help to prevent water from pooling on the surface.
-
Clean up any excess caulk: After shaping the caulk, clean up any excess caulk using a damp cloth or sponge. This will give your caulk lines a clean and professional look.
Allowing the Caulk to Dry
To ensure a proper finish, it’s important to let the caulk dry completely. This step is crucial in preventing cracking and ensuring the longevity of your caulk job. Here’s how you can allow the caulk to dry effectively:
-
Give it ample drying time: Depending on the type of caulk you’re using, drying time can vary. Read the instructions on the caulk tube to determine the recommended drying time.
-
Avoid touching or disturbing the caulk: During the drying process, it’s important to avoid touching or disturbing the caulk. This can disrupt the drying process and lead to a compromised finish.
-
Maintain proper ventilation: Good airflow will help the caulk dry faster and more evenly. Open windows or use fans to promote air circulation in the area.
-
Be patient: Rushing the drying process can lead to cracking or uneven texture. Allow the caulk to dry completely before using the bathtub or applying any additional finishes.
Cleaning and Maintaining the Caulk
One way you can keep the caulk in good condition is by regularly cleaning and maintaining it. Proper caulk maintenance is essential to prevent mold growth and ensure the longevity of your bathtub caulking.
Here are some caulk maintenance tips to help you keep your caulk in top shape:
-
Clean regularly: Use a mildew cleaner or a mixture of vinegar and water to remove any dirt, grime, or mold from the caulk.
-
Scrub gently: Use a soft brush or sponge to scrub the caulk gently. Avoid using abrasive cleaners or harsh brushes that can damage the caulk.
-
Dry thoroughly: After cleaning, make sure to dry the caulk completely to prevent any moisture from lingering and promoting mold growth.
-
Inspect for cracks: Regularly inspect the caulk for any cracks or gaps. If you notice any, remove the old caulk and reapply a fresh bead to maintain a watertight seal.
Conclusion
In conclusion, caulking around your bathtub is a simple yet important task that can prevent water damage and maintain the overall appearance of your bathroom. By following the steps outlined in this article, you can easily achieve a professional-looking caulk job.
Remember, choosing the right caulk, properly preparing the bathtub surface, and applying the caulk with precision are key to success. So don’t delay, grab that caulk gun and get ready to seal the deal!