Did you know that a properly caulked bathtub can prevent water damage and maintain the overall appearance of your bathroom?
In this guide, I will walk you through the step-by-step process of caulking your bathtub to ensure a watertight seal.
With just a few materials and some simple techniques, you’ll be able to remove old caulk, clean the surface, apply new caulk, and even check for leaks.
Let’s get started and give your bathtub the protection it deserves.
Key Takeaways
- Properly removing old caulk is important to prevent water leaks, mold and mildew growth, damage to surrounding areas, and an unsightly appearance.
- Cleaning the surface before caulking is essential for proper adhesion of the new caulk.
- There are several techniques for removing old caulk, including using a caulk softener, heating the caulk, and scraping with precision.
- When applying caulk, ensure the surface is clean and dry, apply a thin and even bead of caulk, smooth the caulk line with a wet finger or caulk smoothing tool, and wipe away excess caulk for a clean finish.
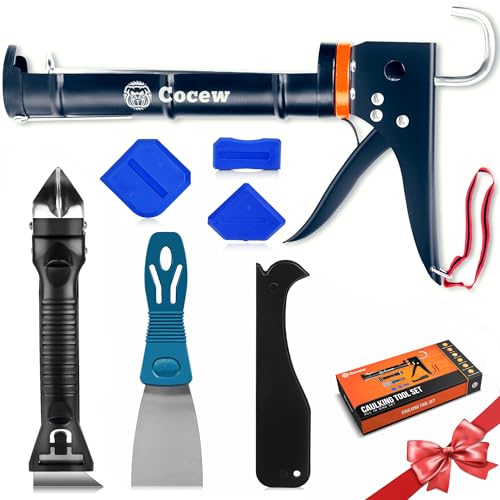
Caulk Gun Kit, Smooth Silicone Caulking Gun and Caulk Remover Tool, Sealant Finishing Tool Grout Scraper for Kitchen Bathroom Window Sink Joint, All in One with Gift Box
【Easy to operate】Cocew Caulking Gun is lightweight, the Smooth Pressure Rod is available with a high thrust ratio….
As an affiliate, we earn on qualifying purchases.
As an affiliate, we earn on qualifying purchases.
Materials Needed
To caulk your bathtub, you’ll need a few materials.
First, you’ll need a caulk gun, which is essential for applying the caulk smoothly and evenly.
Next, you’ll need a tube of caulk that is specifically designed for bathroom use. Look for a caulk that is waterproof and mold resistant to ensure long-lasting results.
Additionally, you’ll need a utility knife or caulk removal tool in case you need to remove any old caulk before applying the new one. This will help create a clean surface for the new caulk to adhere to.
Lastly, have a damp cloth or sponge nearby to wipe away any excess caulk and smooth the edges.

GE Advanced Silicone Caulk for Kitchen & Bathroom, White, 2.8 fl oz Tube, 1 Pack – 100% Waterproof Silicone Sealant, 5X Stronger Adhesion, Shrink & Crack Proof
100% Silicone Caulk Protection: This silicone caulk white provides ultimate waterproof protection, ensuring a reliable seal against water…
As an affiliate, we earn on qualifying purchases.
As an affiliate, we earn on qualifying purchases.
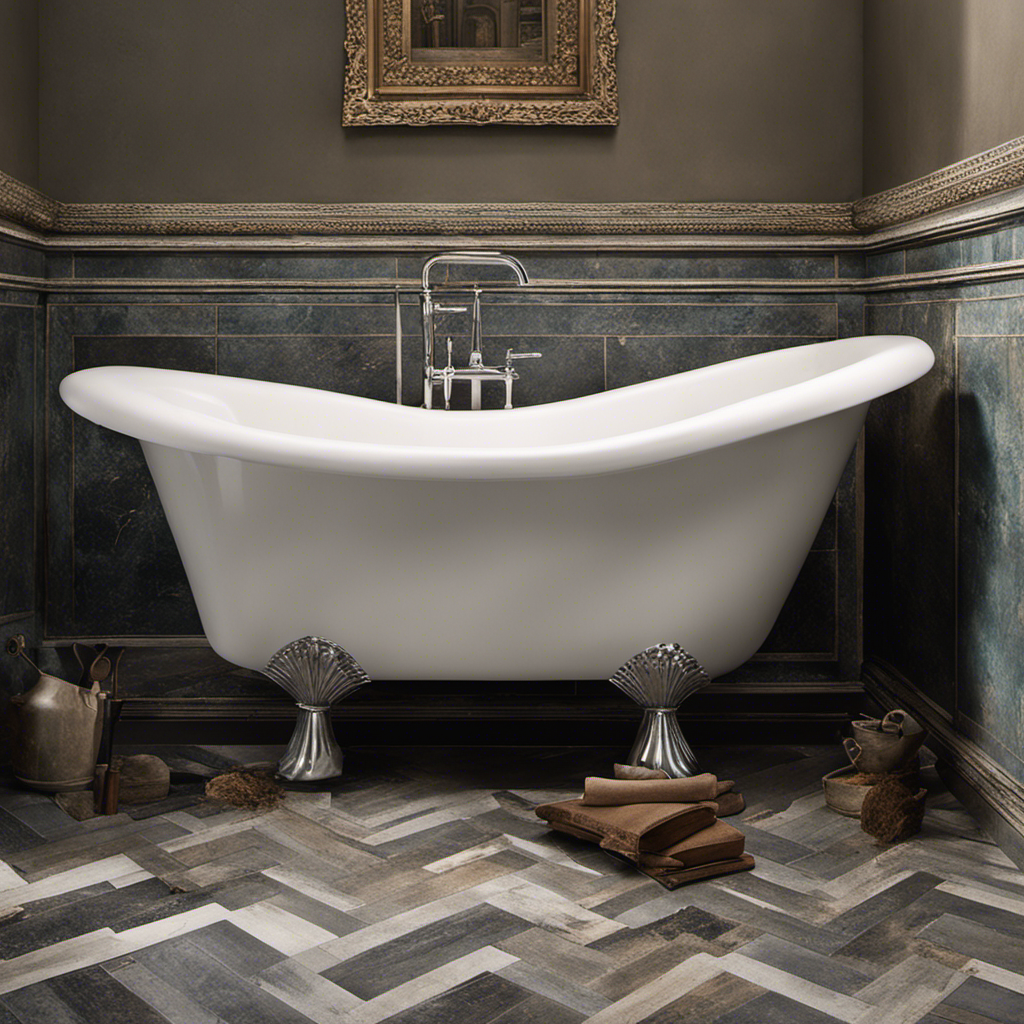
Preparing the Bathtub
First, I remove the old caulk by using a caulk remover tool or a utility knife to carefully scrape it away from the bathtub surface.
Next, I make sure to thoroughly clean the surface by wiping it down with a mixture of equal parts water and vinegar to remove any residual caulk, dirt, or soap scum.
Removing Old Caulk
Once you’ve gathered the necessary tools, start by carefully removing the old caulk from the bathtub. This step is crucial to ensure a clean and smooth surface for the new caulk to adhere to. There are several caulk removal techniques you can use, such as using a caulk removal tool, a utility knife, or a razor blade. Take your time and be gentle to avoid damaging the bathtub surface. It’s important to prevent caulk damage, as it can lead to water leaks and further damage to the surrounding areas.
To help you understand the importance of preventing caulk damage, here is a table showcasing the potential consequences of not removing old caulk properly:
| Consequence | Emotional Response |
|---|---|
| Water leaks | Frustration |
| Mold and mildew growth | Disgust |
| Damage to surrounding | Anxiety |
| areas | |
| Unsightly appearance | Embarrassment |
Cleaning the Surface
After removing the old caulk, make sure to thoroughly clean the surface before applying the new caulk. Cleaning the surface is an important step in ensuring a proper caulk adhesion and a long-lasting result. Here’s how I clean the surface before caulking:
-
Gather the necessary materials:
-
Mild detergent or vinegar
-
Scrub brush or sponge
-
Clean cloth or towel
-
Prepare the cleaning solution by mixing equal parts of mild detergent or vinegar with water.
-
Dip the scrub brush or sponge into the cleaning solution and scrub the surface thoroughly, paying attention to any dirt, grime, or residue.
-
Rinse the surface with clean water to remove any leftover soap or cleaning solution.
-
Dry the surface completely using a clean cloth or towel. This step is crucial as any moisture can affect the caulk adhesion and drying process.
Following these cleaning techniques and ensuring a thorough drying process will help you achieve a flawless caulk application.

Saker Silicone Caulking Tools-3 in 1 Sealant Finishing Tool Grout Remove Scraper (Stainless Steelhead),Caulk Remover Glass Glue Angle Scraper for Bathroom,Kitchen,Floor,Window,Sink Joint,Frames Seal
【Tips】Here's a quick tip for achieving that smooth, one-handed gliding sensation with your grout tool: consider loosening the…
As an affiliate, we earn on qualifying purchases.
As an affiliate, we earn on qualifying purchases.
Removing Old Caulk
When it comes to removing old caulk, it’s important to follow the proper steps to ensure a clean and smooth surface.
First, gather the necessary tools for the job, such as a caulk remover tool, a utility knife, and a scraper. These tools will help make the caulk removal process easier and more efficient.
Proper Caulk Removal
To properly remove the caulk from your bathtub, start by using a caulk removal tool or a putty knife to carefully scrape away the old caulk.
Here are some caulk removal techniques and tips that I have found helpful:
-
Use a caulk softener: Apply a caulk softener to the old caulk and let it sit for a few hours. This will make the caulk easier to remove.
-
Heat the caulk: You can use a hairdryer or a heat gun to soften the caulk before scraping it away. Be careful not to overheat the area or damage the bathtub surface.
-
Scrape with precision: Use the caulk removal tool or putty knife to gently scrape away the caulk. Start at one end and work your way along the entire length of the caulk line.
-
Clean the surface: Once the old caulk is removed, clean the bathtub surface thoroughly with a mild detergent and warm water. This will ensure proper adhesion for the new caulk.
Tools for Removing Caulk
Using a caulk removal tool or putty knife is a great way to easily scrape away the old caulk. When removing caulk, it is important to follow some safety precautions to avoid any injuries. Here are some caulk removal techniques and safety precautions to keep in mind:
| Technique | Safety Precaution |
|---|---|
| Apply heat to soften the caulk | Wear heat-resistant gloves |
| Use a caulk removal tool or putty knife | Wear safety goggles to protect your eyes |
| Scrape away the old caulk | Work in a well-ventilated area to avoid inhaling fumes |

MRS. MEYER'S CLEAN DAY Vinegar Gel Cleaning Spray, Bathroom Use, No-Rinse Formula, Apple Blossom, 16 Fl Oz, Pack of 1
Mrs. Meyer's Vinegar Gel Cleaning Spray not only breaks down everyday grime, but also lifts dirt from surfaces…
As an affiliate, we earn on qualifying purchases.
As an affiliate, we earn on qualifying purchases.
Cleaning the Surface
Before applying caulk, it’s important to thoroughly clean the surface of the bathtub. This step ensures proper adhesion and a long-lasting finish. Here are some cleaning tips to follow:
-
Gather your cleaning supplies:
-
Mild detergent or bathroom cleaner
-
Scrub brush or sponge
-
Clean cloth or towel
-
Bucket of warm water
-
Remove any existing caulk:
-
Use a caulk remover tool or a putty knife to scrape off old caulk.
-
Be careful not to damage the bathtub surface.
-
Clean the surface:
-
Mix the mild detergent or bathroom cleaner with warm water in a bucket.
-
Dip the scrub brush or sponge into the solution and scrub the bathtub surface thoroughly.
-
Rinse the surface with clean water and wipe it dry with a clean cloth.
Applying the Caulk
Now it’s time to apply the caulk, so grab the caulk gun and get ready to seal those gaps and cracks.
Before starting, make sure the surface is clean and dry.
Load the caulk tube into the gun and cut the tip at a 45-degree angle.
Start at one corner of the bathtub and slowly squeeze the trigger to apply a thin, even bead of caulk along the gap.
Use steady pressure and move along the entire length, filling in any gaps or cracks.
Once the caulk is applied, use a smoothing technique to create a neat finish.
Wet your finger or a caulk smoothing tool with water and gently run it along the caulk line to smooth out any imperfections.
Remember to work quickly before the caulk starts to dry.
Follow these caulk application tips for a professional-looking result.
Smoothing the Caulk
After applying the caulk, it’s important to quickly smooth out any imperfections along the gap. This step ensures a professional and finished look. Here are some smoothing techniques and caulk finishing options that you can try:
-
Smoothing Techniques:
-
Use a caulk smoothing tool: This tool is specifically designed to create smooth and even lines along the caulk. It helps to remove any excess caulk and create a seamless finish.
-
Dampen your finger: Wetting your finger slightly can help in smoothing out the caulk. Gently run your finger along the caulk line to create a smooth surface.
-
Caulk Finishing Options:
-
Use a damp cloth: After smoothing out the caulk, use a damp cloth to wipe away any excess caulk and to create a clean finish.
-
Apply caulk finishing products: There are specialized caulk finishing products available in the market that can provide a professional look to your caulk lines. These products can help in creating a smooth and polished finish.
Allowing the Caulk to Dry
To ensure a proper seal, you should patiently wait for the caulk to fully dry before using the area. The drying time for caulk can vary depending on the type and brand you are using. Typically, it takes anywhere from 24 to 48 hours for the caulk to completely dry. It’s important to follow the manufacturer’s instructions for drying time to ensure the best results. During this time, it’s crucial to avoid any contact with the caulk to prevent smudging or ruining the finish. Here are some caulk application techniques to help speed up the drying process:
- Use a caulk gun to apply a smooth, even bead of caulk along the joint or seam.
- Smooth the caulk with a caulk finishing tool or a wet finger, removing any excess caulk.
- Allow the caulk to dry undisturbed for the recommended drying time.
- Once the caulk is fully dry, you can use the area as normal.
| Pros | Cons |
|---|---|
| Provides a tight seal | Long drying time |
| Prevents water damage | Requires patience |
| Improves aesthetics | Smudging potential |
| Durable and long-lasting |
Checking for Leaks
Remember to check for any leaks in the bathtub after the caulk has fully dried. Inspecting for damage is crucial to ensure that the caulk is applied correctly and there are no gaps or cracks that could lead to future leaks.
Here’s a step-by-step guide to help you inspect the caulk:
-
Fill the bathtub with water: Start by filling the bathtub with water to simulate normal usage conditions.
-
Observe the caulk lines: Carefully examine the caulk lines for any signs of water seepage or leakage.
-
Look for discoloration or dampness: If you notice any discoloration or dampness around the caulk lines, it could indicate a leak.
-
Check for gaps or cracks: Inspect the caulk lines closely for any gaps or cracks that may have formed.
By inspecting for damage, you can identify and fix any issues promptly, preventing future leaks.
Now, let’s move on to the next section on maintaining the caulk.
Maintaining the Caulk
Now that you’ve learned how to check for leaks in your bathtub caulk, it’s important to understand how to maintain it properly. Regular maintenance is crucial in preventing mold and ensuring the longevity of your caulk. Here’s a step-by-step guide on maintaining caulk and preventing mold:
-
Clean the caulk: Use a mildew cleaner or a mixture of bleach and water to remove any existing mold or mildew on the caulk. Scrub gently with a brush or sponge.
-
Dry thoroughly: After cleaning, make sure the caulk is completely dry before proceeding to the next step. Moisture can promote mold growth, so it’s crucial to eliminate any dampness.
-
Apply caulk sealant: Once the caulk is dry, apply a caulk sealant to protect it from moisture and mold. This will create a barrier that prevents water from seeping in.
To give you a clearer picture, here’s a table summarizing the steps:
| Steps | Description |
|---|---|
| Clean the caulk | Use a mildew cleaner or bleach mixture to remove mold or mildew. Scrub gently with a brush. |
| Dry thoroughly | Ensure the caulk is completely dry before proceeding to the next step. |
| Apply caulk sealant | Protect the caulk from moisture and mold by applying a caulk sealant. |
Frequently Asked Questions
Can I Use Any Type of Caulk for Caulking My Bathtub?
Yes, you can use different types of caulk for caulking your bathtub. However, it’s important to choose the right caulk for your bathtub. Consider factors like the surface material and whether it’s a wet or dry area.
How Often Should I Re-Caulk My Bathtub?
I usually re-caulk my bathtub every 1-2 years to maintain a watertight seal. Before caulking, I make sure to properly prepare the surface by cleaning it thoroughly and removing any old caulk with a caulk remover tool or scraper.
What Should I Do if I Accidentally Apply Too Much Caulk?
If I accidentally apply too much caulk, I can remove the excess by using a caulk remover tool or a utility knife. Leaving excess caulk can lead to a messy appearance and potentially compromise the effectiveness of the seal.
Can I Apply Caulk Over Existing Caulk?
Yes, you can apply caulk over existing caulk. It’s a simple process that saves time and effort. Just make sure to clean the surface thoroughly and use the same type of caulk for a seamless finish.
How Long Does It Take for Caulk to Fully Cure and Be Waterproof?
Humidity can affect caulk curing time. It’s best to use waterproof caulk brands like GE Silicone II or DAP Dynaflex 230. Allow caulk to fully cure for 24-48 hours before exposing it to water.
Conclusion
So there you have it, a step-by-step guide on how to caulk your bathtub.
By following these simple instructions, you can ensure that your bathtub remains watertight and free from leaks.
Remember to always prepare the bathtub beforehand, remove any old caulk, and thoroughly clean the surface.
Applying the caulk and smoothing it out may require some patience, but it’s worth it in the end.
So why wait? Start caulking your bathtub today and enjoy a leak-free bathing experience.
Can you imagine the peace of mind knowing that your bathtub is properly sealed?