
As I stand in front of my bathtub, I can’t help but notice the slow drain that’s been plaguing me for weeks. It’s time to take matters into my own hands and change the bathtub drain.
In this guide, I’ll walk you through the step-by-step process of:
- Assessing the current drain
- Gathering the necessary tools and materials
- Removing the old drain
- Installing the new one
- Testing it out.
With a little know-how and some elbow grease, you’ll have a fully functional drain in no time.
Key Takeaways
- Assess and inspect the drain for damage, clogs, corrosion, and leaks before proceeding with repairs.
- Gather the necessary tools and materials, including a wrench, pliers, screwdrivers, plumber’s putty or silicone sealant, and drain removal and installation tools.
- Remove the old drain by taking out the stopper or strainer, removing any screws holding the drain cover, and using pliers to loosen the drain body.
- Install the new drain by unscrewing the overflow plate, disconnecting the drain linkage, removing the drain flange, cleaning and repairing components, and replacing necessary parts.
Assessing the Current Drain
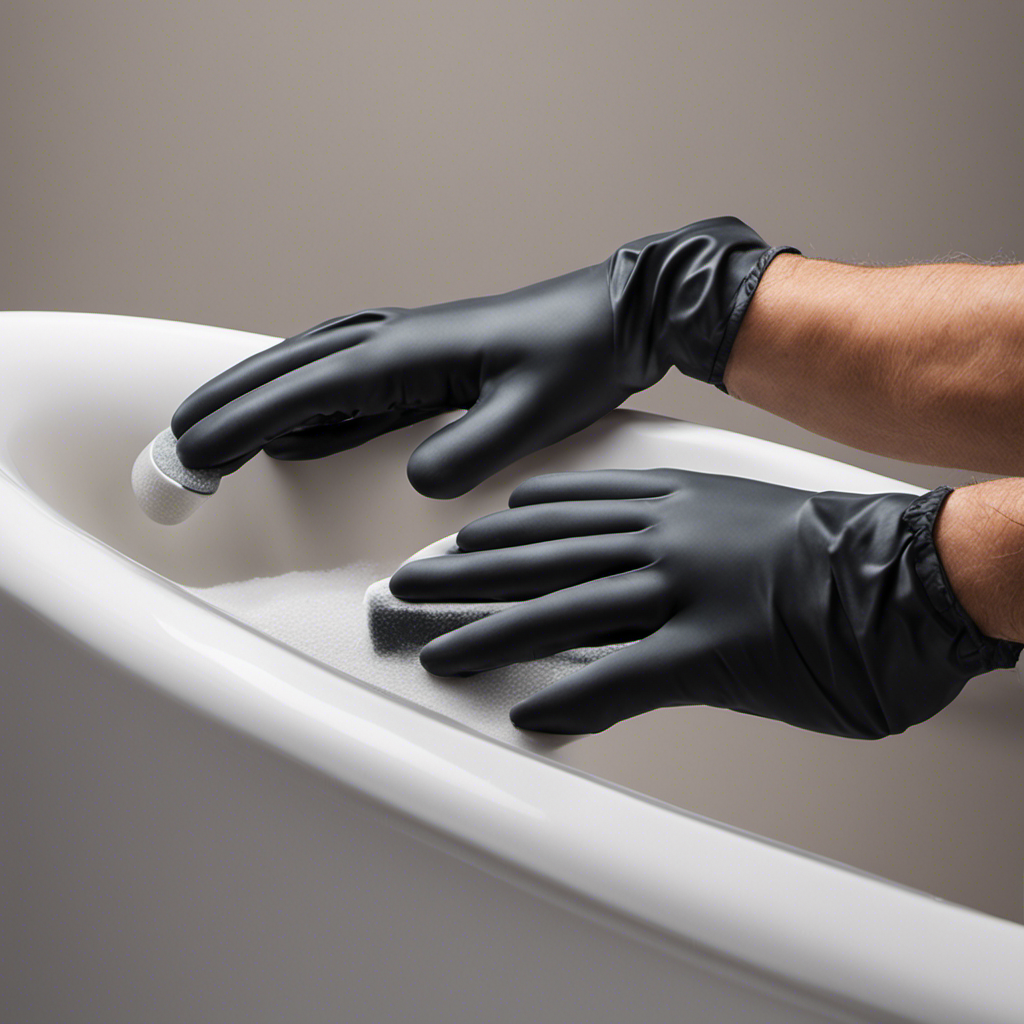
Now, take a moment to assess the current drain in your bathtub. Before proceeding with any drain repair, it is crucial to conduct a thorough drain inspection.
Start by removing the drain cover and inspecting the visible parts for any signs of damage or clogs. Look for hair, soap scum, or debris that may be obstructing the flow of water.
Next, use a flashlight to peer into the drainpipe and check for any blockages further down the line. Pay close attention to any signs of corrosion or leaks.
If you notice any issues during the drain inspection, it may be necessary to proceed with a drain repair.
Gathering the Necessary Tools and Materials
First, you’ll need to gather all the tools and materials needed for the task. To choose the right drain, consider the type and size of your bathtub, as well as the style and finish that matches your bathroom decor. Look for a drain that is compatible with the plumbing system, ensuring a proper fit.
For proper drain installation techniques, you will require a few essential tools. These include a wrench, pliers, screwdrivers, and plumber’s putty or silicone sealant. Additionally, you’ll need a drain removal tool to uninstall the old drain and a drain installation tool to secure the new one.
It is crucial to follow the manufacturer’s instructions and consult a professional if you encounter any difficulties during the process.
Removing the Old Drain
To successfully remove the old drain, there are a few essential tools that I recommend having on hand. These include a drain wrench, pliers, a screwdriver, and possibly a pair of channel locks.
Now, let’s dive into the step-by-step removal process, starting with the first crucial step of accessing the drain by removing the stopper or strainer.
Required Tools for Removal
You’ll need a few tools to remove the bathtub drain. Here are the essential tools for the job:
- Screwdriver: A flathead or Phillips screwdriver will be needed to remove any screws holding the drain cover in place.
- Pliers: These will come in handy for gripping and turning the drain body during the removal process.
- Drain Key: If the drain has a crossbar or cross-shaped screw in the center, a drain key can be used to unscrew it.
- Drain Wrench: This specialized tool is designed to fit into the drain and provide leverage for turning it counterclockwise.
When discussing alternatives, it’s important to note that some drains may have unique designs or require specific tools. If you encounter any common issues during the removal process, such as a stuck or stripped drain, troubleshooting steps can be taken to overcome these challenges.
With the necessary tools in hand, let’s now move on to the step-by-step removal process.
Step-By-Step Removal Process
Now, let’s begin by removing the screws that secure the drain cover in place. This is a crucial step in the process of replacing a bathtub drain. Using a screwdriver, carefully loosen and remove the screws, ensuring not to strip or damage them.
Once the screws are removed, you can gently lift the drain cover off, exposing the drain assembly beneath. At this point, it’s important to inspect the drain for any common issues that may have caused the need for replacement. Common issues include clogs, leaks, or corrosion.
Troubleshooting these issues will help determine the necessary steps for replacing the drain. By following this step-by-step process and troubleshooting common issues, you’ll be on your way to successfully replacing your bathtub drain.
Installing the New Drain
When it comes to removing a drain, there are various techniques that can be employed to ensure a successful and efficient process.
One must carefully consider the type and condition of the drain in order to choose the right removal technique.
Additionally, selecting the appropriate drain for replacement is crucial to ensure proper functionality and compatibility with the existing plumbing system.
Drain Removal Techniques
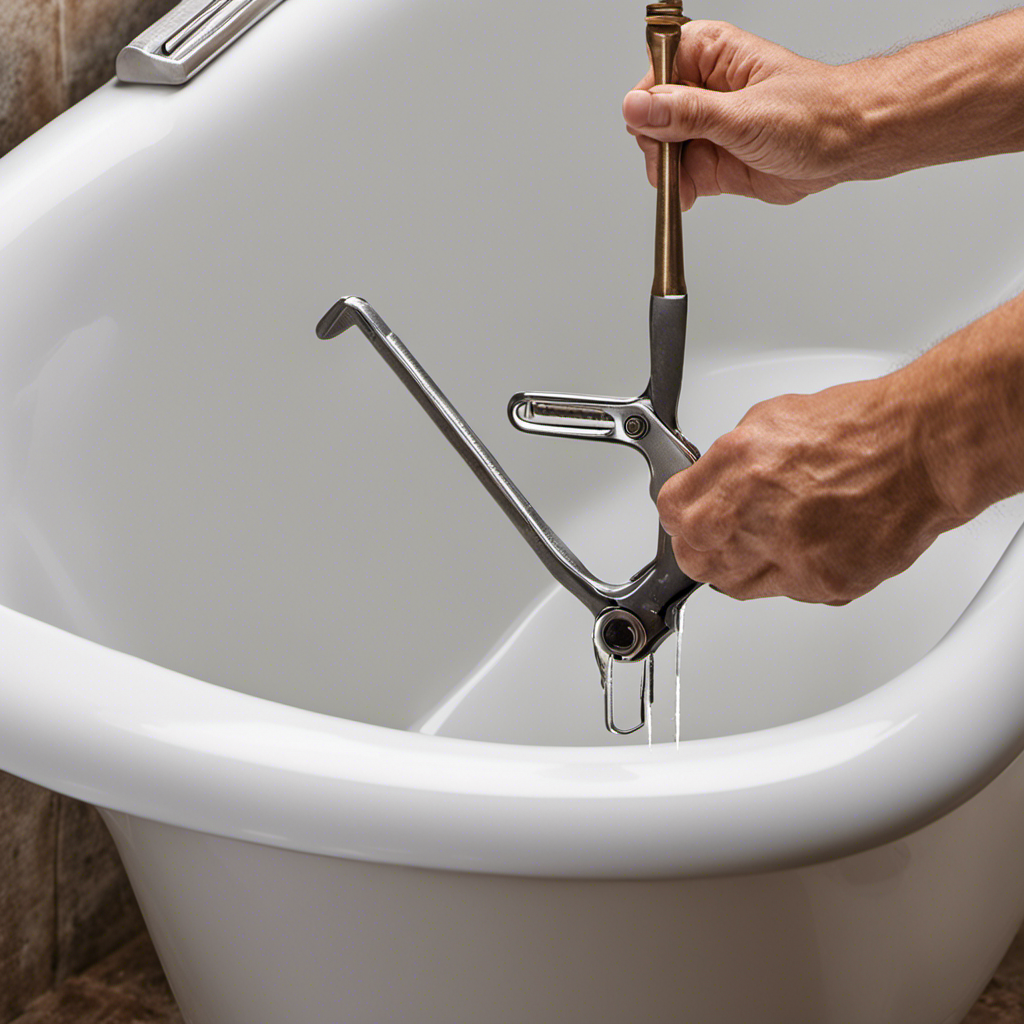
To remove the drain, start by unscrewing the overflow plate with a flathead screwdriver. This will expose the drain linkage and allow you to access the drain assembly. Once the overflow plate is removed, follow these steps to successfully remove the bathtub drain:
-
Disconnect the drain linkage from the overflow plate.
-
Use pliers to loosen the nut connecting the linkage to the drain assembly.
-
Pull the linkage out of the drain assembly.
-
Unscrew the drain flange.
-
Insert a drain key or pliers into the drain flange and turn counterclockwise to loosen it.
-
Keep turning until the drain flange is completely removed.
-
Clean or repair the drain components as needed.
-
Inspect the drain pipe for any clogs or damage.
-
Use a drain cleaning solution or a drain snake to remove any blockages.
-
Replace any worn-out or broken parts of the drain assembly.
Remember to follow these steps carefully to ensure a successful drain removal and to address any drain cleaning or repair issues that may be present.
Choosing the Right Drain
If you’re unsure about which drain to choose, consider the size and material that will best suit your needs. When it comes to bathtub drain installation, there are several types of drains to choose from. Each type offers unique features and advantages, so it’s important to understand the options available. To help you make an informed decision, I have created a table that outlines the different types of bathtub drains and their key characteristics:
| Type of Drain | Size | Material | Advantages |
|---|---|---|---|
| Pop-up Drain | Standard | Brass | Easy to use and maintain |
| Toe-Tap Drain | Standard | Plastic | Convenient and hands-free operation |
| Trip Lever Drain | Standard | Stainless Steel | Simple and reliable mechanism |
| Lift and Turn Drain | Standard | Chrome | Secure and durable construction |
Testing the New Drain
You can now check if the new drain is working properly. To evaluate its effectiveness and troubleshoot any issues, follow these steps:
- Fill the bathtub with water and let it drain completely. Observe if the water drains smoothly without any clogs or slow draining.
- Use a drain snake to remove any potential blockages. Insert the snake into the drain and rotate it to dislodge any debris.
- Test the drain stopper by closing it and filling the tub with water. Ensure that the stopper seals tightly and holds the water without any leaks.
If you encounter any problems during the testing process, such as slow draining or leaks, it may indicate an installation issue. Refer to the installation instructions or seek professional help to address the problem.
Now that you have evaluated the effectiveness of your new drain, it’s time to learn some tips and tricks for maintaining it.
Tips and Tricks for Maintaining Your New Drain
Now that your new drain is installed, it’s important to regularly clean and remove any debris to prevent clogs. Proper maintenance is crucial for the longevity and efficiency of your drain system. Here are some maintenance tips to help you keep your drain in top shape:
| Maintenance Tips | Preventing Clogs |
|---|---|
| Use a drain cover | Avoid pouring grease and oil down the drain |
| Flush hot water regularly | Install a hair catcher to prevent hair buildup |
| Use a plunger when necessary | Avoid flushing non-flushable items down the toilet |
| Clean the drain stopper regularly | Use a drain snake to remove stubborn clogs |
| Use vinegar and baking soda for cleaning | Schedule regular professional drain cleaning |
Frequently Asked Questions
How Long Does It Typically Take to Change a Bathtub Drain?
On average, it takes about 1-2 hours to change a bathtub drain. There are several steps involved, such as removing the old drain, cleaning the area, and installing the new drain.
Can I Change a Bathtub Drain Without Professional Help?
Yes, you can DIY bathtub drain replacement, but it’s important to consider the pros and cons of hiring a professional. While it may save money, lack of experience could lead to problems.
Are There Specific Tools Required for Changing a Bathtub Drain?
Plumbing tools are essential for changing a bathtub drain. The step-by-step process involves removing the old drain, cleaning the area, and installing the new drain. It’s important to follow instructions carefully to ensure a successful replacement.
What Are Some Common Signs That Indicate a Bathtub Drain Needs to Be Replaced?
When a bathtub drain starts to slow down and water pools around your feet, it’s a sign that something needs to be done. Preventing clogged drains is key to keeping things flowing smoothly.
Are There Any Alternative Methods for Changing a Bathtub Drain?
There are alternative methods for changing a bathtub drain that offer various benefits. These methods can make the process easier and more efficient, saving time and effort in the long run.
Conclusion
In conclusion, changing a bathtub drain can be a straightforward process with the right tools and knowledge. By assessing the current drain and gathering the necessary tools and materials, you can begin the process.
Removing the old drain is the next step, followed by installing the new drain.
Finally, testing the functionality of the new drain is essential to ensure it is working properly.
For example, I recently helped my neighbor replace their bathtub drain. By following these steps, we were able to improve the drainage significantly and prevent any future clogs.
Remember to maintain your new drain regularly to ensure its longevity and efficiency.

Liam’s journey with us started as a consumer. Having faced challenges while setting up his own modern bathroom, he delved deep into research.
Recognizing his knack for simplifying complex information and his authentic writing style, we were thrilled to welcome him aboard. Liam’s articles often merge practicality with style, ensuring readers find the perfect fit for their homes. Liam is an avid hiker off-duty and often jokes about finding the best “natural toilets” Mother Earth has to offer.