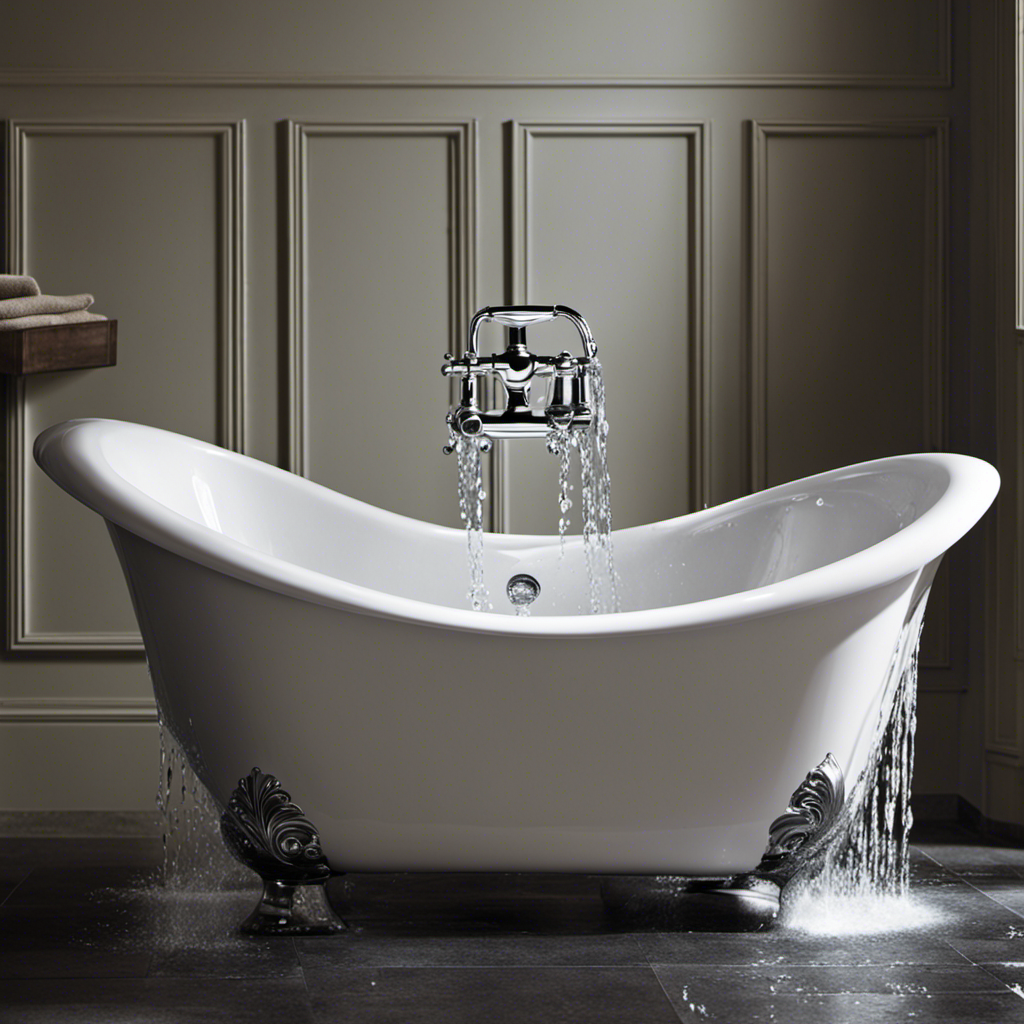
I remember the frustration of dealing with a leaky bathtub faucet. It seemed like no matter how tightly I twisted the handle, water would still drip incessantly. Finally, I decided enough was enough and set out to change the faucet myself.
In this article, I will guide you through the step-by-step process of replacing a bathtub faucet. By following these instructions, you’ll be able to tackle this task with confidence and put an end to that annoying drip once and for all.
Key Takeaways
- Choose a faucet that matches your bathroom decor and is compatible with your bathtub’s configuration.
- Gather the necessary tools and materials for the installation process.
- Shut off the water supply before removing the old faucet to prevent water damage.
- Install the new faucet carefully, ensuring it is level and properly connected, and test for leaks and water pressure.
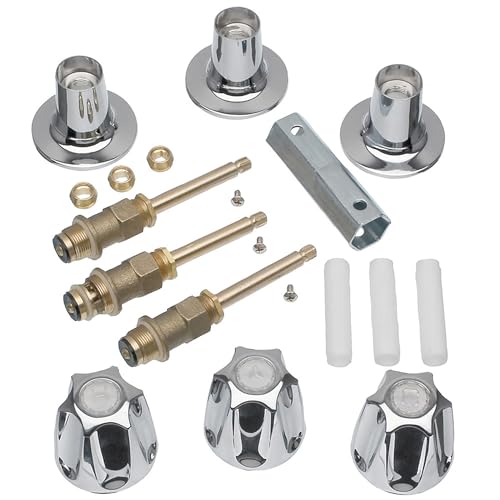
Danco (39619) Bathtub and Shower 3-Handle Remodel/Rebuild Trim Kit for Price Pfister Verve Faucets, Includes 12H-2H, 12H-2C, 12H-18D Stems, Knob Handles in Chrome, Pack of 1
- Manufactured in China: Made in China
As an affiliate, we earn on qualifying purchases.
As an affiliate, we earn on qualifying purchases.
Gathering the Necessary Tools and Materials
Now, you’ll want to gather all the necessary tools and materials for changing your bathtub faucet.
Choosing the right faucet is crucial to ensure it fits your existing plumbing and matches your bathroom decor. Look for a faucet that is compatible with your bathtub’s configuration and has the desired style and finish. When selecting a faucet, consider factors such as the number of handles, the type of valve, and the material used.
Additionally, gather the following tools and materials: an adjustable wrench, a screwdriver, plumber’s tape, a towel or rag, and a bucket. These items will help you during the installation process and ensure a smooth and successful outcome.
With everything gathered, you are now ready to move on to the next step of shutting off the water supply.
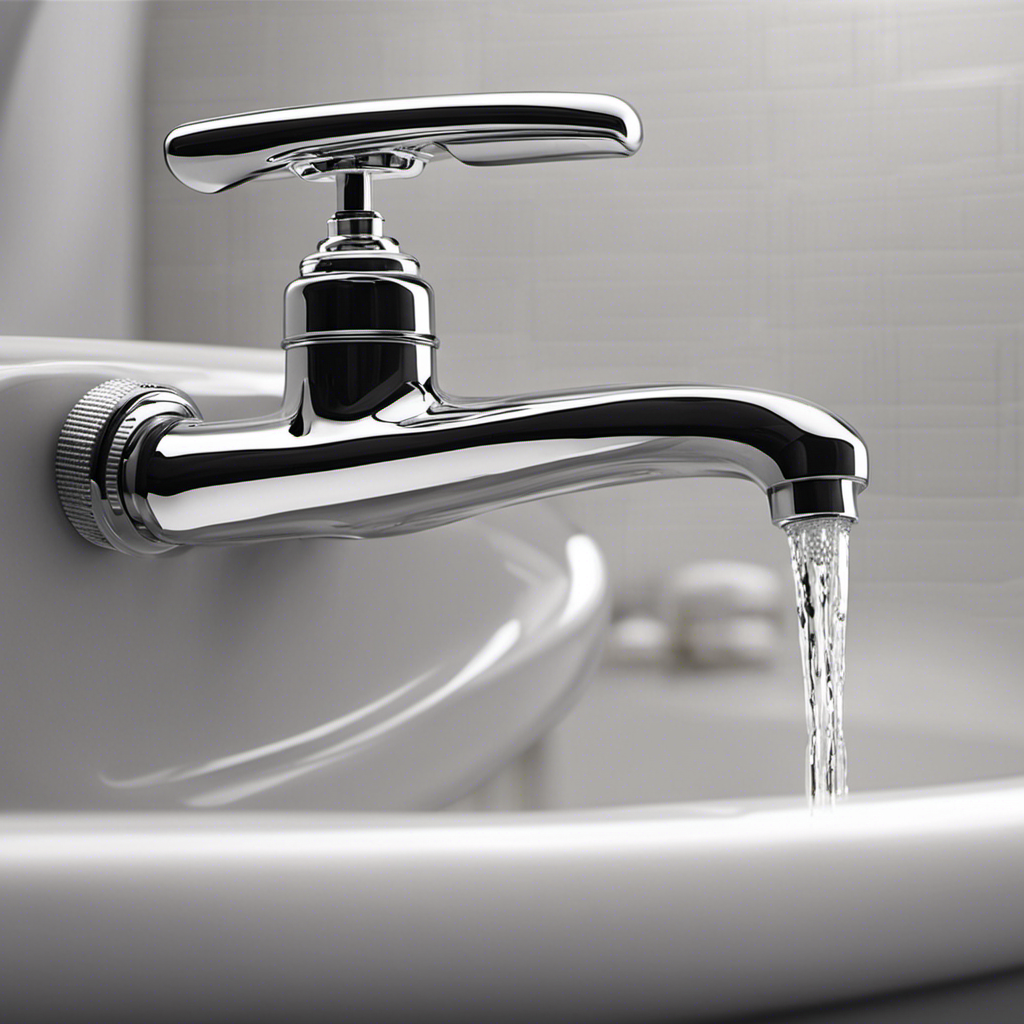
Shutting off the Water Supply
When it comes to shutting off the water supply, there are a few key points to keep in mind.
First, locating and turning off the water valve is crucial to prevent any water damage.
Second, it is important to take the necessary safety precautions during the shut-off process.
Lastly, understanding the steps to prevent water damage and ensuring your safety will help you successfully complete the task at hand.
Turning off Water Valve
First, you need to locate the water valve and turn it off before proceeding with changing the bathtub faucet. This is an important step in the preparations for replacing the faucet, as it ensures that no water will be flowing during the process.
The water valve is typically located near the bathtub, either on the wall behind the faucet or underneath the sink. To turn it off, you will need to rotate the valve clockwise until it is fully closed. If you are unable to locate or turn off the water valve, it may be necessary to consult a professional plumber for further troubleshooting.
Once the water valve is successfully turned off, you can proceed with changing the bathtub faucet, which will be discussed in the following section on preventing water damage.
Preventing Water Damage
To avoid water damage, it’s important to take necessary precautions while replacing the bathtub faucet.
One common mistake people make is not turning off the water supply before starting the replacement process. This can result in water seeping out and causing damage to your bathroom floor or walls. Before beginning the replacement, locate the water shut-off valves for both hot and cold water supply lines and turn them off.
Another mistake to avoid is not properly sealing the connections between the new faucet and the water supply lines. Use plumber’s tape or thread sealant to ensure a watertight seal.
Additionally, make sure to check for any leaks after the installation is complete. Taking these precautions will help prevent water damage and ensure a successful faucet replacement.
Safety During Shut-Off
Make sure you locate the water shut-off valves and turn them off before starting the replacement process to prevent any water damage.
When changing a bathtub faucet, it is crucial to prioritize safety during the shut-off procedure. Start by locating the main water shut-off valve, usually found near the water meter or in the basement. Turning off this valve will stop the flow of water to the entire house, ensuring no water pressure reaches the faucet during the replacement. It is important to shut off the main valve to avoid any accidental leaks or water damage.
Once the main valve is shut off, double-check that the water pressure is completely relieved by turning on a nearby faucet. This step will guarantee a safe and dry working environment throughout the entire replacement process.
Removing the Old Faucet
To successfully remove the old faucet, there are a few essential tools required for the task. These include an adjustable wrench, pliers, a screwdriver, and plumber’s tape.
The first step in the process is to disconnect the water supply by turning off the water valves located under the sink or at the main water supply.
After that, it is necessary to remove each component of the faucet, such as the handles, spout, and any additional fixtures.
Tools Required
The tools you’ll need for this project include a pair of pliers, an adjustable wrench, and a screwdriver. These tools are essential for a successful bathtub faucet replacement. The pliers will be used to remove any nuts or bolts that are holding the old faucet in place. The adjustable wrench will come in handy when loosening and tightening connections. The screwdriver will be used to remove any screws that are securing the faucet to the wall or bathtub. Make sure to have these tools readily available before starting the replacement process. Here is a table outlining the required tools:
| Tools | Quantity |
|---|---|
| Pliers | 1 |
| Adjustable Wrench | 1 |
| Screwdriver | 1 |
Having these tools on hand will ensure that you are fully prepared for the bathtub faucet replacement.
Disconnecting Water Supply
Before you begin disconnecting the water supply, remember to turn off the main water valve to prevent any water from flowing while you work.
To prepare the work area, make sure you have all the necessary tools and equipment within reach. This includes an adjustable wrench, a bucket, and plumber’s tape.
Start by locating the shut-off valves under the sink and turn them off. Next, use the adjustable wrench to loosen the nuts connecting the water supply lines to the faucet. Place the bucket underneath to catch any remaining water.
Once the water supply lines are disconnected, you can proceed with removing the old faucet. Remember to take note of the order in which the parts are assembled for easier reconnection later.
After replacing the faucet, reconnect the water supply lines using plumber’s tape to ensure a tight seal.
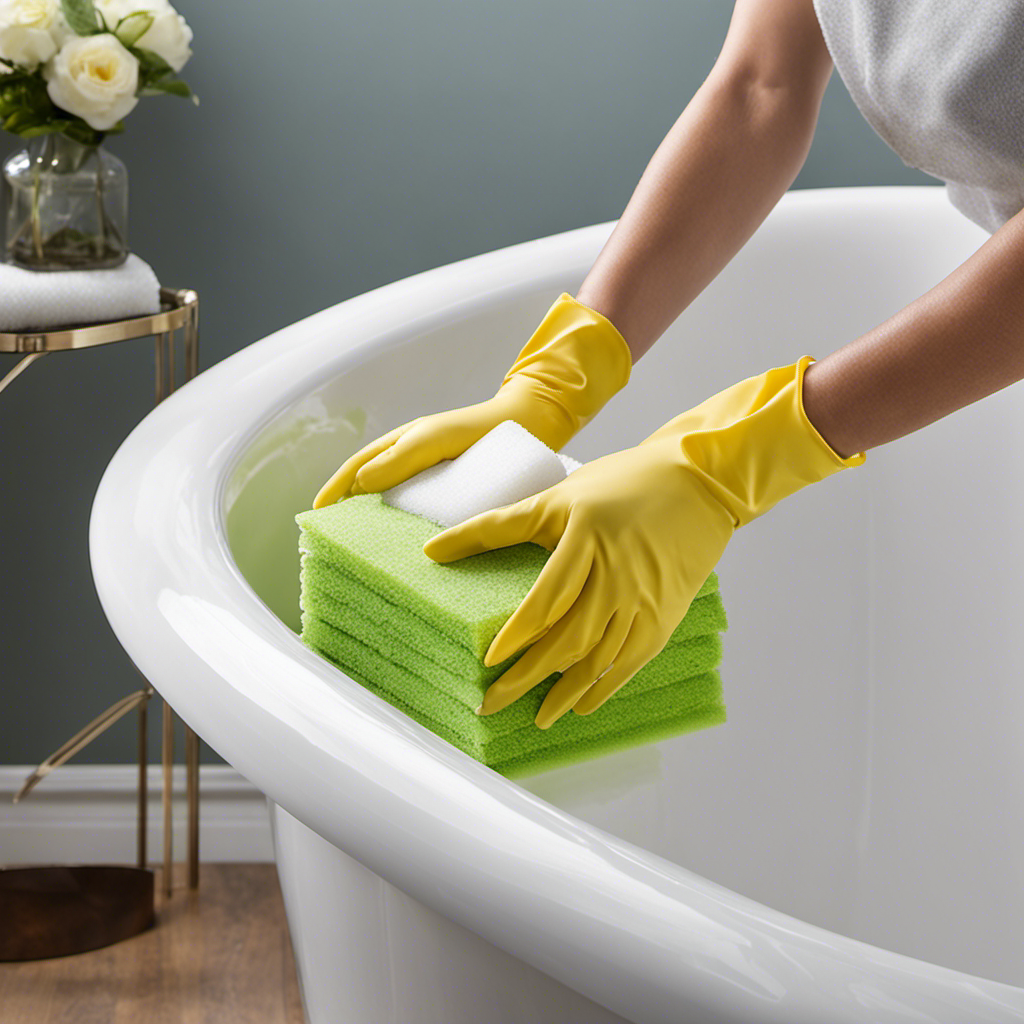
Removing Faucet Components
Start by unscrewing the nuts that hold the water supply lines to the faucet using an adjustable wrench. This will allow you to remove the faucet components and continue with the replacement process.
Before you begin, make sure to prepare your workspace by laying down a protective covering to avoid any damage to your bathtub. Cleaning the bathtub is an important step to ensure a clean and sanitary working environment.
Here is a 4 item numeric list to guide you through the process:
- Lay down a protective covering to avoid damage to the bathtub.
- Use a mild cleaning solution to thoroughly clean the bathtub surface.
- Rinse the bathtub with water to remove any residue from the cleaning solution.
- Allow the bathtub to dry completely before proceeding with the faucet replacement.
Installing the New Faucet
To begin installing the new faucet, you’ll need to gather all the necessary tools and materials. Make sure you have a wrench, pliers, Teflon tape, and the new faucet.
Start by shutting off the water supply to the bathtub. Then, remove the old faucet by disconnecting the water lines and unscrewing it from the wall.
Once the old faucet is removed, clean the area and apply Teflon tape to the threaded ends of the water supply lines. Carefully align the new faucet with the holes in the wall and secure it using the provided screws or mounting brackets. Make sure the faucet is level and tight.
Connect the water lines, making sure to use the proper fittings. Finally, turn on the water supply and check for any leaks.
Connecting the Water Supply Lines
Now that the new faucet is securely in place, it’s time to connect the water supply lines. This step is crucial to ensure proper water flow and maintain optimal water pressure. Follow these steps to connect the water supply lines:
-
Turn off the main water supply: Locate the shut-off valve and turn it clockwise to stop the water flow.
-
Attach the supply lines: Take the hot and cold water supply lines and connect them to the corresponding valves on the faucet. Use adjustable wrenches to tighten the connections.
-
Check for leaks: Turn on the main water supply and check for any leaks around the connections. If you notice any leaks, tighten the connections further or consider using thread seal tape.
-
Test the water pressure: Turn on the faucet and check the water pressure. If it’s too low, you may need to adjust the shut-off valve or seek professional assistance.
Testing and Checking for Leaks
Once the water supply lines are connected, it’s important to test for leaks and ensure proper water pressure. Testing for leaks is a crucial step in the installation process to avoid potential water damage.
There are several testing methods that can be used to identify and troubleshoot leaks. One common method is the visual inspection, where you carefully examine the connections for any signs of water dripping or pooling.
Another method is the tissue paper test, where you wrap tissue paper around the connections and check for any dampness.
Additionally, you can use a pressure gauge to measure the water pressure and ensure it falls within the recommended range.
If any leaks are detected, it’s important to tighten the connections or replace faulty parts to achieve a watertight seal.
Frequently Asked Questions
How Long Does It Usually Take to Change a Bathtub Faucet?
Changing a bathtub faucet usually takes about an hour or two. The process involves removing the old faucet, which requires common tools such as pliers and a wrench.
Can I Use the Same Water Supply Lines From the Old Faucet for the New Faucet?
Yes, you can reuse the existing water supply lines from the old faucet for the new one. Just make sure they are in good condition and compatible with the new faucet.
What Should I Do if I Encounter a Stuck or Rusted Faucet During Removal?
To loosen a stuck faucet, first, turn off the water supply. Then, apply penetrating oil to the faucet and let it sit for a few minutes. Use a wrench to gently twist and loosen the faucet. If rust is present, clean it with a rust remover before proceeding.
Is It Necessary to Hire a Professional Plumber to Change a Bathtub Faucet?
Hiring a professional plumber to change a bathtub faucet has its pros and cons. However, if you’re looking to save money and have some DIY skills, you can change a bathtub faucet yourself.
Are There Any Specific Safety Precautions I Should Take While Working on the Faucet Installation?
When working on faucet installation, it’s important to prioritize safety. Taking proper precautions and using the necessary tools can prevent accidents. Safety measures include turning off the water supply and wearing protective gear.
Conclusion
In conclusion, changing a bathtub faucet can be a daunting task, but with the right tools and instructions, it can be easily accomplished.
As I finished installing the new faucet, I couldn’t help but feel a sense of satisfaction, similar to completing a puzzle or solving a complex equation.
Just like how a faucet brings new life to a tired bathroom, tackling challenges head-on and overcoming them can bring a refreshing change to our lives.
So go ahead, turn the wrench and let the transformation begin!