I’m here to show you how to change a bathtub spout, and trust me, it’s easier than you might think.
Imagine having a brand new spout that not only enhances the look of your bathroom but also functions flawlessly.
In just a few simple steps, I’ll guide you through assessing your current spout, gathering the necessary tools, removing the old one, and installing the new one.
So, let’s get started and transform your bathtub into a haven of relaxation and style.
Key Takeaways
- Assess the current bathtub spout for visible damage and leaks
- Gather the necessary tools and materials for the replacement
- Remove the old bathtub spout and assess for any damage or repairs needed
- Properly install the new bathtub spout and test its functionality

Slip Fit Tub Spout with Pull-Up Diverter for 1/2 inch Copper Tube, Chrome
Premium metal construction – Durability and reliability
As an affiliate, we earn on qualifying purchases.
As an affiliate, we earn on qualifying purchases.
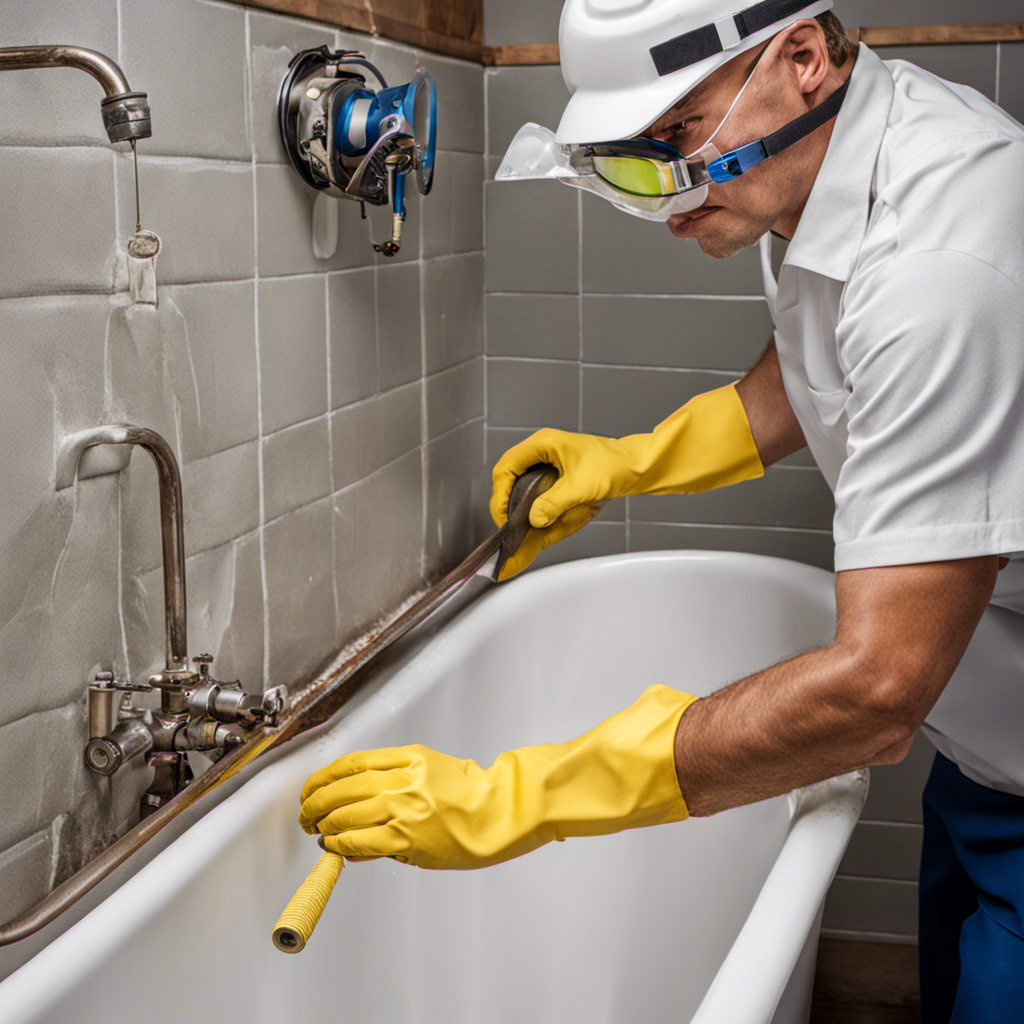
Assessing the Current Bathtub Spout
Before you begin changing the bathtub spout, it’s important to assess the current condition of the spout. This will help you determine if a replacement is necessary and what type of spout will be suitable.
Start by examining the spout for any visible damage, such as cracks, rust, or corrosion. Check if the spout is securely attached to the wall and if there are any leaks or water flow issues.
Assessing the spout condition will also involve identifying the type of spout you have, whether it is a slip-on, threaded, or diverter spout.
Once you have assessed the condition and type of spout, you can proceed to identify the appropriate replacement options based on your specific needs and preferences.

Dreyoo Tub Spout (Universal Fits 1/2" Copper Pipe, 1/2" IPS and 3/4" IPS), Bathroom Bathtub Faucet with Adapters and Hex Wrench(Brushed Nickel,Simple)
Universal Diverter Tub Spout: this Dreyoo tub spout with diverter is compatible with 1/2" copper pipe connection, 1/2"…
As an affiliate, we earn on qualifying purchases.
As an affiliate, we earn on qualifying purchases.
Gathering the Necessary Tools and Materials
You’ll need a few tools and materials to get started on this project. First and foremost, you’ll need a new bathtub spout that suits your preferences and bathroom decor. When choosing the right spout design, consider factors such as the type of mounting (wall-mounted or deck-mounted), the finish (chrome, brushed nickel, etc.), and the style (modern, traditional, etc.). To help you make an informed decision, here’s a table that compares different spout designs:
| Design | Mounting | Finish | Style |
|---|---|---|---|
| Spout A | Wall-mounted | Chrome | Modern |
| Spout B | Deck-mounted | Brushed Nickel | Traditional |
| Spout C | Wall-mounted | Bronze | Contemporary |
| Spout D | Deck-mounted | Stainless Steel | Industrial |
Now, let’s move on to some tips for removing stubborn spouts. Transitioning into the next section, it’s important to know how to remove the old bathtub spout effectively.

Design House 522912 Slip-On Pull-Up Wall Mount Tub Diverter Spout, Polished Chrome
Efficient Water Control: Slip-on tub spout with an integrated pull-up diverter easily redirects water from the tub spout…
As an affiliate, we earn on qualifying purchases.
As an affiliate, we earn on qualifying purchases.
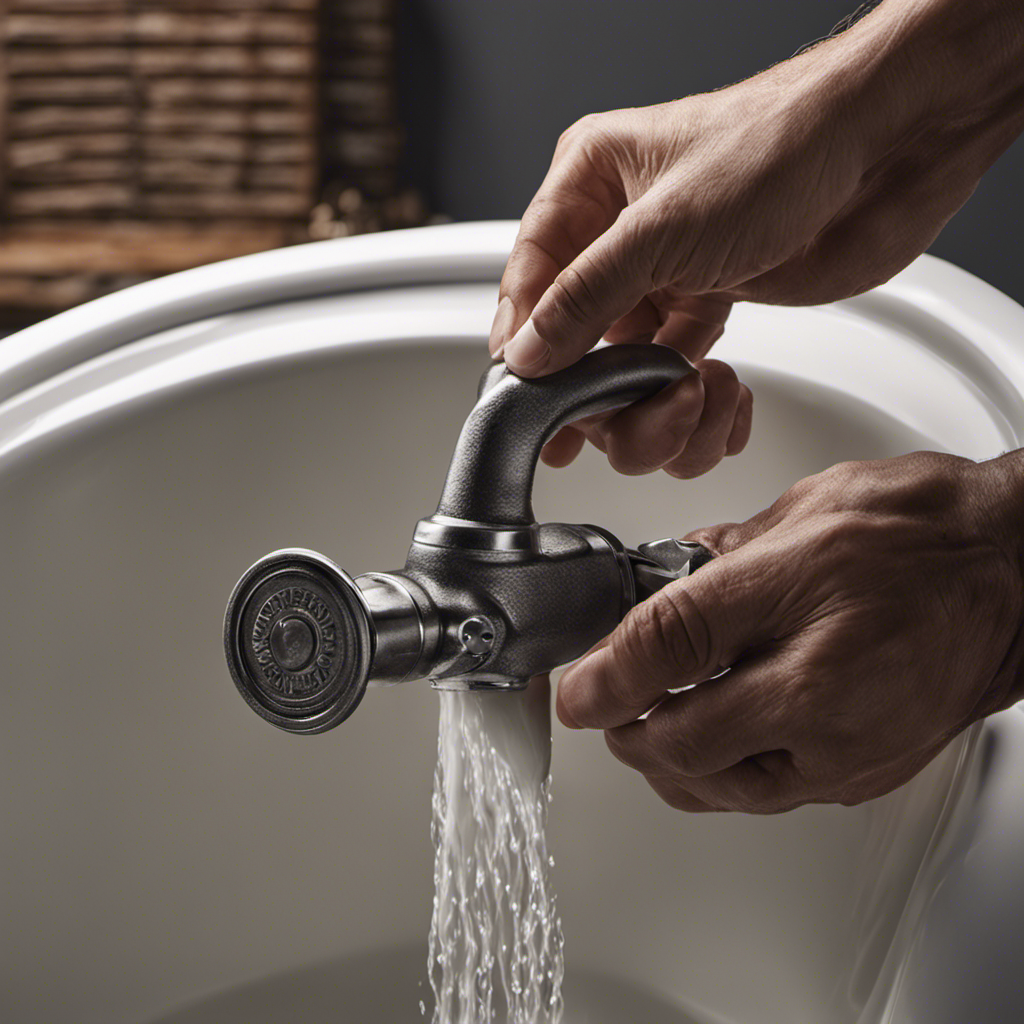
Removing the Old Bathtub Spout
To remove the old spout, simply twist it counterclockwise using a pair of pliers. This is the first step in replacing your bathtub spout.
Once you’ve successfully removed the old spout, it’s important to assess the damage and determine if any repairs are needed. Look for any signs of leaks or corrosion that may have caused the spout to malfunction.
Next, you’ll need to find replacement parts for your specific bathtub spout. Consider the type of spout you have, whether it’s a slip-on or a threaded spout, and find a replacement that matches the style and design of your bathroom. Take measurements if necessary to ensure a proper fit.
Once you have assessed the damage and found the right replacement parts, you can move on to the next step in the process.

Enhon 2 Set Tub Spout Diverter Repair Kit, Includes 2 x Diverter Valve Stems, 2 x Cup Seals and 2 x Gates, Bathroom Shower Bathtub Leaky Faucet Repair Replacement Parts (Chrome,Classic)
Universal Design: the tub spout diverter repair kit is designed for repairing most standard tub spouts, and features…
As an affiliate, we earn on qualifying purchases.
As an affiliate, we earn on qualifying purchases.
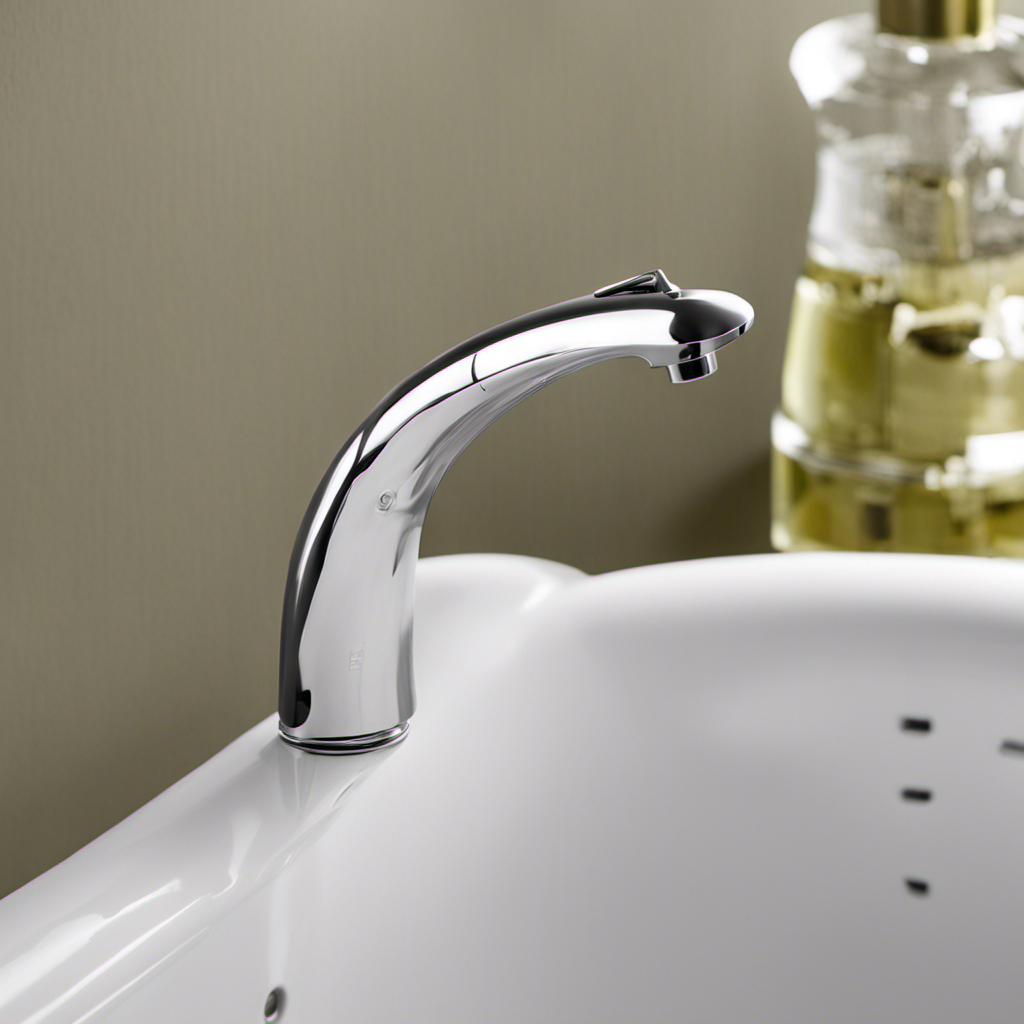
Installing the New Bathtub Spout
When it comes to installing a new bathtub spout, proper alignment and fit are crucial for a successful installation. Ensuring that the spout is aligned correctly with the pipe and that it fits securely will prevent any leaks or water damage.
To get the job done, you’ll need a few tools and materials, such as an adjustable wrench, plumber’s tape, and a new spout.
In this step-by-step installation process, I will guide you through each stage to help you achieve a seamless and functional bathtub spout replacement.
Proper Alignment and Fit
The spout should be aligned and fitted properly to ensure a secure installation. When it comes to aligning and fitting a bathtub spout, there are several key techniques to keep in mind for a successful installation:
- Measure and mark the desired position of the spout on the wall.
- Use the appropriate tools, such as a pipe wrench, to securely tighten the spout onto the pipe.
- Apply plumber’s tape to the threaded end of the pipe to create a watertight seal.
While aligning and fitting a bathtub spout, it’s important to avoid some common mistakes that can lead to issues down the line:
- Not aligning the spout properly can result in water leakage.
- Over-tightening the spout can cause damage to the pipe.
- Forgetting to use plumber’s tape can lead to water leaks.
Tools and Materials Needed
Make sure you have all the necessary tools and materials before starting the installation.
When it comes to bathtub spout maintenance, choosing the right spout design is crucial. You want to ensure that the spout not only fits your personal style but also functions properly.
To begin, you will need a few tools such as a pipe wrench, plumber’s tape, and a screwdriver. Additionally, gather the materials needed, including a new spout, pipe compound, and a rag for cleaning.
When selecting a spout design, consider factors such as the type of bathtub you have, the overall aesthetic of your bathroom, and the functionality you desire.
Step-By-Step Installation Process
To start the installation process of your new bathtub spout, you’ll want to gather all the necessary tools and materials. Here’s a step-by-step guide to help you through the process:
- Turn off the water supply to the bathtub to prevent any leaks or accidents.
- Remove the old spout by unscrewing it counterclockwise using a pipe wrench.
- Clean the threads on the pipe to ensure a proper seal with the new spout.
- Apply plumber’s tape to the threads of the pipe to create a watertight seal.
- Screw the new spout onto the pipe clockwise until it’s snug.
- Turn on the water supply and check for any leaks.
- Lastly, give the spout a thorough cleaning and polish to maintain its appearance.
Proper sealing and regular maintenance are essential to ensure the longevity of your bathtub spout. Remember to periodically check for any leaks and clean the spout to prevent the buildup of dirt and debris.
Testing the Functionality of the New Spout
First, check if the new spout is working properly by turning on the water.
There are a few testing methods you can use to ensure the functionality and durability of the new spout.
Start by observing if there are any leaks or drips when the water is running. If you notice any, it may indicate a faulty installation or a defective spout.
Additionally, check for proper water flow and pressure. The water should flow smoothly without any disruptions or blockages.
You can also test the diverter, if your spout has one, by pulling up on the knob or lever to divert water to the showerhead. Make sure it switches seamlessly and without any issues.
Troubleshooting Common Issues
When it comes to common issues with bathtub spouts, two key points to consider are leaking spout solutions and low water pressure causes.
Leaking spouts can be caused by worn-out seals or damaged O-rings, which can be resolved by replacing these components.
On the other hand, low water pressure in the bathtub can be a result of clogged aerators or faulty valves, requiring cleaning or replacement to restore proper water flow.
Leaking Spout Solutions
You can easily fix a leaking spout by replacing the O-ring inside it. This simple DIY spout repair will save you time and money. Here are some steps to help you with your bathtub spout replacement:
-
Start by turning off the water supply to your bathtub.
-
Use a screwdriver to remove the screw holding the spout in place.
-
Pull the spout away from the wall to reveal the O-ring.
-
Carefully remove the old O-ring and replace it with a new one.
-
Make sure the new O-ring is properly seated and secure the spout back onto the wall.
-
Turn on the water supply and check for any leaks.
-
If the spout still leaks, you may need to check for other issues such as a cracked pipe or a faulty valve.
Low Water Pressure Causes
The most common causes of low water pressure in a bathroom are clogged pipes and a malfunctioning pressure regulator. Clogged pipes occur when there is a buildup of rust and sediment in the plumbing system. Rusty pipes can develop over time due to the presence of iron in the water, while sediment buildup occurs when minerals and debris accumulate in the pipes. These issues restrict the flow of water, resulting in low water pressure. A malfunctioning pressure regulator can also contribute to low water pressure by not allowing the right amount of pressure to reach the bathroom fixtures. It is important to address these problems promptly to ensure proper water flow and pressure in the bathroom.
| Cause | Symptoms | Solutions |
|---|---|---|
| Clogged pipes | Low water pressure | Clear pipes of debris |
| Rusty pipes | Discolored water | Replace corroded pipes |
| Sediment buildup | Reduced water flow | Flush pipes regularly |
| Malfunctioning regulator | Inconsistent pressure | Replace or repair regulator |
Conclusion
In conclusion, changing a bathtub spout is a straightforward process that can be done with the right tools and materials.
By assessing the current spout, gathering the necessary items, and following the steps for removal and installation, one can successfully replace their old spout with a new one.
Remember to test the functionality of the new spout and troubleshoot any common issues that may arise.
So go ahead, and take the plunge into a refreshed and functional bathtub experience.