
So you’ve noticed that your bathtub spout with diverter is not working properly. Well, fear not! In this article, I’m going to show you step-by-step how to change that old spout and get your bathtub back in working order.
With just a few tools and some simple instructions, you’ll be able to tackle this DIY project with ease. So let’s dive in and get started!
Key Takeaways
- Use the proper tools and materials, such as an adjustable wrench and pipe tape, when changing a bathtub spout with diverter.
- When removing the old spout, turn it counterclockwise using a pipe wrench or pliers, and apply penetrating oil if it is stuck.
- When installing the new spout, choose one that matches your plumbing setup, apply plumber’s tape for a tight seal, and test for leaks before using.
- When testing the diverter functionality, observe water flow from both the spout and showerhead, and ensure proper positioning of the diverter valve.

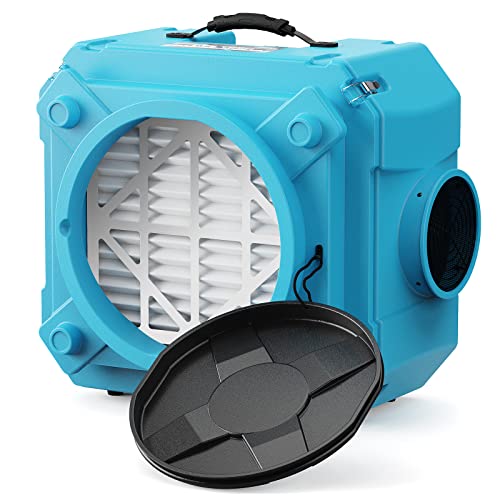
BlueDri Air Shield 550 HEPA Air Scrubber, Water Damage Restoration Equipment Air Purifier, Covers 1400 Sq. Ft, Daisy Chain Capable, For Commercial Use, Blue, BD-AS-550
POWERFUL AIR PURIFIER - BlueDri's Air Shield 550 HEPA Air Scrubber delivers at least 40% more CFM than...
As an affiliate, we earn on qualifying purchases.
Required Tools and Materials
To change the bathtub spout with diverter, you’ll need a few tools and materials.
There are different types of bathtub spouts available in the market, so it’s important to choose one that suits your needs. Some common types include slip-on spouts, screw-on spouts, and screw-off spouts.
To properly seal the new bathtub spout, you’ll need the following tools and materials: an adjustable wrench, a pipe tape or plumber’s putty, a new spout with diverter, and a rag or towel.
First, shut off the water supply to the bathtub.
Next, remove the old spout by unscrewing it counterclockwise or pulling it off.
Clean the pipe threads thoroughly and apply pipe tape or plumber’s putty to ensure a watertight seal.
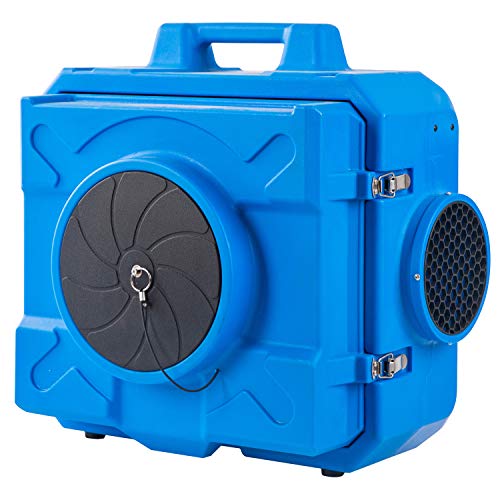
ALORAIR Air Scrubber with 3 Stage Filtration, Stackable Negative Air Machine for Industrial and Commercial Use, Heavy Duty Air Cleaner with MERV-10 Filter, HEPA/Activated carbon Filter, Blue
Receive 2-Pack MERV-10 Filter for HEPA 550 air scrubber + all promo items [Multilevel Filtration]: This ALORAIR air...
As an affiliate, we earn on qualifying purchases.
Removing the Old Bathtub Spout
First, make sure you have the necessary tools to remove the old spout. To remove a stuck bathtub spout, it is important to use the proper technique to avoid causing damage or injury.
Here are some potential risks and precautions to keep in mind during the removal process:
-
Use a pipe wrench or pliers to carefully grip the spout and turn it counterclockwise to loosen it. Be cautious not to apply excessive force, as this may lead to broken pipes or fittings.
-
If the spout is still stuck, apply penetrating oil to the connection and let it sit for a few minutes to loosen any rust or debris.
-
Avoid using excessive heat, such as a torch, as this can damage the surrounding surfaces and increase the risk of fire.
-
If necessary, consult a professional plumber to ensure the spout is removed safely and efficiently.
Remember to always follow proper safety precautions and use the appropriate tools when removing a bathtub spout to prevent any accidents or damage.
MOUNTO HEPA500 Commercial 500cfm Air Purifier Hepa Air Scrubber Negative Air Machine Roto-Molded (Blue)
MT500 has a Filter change light, daisy chain Dual GFCI outlet, Stackable, and variable speed control, quick access...
As an affiliate, we earn on qualifying purchases.
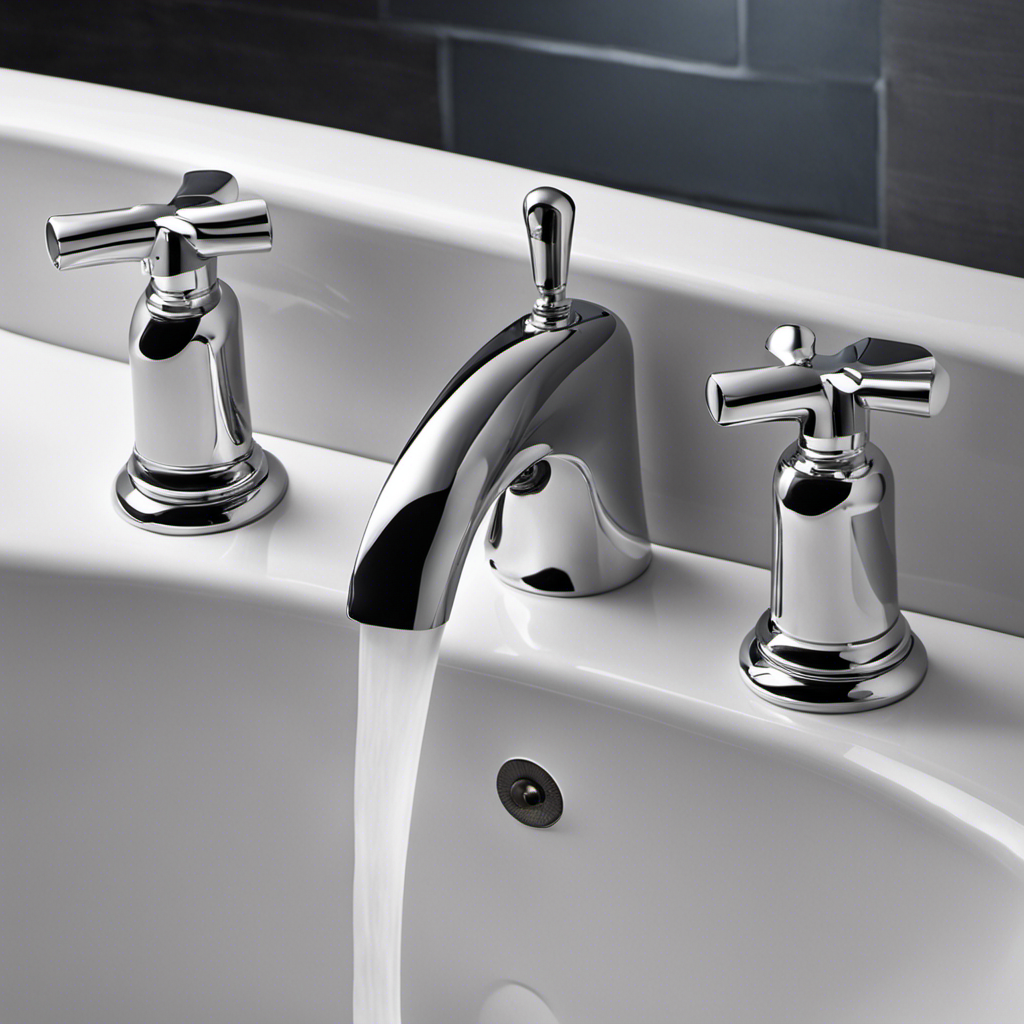
Installing the New Bathtub Spout
Once you have successfully removed the old spout, it’s time to install the new one.
Proper maintenance of bathtub spouts is essential to ensure their longevity and functionality.
There are different types of bathtub spouts available in the market, including slip-on spouts, screw-on spouts, and wall-mounted spouts.
Before installing the new spout, it’s crucial to choose the right type that matches your existing plumbing setup.
Start by applying plumber’s tape to the threads of the pipe to create a tight seal.
Then, simply screw on the new spout until it is securely in place.
Make sure to test the spout for any leaks before using it.

CADPXS Shield-550 Negative Machine Airbourne Cleaner HEPA Scrubber Water Damage Restoration Equipment Air Purifier, Air Scrubbers Red
Commercial Heavy Duty Use: The pre-filter (Merv-10) protects the prime Hepa filter acting as a large particle cleaner...
As an affiliate, we earn on qualifying purchases.
Testing the Diverter Functionality
Now, check if the water flows smoothly between the spout and the showerhead when you engage the diverter. This step is crucial in evaluating the water pressure during diverter testing. To ensure accurate results, follow these steps:
- Turn on the water and engage the diverter by pulling up the knob or lever.
- Observe the water flow from both the spout and the showerhead.
- Pay attention to any changes in water pressure or irregular flow patterns.
Understanding the proper positioning of the diverter valve is essential for a successful test. The diverter valve should be fully engaged to direct water flow to the showerhead and closed to allow water to flow out of the spout.
By carefully evaluating the water pressure and observing the flow patterns, you can ensure that the diverter is functioning correctly.
Now, let’s move on to troubleshooting common issues that may arise during this process.
Troubleshooting Common Issues
To troubleshoot common issues, you should start by checking the water pressure from the showerhead and observing any irregular flow patterns.
Identifying different types of bathtub spouts is crucial in addressing specific problems. There are three main types: diverter spouts, slip-on spouts, and screw-on spouts.
If you have a leaking bathtub spout diverter, you can fix it by following these steps. First, turn off the water supply to the tub. Next, remove the spout by unscrewing it counterclockwise or prying it off with a screwdriver.
Once removed, inspect the diverter for any damages or debris that may be causing the leak. Clean or replace the diverter if necessary. Finally, reattach the spout and test for leaks.
Conclusion
In conclusion, changing a bathtub spout with a diverter is a relatively straightforward process that can be completed with basic tools and materials.
By following the step-by-step instructions, you can easily remove the old spout and install a new one, ensuring proper functionality of the diverter.
Remember to test the diverter after installation to ensure it is working correctly.
Troubleshooting any common issues that may arise will help you achieve a smooth and efficient bathtub spout replacement, like solving a puzzle piece fitting perfectly into place.