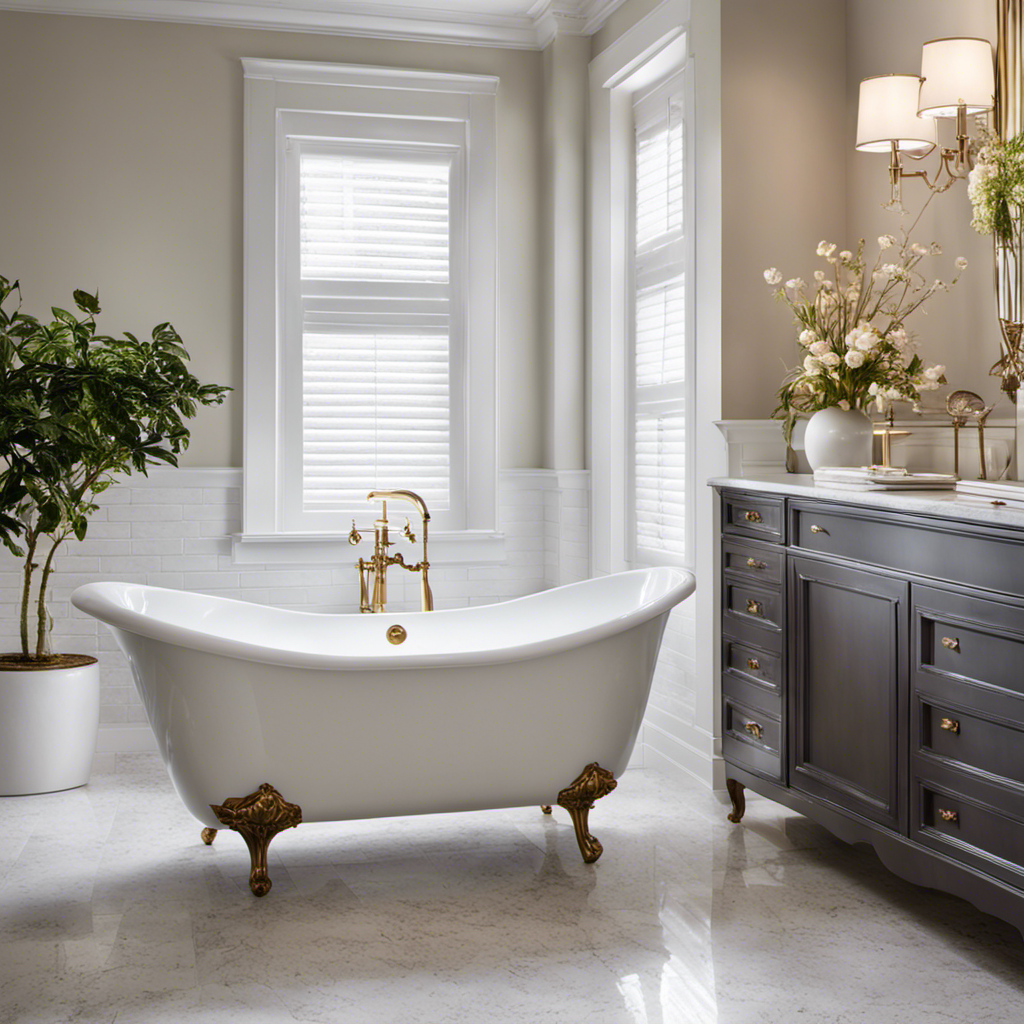
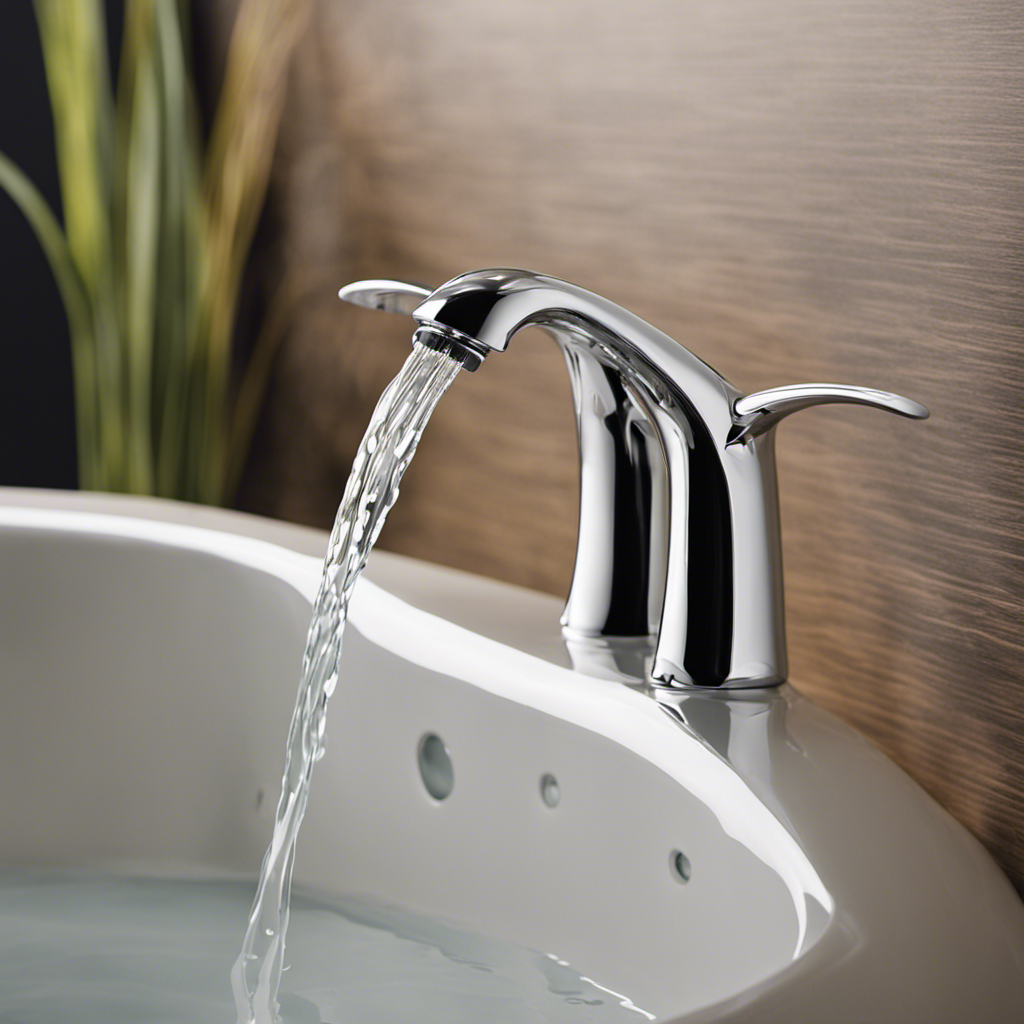
I’ve always wanted to update my bathroom fixtures, and changing the bathtub fixtures seemed like a great place to start. With just a few simple steps, I knew I could completely transform the look and functionality of my bathtub.
By assessing the current fixtures, gathering the necessary tools, and shutting off the water supply, I was ready to tackle this project head-on.
In this article, I’ll guide you through the process of removing the old bathtub fixtures and installing the new ones, ensuring a successful and satisfying outcome.
Key Takeaways
- Assess and gather the necessary tools and supplies before starting the project
- Choose the right supplies, considering factors such as finish and fixture type
- Shut off the water supply and ensure a safe environment before removing old fixtures
- Carefully remove the old fixtures, clean the area, and install the new bathtub fixtures
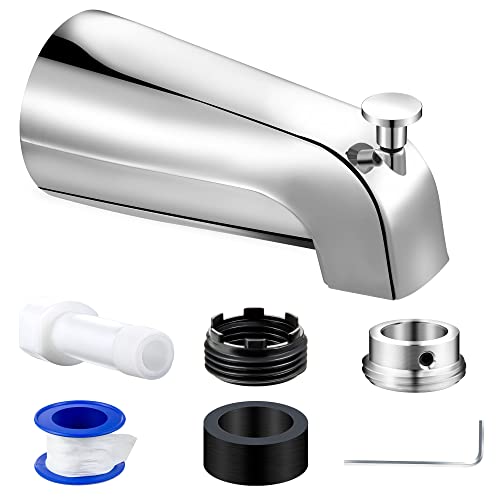
Dreyoo Tub Spout (Universal Fits 1/2" Copper Pipe, 1/2" IPS and 3/4" IPS), Bathroom Bathtub Faucet with Adapters and Hex Wrench (Chrome,Simple)
Universal Diverter Tub Spout: this Dreyoo tub spout with diverter is compatible with 1/2" copper pipe connection, 1/2"…
As an affiliate, we earn on qualifying purchases.
As an affiliate, we earn on qualifying purchases.
Assessing Your Bathtub Fixtures
To start assessing your bathtub fixtures, you’ll want to check for any leaks or signs of wear and tear. Begin by examining the faucets and handles for any water leakage. This can be done by turning on the water and observing if there is any dripping or pooling around the fixtures.
Additionally, check the functionality of the fixtures. Make sure the water flow is consistent and that the handles turn smoothly without any resistance. If you notice any issues, it may be necessary to identify replacement options. Take note of the specific make and model of your current fixtures to ensure you find suitable replacements.
Look for fixtures that match your bathroom’s style and meet your functional needs. Consider consulting a professional plumber for advice and assistance in selecting the best replacements for your bathtub fixtures.

HoliSpa Tub Shower Faucet, Matte Black Shower Faucet Set with 8-Inch All-Metal Rainfall Showerhead and Bathtub Spout, Single-Handle Tub Shower-Trim Kit Included Valve, Matte Black
IMPORTANT: If you just want to replace the shower trim, HoliSpa shower trim kit is NOT-suitable for you….
As an affiliate, we earn on qualifying purchases.
As an affiliate, we earn on qualifying purchases.
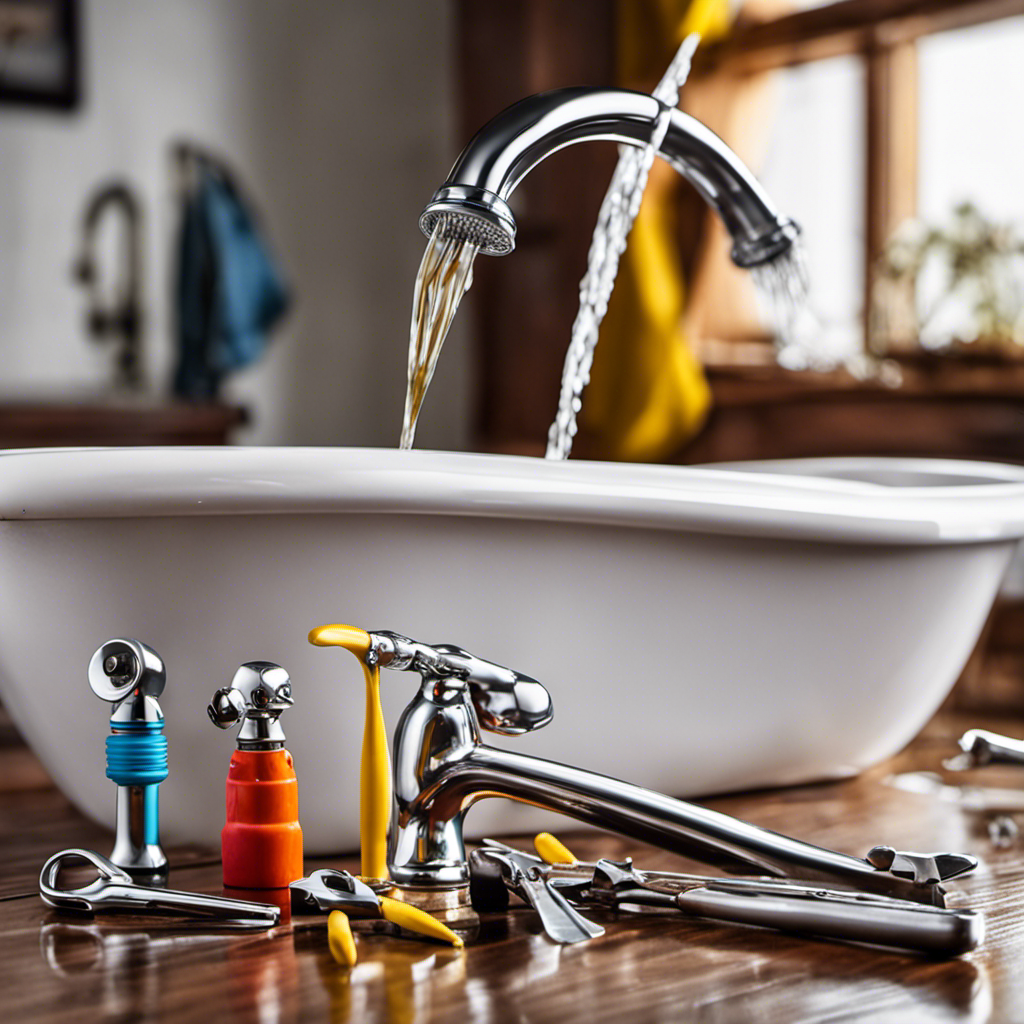
Gathering the Necessary Tools and Supplies
When it comes to installing new bathtub fixtures, having the right tools is essential. From wrenches and screwdrivers to pipe cutters and sealant, each tool serves a specific purpose in the installation process.
Additionally, choosing the right supplies is crucial for a successful and long-lasting installation. This includes high-quality fixtures and durable plumbing materials.
Essential Tools for Installation
You’ll need a set of basic tools to successfully install the new bathtub fixtures. Here are some essential tools you should have on hand:
- Adjustable wrench: This will help you tighten or loosen connections.
- Screwdriver: You’ll need this to remove screws and fastenings.
- Pipe cutter: If you’re replacing the pipes, a pipe cutter will make the job easier.
- Plumber’s tape: This will ensure a watertight seal on threaded connections.
- Caulking gun: Use this to apply silicone caulk around the fixtures for a clean finish.
- Pliers: These will come in handy for gripping and turning small parts.
- Pipe wrench: A pipe wrench is necessary for tightening or loosening larger connections.
By having these tools ready, you’ll be well-prepared to tackle the installation process.
Now that you know what tools you need, let’s move on to choosing the right supplies for the job.
Choosing the Right Supplies
Having the proper supplies is essential for a successful installation. When it comes to choosing the right supplies for changing bathtub fixtures, there are a few key factors to consider. One important aspect is selecting the perfect finish that matches your bathroom décor. Whether it’s chrome, brushed nickel, or oil-rubbed bronze, the finish can greatly impact the overall look and feel of your bathroom. Another factor to consider is comparing different types of fixtures, such as single-handle or double-handle faucets. Each type has its own advantages and disadvantages, so it’s important to choose the one that suits your needs and preferences. To make the decision process easier, here is a comparison table that highlights the main differences between different finishes and types of fixtures:
| Finish | Description | Pros | Cons |
|---|---|---|---|
| Chrome | Shiny, reflective surface | Affordable, easy to clean | Shows water spots and fingerprints |
| Brushed Nickel | Satin finish, muted appearance | Resistant to scratches | Requires regular maintenance |
| Oil-rubbed Bronze | Dark brown, antique look | Hides water spots and stains | May not match all bathroom styles |
| Fixture Type | Description | Pros | Cons |
|---|---|---|---|
| Single-handle | One lever controls both temperature and water flow | Sleek design, easy to use | Limited temperature control |
| Double-handle | Separate handles for hot and cold water | Precise temperature control | Takes up more space |

Tub Shower Faucet Set Valve Included with 6-Inch Rain Shower Head and Tub Spout Single-Handle Tub and Shower Trim Kit Matte Black
🚿Bathtub shower faucet spout fits the size of your bathtub.
As an affiliate, we earn on qualifying purchases.
As an affiliate, we earn on qualifying purchases.
Shutting Off the Water Supply
To shut off the water supply, start by locating the main water valve in your home. This valve is usually located near the water meter, in the basement, or outside your house.
Once you’ve found the valve, follow these steps to turn off the water:
-
Turn the valve clockwise to shut off the water flow.
-
Open a faucet in the lowest part of your home to drain any remaining water.
-
If there is a secondary valve near the bathtub, turn it off as well.
It’s important to shut down the water supply before attempting to remove the old bathtub fixtures to prevent any leaks or water damage. By turning off the water, you ensure a safe and dry environment for the next steps in replacing your bathtub fixtures.

LASCO 13-1065 Metal Faucet Seat Grinder/Reseater Tool, Used to Resurface Faucet Seats
The product is easy to use
As an affiliate, we earn on qualifying purchases.
As an affiliate, we earn on qualifying purchases.
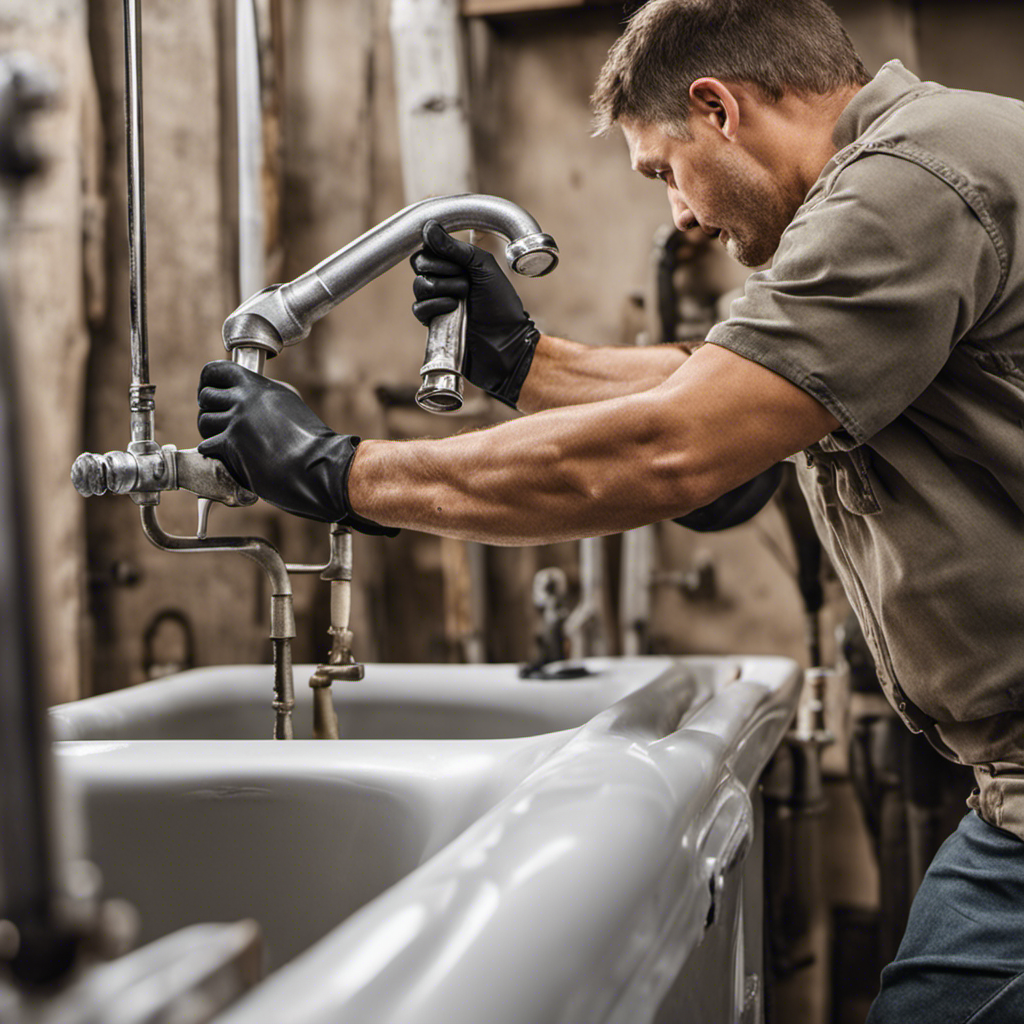
Removing the Old Bathtub Fixtures
Once the water supply is shut off, it’s time to remove the old fixtures from your bathtub. This dismantling process requires careful attention to detail to ensure a smooth and successful removal. Common bathtub fixture problems include leaks, rust, and outdated designs. To help guide you through this process, I have provided a table below that outlines the steps involved in removing the old fixtures. By following these steps, you can avoid any potential mishaps and ensure a seamless transition to your new bathtub fixtures.
| Step | Description |
|---|---|
| 1 | Turn off the water supply to the bathtub. |
| 2 | Use a screwdriver to remove any screws or bolts securing the fixtures. |
| 3 | Disconnect any plumbing connections using pliers or a wrench. |
| 4 | Carefully remove the fixtures from the bathtub, checking for any additional screws or connections. |
| 5 | Clean the area where the fixtures were installed, removing any residue or debris. |
Now that the old fixtures have been successfully removed, it’s time to move on to the next step – installing the new bathtub fixtures.
Installing the New Bathtub Fixtures
Now you can begin by gathering all the necessary tools and materials for installing your new bathtub fixtures. Here are the steps to help you install your new showerhead and replace your bathtub handles:
-
First, make sure you have a wrench, pliers, Teflon tape, and a screwdriver.
-
Next, turn off the water supply to the bathtub by locating the shut-off valve.
-
Use the wrench to remove the old showerhead by turning it counterclockwise.
-
Apply Teflon tape to the shower arm threads to ensure a tight seal.
-
Screw on the new showerhead by turning it clockwise until it is snug.
-
To replace the bathtub handles, locate the screws or nuts securing them.
-
Use the screwdriver or pliers to remove the old handles.
-
Align the new handles with the existing holes and secure them tightly.
-
Finally, turn on the water supply to test your newly installed fixtures.
Testing and Adjusting the New Fixtures
After installing the new showerhead and bathtub handles, you should turn on the water supply and check for any leaks or issues. Once you’ve ensured that everything is secure and leak-free, it’s time to move on to testing and adjusting the new fixtures. First, let’s start by testing the water pressure. Turn on the water and observe the flow from the showerhead. Is it too weak or too strong? If it’s too weak, you may need to adjust the water pressure regulator. If it’s too strong, you can install a flow restrictor to reduce the pressure. Next, let’s focus on adjusting the temperature. Turn on the hot and cold water handles to find the perfect balance. It’s important to make small adjustments gradually to avoid any sudden changes in temperature. Once you’re satisfied with the water pressure and temperature, your new bathtub fixtures are ready for use.
| Testing the Water Pressure | Adjusting the Temperature |
|---|---|
| Observe the flow from the showerhead. | Turn on the hot and cold water handles. |
| Check if the flow is too weak or too strong. | Find the perfect balance for a comfortable temperature. |
| Adjust the water pressure regulator if needed. | Make small adjustments gradually. |
| Install a flow restrictor if the pressure is too strong. | Avoid sudden changes in temperature. |
Cleaning up and Finishing Touches
Now that the new fixtures are installed and tested, it’s time to move on to the final steps of the bathroom renovation.
First, we’ll polish the faucets. This step is important because it will give them a shiny and clean appearance, making them look brand new.
Next, we’ll move on to sealing the grout. This step is essential to protect the grout from moisture and stains. By sealing it, we ensure its longevity and maintain the beauty of the newly renovated bathroom.
Polishing the Faucets
To start polishing the faucets, grab a soft cloth and some vinegar. Maintaining your faucets is crucial for their longevity and to prevent the appearance of rust. Here’s how you can keep them in tip-top shape:
- Start by dampening the cloth with vinegar, which acts as a natural cleaner and removes any mineral deposits or grime.
- Gently rub the cloth over the faucet, paying attention to hard-to-reach areas such as the base and handles.
For stubborn stains, create a paste with equal parts vinegar and baking soda and apply it to the affected areas.
After scrubbing, rinse the faucet thoroughly with warm water to remove any residue.
Lastly, dry the faucet with a clean, dry cloth to prevent water spots.
Sealing the Grout
To seal the grout, grab a sponge and some grout sealer.
Grout maintenance is crucial for preventing water damage and keeping your tiles looking their best. It’s a simple process that can be done in a few steps.
First, ensure that the grout is clean and dry.
Next, apply the grout sealer onto the sponge and gently wipe it over the grout lines. Be sure to cover all the grout thoroughly.
The sealer will penetrate the grout and create a protective barrier that prevents water from seeping in.
Allow the sealer to dry completely before using the area.
Regular grout maintenance, including sealing, will help prolong the lifespan of your grout and prevent costly repairs due to water damage.
Conclusion
In conclusion, changing bathtub fixtures is a simple yet rewarding DIY project that anyone can tackle. By assessing your current fixtures and gathering the necessary tools, you can easily remove the old fixtures and install new ones. Don’t forget to shut off the water supply before starting the project.
Once you have installed the new fixtures, it’s important to test and adjust them to ensure they are working properly. This step will help you avoid any potential issues down the line.
After you have finished installing and adjusting the new fixtures, it’s time to clean up and add those finishing touches. Take the time to wipe down the area and make sure everything looks neat and tidy.
With a little knowledge and attention to detail, you’ll have a brand new look for your bathtub fixtures in no time!