I’m going to show you how to change out a bathtub faucet.
It’s like giving your bathroom a fresh start. With a few simple steps, you can transform your old faucet into a shiny, new one.
We’ll start by shutting off the water supply.
Next, we’ll remove the old faucet and prepare the new one.
Then, we’ll install the new faucet and make sure everything is working perfectly.
Finally, we’ll add those finishing touches and clean up.
Get ready to enjoy a brand new faucet in your bathtub!
Key Takeaways
- Shut off the main water valve before removing the old faucet
- Inspect the plumbing connections for any damage or leaks and replace any worn-out washers or seals
- Apply plumber’s putty and pipe tape for a waterproof seal and to prevent water leakage
- Check for proper water flow and temperature after installing the new faucet
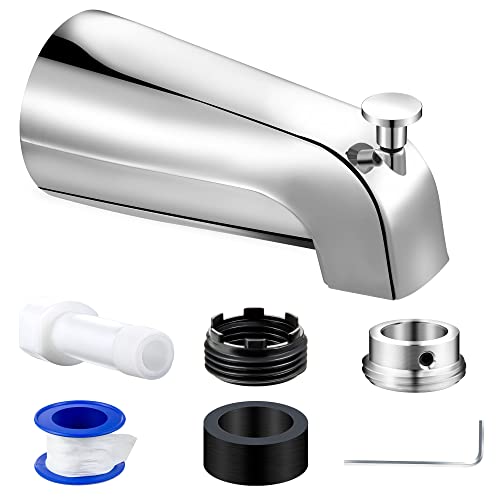
Dreyoo Tub Spout (Universal Fits 1/2" Copper Pipe, 1/2" IPS and 3/4" IPS), Bathroom Bathtub Faucet with Adapters and Hex Wrench (Chrome,Simple)
Universal Diverter Tub Spout: this Dreyoo tub spout with diverter is compatible with 1/2" copper pipe connection, 1/2"…
As an affiliate, we earn on qualifying purchases.
As an affiliate, we earn on qualifying purchases.
Tools and Materials Needed
To change out a bathtub faucet, you’ll need a few tools and materials.
The first thing you’ll need is a new faucet, which you can purchase at any home improvement store. Make sure to choose one that matches the style and finish of your bathroom.
You’ll also need a set of wrenches, including an adjustable wrench and a pipe wrench, to remove the old faucet. Additionally, you’ll need plumber’s tape, a bucket, and a towel to catch any water that may leak during the process.
It’s also a good idea to have a flashlight on hand to help you see in tight spaces.
With these tools and materials, you’ll be ready to tackle your faucet installation and update your bathtub hardware.

WORKPRO 2-Piece Adjustable Wrench Set, 6-Inch & 10-Inch Wide Jaw Black Oxide Wrench, Cr-V Steel, Metric & SAE Scales, Max Jaw Opening 15/16" & 1-5/16", for Home Repairs, Plumbing, Garage Work
DUAL-SIZE SET FOR VERSATILE USE: This 2-piece set includes 6-inch and 10-inch adjustable wrenches, designed for everyday household…
As an affiliate, we earn on qualifying purchases.
As an affiliate, we earn on qualifying purchases.
Shutting Off the Water Supply
First, make sure you’ve shut off the water supply before proceeding. This is an important step to avoid any damage or accidents when changing out a bathtub faucet.
Here’s a step-by-step guide on how to shut off the water supply:
-
Locate the main water valve: The main water valve is usually located near the water meter or where the water supply enters your home. It can be a lever, knob, or wheel.
-
Turn off the main valve: To shut off the water supply, turn the main valve clockwise until it’s fully closed. This will stop the water flow and reduce water pressure in the pipes.
-
Test the water supply: After turning off the main valve, open a faucet in the house to check if the water supply has been successfully shut off. If no water comes out, you’re good to go.

D-NYX 1, 4 or 5 Rolls 1/2 Inch(W) X 520 Inches(L) Teflon Plumbers Tape, Duct Sealant Tape for Shower Head, Plumbing Thread Tap, Water Pipe Sealing Plumbers PTFE Thread Seal (1 Pack)
SIZE: Teflon tape roll has a width of 1/2 inch and a length of 520 inches, which can…
As an affiliate, we earn on qualifying purchases.
As an affiliate, we earn on qualifying purchases.
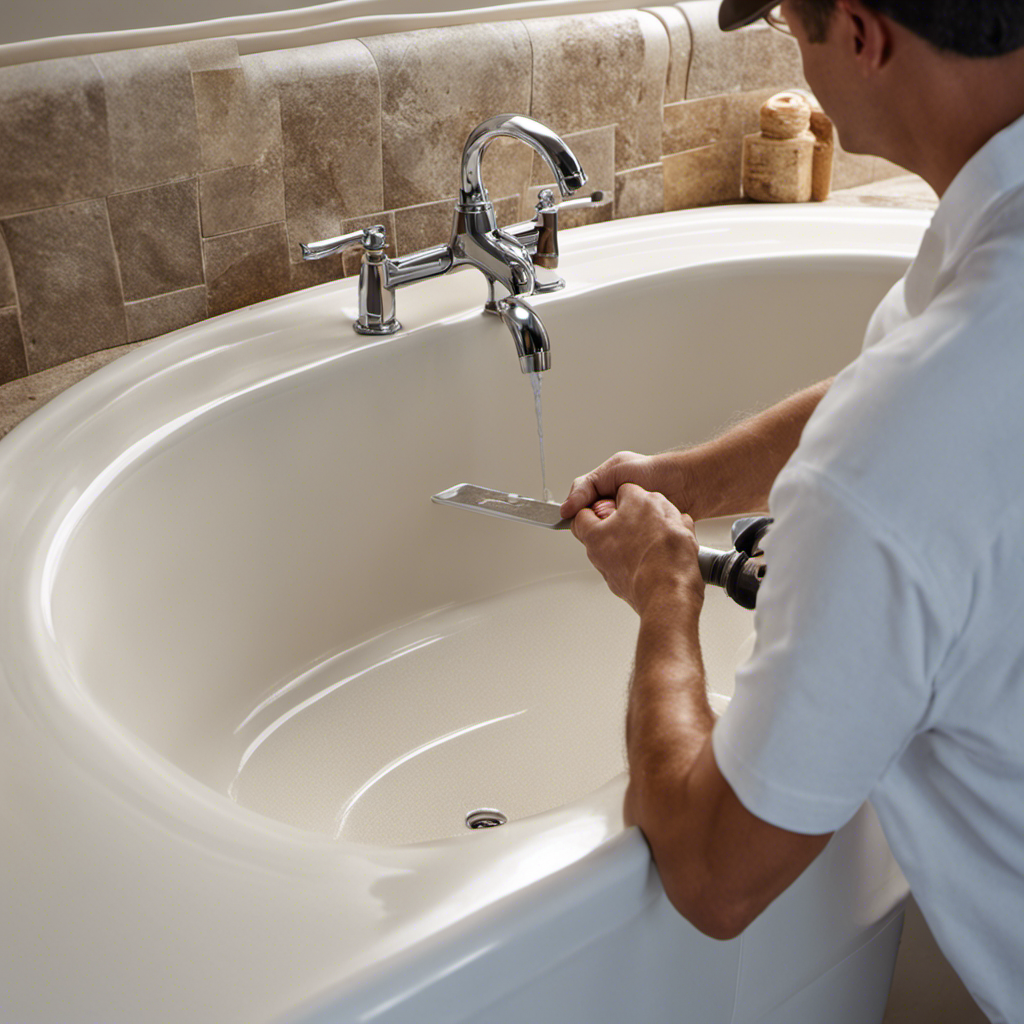
Removing the Old Faucet
Before starting, make sure you’ve shut off the water supply to avoid any accidents or water damage.
Now that the water is off, it’s time to remove the old faucet. First, locate the screws or bolts that are holding the faucet in place. Use a screwdriver or wrench to loosen and remove them.
Once the screws or bolts are removed, gently lift the old faucet off the bathtub. Be careful not to damage any surrounding tiles or surfaces. If the faucet is stuck, you may need to use a lubricant or tap it lightly with a hammer to loosen it.
Upgrading fixtures is a common reason for replacing a bathtub faucet, as well as fixing common faucet problems like leaks or low water pressure.
With the old faucet removed, you’re ready to prepare the new faucet for installation.

Enhon Kitchen Faucet Installation Tools Compatible with Moen 118305 Collection Replacement, Faucet Removal and Install Tool, Tighten Loose Wrench Tool (Gray)
Compatiblity: this faucet tool is compatible with Moen 118305 collection replacement, designed for tightening or loosen the nut…
As an affiliate, we earn on qualifying purchases.
As an affiliate, we earn on qualifying purchases.
Preparing the New Faucet
Now that you have the new faucet, it’s time to gather the necessary tools for installation. Here are the three items you’ll need:
-
Adjustable wrench: This tool will help you loosen and tighten the nuts that connect the pipes to the faucet. Make sure to choose the right size for a secure fit.
-
Pipe tape: Before connecting the pipes, it’s important to seal them properly to prevent any leaks. Apply pipe tape to the threads of the pipes to create a tight seal.
-
Plumber’s putty: This waterproof adhesive will help seal the faucet to the bathtub, preventing any water from seeping through. Apply a thin layer of plumber’s putty around the base of the faucet before installing it.
With these tools in hand, you’re ready to move on to the next step: installing the new faucet and connecting the pipes securely.
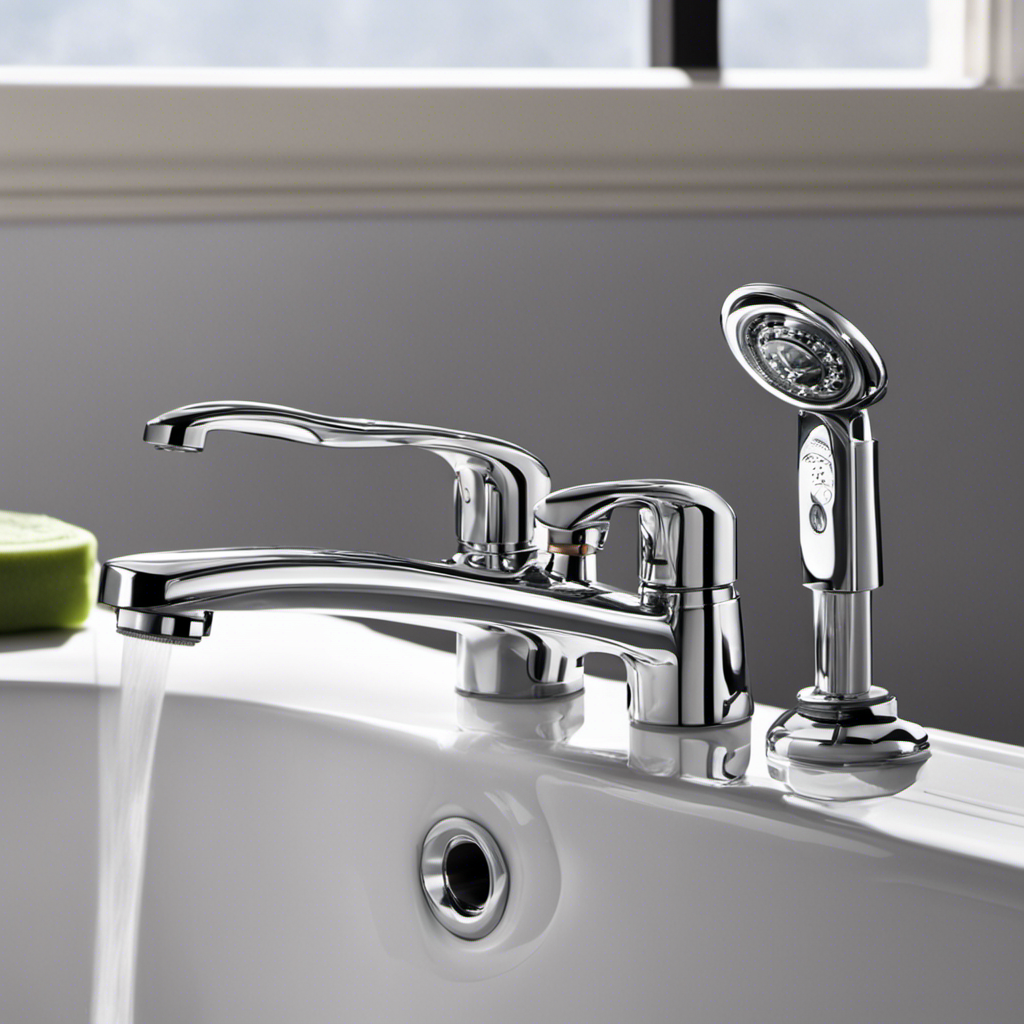
Installing the New Faucet
Alright, let’s get started with installing the new faucet.
First, let’s gather the tools we’ll need for the installation process. You’ll need an adjustable wrench, a basin wrench, plumber’s tape, a screwdriver, and a bucket or towel to catch any water that may leak during the installation.
Now that we have our tools ready, let’s dive into the step-by-step installation process.
Tools Needed for Installation
To install a new bathtub faucet, you’ll need a wrench, pliers, and a screwdriver. Here are the three essential tools you’ll need for the installation process:
-
Wrench: This tool is crucial for loosening and tightening nuts and bolts. It will help you remove the old faucet and secure the new one in place.
-
Pliers: Pliers are versatile and will come in handy during the installation. They can be used to hold or turn parts that are difficult to reach with your hands.
-
Screwdriver: A screwdriver is necessary for removing or securing screws. It will be used to detach the old faucet from the wall and attach the new one.
Step-By-Step Installation Process
Once you have gathered the necessary tools, begin by turning off the water supply to the faucet. This is an important step to prevent any water leakage during the installation process.
Next, use a wrench to disconnect the water supply lines from the old faucet. Be sure to have a bucket nearby to catch any water that may still be in the lines.
Once the supply lines are disconnected, remove the old faucet by unscrewing it from the mounting hardware.
Now, it’s time to choose the right faucet for your bathroom. Consider the style, finish, and features that you desire. Whether you prefer a single-handle or a double-handle faucet, make sure it matches your bathroom decor.
Once you have chosen the perfect faucet, follow the manufacturer’s instructions to install it properly. Don’t forget to reconnect the water supply lines and turn the water supply back on.
Troubleshooting common faucet issues may include checking for leaks, ensuring proper water flow, and adjusting the temperature control.
Testing and Adjusting the Faucet
Before you start testing and adjusting the faucet, make sure the water supply to the bathtub is turned off. Once you have confirmed this, follow these troubleshooting tips for faucet maintenance:
-
Check for leaks: Turn on the water supply and observe the faucet closely for any leaks. Pay attention to both the hot and cold water handles, as well as the spout. If you notice any leaks, tighten the connections or replace any worn-out parts.
-
Inspect water pressure: Turn on the faucet and check the water pressure. If the flow is weak, it could be due to a clogged aerator or a faulty cartridge. Remove the aerator and clean it thoroughly. If the issue persists, you may need to replace the cartridge.
-
Test temperature control: Adjust the hot and cold water handles to check if the temperature control is working properly. If the water is too hot or too cold, you may need to recalibrate the temperature limiter or replace the valve.
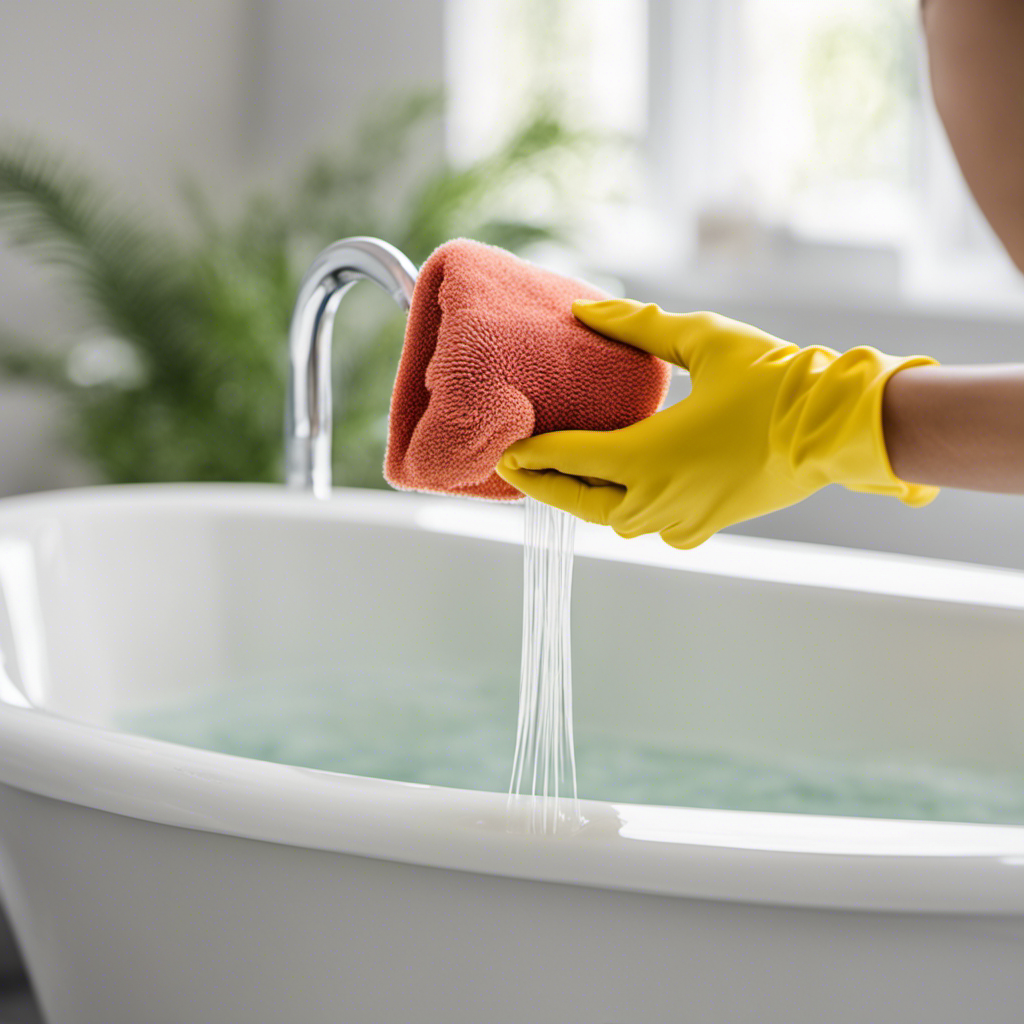
Finishing Touches and Clean-up
After you have completed the necessary adjustments and testing, it’s time to give the surrounding area a thorough clean-up.
Start by wiping down the bathtub and surrounding tiles with a damp cloth to remove any dust or debris.
Next, inspect the area for any scratches or chips in the paint. If you notice any, use touch-up paint to cover them up and restore the appearance of the surface.
Once the paint has dried, gather all the tools and materials used during the faucet replacement and properly dispose of them. Check with your local waste management facility to find out the correct procedures for disposing of any hazardous materials.
Conclusion
In conclusion, changing out a bathtub faucet is a simple process that can be done with just a few tools and materials. By following the step-by-step instructions provided, you can easily remove the old faucet, prepare the new one, and install it in no time.
Remember to test and adjust the faucet to ensure it is working properly before finishing touches and clean-up. Just like a conductor leading an orchestra, you’ll be orchestrating a smooth and seamless transition from old to new.