
I’ve always dreamed of having a bathtub that fits my personal style, and now I can make it a reality.
In this step-by-step guide, I’ll show you how to change the color of your bathtub. From choosing the perfect hue to applying the new color, I’ll walk you through each stage of the process.
With a little patience and the right tools, you’ll have a beautifully colored bathtub that will make a statement in your bathroom.
Let’s get started!
Key Takeaways
- Consider the overall aesthetic of your bathroom
- Changing the color can give your bathroom a fresh look without a complete renovation
- Personalize your space and create a unique atmosphere
- Popular color trends include white, navy blue, and deep green

Rust-Oleum 385279 Tub And Tile Refinishing 2-Part Kit, Satin White
Prepare and paint surface the same day with a tough, with tub and tile’s 2-part epoxy acrylic formula…
As an affiliate, we earn on qualifying purchases.
As an affiliate, we earn on qualifying purchases.
Choosing the Right Color for Your Bathtub
To choose the right color for your bathtub, you’ll want to consider the overall aesthetic of your bathroom. Changing the color of your bathtub can have several benefits.
First, it can give your bathroom a fresh and updated look without the need for a complete renovation. Second, it allows you to personalize your space and create a unique atmosphere.
When it comes to popular bathtub color trends, there are a few options to consider. White is a classic choice that never goes out of style and gives a clean and timeless look. On the other hand, bold colors like navy blue or deep green can add a touch of sophistication and create a spa-like feel in your bathroom.
Ultimately, the choice of color depends on your personal preference and the overall style you want to achieve.

Specialty Tub and Tile Paint, High-Gloss Bathtub Paint White, Quick-Dry Porcelain paint for Scratches & Chips on Fiberglass, Porcelain, Acrylic, Enamel, Cast Iron, Bathtubs, Tiles, Sinks and Toilets(White)
Quickly Restore Glossy Finish of Bathtub, Tubs, Tiles: Specifically designed touch up paint with excellent adhesion for precise…
As an affiliate, we earn on qualifying purchases.
As an affiliate, we earn on qualifying purchases.
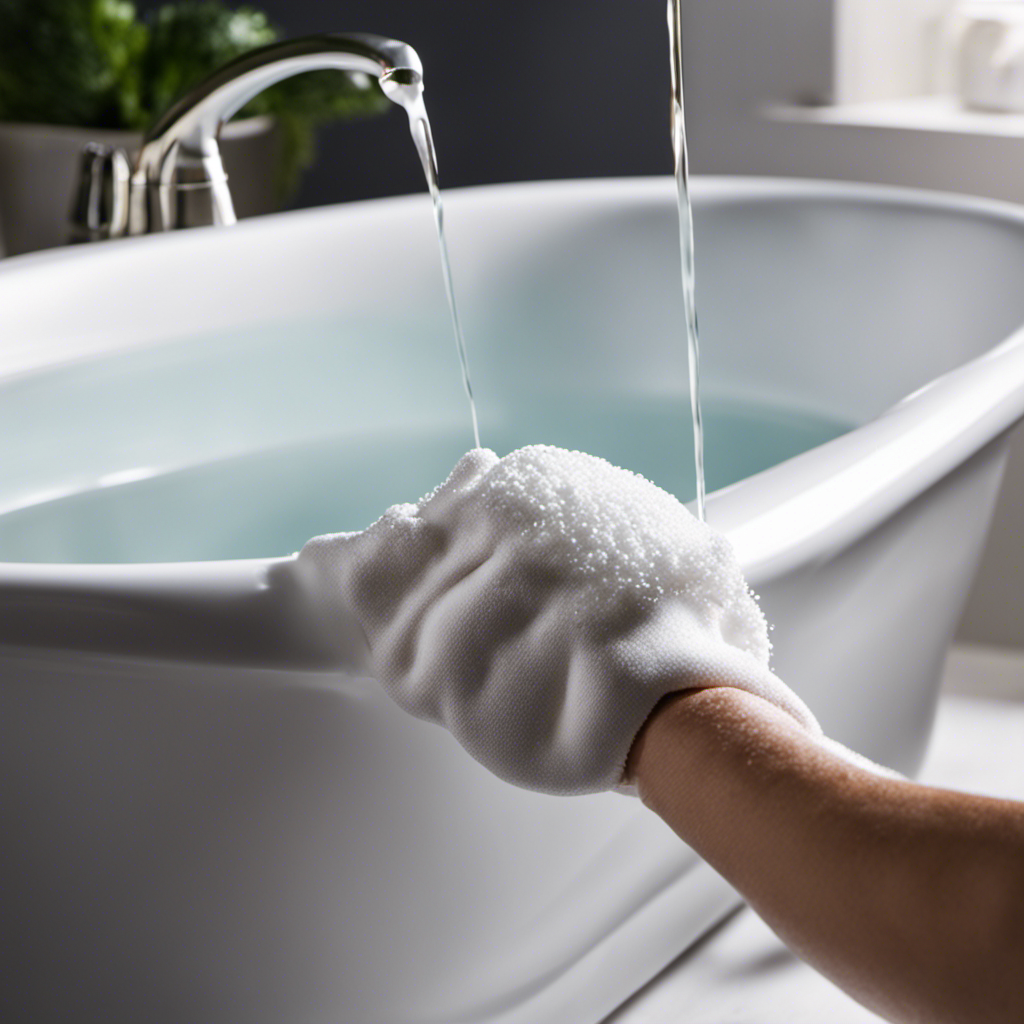
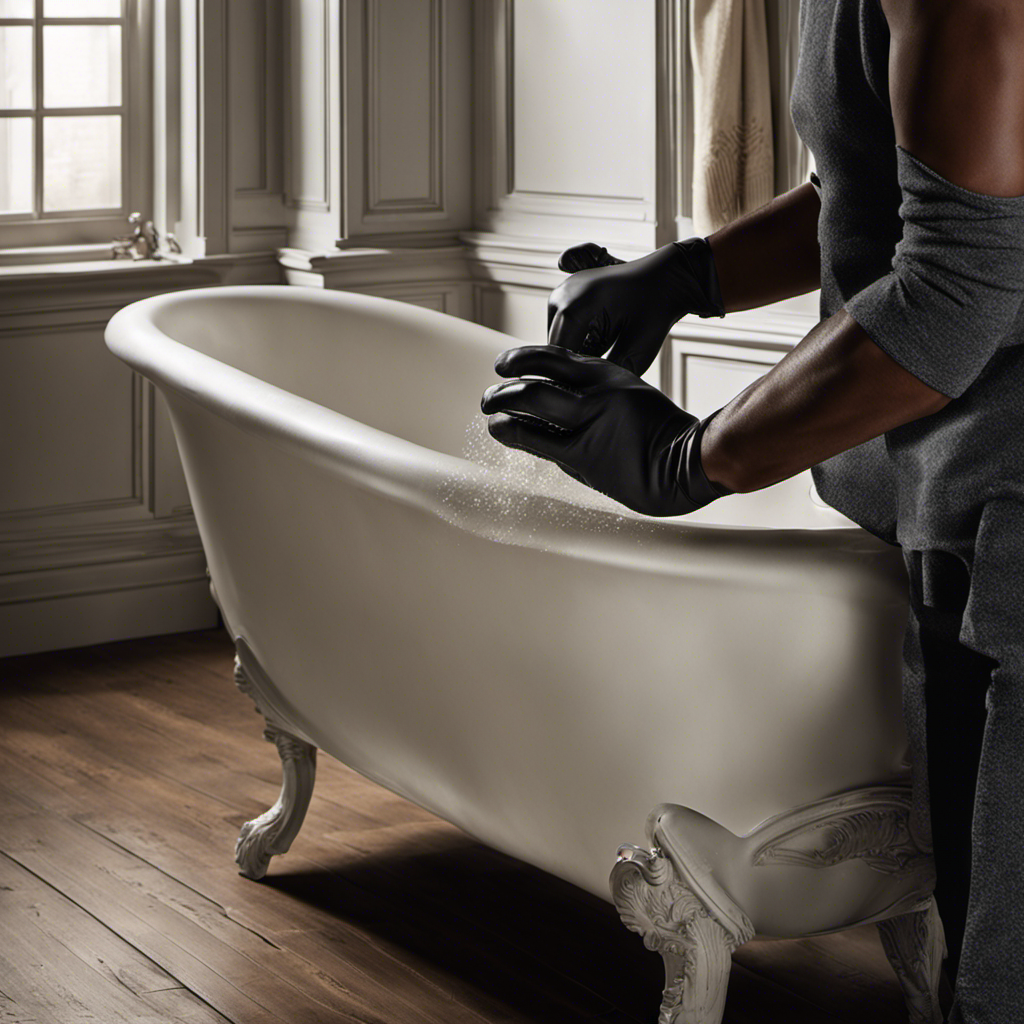
Preparing the Bathtub for Color Change
First, make sure you clean the surface of your bathtub before starting the color change process. To prepare the bathtub surface, gather the necessary equipment for bathtub color change. You’ll need a bathtub cleaner, sponge or scrub brush, sandpaper, and a primer suitable for your bathtub material.
Start by applying the bathtub cleaner to remove any dirt, grime, or soap scum. Scrub the surface thoroughly using a sponge or scrub brush.
Next, use sandpaper to lightly sand the bathtub surface. This will create a rough texture that helps the new color adhere better. After sanding, wipe away any dust or debris.

Matte Black Tub Drain and Overflow Kit, Replacement Bath Tub Drain Trim Set,Lift & Turn Bathtub Drain Kit with 2-Hole Overflow Faceplate Conversion Kit Assembly Fine/Coarse Thread
Bathtub Drain Kit: The tub drain kit is compatible with most bathtubs and fits tub elbows for 1…
As an affiliate, we earn on qualifying purchases.
As an affiliate, we earn on qualifying purchases.
Applying the New Color to Your Bathtub
Now that you’ve prepared the surface, it’s time to apply the new shade to your bathtub. To ensure a smooth and vibrant color, it’s important to properly apply multiple coats.
Here’s a step-by-step guide on how to do it:
-
Start by stirring the bathtub color thoroughly to ensure an even consistency.
-
Using a high-quality brush or roller, begin applying the color to the bathtub surface in long, even strokes.
-
Work in small sections, starting from one end and moving towards the other, to avoid any visible lines or streaks.
-
Apply the first coat and allow it to dry completely before applying additional coats. This will help achieve a more vibrant and long-lasting color.
-
Depending on the desired shade and coverage, apply 2-3 coats, allowing each coat to dry before applying the next.
By following these steps and applying multiple coats, you’ll achieve a beautifully colored bathtub.
Now let’s move on to caring for and maintaining your newly colored bathtub.

Foam Paint Roller Tray Set,4-Inch Mini Roller Cover Refills with Frame, Paint Tray, Liners, High-Density Foam Small Roller Naps, Bathtub Refinishing Sponge Roller Kit(15Pcs)
The mini paint roller set comes with a paint tray, liners, frame,5 pcs high-density foam roller Cover and…
As an affiliate, we earn on qualifying purchases.
As an affiliate, we earn on qualifying purchases.
Caring for and Maintaining Your Newly Colored Bathtub
After applying multiple coats to your newly colored bathtub, it’s important to properly care for and maintain it to ensure its longevity.
One of the main concerns is bathtub color fading. To prevent this, avoid using abrasive cleaners or scrub brushes that can wear away the color. Instead, opt for mild, non-abrasive cleaners and a soft cloth or sponge.
Regularly clean the bathtub to remove any dirt or grime that can dull the color over time. Additionally, be cautious when placing heavy objects or sharp items in the bathtub to prevent scratches or chips in the color coating.
By following these steps, you can enhance the long term durability of your colored bathtub and keep it looking vibrant for years to come.
Now, let’s move on to troubleshooting and tips for a successful bathtub color change.
Troubleshooting and Tips for a Successful Bathtub Color Change
To ensure a successful bathtub color transformation, it’s essential to troubleshoot any issues that may arise and follow these helpful tips.
Here are some common mistakes to avoid and cost considerations to keep in mind when changing the color of your bathtub:
-
Not properly preparing the surface: Before applying any paint or coating, make sure to clean the bathtub thoroughly and remove any old finishes or coatings. This will ensure better adhesion and a longer-lasting result.
-
Choosing the wrong type of paint: Select a paint specifically designed for use on bathtubs or bathroom fixtures. These paints are formulated to withstand water and moisture, ensuring durability and preventing peeling or cracking.
-
Rushing the process: Take your time when applying the paint or coating. Follow the manufacturer’s instructions carefully and allow sufficient drying time between coats. Rushing the process can lead to a subpar result and may require redoing the entire project, costing you more time and money.
Frequently Asked Questions
Can I Change the Color of a Bathtub Without Any Prior Preparation?
I can change the color of a bathtub without any prior preparation. There are alternatives to bathtub paint that can be used. Let me explain the step-by-step process to achieve this.
How Long Does It Take for the New Color to Dry on the Bathtub Surface?
The drying time of the new color on the bathtub surface depends on the type of paint used. It is best to use a high-quality bathtub paint that dries quickly and provides a durable finish.
Can I Use Regular Paint for Changing the Color of My Bathtub?
No, you can’t use regular paint for changing the color of your bathtub. It requires a thorough sanding process and specialized bathtub refinishing products to ensure a long-lasting and professional finish.
What Should I Do if the New Color Starts Peeling off After a Few Weeks?
If the new color of my bathtub starts peeling off after a few weeks, I would first clean the affected area, sand it down, and then apply a new layer of bathtub paint to fix the peeling issue.
Is It Necessary to Hire a Professional for Bathtub Color Change or Can I Do It Myself?
Hiring a professional for bathtub color change can be expensive. However, with the right tools and preparation, I successfully changed my bathtub color at home. Here are some tips for a successful DIY project.
Conclusion
As I stand back and admire my newly colored bathtub, I can’t help but feel a sense of renewal and transformation.
The process of changing the color of my bathtub was not only a practical one, but also a symbolic one. Just as I refreshed the appearance of my bathtub, I also refreshed my own spirit.
I learned that with the right preparation, application, and care, anything is possible. So go ahead, take the plunge and change the color of your bathtub.
You’ll be amazed at the difference it can make in your space and in your life.