I’ve discovered a game-changing way to transform the look of your bathroom without breaking the bank – changing the color of your bathtub!
In this article, I’ll guide you through the step-by-step process of how to achieve this stunning makeover. From preparing the bathtub surface to choosing the perfect color, I’ll provide all the detailed instructions you need.
Say goodbye to that outdated tub and hello to a fresh new look that will leave you feeling like a bathroom design pro.
Key Takeaways
- Preparing the bathtub surface is essential for a successful color change, including removing caulking or sealant, scrubbing with a non-abrasive cleaner, rinsing well, and sanding the surface for better adhesion.
- Choosing the right color for your bathtub can enhance the overall aesthetic of your bathroom, with options such as white for purity, gray for sophistication, navy for luxury, beige for coziness, and black for a powerful statement.
- Removing the old finish requires safety gear and a stripping solution, followed by gently scraping off the old finish to avoid scratching the surface of the tub.
- Applying the new color involves thoroughly mixing it, cleaning the bathtub, using a high-quality brush or roller for thin, even coats, and allowing each coat to dry completely to prevent drips and unevenness. Additionally, consider using a bathtub liner for added protection and insulation.
Preparing the Bathtub Surface
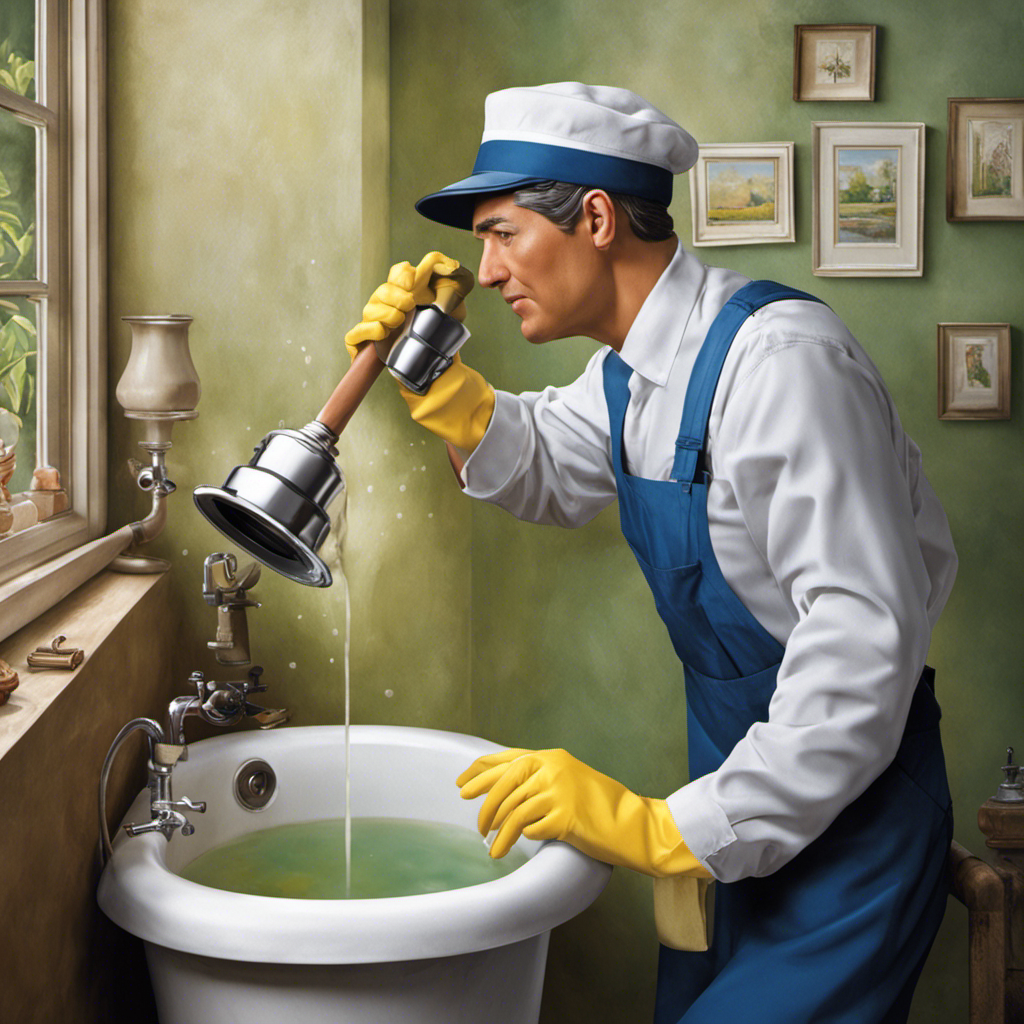
First, you’ll need to clean the bathtub surface before applying any color. Surface preparation is important because it ensures that the new color adheres properly and lasts longer.
One common mistake to avoid is skipping this step, as it can lead to peeling and chipping of the new color. To clean the surface, start by removing any existing caulking or sealant. Then, use a non-abrasive cleaner and scrub the bathtub thoroughly to remove any dirt, grime, or soap scum. Rinse the surface well with water and allow it to dry completely.
Another mistake to avoid is not sanding the surface before applying the new color. Sanding helps to create a smooth and even surface for better color adhesion.
Choosing the Right Color for Your Bathtub
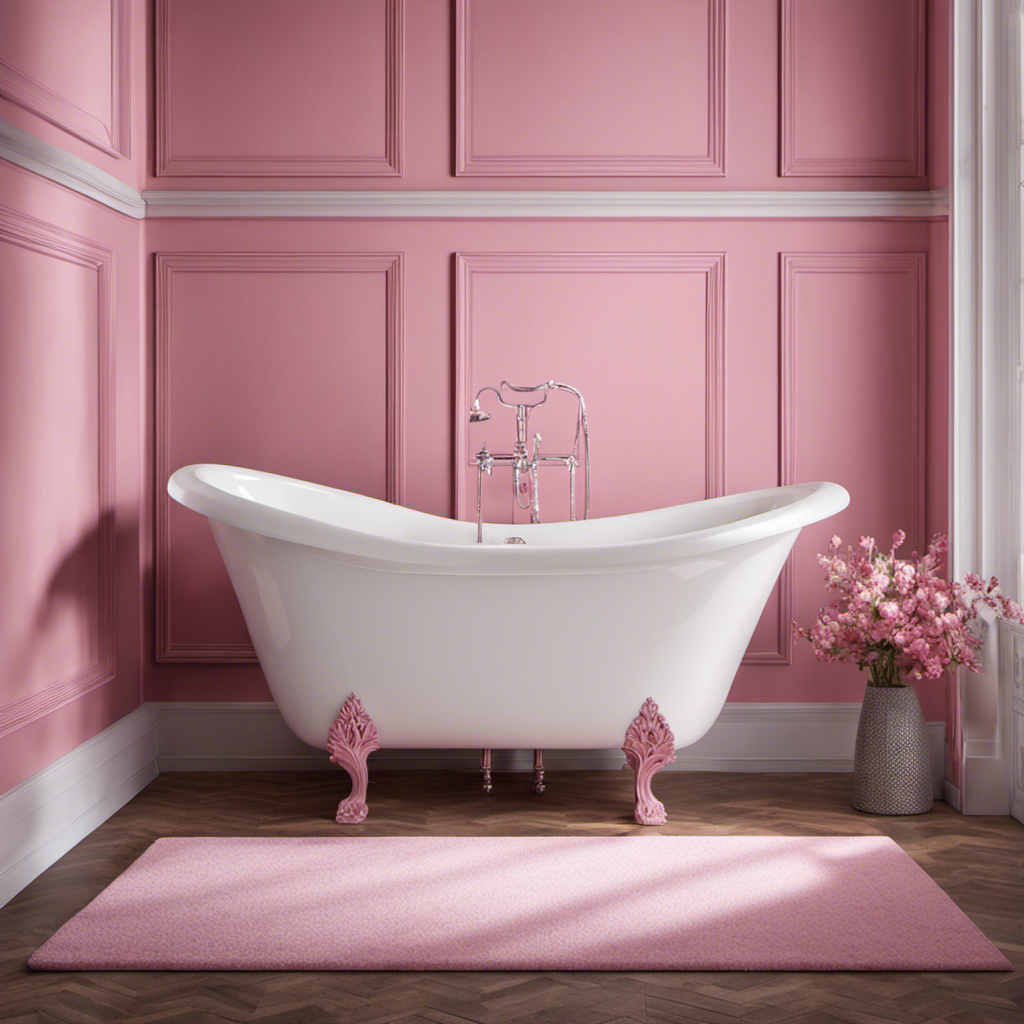
When picking out a hue for your tub, you’ll want to consider the overall aesthetic of your bathroom. The color of your bathtub can greatly influence the mood and atmosphere of the space. Here are some popular bathtub colors in modern home decor:
- White: Clean and timeless, white tubs create a sense of purity and tranquility.
- Gray: A popular choice for contemporary bathrooms, gray tubs add a touch of sophistication and elegance.
- Navy: Deep and rich, navy tubs create a sense of luxury and opulence.
- Beige: Warm and inviting, beige tubs evoke a cozy and relaxing atmosphere.
- Black: Bold and dramatic, black tubs make a powerful statement and add a modern touch.
Color psychology in bathroom design plays a significant role in creating the desired ambiance. Now that you have chosen the perfect color for your tub, it’s time to move on to removing the old finish.
Removing the Old Finish
Now that you’ve picked the perfect hue for your tub, it’s time to start removing the old finish.
The stripping process is crucial in ensuring a smooth and long-lasting color change. To begin, gather all the necessary safety precautions. Put on gloves, safety goggles, and a respirator mask to protect yourself from any harmful chemicals.
Next, prepare the stripping solution according to the manufacturer’s instructions. Apply the solution generously onto the old finish, making sure to cover the entire surface. Let it sit for the recommended amount of time, allowing it to penetrate and soften the finish.
Once the time is up, use a scraper or a putty knife to gently remove the old finish. Be careful not to scratch the surface of the tub.
Applying the New Color
To achieve a smooth and flawless finish, make sure you thoroughly mix the new color before applying it to your tub. This is crucial for ensuring an even application and preventing any streaks or patches.
Here are some tips to help you achieve a professional-looking result:
- Start by cleaning the bathtub thoroughly to remove any dirt or grime.
- Use a high-quality brush or roller for applying the new color.
- Apply the color in thin, even coats, allowing each coat to dry completely before applying the next.
- Avoid applying too much color at once, as this can lead to drips and unevenness.
- Take your time and be patient, allowing the color to dry fully before using the bathtub again.
Sealing and Protecting the New Bathtub Color
To ensure the long-lasting durability of the new color, it’s important that you properly seal and protect the freshly painted bathtub. One way to achieve this is by using a bathtub liner.
A liner not only adds a layer of protection to your bathtub but also enhances its appearance. The benefits of using a bathtub liner include preventing scratches, chips, and stains, as well as providing insulation to keep your bathwater warm for longer. Additionally, liners are easy to clean and maintain, making them a convenient option.
To maintain the color of your newly painted bathtub, it’s crucial to follow some tips. Avoid using abrasive cleaners or scrub brushes that can damage the surface. Instead, opt for mild, non-abrasive cleaners and soft sponges. Regularly clean and dry the bathtub to prevent the accumulation of dirt and grime.
Lastly, consider using a protective wax or sealant to further safeguard the color and shine of your bathtub.
Conclusion
In conclusion, transforming the color of your bathtub is a thrilling adventure that will rejuvenate your bathroom oasis.
With careful preparation, selecting the perfect shade, and applying the new color with precision, your bathtub will emerge as a stunning masterpiece.
Remember to seal and protect your newly colored bathtub, ensuring its longevity and beauty for years to come.
So dive into this transformative journey and watch your bathtub become the focal point that enchants all who step foot in your bathroom.


