I’ll guide you through the process of changing the faucet on your bathtub, ensuring a smooth and successful installation. Imagine the satisfaction of a shiny new faucet, transforming your bathroom into a sanctuary of relaxation.
In this article, I’ll share my expertise and step-by-step instructions to help you select the right replacement faucet, gather the necessary tools, remove the old faucet, install the new one, and complete the process with testing and finishing touches.
Let’s get started!
Key Takeaways
- Consider the style, finish, and compatibility with existing plumbing.
- Measure the distance between hot and cold water supply lines and hole spacing on the bathtub.
- Familiarize yourself with the installation process.
- Read the manufacturer’s instructions carefully and follow them step by step for a proper installation.
Signature Hardware 312542 Lena 72" Cast Iron Soaking Clawfoot Tub with Pre-Drilled Overflow Hole
Covered under Signature Hardware's 25 year limited
As an affiliate, we earn on qualifying purchases.
Selecting the Right Replacement Faucet
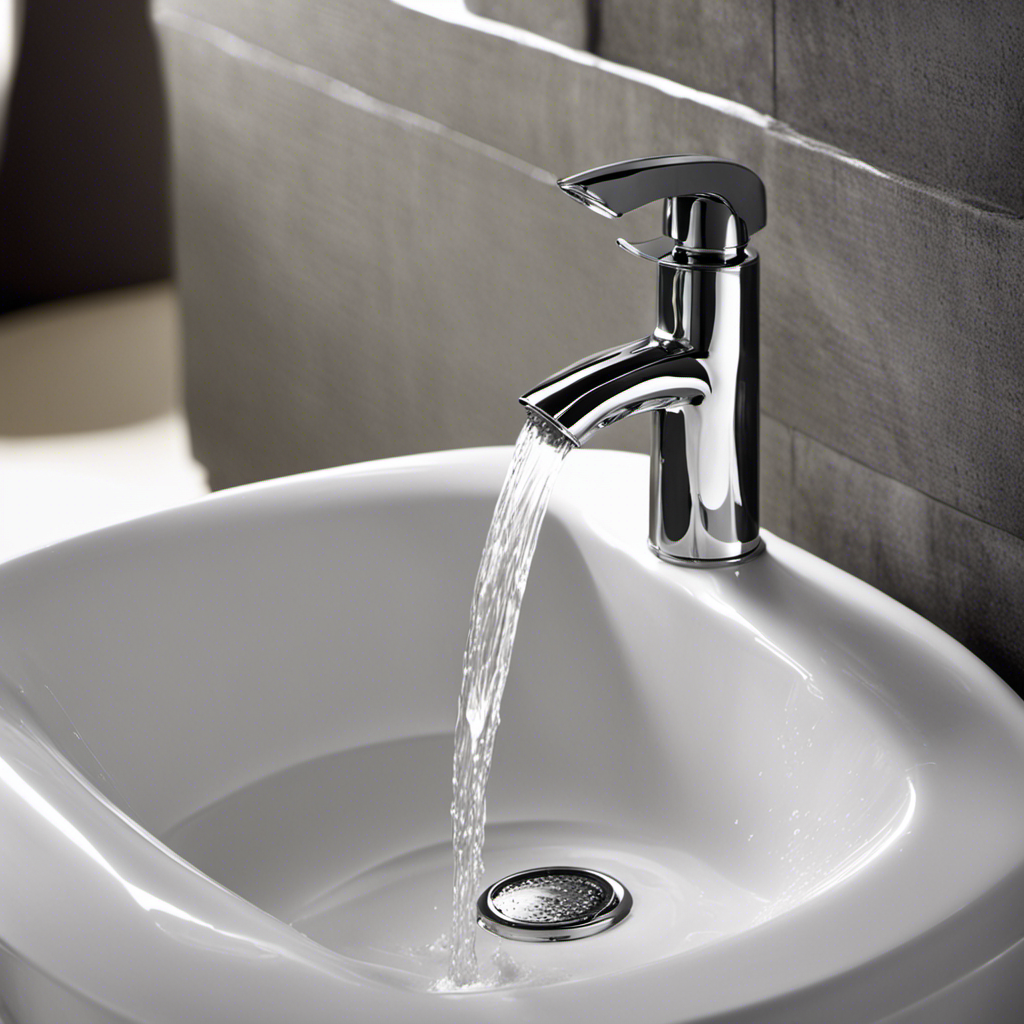
To find the perfect replacement faucet for your bathtub, you’ll want to consider the style, finish, and compatibility with your existing plumbing.
Choosing the right style is important as it should complement the overall aesthetic of your bathroom. Whether you prefer a sleek modern design or a more traditional look, there are a variety of options available to suit your taste.
Understanding the installation process is also crucial. Before purchasing a new faucet, make sure to measure the distance between the hot and cold water supply lines, as well as the hole spacing on your bathtub. This will ensure that the new faucet will fit properly.
Additionally, familiarize yourself with the necessary tools and steps involved in the installation to ensure a smooth and successful replacement.

KOHLER 715-0 Villager 60" x 30-1/4" Alcove Cast Iron Bathtub with Left-Hand Drain and Integral Apron, Safeguard Slip-Resistant Surface, White
Durable cast iron construction ensures long-lasting quality and strength
As an affiliate, we earn on qualifying purchases.
Gathering the Necessary Tools and Materials
Start by making sure you have all the tools and materials you need for the job. Choosing the correct faucet is crucial to ensure a proper fit and functionality. Measure the distance between the hot and cold water supply lines to determine the appropriate size. Additionally, consider the style and finish that will complement your bathroom decor.
Once you have the perfect faucet, it’s time to prepare the bathtub for faucet replacement. Turn off the water supply to the bathtub and drain any remaining water. Use a wrench to disconnect the existing faucet from the water supply lines. Clean the area thoroughly and remove any debris or old caulking.
Now, you’re ready to install the new faucet and enjoy a refreshed and functional bathtub.

Aqua Eden VCT7DS6731NLW 67-Inch Cast Iron Double Slipper Clawfoot Tub with 7-Inch Faucet Drillings, White
Drilled for deck mount faucets 7" center to center
As an affiliate, we earn on qualifying purchases.
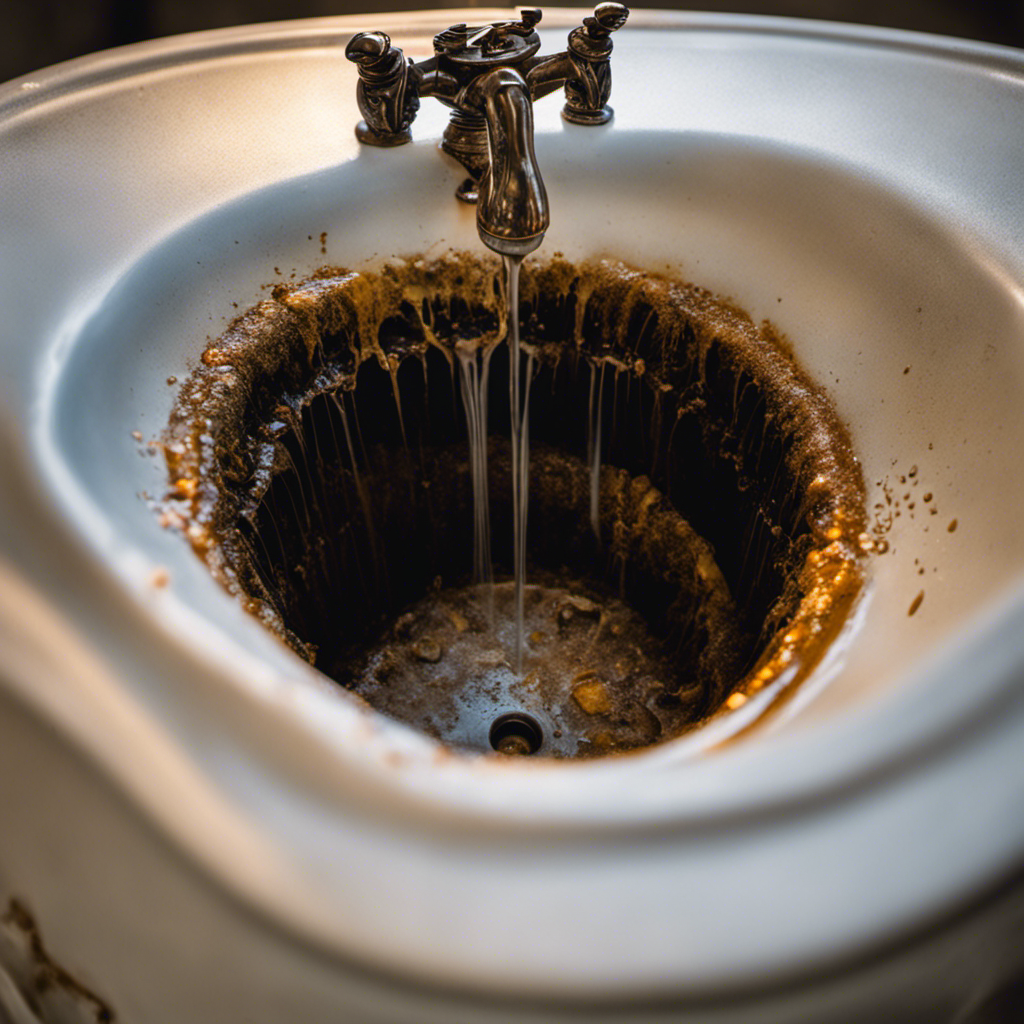
Removing the Old Faucet
Once you’ve turned off the water supply and drained any remaining water, it’s time to disconnect the existing faucet using a wrench.
Start by removing the handle of the faucet. Locate the set screw on the underside of the handle and use a screwdriver to loosen it. Once the screw is loose, the handle should come off easily.
Next, remove the spout of the faucet. Look for a small hole near the base of the spout and insert a small Allen wrench into it. Rotate the wrench counterclockwise to loosen the set screw. Once the screw is loose, you can pull the spout off the faucet body. Be careful not to damage any surrounding tiles or fixtures during this process.
-
Removing the handle:
-
Locate the set screw on the underside of the handle.
-
Loosen the screw with a screwdriver.
-
Removing the spout:
-
Find the small hole near the base of the spout.
-
Loosen the set screw with an Allen wrench.

KOHLER K-26109-LA-0 Entity 60-Inch x 30-Inch Alcove Bath with Integral apron, integral flange and left hand drain, White
Low stepover height allows easy entry and exit
As an affiliate, we earn on qualifying purchases.
Installing the New Faucet
Now that you’ve successfully removed the old faucet, it’s time to install the new one. When installing a new faucet, there are some common installation mistakes to avoid.
First, make sure to read the manufacturer’s instructions carefully and follow them step by step. This will ensure a proper installation and prevent any potential leaks or other issues. Additionally, be sure to use the correct tools and materials for the job. Using the wrong size or type of wrench, for example, can damage the faucet or the plumbing connections.
Once the new faucet is installed, it’s important to properly maintain and care for it to ensure its longevity. Regularly clean the faucet with a mild soap and water solution, avoiding harsh chemicals that can damage the finish. Avoid using abrasive sponges or scrub brushes that can scratch the surface.
Check for any leaks or drips periodically and address them promptly to prevent water damage. Lastly, if you live in an area with hard water, consider installing a water softener or using a faucet filter to prevent mineral buildup and prolong the life of your new faucet.
Testing and Finishing the Installation
To ensure that everything is working properly, you should turn on the water and check for any leaks or drips. It’s important to take this step after installing a new bathtub faucet to avoid common mistakes that can lead to future problems.
Here are some tips for maintaining your new faucet:
- Regularly clean the faucet with a mild soap and water solution to prevent buildup and maintain its shine.
- Check for any loose or wobbly parts and tighten them if necessary to avoid leaks.
- Avoid using abrasive cleaners or scrub brushes that can scratch the surface of the faucet.
- If you notice any leaks or drips, address them immediately to prevent water damage and wasted water.
- Consider installing a water-saving aerator on your faucet to conserve water and reduce your water bill.
Following these tips will help you keep your new bathtub faucet in optimal condition for years to come.
Conclusion
In conclusion, replacing a bathtub faucet can be a transformative experience.
As the old faucet is carefully removed, it symbolizes letting go of the past.
And as the new faucet is installed, it signifies embracing new beginnings.
The sound of water flowing through the newly installed faucet is a soothing reminder that change can bring joy and renewal.
So go ahead, take the plunge and change your faucet.
It’s not just a simple task, but a profound act of self-care and transformation.