
I’ll show you how to clean inside your bathtub faucet to keep it functioning smoothly. It’s essential to understand the importance of regular maintenance for optimal performance.
With just a few tools and materials, you can easily disassemble the faucet and remove mineral build-up and hard water stains. I’ll guide you step-by-step through the process, providing effective techniques and preventive measures to ensure a clean and well-maintained faucet.
Say goodbye to clogged and grimy faucets with this detailed and informative guide.
Key Takeaways
- Regular cleaning prevents dirt, bacteria, and mold buildup.
- Neglecting cleaning can lead to water contamination and health risks.
- Natural cleaning solutions are environmentally friendly and effective.
- Proper maintenance ensures a well-functioning faucet.
Understanding the Importance of Cleaning Inside Bathtub Faucet
Understanding the importance of cleaning inside the bathtub faucet is key to maintaining proper hygiene. It is crucial to regularly clean the inside of your bathtub faucet to prevent the buildup of dirt, bacteria, and mold. Neglecting this area can lead to contamination of your water supply and potential health risks.
Using natural cleaning solutions brings numerous benefits to this task. Not only are they environmentally friendly, but they are also safer for you and your family, as they do not contain harmful chemicals. Additionally, natural solutions such as vinegar or baking soda effectively remove grime and mineral deposits.
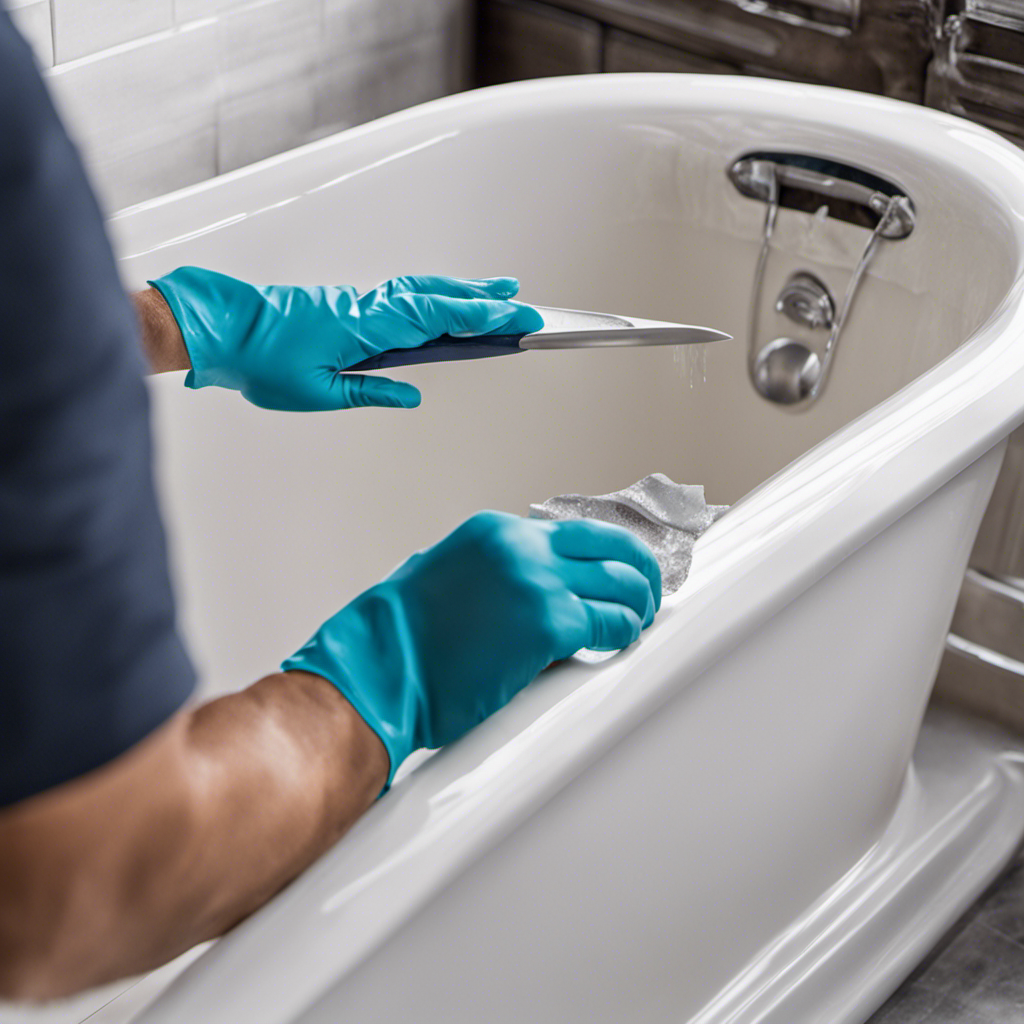
To extend the lifespan of your bathtub faucet, it is essential to clean it regularly and handle it with care. Avoid using abrasive cleaners or scrub brushes that can damage the finish. Instead, opt for soft cloths or toothbrushes to gently clean the faucet.
Proper maintenance and regular cleaning will ensure that your bathtub faucet remains in optimal condition for years to come.
Gathering the Necessary Tools and Materials for Cleaning
To start, you’ll need a few tools and materials for the task at hand. Here are the items you’ll need to gather before you begin:
-
Cleaning supplies: It’s important to have the right cleaning agents for the job. Make sure you have a mild detergent or vinegar solution to clean the faucet.
-
Screwdriver: You’ll need a screwdriver to remove any screws that are holding the faucet together.
-
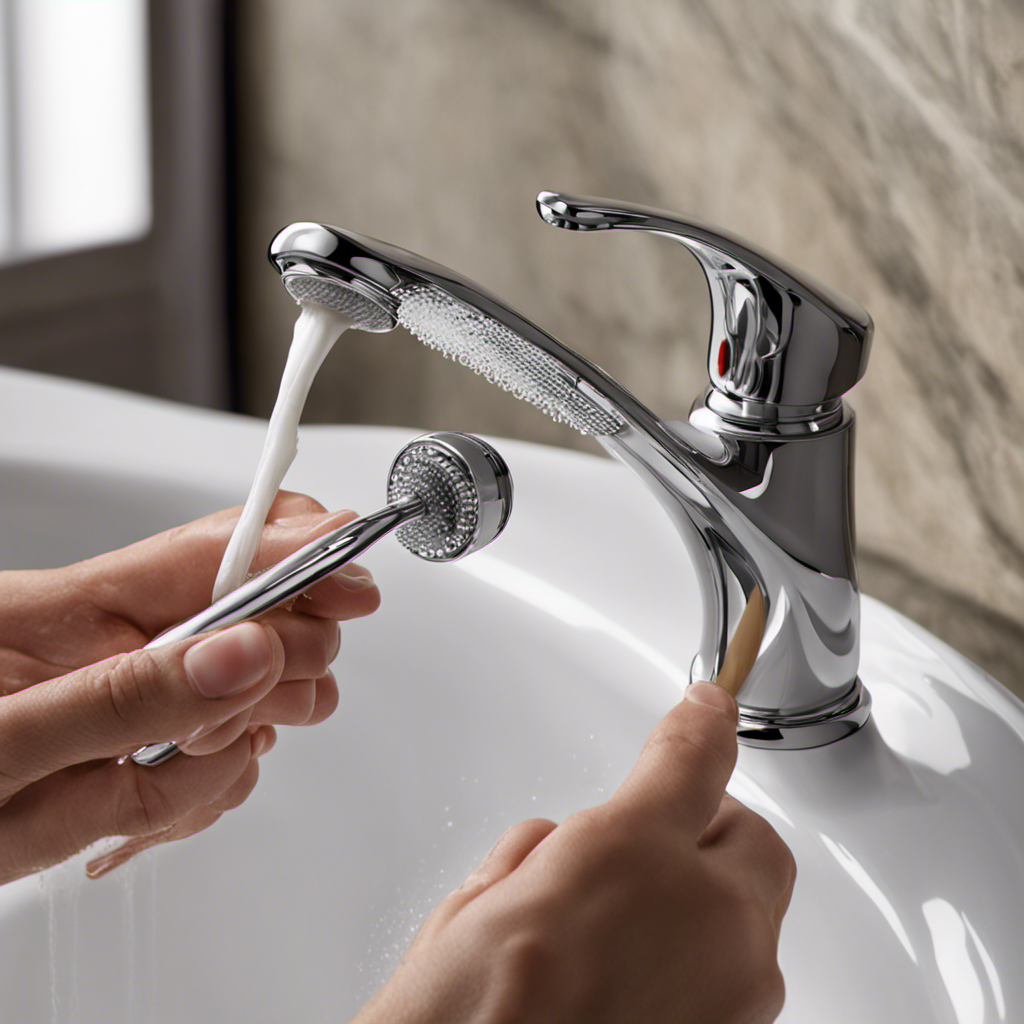
Toothbrush: A toothbrush is a great tool for scrubbing hard-to-reach areas of the faucet.
-
Soft cloth: A soft cloth is essential for wiping down the faucet and removing any residue.
-
Bucket or bowl: Having a bucket or bowl nearby will help you catch any water that may come out of the faucet during the cleaning process.
Now that you have all the necessary tools and materials, you can move on to the step-by-step guide to disassembling the faucet for deep cleaning.
In the subsequent section, I will provide a detailed guide on how to disassemble the faucet and clean the internal components thoroughly.
Step-by-Step Guide to Disassembling the Faucet for Deep Cleaning
Once you’ve gathered all the necessary tools and materials, you can start by turning off the water supply to the faucet. This is an essential step to ensure your safety and prevent any water leakage during the disassembling process.
To begin, locate the shut-off valves under the sink and turn them clockwise until they are fully closed.
Next, carefully remove the decorative cap on the faucet handle using a flathead screwdriver. Once the cap is off, you will see a screw that needs to be unscrewed using a Phillips head screwdriver.
After removing the screw, gently pull the handle off. Now, you can access the cartridge assembly inside the faucet. Using your wrench, carefully unscrew the cartridge and remove it.
To clean the components, use a mixture of warm water and mild cleaning solution, ensuring to scrub away any buildup or debris. Rinse the parts thoroughly and reassemble the faucet in the reverse order of disassembly.
Effective Techniques for Removing Mineral Build-up and Hard Water Stains
If you’re dealing with mineral build-up and hard water stains, one effective technique is to use a mixture of vinegar and water to dissolve and remove the deposits. This natural cleaning solution is both safe and eco-friendly.
To tackle the problem, follow these steps:
- Mix equal parts vinegar and water in a spray bottle.
- Spray the solution onto the affected areas, focusing on the mineral build-up and hard water stains.
- Let the solution sit for at least 10 minutes to allow it to penetrate and dissolve the deposits.
- Use a scrub brush or sponge to agitate the surface and remove the loosened residue.
- Rinse thoroughly with water to remove any remaining vinegar.
Proper Maintenance and Preventive Measures to Keep Your Faucet Clean and Functioning Smoothly
Regularly wiping down your faucet with a soft cloth and mild soap can help prevent the accumulation of grime and maintain its smooth functioning. However, there are additional preventive measures you can take to ensure your faucet stays in optimal condition.
One important step is to prevent rust from forming. Rust can not only affect the appearance of your faucet but also compromise its functionality. To prevent rust, avoid using harsh chemicals or abrasive materials when cleaning your faucet. Instead, opt for gentle cleaning solutions and non-abrasive tools.
Additionally, be mindful of any leaks or drips, as these can lead to water pooling around the base of the faucet, causing rust to develop over time.
Conclusion
In conclusion, cleaning the inside of your bathtub faucet is an essential task to maintain its functionality and prevent mineral build-up. By following the step-by-step guide and using the proper tools and materials, you can effectively disassemble the faucet and remove any hard water stains.
Regular maintenance and preventive measures are also crucial in keeping your faucet clean and ensuring smooth operation. Remember, a clean faucet not only enhances the appearance of your bathroom but also prolongs the lifespan of your fixture.

Mateo’s flair for writing is matched only by his keen eye for design. As an interior designer turned writer, Mateo brings a unique perspective. He blends aesthetics with functionality in every piece he pens, providing readers with beautifully crafted content that’s also supremely useful.
Mateo loves exploring the latest bathroom tech trends and is our expert on smart toilets. When he’s not writing or designing, Mateo can be found sketching ideas for his next big project at local coffee shops.