Hey there, folks! So, you’re looking to connect your bathtub drain to the main drain, huh? Well, you’re in luck because I’ve got the step-by-step guide you need.
In this article, we’ll dive into the nitty-gritty details of assessing your existing plumbing system, gathering the necessary tools and materials, removing the old drain, and installing the shiny new one. And, of course, we’ll show you exactly how to connect that bathtub drain to the main drain line.
Let’s get started, shall we?
Key Takeaways
- Assess the existing plumbing system to examine pipes for damage, leaks, and blockages, and determine compatibility with the bathtub drain pipe.
- Gather the necessary tools and materials, including the right type of bathtub drain, considering factors like ease of use and maintenance, and understanding the layout of the main drain line.
- Remove the old bathtub drain by removing the drain cover, inspecting the drain body for rust or corrosion, and using a drain removal tool to remove a rusted drain.
- Install the new bathtub drain by positioning the drain flange in the drain hole, applying plumber’s putty around the drain flange, sliding the drain shoe onto the drain flange, and tightening it securely with a wrench.
Assessing the Existing Plumbing System
Before you begin the installation process, it’s important to assess the existing plumbing system. This will ensure proper connection of the bathtub drain to the main drain and help you avoid complications in the future.
To evaluate the plumbing condition, start by examining the pipes for any signs of damage or corrosion. Look for leaks or blockages that could affect the flow of water.
In addition to checking for damage, determining pipe compatibility is crucial for a successful connection. Identify the type of pipes used in your existing plumbing system and make sure the bathtub drain pipe is compatible with them. This will prevent any issues with fitting or leakage.
Gathering the Necessary Tools and Materials
To get started, you’ll need to gather all the tools and materials you’ll need for the job.
First, you’ll want to choose the right bathtub drain type for your specific needs. There are various options available, such as pop-up drains, trip lever drains, and toe-tap drains. Consider factors like ease of use and maintenance when making your selection.
Once you have chosen the drain type, it’s important to understand the layout of the main drain line. This will help you determine the best location to connect the bathtub drain. You’ll need to locate the main drain line and identify any existing connections or obstacles that may affect the installation process.
Gathering the necessary tools and materials, along with a clear understanding of the drain type and main drain line layout, will set you up for a successful bathtub drain connection.
Removing the Old Bathtub Drain
Once you’ve gathered all the necessary tools and materials, it’s time to remove the old bathtub drain. Here’s a step-by-step guide on how to do it:
-
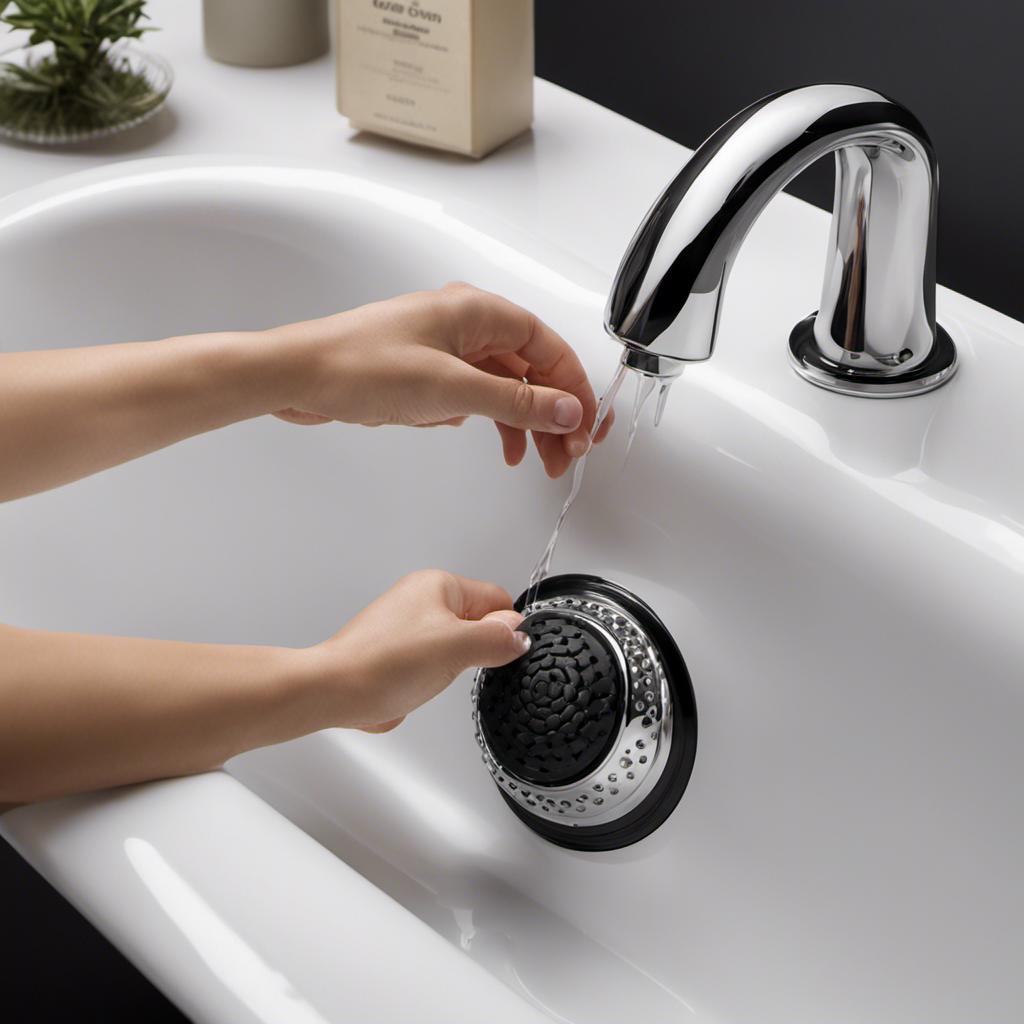
Start by removing the drain cover using a screwdriver. This will expose the drain body.
-
Next, inspect the drain body for any signs of rust or corrosion. If you spot a rusted drain, it’s essential to address it before proceeding.
-
To remove the rusted drain, use a drain removal tool. This tool is specifically designed to grip onto the drain body and provide the necessary leverage for removal.
-
Insert the drain removal tool into the drain body and turn it counterclockwise to loosen the drain. Apply steady pressure while turning until the drain becomes loose.
-
Once the drain is loose, continue turning it counterclockwise by hand until it comes out completely.
Installing the New Bathtub Drain
Make sure you have the necessary tools and materials ready before installing the new drain. To connect the drain pipe and secure the bathtub, follow these steps:
-
Position the drain flange: Place the drain flange into the drain hole in the bathtub, ensuring a snug fit.
-
Apply plumber’s putty: Roll plumber’s putty into a thin rope and place it around the underside of the drain flange. This will create a watertight seal.
-
Install the drain shoe: Slide the drain shoe onto the drain flange from underneath the bathtub. Use a wrench to tighten the drain shoe securely.
| Tools Needed | Materials Needed |
|---|---|
| Wrench | Plumber’s putty |
| Screwdriver | Drain flange |
| Drain shoe |
Connecting the Bathtub Drain to the Main Drain Line
Before connecting the bathtub drain to the main drain line, ensure that you have the proper tools and materials ready. Here are the steps to connect the bathtub drain to the main drain line:
- Make sure the bathtub drain assembly is properly installed and secured.
- Apply plumber’s putty around the drain flange to create a watertight seal.
- Insert the drain flange into the drain hole, making sure it sits flush with the bathtub surface.
- Tighten the drain flange using a drain wrench to ensure a secure connection.
- Connect the drain pipe to the main drain line using a PVC connector and PVC cement.
Proper sealing techniques for bathtub drain connections include using plumber’s putty and tightening the drain flange securely. Common issues with bathtub drain connections may include leaks due to improper sealing or loose connections. Troubleshooting these issues involves checking the seal and tightening any loose connections.
Conclusion
In conclusion, connecting the bathtub drain to the main drain line is a straightforward and achievable task. By assessing the existing plumbing system and gathering the necessary tools and materials, you can ensure a secure connection.
Next, you’ll need to remove the old bathtub drain before installing the new one. Remember to ‘measure twice, cut once’ to avoid any mishaps during the installation process.
With these step-by-step instructions, you’ll be able to connect your bathtub drain to the main drain line with ease, ensuring a smooth and efficient plumbing system. So go ahead and enjoy your new bathtub without any worries!


