So, you’re tired of that old bathtub taking up space in your bathroom, huh? Well, I’ve got just the solution for you.
In this article, I’ll walk you through the process of converting your bathtub into a sleek and convenient walk-in shower. Trust me, I’ve done this before, and with a little planning and some handy tools, you’ll have a brand new shower in no time.
Get ready to say goodbye to that outdated tub and hello to a modern, functional shower. Let’s get started!
Key Takeaways
- Consider the dimensions of the bathtub and the surrounding area when planning the size of the walk-in shower.
- Consult with professionals for plumbing modifications and ensure proper disposal of the old bathtub.
- Upgrade the water supply lines and install necessary waterproofing materials during plumbing modifications.
- Incorporate safety features such as grab bars and non-slip flooring in the walk-in shower design.
Assessing the Space and Planning
You’ll need to measure the dimensions of your bathtub and evaluate the available space before planning the conversion to a walk-in shower. When it comes to converting a bathtub to a walk-in shower, space utilization and design elements play a crucial role.
First, measure the length, width, and height of your bathtub to determine the size of the walk-in shower that can fit in the space. Consider the location of existing plumbing fixtures and the surrounding area to ensure proper placement.
Additionally, think about the design elements you want to incorporate, such as tile patterns, showerheads, and storage options. A knowledgeable approach ensures that you make the most of the available space while creating a functional and aesthetically pleasing walk-in shower.
Removing the Bathtub
When removing a bathtub to convert it into a walk-in shower, there are several key points to consider.
First, plumbing modifications may be required to accommodate the new shower fixtures and drainage system. It’s important to consult with a professional plumber to ensure that the necessary changes are made correctly and safely.
Additionally, alternative options for bathing during the renovation process should be considered. This could include using a temporary shower or utilizing a nearby bathroom.
Plumbing Modifications Required
To make the necessary plumbing modifications, it’s important to consult with a professional contractor before starting your bathtub to walk-in shower conversion. They will ensure that the project meets all plumbing regulations and is installed correctly.
Here are some key points to consider:
- Determine the new location of the drain and make necessary adjustments.
- Install a new shower valve and controls.
- Upgrade the water supply lines to accommodate the new showerhead.
- Consider adding a shower pan or base to ensure proper drainage.
- Install any necessary waterproofing materials to prevent leaks.
Alternative Options for Bathing
Consider exploring other methods of bathing that can be more accessible and convenient for your needs. When converting a bathtub to a walk-in shower, it’s important to consider the different options available to make your bathing experience safer and more comfortable.
One option to consider is a shower seat. Shower seats can be installed in the shower area, providing a stable and secure place to sit while bathing. They come in various designs, such as built-in or removable seats, and can be made of materials that are resistant to water and mildew.
Another design idea for a walk-in shower is to incorporate grab bars. These bars can be strategically placed to provide additional support and stability when moving in and out of the shower.
Additionally, consider installing non-slip flooring to prevent any accidents or falls.
Cost and Time Considerations
Installing a shower seat can be a cost-effective and time-efficient option for making bathing safer and more accessible. As someone who has converted a bathtub to a walk-in shower, I understand the importance of considering budget and saving time during the process.
Here are some tips to help you with your project:
-
Budget considerations:
-
Research and compare prices of shower seats to find the best deal.
-
Look for discounts or sales at home improvement stores.
-
Consider second-hand options or online marketplaces for more affordable choices.
-
Time-saving tips:
-
Plan the installation during a time when you have a few consecutive days available.
-
Prepare all the necessary tools and materials in advance.
-
Follow step-by-step instructions carefully to avoid mistakes and save time on corrections.
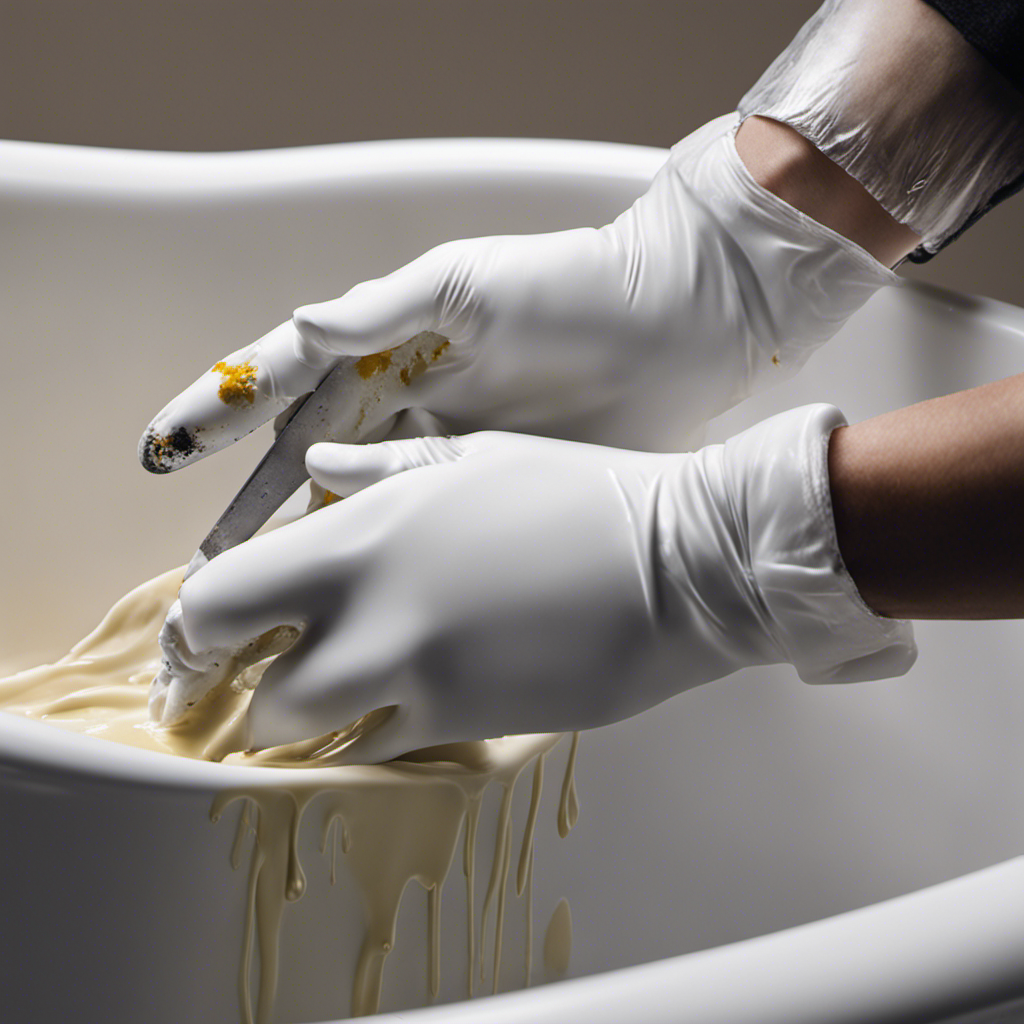
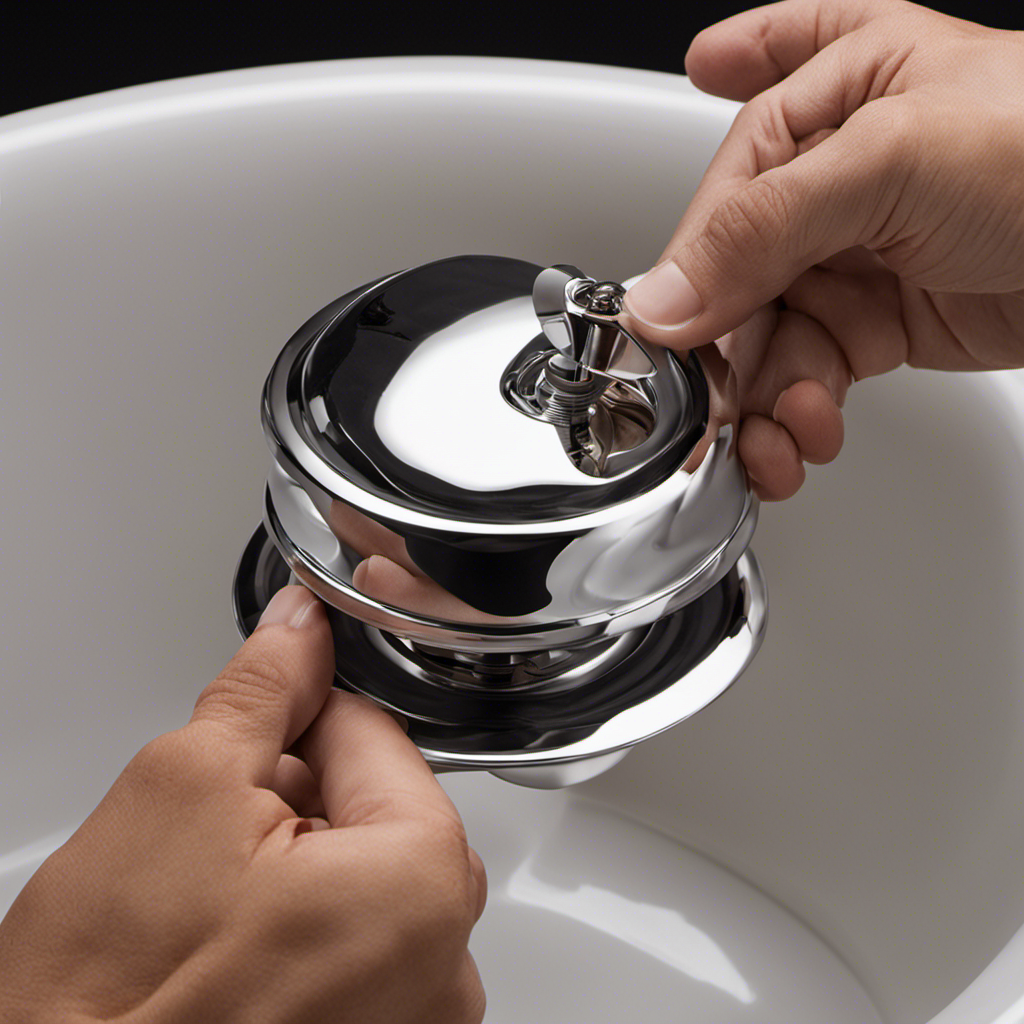
Preparing the Plumbing and Drain
First, make sure you’ve shut off the water supply and disconnected the plumbing before moving forward with the conversion. When converting a bathtub to a walk-in shower, preparing the plumbing installation and drain relocation is crucial.
Start by removing the old bathtub and assessing the existing plumbing. If necessary, hire a professional plumber to relocate the drain to the desired location for the shower. This may involve cutting into the floor and rerouting the pipes. Ensure that the new plumbing is done correctly, as any leaks or improper connections can cause significant damage.
Once the plumbing is in place, you can proceed with installing the shower base, which will be discussed in the next section.
Installing the Shower Base
Now that the plumbing and drain are prepared, it’s time to move on to the next step: installing the shower base. This is an important part of converting a bathtub to a walk-in shower as it provides a solid foundation for the shower enclosure.
When it comes to shower base installation, there are various materials to choose from, each with its own advantages and considerations. Here are some popular options:
-
Acrylic: Lightweight and easy to install, acrylic shower bases are durable and resistant to stains and scratches. They also come in a variety of sizes and shapes to fit different bathroom layouts.
-
Fiberglass: Similar to acrylic, fiberglass shower bases are affordable and low-maintenance. They are also known for their strength and durability.
-
Tile: For a more customized and luxurious look, tile shower bases are a popular choice. They offer endless design possibilities and can be made to match the rest of your bathroom tiles.
-
Stone: If you’re looking for a more natural and elegant option, stone shower bases, such as marble or granite, can add a touch of luxury to your bathroom.
-
Solid Surface: Made from a combination of natural minerals and resins, solid surface shower bases are durable, non-porous, and easy to clean.
When choosing a shower base material, consider factors such as your budget, bathroom style, and maintenance requirements. It’s also important to ensure that the shower base is properly sized and installed to prevent any leaks or water damage.
With the right shower base in place, you’re one step closer to enjoying your new walk-in shower.
Waterproofing the Shower Area
When it comes to waterproofing the shower area, there are several methods that can be used to ensure a watertight seal. It is important to understand these methods and choose the one that is most suitable for your specific shower installation.
Proper waterproofing is crucial to prevent water damage, mold growth, and costly repairs down the line. However, there are also common mistakes that people make when waterproofing their showers, which can compromise the effectiveness of the waterproofing and lead to issues in the future.
In this discussion, I will explain different waterproofing methods, emphasize the importance of proper waterproofing, and highlight some common mistakes to avoid.
Waterproofing Methods Explained
To ensure a watertight seal, you’ll want to apply a layer of waterproof membrane before tiling the walls of your walk-in shower. This step is crucial in preventing water damage and leaks. Here are some effective methods for waterproofing your shower area:
- Install a waterproof membrane on the shower floor to protect it from moisture.
- Apply a waterproofing sealant to the joints and corners of the shower enclosure to prevent water intrusion.
- Use waterproof backer boards instead of regular drywall to create a more resistant surface.
- Apply a waterproofing primer before tiling the walls to enhance the overall waterproofing system.
- Consider using a liquid waterproofing membrane for added protection and flexibility.
Proper waterproofing is essential for the longevity and functionality of your walk-in shower. Without it, you risk costly water damage and mold growth.
Now, let’s explore the importance of proper waterproofing in more detail.
Importance of Proper Waterproofing
Proper waterproofing is crucial for preventing costly water damage and mold growth in your walk-in shower. When it comes to waterproofing materials, there are several options available, each with its own benefits and drawbacks. The waterproofing process involves carefully applying a waterproof membrane or coating to the shower walls and floor to create a barrier against water penetration. This ensures that any water that comes into contact with the shower surface is directed towards the drain, rather than seeping into the surrounding walls or subfloor.
To help you understand the importance of proper waterproofing, take a look at the table below, which highlights the potential consequences of inadequate waterproofing:
| Lack of Proper Waterproofing | Potential Consequences |
|---|---|
| Water damage to walls | Costly repairs |
| Mold and mildew growth | Health hazards |
| Structural damage | Decreased property value |
Common Waterproofing Mistakes
One of the most common mistakes people make when waterproofing their walk-in shower is not properly sealing the corners and seams. This is a critical step in ensuring the longevity and effectiveness of the waterproofing system.
Here are some other common waterproofing mistakes to avoid:
- Using inadequate waterproofing materials such as regular caulk instead of waterproofing membranes.
- Failing to properly slope the shower floor to ensure proper drainage.
- Neglecting to waterproof the entire shower area, including walls, floors, and even the ceiling if necessary.
- Overlooking the importance of waterproofing behind fixtures such as showerheads and faucets.
- Rushing the waterproofing process and not allowing sufficient drying time before tiling or applying finishes.
Proper waterproofing is essential to prevent water damage, mold growth, and costly repairs. By avoiding these common mistakes, you can ensure a watertight and durable walk-in shower that will stand the test of time.
Now, let’s move on to the next step: adding safety features.
Adding Safety Features
Make sure you install grab bars in strategic locations to enhance safety when converting your bathtub to a walk-in shower.
Safety should always be a top priority when undertaking a bathroom remodel, especially when it comes to creating an accessible design.
Adding grab bars is a simple yet effective way to provide stability and support for individuals with mobility issues.
When choosing grab bars, opt for ones that are specifically designed for wet environments and can support heavy weight. These bars should be securely installed onto the walls, ensuring they can withstand any amount of pressure.
It’s important to consider the height and placement of the bars, as they should be easily reachable and provide assistance for individuals of different heights and abilities.
Finishing Touches and Cleanup
After completing the installation of your walk-in shower, it’s time to put the finishing touches on the space and clean up any debris. Here are some final touches that will help make your new shower feel complete:
- Install a rainfall showerhead for an indulgent and luxurious experience.
- Add a built-in bench for added convenience and comfort while showering.
- Hang a stylish shower curtain or install a glass door to enhance the aesthetic appeal.
- Place a non-slip mat or adhesive strips on the shower floor to prevent accidents.
- Install a towel rack or hooks near the shower for easy access to towels.
Now that the finishing touches are in place, it’s important to clean up any debris left from the installation process. Gather your cleaning supplies and thoroughly clean the shower area, paying attention to corners, grout lines, and fixtures. Wipe down glass surfaces with a streak-free cleaner for a sparkling finish.
With the final touches and a thorough clean, your walk-in shower is now ready to be enjoyed.
Conclusion
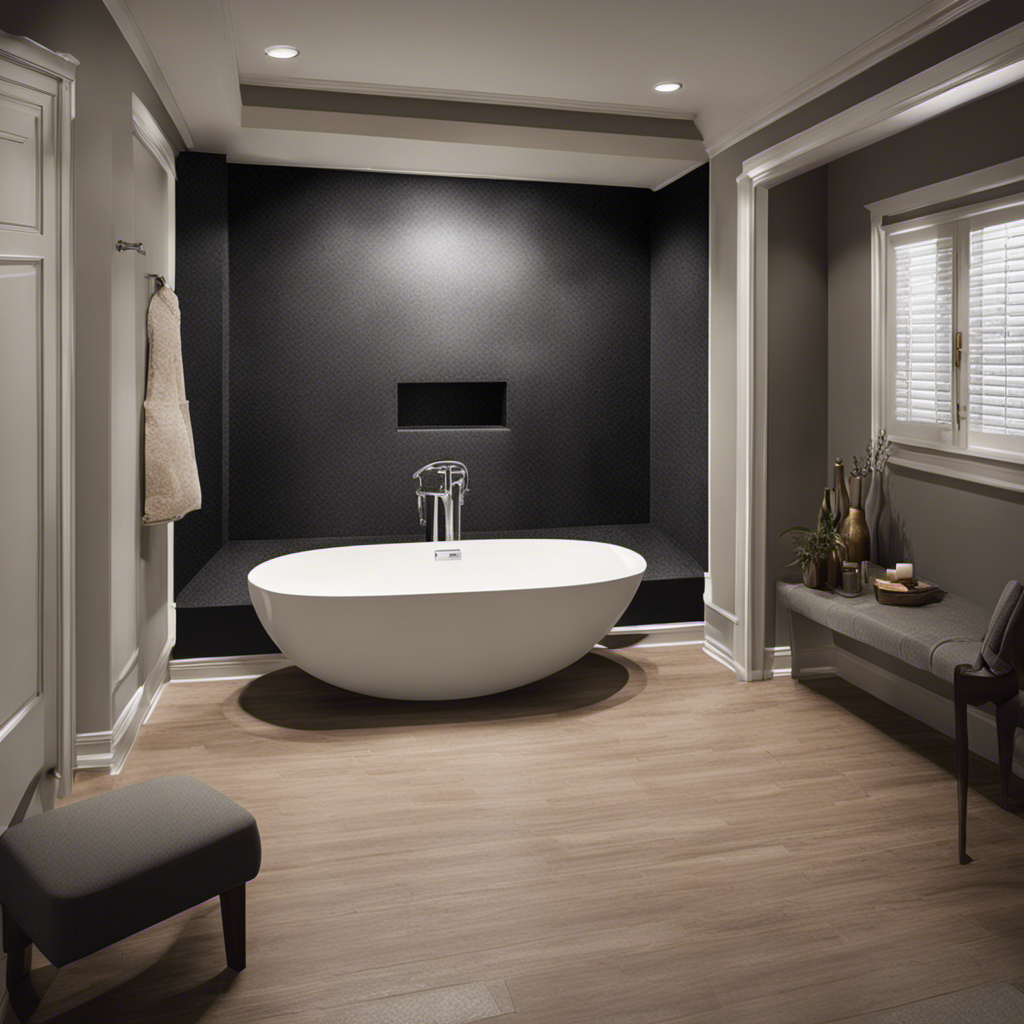
As I stand in my newly transformed bathroom, I can’t help but feel a sense of liberation and renewal. The conversion from a bathtub to a walk-in shower symbolizes the freedom to move, the ability to embrace change, and the courage to step into the unknown.
With careful planning, skillful execution, and a touch of creativity, I have created a space that not only meets my practical needs but also reflects my personal style and taste. It’s a testament to the power of transformation and a reminder that sometimes all it takes is a small change to make a big impact.