I know what you’re thinking – converting a bathtub to a walk-in shower sounds like a daunting task. But let me assure you, with the right knowledge and guidance, it can be a manageable and rewarding project.
In this article, I will walk you through the step-by-step process of transforming your bathtub into a convenient and accessible walk-in shower. From assessing the space to adding the finishing touches, I’ll provide you with all the detailed information you need to successfully complete this conversion.
So, let’s get started!
Key Takeaways
- Determine a realistic budget for the project.
- Find a reliable contractor with experience in bathroom remodeling.
- Ensure the space and materials used are appropriate for the size of the area.
- Take into account any additional features desired for the walk-in shower.
Top picks for "convert bathtub walk"
As an affiliate, we earn on qualifying purchases.
Assessing the Space and Planning the Conversion
Now that you’ve measured your bathtub area and determined the feasibility of a walk-in shower, it’s time to start planning the conversion.
The first step is to assess your budget for the project. Walk-in shower conversions can range in cost depending on various factors such as the size of the space, the materials used, and any additional features you may want to include. It’s important to set aside a realistic budget to ensure that you can achieve the desired results without overspending.
Once you have a budget in mind, the next crucial step is to find a reliable contractor. Look for someone with experience in bathroom remodeling and positive customer reviews. A reputable contractor will help bring your vision to life while staying within your budget and timeline.
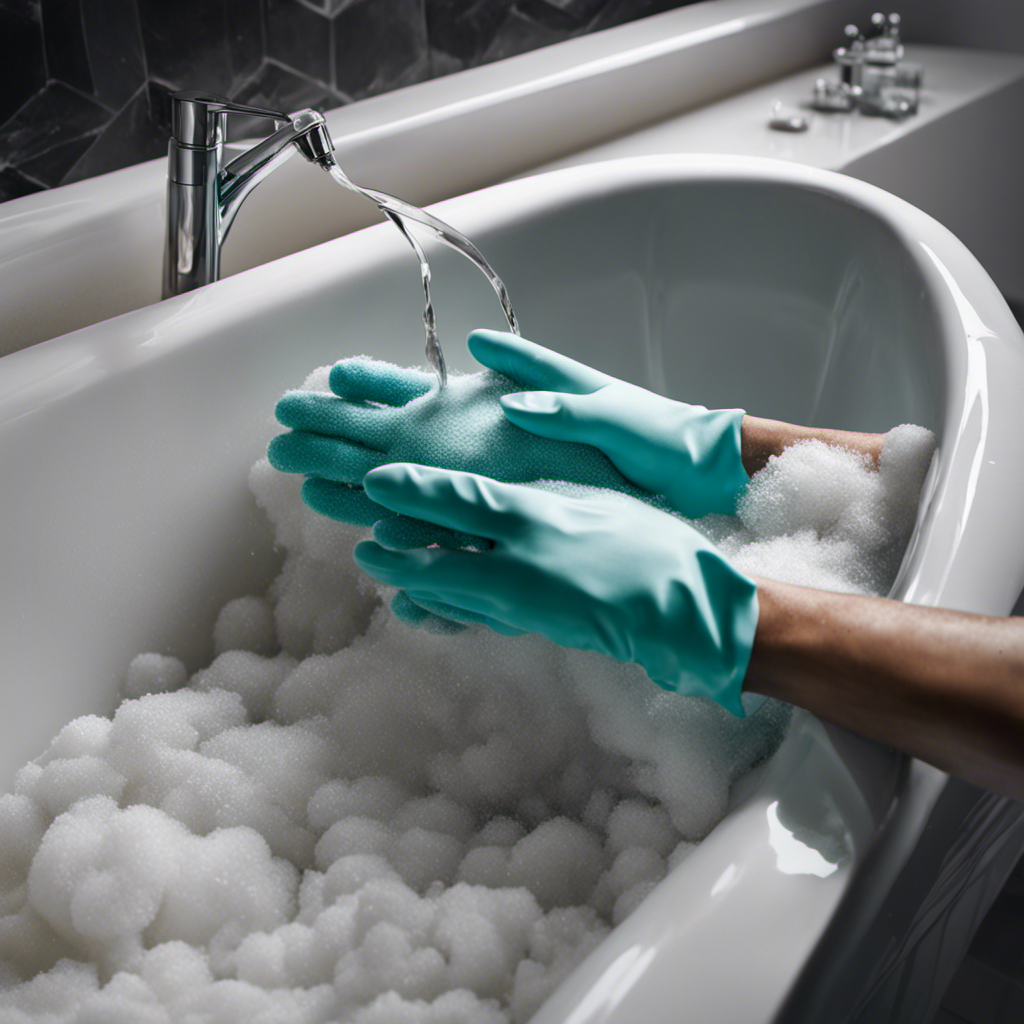
Removing the Bathtub and Preparing the Area
First, you’ll want to start by removing the bathtub and getting the area ready for the next steps. This is an essential part of the bathroom renovation process, as it paves the way for the conversion to a walk-in shower. Here are four important things to consider during this stage:
-
Disconnecting the plumbing: Turn off the water supply and disconnect the pipes connected to the bathtub. This ensures that there are no leaks or water damage during the renovation.
-
Removing the bathtub: Carefully remove the bathtub from its position. This may involve unscrewing or cutting through any fasteners or caulk holding it in place. Be cautious to avoid damaging the surrounding walls or floor.
-
Cleaning and repairing the area: Once the bathtub is removed, thoroughly clean the space. Inspect for any damage or mold that needs to be addressed before proceeding with the walk-in shower installation.
-
Preparing the floor and walls: Ensure that the floor is level and stable to support the new shower. Repair any cracks or imperfections in the walls to create a smooth surface for tiling or wall panels.
Installing the Walk-in Shower Base and Drain
After carefully removing the bathtub, it’s time to start installing the walk-in shower base and drain. This step is crucial in creating a sturdy and functional walk-in shower.
First, choose a walk-in shower base that fits your space and meets your needs. There are various options available, including acrylic, fiberglass, and tile bases. Once you have selected the base, ensure that it is level and properly secured to the floor.
Next, install the drain according to the manufacturer’s instructions. This involves connecting the drain pipe to the plumbing system and ensuring a watertight seal.
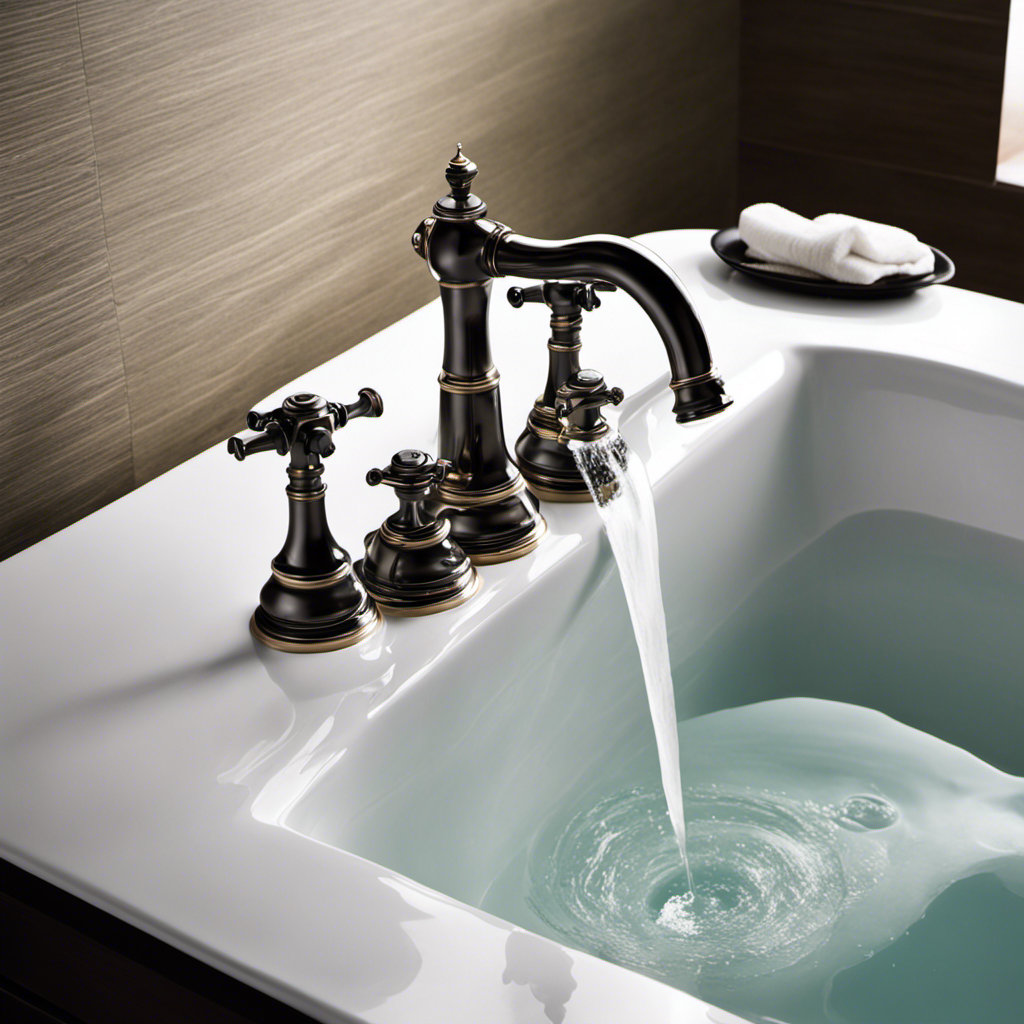
Finally, before moving on to the next step of plumbing and waterproofing the shower area, it is essential to choose the shower fixtures, such as the showerhead, that will provide the desired water flow and features.
With the shower base and drain in place, we can now move on to the next phase of the conversion process.
Plumbing and Waterproofing the Shower Area
To ensure a watertight seal, you’ll need to properly connect the plumbing system to the drain. Here are four important steps to follow when plumbing and waterproofing the shower area:
-
Install the shower fixture: Choose a shower head and faucet that suits your preferences and style. Consider factors like water pressure, spray patterns, and ease of use.
-
Connect the shower drain: Use PVC or ABS pipes to connect the drain to the plumbing system. Ensure a tight fit by using adhesive and proper sealing techniques.
-
Waterproof the walls and floor: Apply a waterproofing membrane to the shower walls and floor. This will prevent water from seeping through and causing damage.
-
Select shower accessories: Enhance your shower experience by selecting accessories such as soap dispensers, towel hooks, and shelves. Consider the functionality and aesthetics of these accessories.
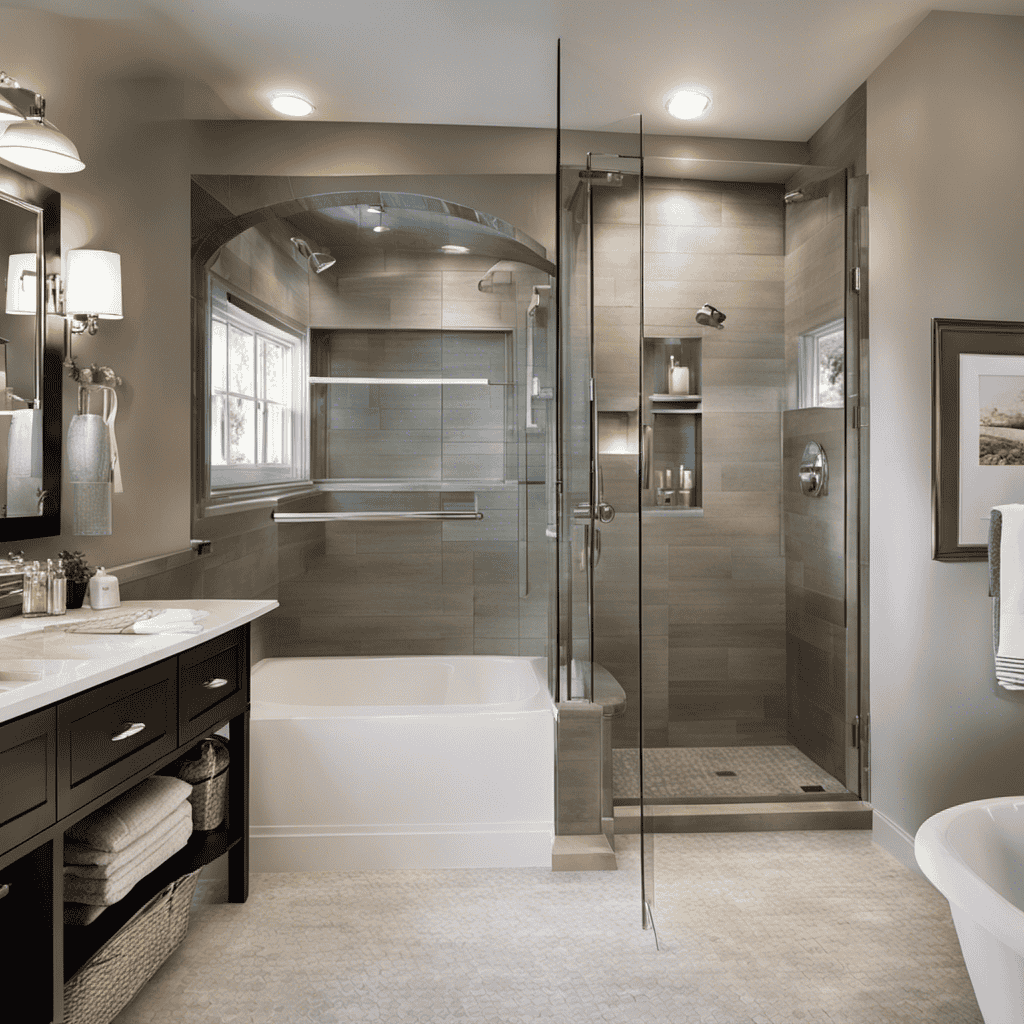
Tiling the Walls and Floor of the Walk-in Shower
When it comes to tiling the walls of a walk-in shower, one of the most important considerations is waterproofing. It is crucial to ensure that the shower walls are properly sealed and protected from water damage.
Additionally, choosing the right tiles is essential for both aesthetic appeal and functionality. The type of tile you select should be durable, slip-resistant, and easy to clean.
Waterproofing the Shower Walls
You’ll need to use waterproofing materials to protect the shower walls. Waterproofing techniques are essential to prevent water damage and mold growth in your walk-in shower. Here are some key factors to consider when choosing the right materials:
-
Quality sealant: Invest in a high-quality, waterproof sealant that can withstand constant exposure to water. Look for sealants that are specifically designed for use in wet areas.
-
Waterproof membrane: Consider using a waterproof membrane, such as a liquid or sheet membrane, to provide an extra layer of protection against moisture penetration. This will help ensure that no water seeps through the walls.
-
Cement backer board: Use cement backer board instead of regular drywall. It is more resistant to moisture and provides a solid base for tile installation.
-
Grout and caulk: Use a waterproof grout and caulk to seal the gaps between tiles and around fixtures. This will help prevent water from seeping into the walls.
Choosing the Right Tiles
Now that we have finished waterproofing the shower walls, it’s time to move on to choosing the right tiles for your walk-in shower.
When it comes to tile color options, the possibilities are endless. You can go for a classic white or neutral shade for a timeless look, or opt for bold and vibrant colors to make a statement. Consider the overall aesthetic of your bathroom and choose a color that complements it.
Additionally, tile size considerations are important. Larger tiles can create a seamless and spacious look, while smaller tiles can add visual interest and texture. Think about the size of your shower space and what effect you want to achieve.
With the right tiles, you can transform your bathtub into a stunning walk-in shower.
Now, let’s move on to adding the finishing touches and finalizing the conversion.
Adding the Finishing Touches and Finalizing the Conversion
When it comes to completing the conversion of a bathtub to a walk-in shower, there are a few key points that need to be addressed.
Firstly, choosing the right shower door option is crucial in creating a functional and aesthetically pleasing space.
Secondly, proper sealing and waterproofing techniques are essential to prevent any water damage or leaks.
Lastly, ensuring the shower is accessible and safe for all users is of utmost importance.
Shower Door Options
If you want a sleek and modern look for your walk-in shower, consider opting for a frameless glass shower door. Not only does it add a touch of elegance to your bathroom, but it also offers several practical benefits.
Here are 4 reasons why a frameless glass shower door is a great choice:
-
Enhanced aesthetics: The transparency of glass creates an open and spacious feel, making your bathroom appear larger and more inviting.
-
Easy maintenance: Unlike curtains that can trap moisture and become a breeding ground for mold and mildew, glass doors are easy to clean and maintain. A quick wipe with a glass cleaner is all it takes to keep them looking pristine.
-
Durability: Frameless glass shower doors are made from tempered glass, which is highly resistant to shattering. This ensures the safety of you and your family.
-
Customizable options: Whether you prefer a sliding or hinged door, a frameless glass shower door can be customized to fit your specific needs and preferences.
With these benefits in mind, a frameless glass shower door is an excellent choice for transforming your walk-in shower into a stylish and functional space.
Sealing and Waterproofing
Sealing and waterproofing are essential to prevent any leaks or water damage in your bathroom. When it comes to bathtub replacement and installing a new shower enclosure, ensuring proper sealing and waterproofing is crucial.
Before starting any installation, it’s important to thoroughly inspect the area and address any existing leaks or damage. This can involve repairing or replacing damaged tiles, fixing any plumbing issues, and properly sealing all joints and seams.
Additionally, applying a waterproof membrane or coating on the walls and floor can provide an extra layer of protection against moisture. Investing in high-quality materials and professional installation can help ensure that your new shower enclosure is completely sealed and waterproofed, giving you peace of mind and a beautiful, functional bathroom space.
Accessibility and Safety
Now that we’ve discussed the importance of sealing and waterproofing when converting a bathtub to a walk-in shower, let’s dive into the design considerations and cost factors involved in making the shower more accessible and safe.
-
Grab bars: Installing sturdy grab bars at strategic locations in the shower can provide stability and support for individuals with mobility limitations, reducing the risk of slips and falls.
-
Non-slip flooring: Opting for non-slip flooring materials, such as textured tiles or rubber mats, can enhance traction and minimize the chances of accidents in the shower.
-
Shower seat: Including a built-in or portable shower seat can offer a comfortable resting spot for those who need to sit while bathing, promoting accessibility and safety.
-
Clear glass doors: Using clear glass doors instead of opaque ones can improve visibility and allow caregivers to monitor individuals with special needs more easily.
When considering these design elements, it’s essential to factor in the associated costs to ensure that the conversion project remains within budget while prioritizing accessibility and safety.
Conclusion
In conclusion, converting a bathtub into a walk-in shower is a transformative process that can open up your bathroom space and create a luxurious oasis.
By carefully assessing the space, removing the bathtub, and installing the proper base and drain, you can create a functional and stylish shower area.
Don’t forget to prioritize plumbing and waterproofing to ensure a leak-free experience.
Finally, the tiling and finishing touches will bring your vision to life.
So grab your tools and get ready to dive into this exciting renovation project!