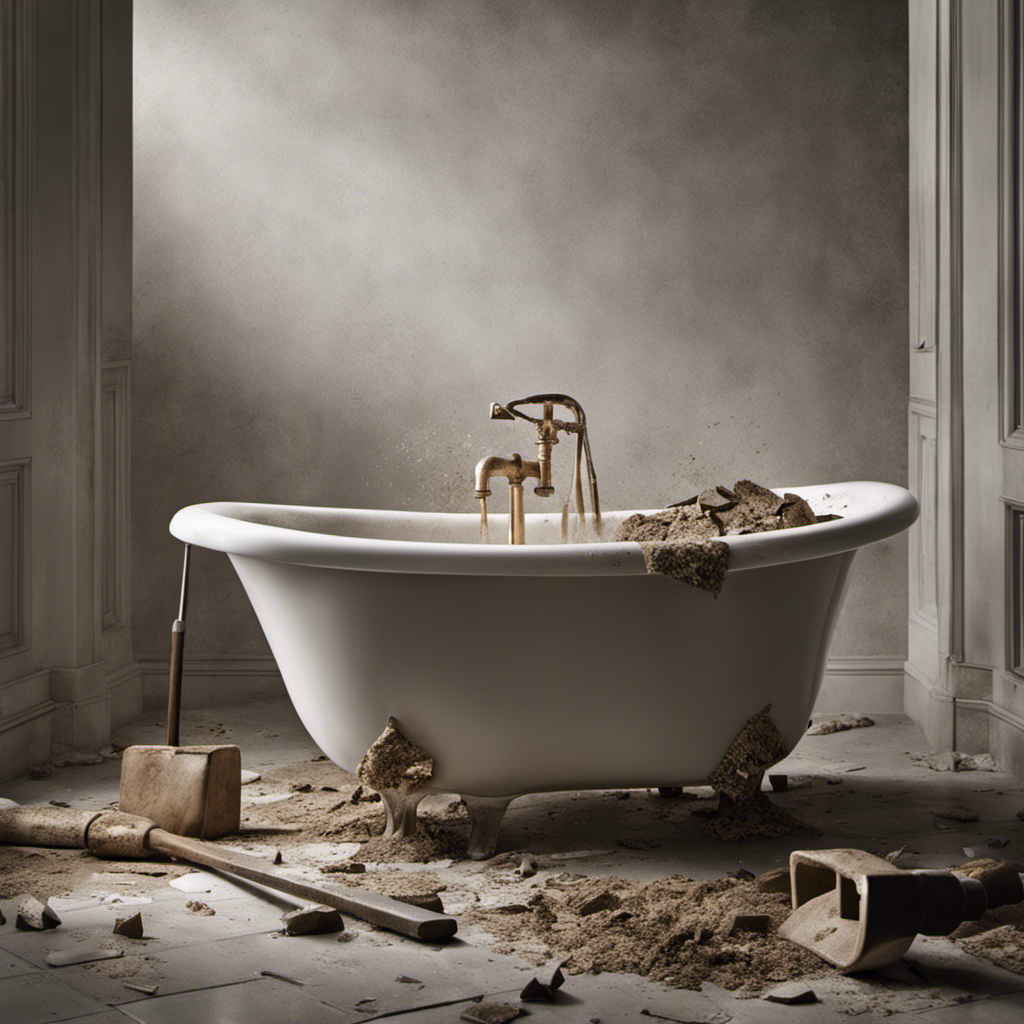
So, you’ve decided it’s time to give your bathroom a fresh new look, and that old bathtub has got to go. Trust me, I’ve been there.
The thought of taking on a project like demoing a bathtub can be daunting, but with the right tools and a little know-how, you can tackle it like a pro.
In this article, I’ll walk you through the step-by-step process of how to demo a bathtub, from preparing the bathroom all the way to those finishing touches.
Let’s get started!
Key Takeaways
- Choose the right bathtub based on size, style, and material
- Gather the necessary tools and materials for a safe and clean demolition
- Take precautions to protect the bathroom and surrounding areas during the process
- Properly disconnect and remove the bathtub, considering disposal options

HAUTMEC Tub Drain Remover Wrench Tool Heavy Duty Aluminum Shower Bathtub Drain Removal Tool PL0030
The dual ended tub drain wrench fits most inner diameter 1 3/8" and 1 1/2" tub drain shoe,ideal…
As an affiliate, we earn on qualifying purchases.
As an affiliate, we earn on qualifying purchases.
Tools and Materials Needed
To demo a bathtub, you’ll need a few tools and materials.
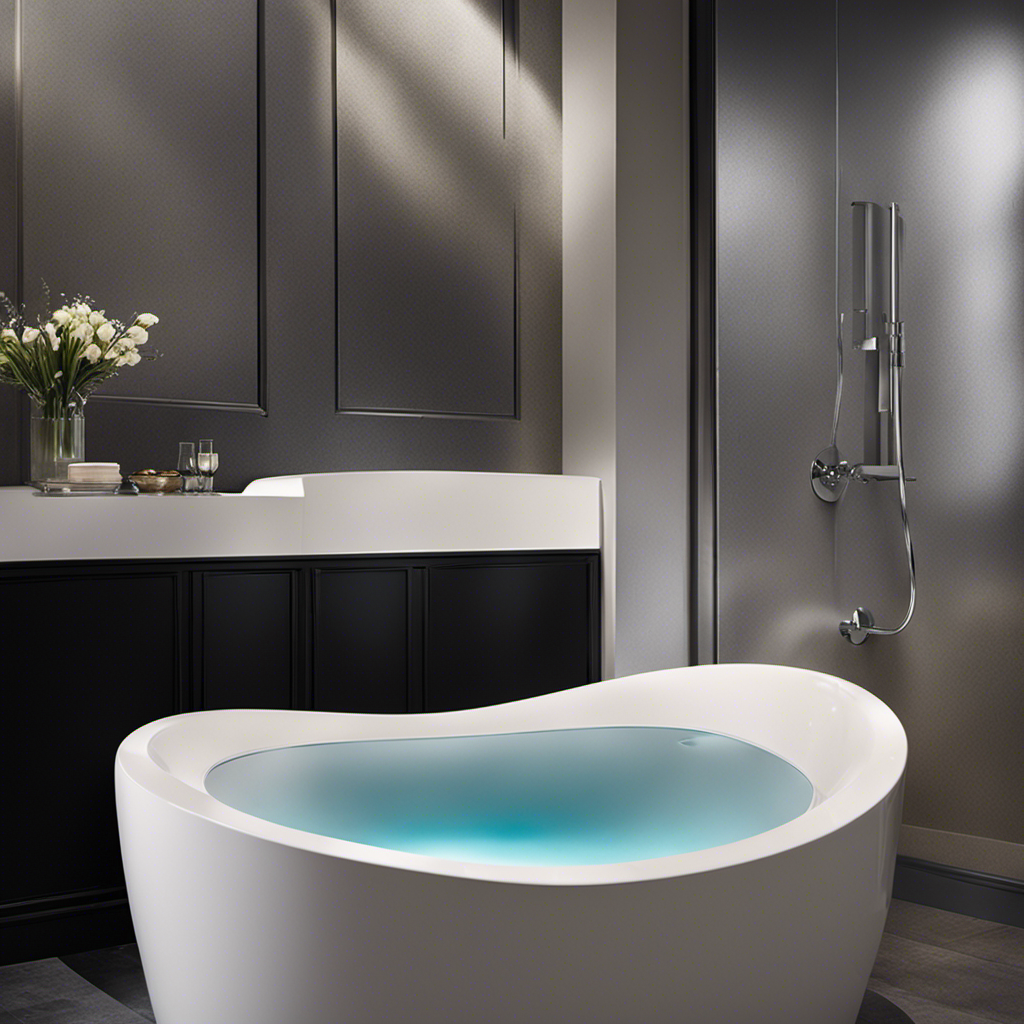
The first step in this process is choosing a new bathtub. Consider the size, style, and material that will best suit your needs and preferences.
Once you have your new bathtub, gather the necessary tools, such as a pry bar, hammer, utility knife, and safety goggles. Additionally, you’ll need materials like a drop cloth, trash bags, and a dust mask to ensure a clean and safe demolition.
Proper bathtub installation techniques require caution and precision. Begin by disconnecting the water supply and drain pipes. Then, carefully remove any fixtures and surrounding tiles.
With the demo complete, you can now transition into the next section about preparing the bathroom for the installation of the new bathtub.

Goldblatt Trim Removal Tool, 3-Inch Baseboard Removal Tool for No-damage the surface, Heavy Duty Pry Bar Removal Multi-Tool for Carpet Tack Strip, Baseboard, Molding, Siding and Flooring Removal
Damage Prevention – The trim removal tool boasts a larger, flatter, and wider contact area compared to traditional…
As an affiliate, we earn on qualifying purchases.
As an affiliate, we earn on qualifying purchases.
Preparing the Bathroom
Before starting, make sure you’ve cleared the bathroom of any unnecessary items. Creating a temporary shower space is crucial during the bathtub demolition process. To protect the flooring, it is recommended to cover it with a thick plastic sheet or drop cloth. This will prevent any damage or staining from debris or water. Additionally, using cardboard or plywood can provide a sturdy base and further safeguard the floor. To evoke emotion, consider the following table:
| Emotion | Sensation | Description |
|---|---|---|
| Comfort | Soft | A warm, inviting shower space that offers relaxation and tranquility. |
| Safety | Secure | A sturdy, stable area that ensures no accidents or injuries occur. |
| Protection | Shielded | A well-protected flooring that remains intact throughout the process. |
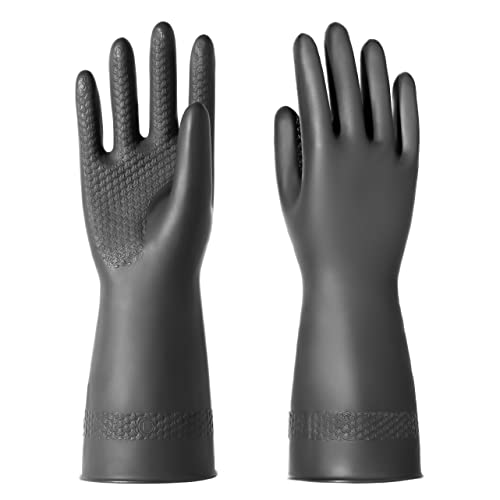
ROYAKI Chemical Resistant Latex Gloves,Cleaning Protective Safety Work Heavy Duty Rubber Gloves,12.6", 1 Pair Size Large
Rubber has the advantages of elasticity, wear resistance, cold resistance, and air leakage
As an affiliate, we earn on qualifying purchases.
As an affiliate, we earn on qualifying purchases.
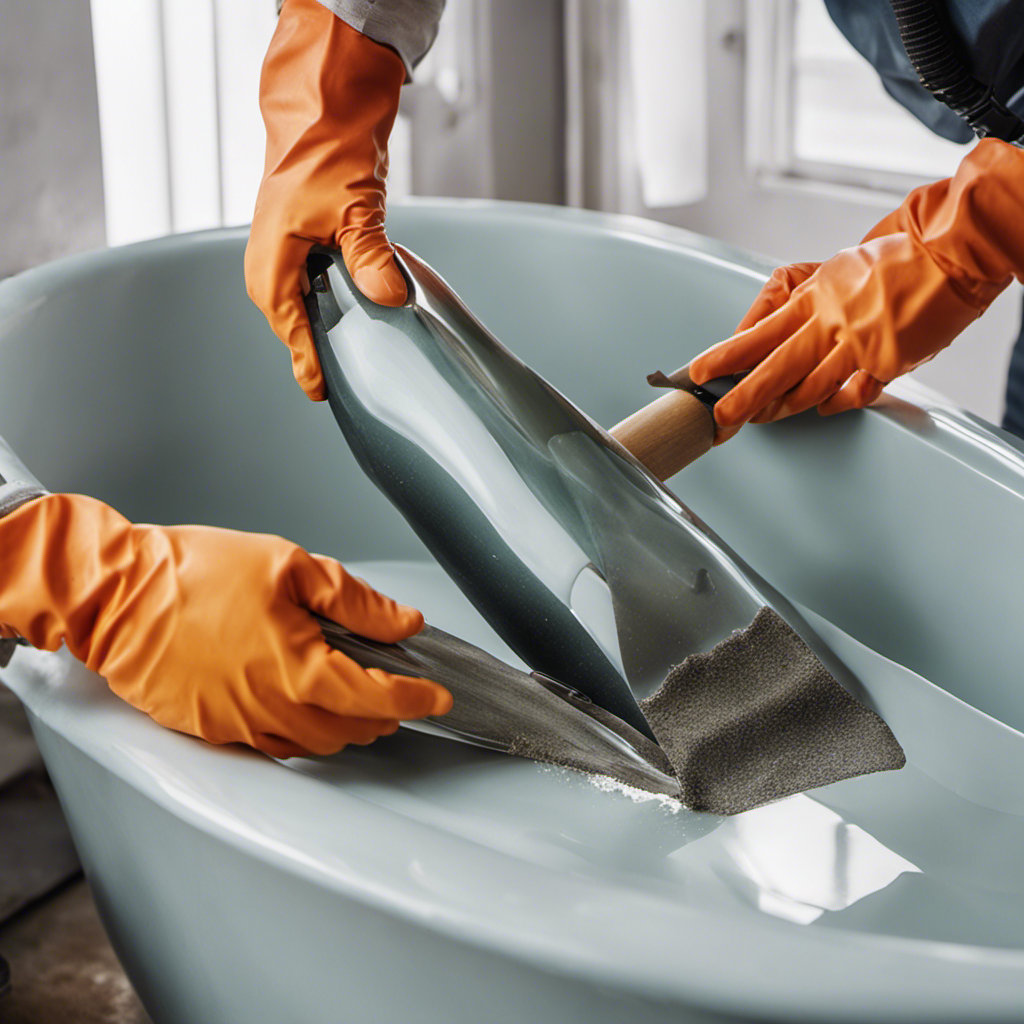
Removing the Surrounding Tiles
Removing the surrounding tiles can be a challenging task, but with the right tools and techniques, it can be done efficiently.
One of the most common tile removal techniques is to use a hammer and chisel. Start by tapping the chisel gently to create a crack in the grout between the tiles. Then, use the hammer to carefully break the tiles into smaller pieces, starting from the center and working your way outwards.
Another technique involves using a reciprocating saw with a tile cutting blade. This method is faster but requires caution to avoid damaging the surrounding area.
Potential challenges during tile removal include the risk of injury from flying debris and the possibility of damaging the underlying structure or plumbing. Therefore, it is crucial to wear safety goggles, gloves, and protective clothing, and to proceed with caution.
URMONA Waterproof Silicone Under Sink Mat 31'' x 22'' Shelf Liner for Kitchen and Bathroom, Cabinet and Counter Protector, Storage and Organizers, Litter Mat, Pet Cat Puppy Essentials(Dark Grey)
【Under Sink Mat】:URMONA Silicone mat made of high quality durable silicone material, waterproof and oil resistant, making wiping…
As an affiliate, we earn on qualifying purchases.
As an affiliate, we earn on qualifying purchases.
Disconnecting and Removing the Bathtub
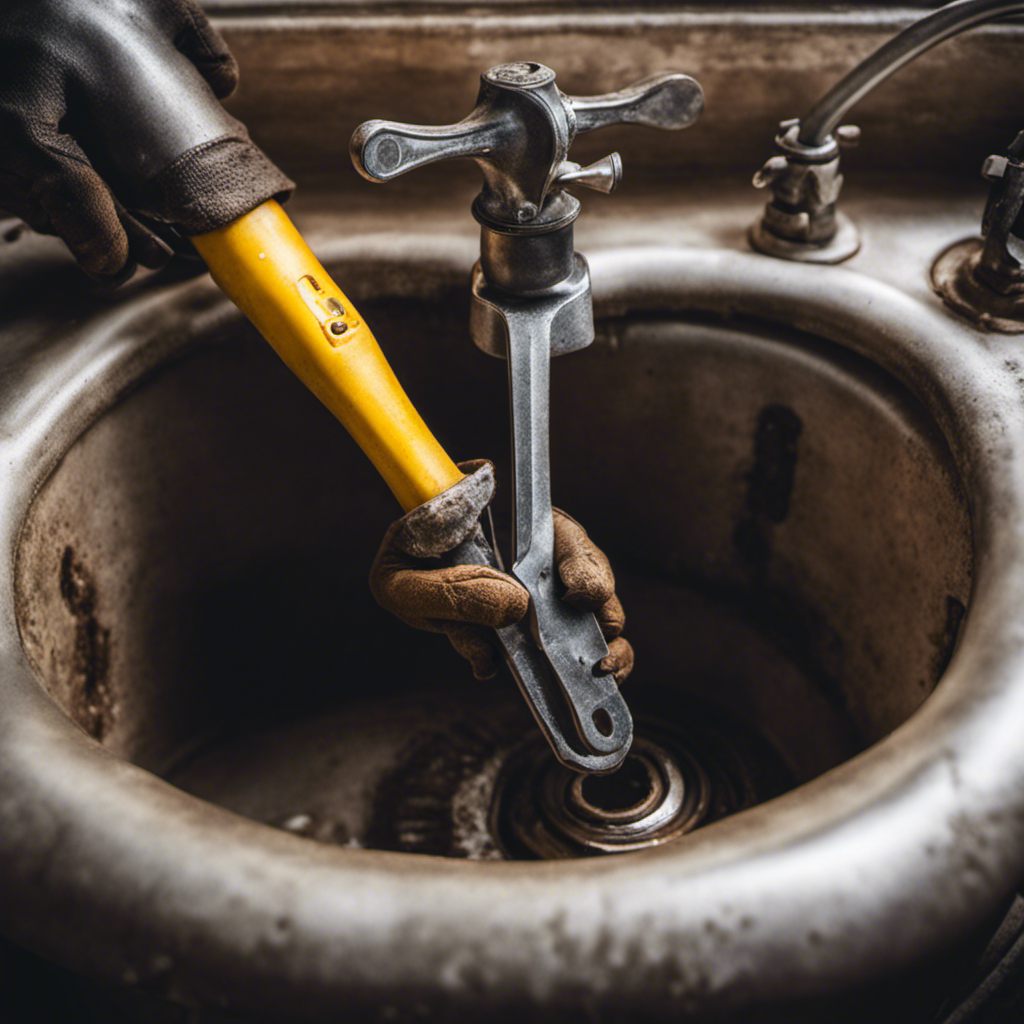
Start by disconnecting the plumbing fixtures and drain pipes to prepare for bathtub removal. Before embarking on this task, it’s important to consider some plumbing considerations.
Turn off the water supply to prevent any leaks or accidental flooding. Next, remove the faucets and handles using a wrench or pliers.
Loosen the connections that hold the drain pipes in place and carefully detach them from the bathtub. Once the plumbing fixtures and drain pipes are disconnected, it’s time to focus on disposal options.
If the bathtub is still in good condition, you may consider donating it to a local charity or selling it online. Alternatively, you can hire a professional junk removal service to safely dispose of the bathtub. Proper disposal is crucial to prevent environmental harm and maintain the integrity of your home.
Cleaning and Finishing Touches
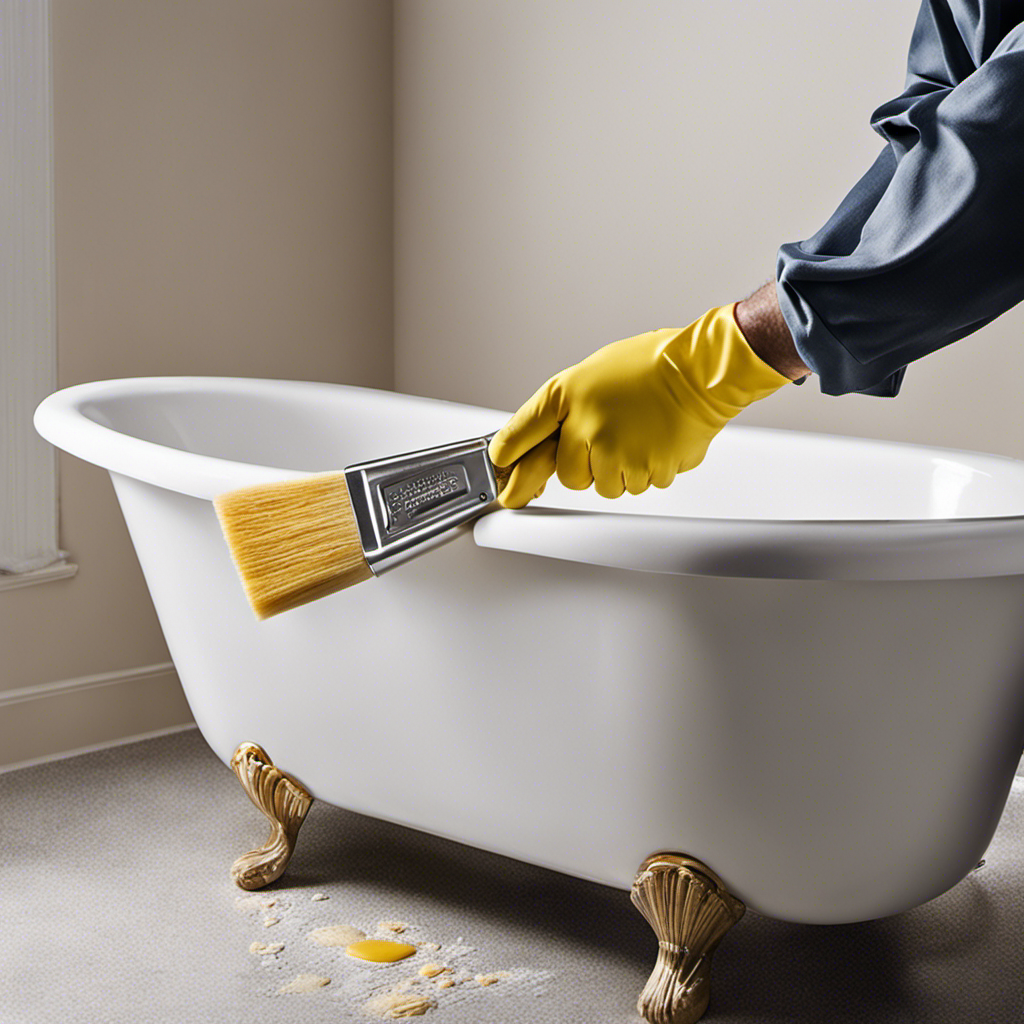
To give your bathroom a polished look, wipe down the surfaces with a clean cloth and apply a fresh coat of paint to the walls.
Cleaning techniques play a crucial role in maintaining the cleanliness and hygiene of your bathroom. Start by using a mild cleaner or vinegar solution to scrub away any soap scum or grime from the bathtub. Pay special attention to the corners and edges. Rinse thoroughly and dry with a clean cloth.
Once the cleaning is done, it’s time to add some finishing touches with the right bathtub accessories. Consider choosing accessories that complement the overall style of your bathroom, such as a shower caddy, towel holder, or soap dispenser. These small details can greatly enhance the aesthetics and functionality of your bathtub area.
Conclusion
Well, folks, that’s a wrap on our little bathtub demolition adventure. Who knew it could be so thrilling?
I hope you’ve enjoyed our little journey through the tools, the tiles, and the tub. It’s been a wild ride, but we’ve come out on top, with a sparkling clean bathroom and a newfound appreciation for the art of demolition.
So next time you find yourself in need of a bathroom makeover, remember these steps and go forth with confidence. Happy demolishing!