As a DIY enthusiast, I know the frustration of a clogged bathtub drain all too well. But fear not, because I’m here to guide you through the process of disconnecting your bathtub drain like a pro.
With just a few tools and some elbow grease, you’ll be able to remove the stopper, detach the overflow drain, disconnect the drain pipe, and have that drain flowing freely once again.
So let’s dive in and get your bathtub back to its sparkling best!
Key Takeaways
- Different types of bathtub stoppers require different removal approaches.
- The overflow drain can be detached by removing screws or unscrewing the set screw holding the overflow plate in place.
- The drain pipe should be unscrewed after removing the overflow plate.
- When reassembling the drain components, all connections should be tightened securely to prevent leaks.
Top picks for "disconnect bathtub drain"
As an affiliate, we earn on qualifying purchases.
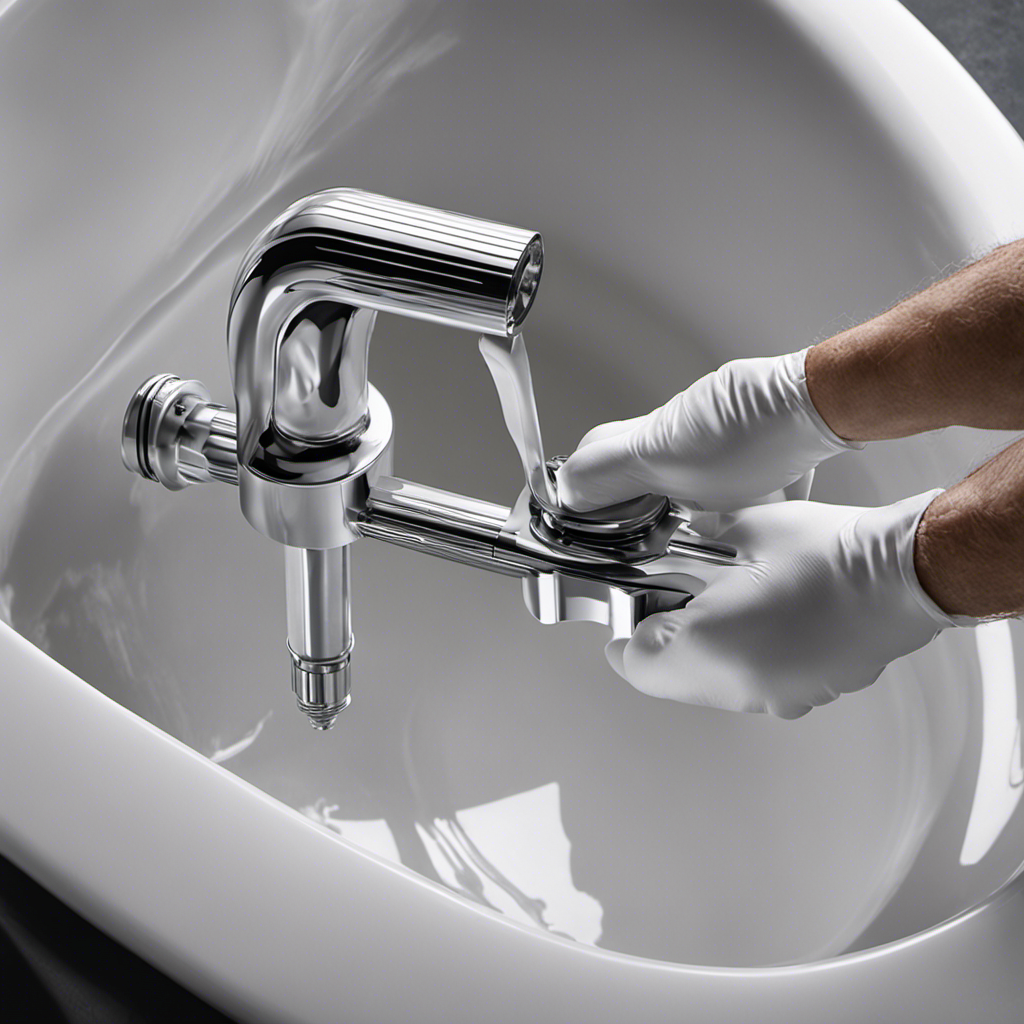
Tools and Materials Needed
To disconnect the bathtub drain, you’ll need a screwdriver, pliers, and a drain removal tool. These tools are essential for removing the bathtub drain cover and accessing the drain pipe.
The first step is to locate the drain cover, which is usually situated near the center of the bathtub. Using the screwdriver, carefully remove the screws holding the cover in place.
Once the screws are removed, use the pliers to grip the edges of the drain cover and pull it upwards, releasing it from the drain assembly.
With the drain cover removed, you can now proceed to unclogging the bathtub drain or making any necessary repairs. The drain removal tool may come in handy if the drain is stubborn and difficult to detach.
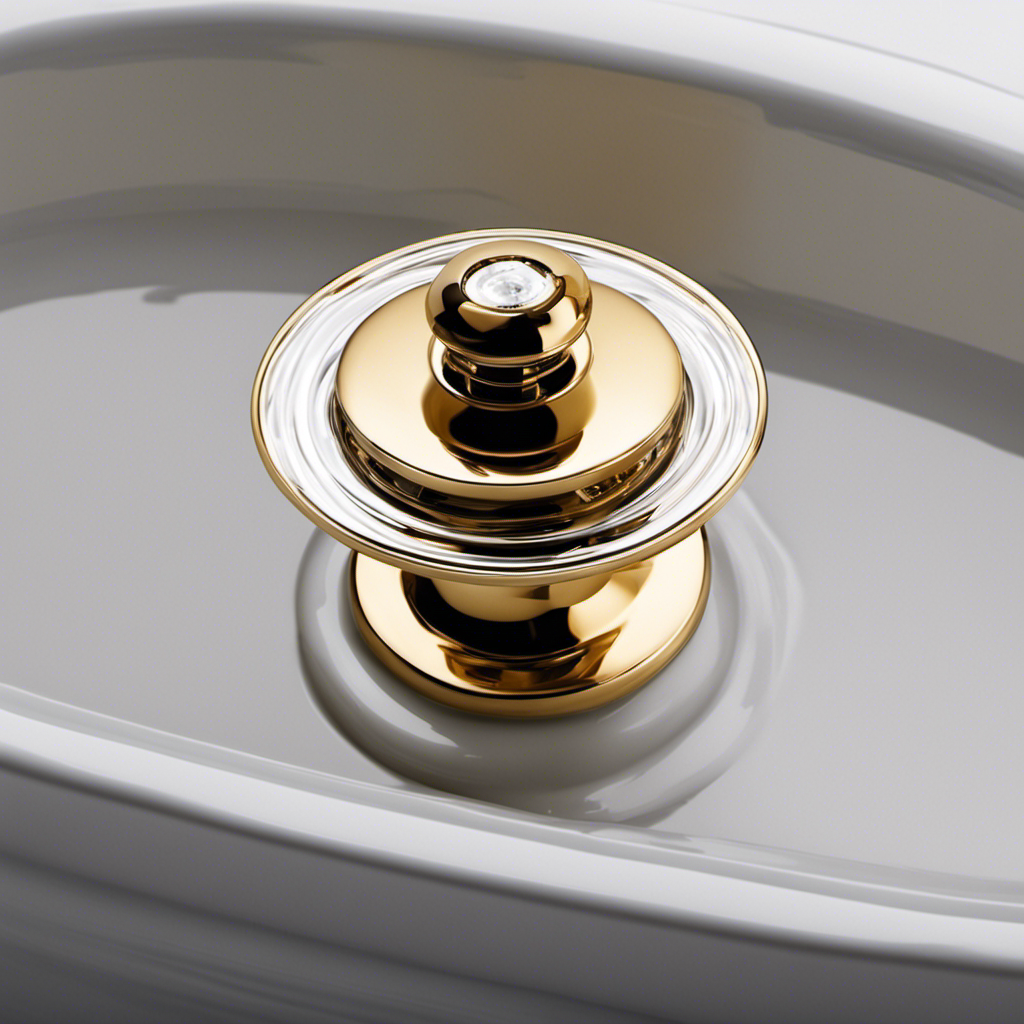
Removing the Bathtub Stopper
Before removing the bathtub stopper, make sure you have all the necessary tools. There are different types of bathtub stoppers, such as the toe-touch stopper, the lift-and-turn stopper, and the push-pull stopper. Each type requires a different approach for removal.
Common problems with bathtub stoppers include clogs, leaks, and stoppers that won’t stay closed. To remove the stopper, start by locating the set screw or stopper lever. Use a screwdriver or pliers to loosen the set screw or lift the stopper lever. Once loose, carefully pull the stopper out of the drain. If the stopper is stuck, you may need to use a wrench or pliers to free it.
Remember to turn off the water supply and consult a professional if you encounter any difficulties.
Detaching the Overflow Drain
Once you’ve located the set screw or stopper lever, you can easily detach the overflow drain. This step is crucial when removing the bathtub drain. Here are the steps to detach the overflow drain:
| Step | Instructions |
|---|---|
| 1 | Remove the screws or unscrew the set screw that holds the overflow plate in place. |
| 2 | Gently pull the overflow plate away from the tub wall to expose the drain linkage. |
| 3 | Disconnect the drain linkage from the overflow plate by unscrewing or unclipping it. |
| 4 | Once the drain linkage is detached, you can proceed with removing the bathtub drain. |
Alternative methods:
- Some bathtubs may have a lever-style overflow plate that requires you to rotate it counterclockwise to detach it.
- If you can’t locate the set screw or the overflow plate is stuck, using a plumber’s wrench can help loosen it.
Troubleshooting tips:
- If the set screw is stripped, use pliers to carefully remove it.
- If the overflow plate is difficult to detach, try applying some penetrating oil to loosen it.
Remember to always follow proper safety precautions and consult a professional if you encounter any difficulties during the process.
Disconnecting the Drain Pipe
After removing the overflow plate, you can easily detach the pipe by unscrewing it. This step is crucial in disconnecting the bathtub drain properly.
Here are some important things to consider when disconnecting the drain pipe:
-
Proper disposal: Ensure that you have a designated container or bag to collect any debris or materials that may come out of the pipe. This will prevent any mess or potential hazards.
-
Safety precautions: Wear protective gloves and eyewear to avoid any injuries or contact with harmful substances that may be present in the drain pipe.
-
Use the correct tools: Use a wrench or pliers to loosen and unscrew the pipe connections. Ensure that you have the appropriate size and type of tool for the job.
-
Take your time: Be patient and careful when unscrewing the pipe connections to avoid any damage or leaks.
-
Inspect for any issues: While disconnecting the drain pipe, take the opportunity to inspect it for any signs of damage or corrosion that may require repairs or replacements.
Following these guidelines will help you disconnect the drain pipe safely and efficiently, ensuring proper disposal of any waste materials.
Cleaning and Reassembling the Drain Components
To clean and reassemble the drain components, start by rinsing them thoroughly with warm water. This will help remove any dirt or debris that may have accumulated.
After rinsing, use a cleaning solution specifically designed for drains to further eliminate any buildup or clogs. Be sure to follow the instructions on the cleaning solution carefully.
Once the components are clean, inspect them for any signs of damage or wear. If you notice any cracks or breaks, it may be necessary to replace the damaged parts.
When reassembling the drain components, make sure to tighten all connections securely to prevent leaks.
If you encounter any issues during the cleaning or reassembly process, consult a professional or refer to troubleshooting guides for common problems.
Conclusion
In conclusion, disconnecting a bathtub drain can be quite the adventure. Armed with the right tools and materials, I embarked on a mission to free my drain from its confining pipe.
With a bit of elbow grease and a dash of determination, I successfully removed the bathtub stopper, detached the pesky overflow drain, and disconnected the drain pipe.
After a thorough cleaning and reassembling of the drain components, my bathtub is now ready for a new chapter of draining excellence.
Happy disconnecting, fellow tub enthusiasts!