
As a seasoned DIY enthusiast, I’ve learned that transforming a worn-out bathtub into a sparkling centerpiece can be a gratifying experience.
So, if you’re ready to roll up your sleeves and take on a rewarding project, let me guide you through the process of epoxying a bathtub.
With the right materials and a step-by-step approach, you’ll be amazed at how a simple coating of epoxy can revive and protect your bathtub, giving it a brand new lease on life.
Let’s dive in!
Key Takeaways
- Select the right epoxy brand based on factors such as the condition of your bathtub, your budget, and the desired outcome.
- Properly prepare the bathtub surface by cleaning it with a mild cleaning product, removing old caulk or silicone, and lightly sanding the surface with fine-grit sandpaper.
- Apply the epoxy coating using a high-quality brush or roller, working in small sections to ensure even application, and removing air bubbles with a heat gun or torch.
- Allow the coated surface to dry and cure undisturbed for at least 24 hours, maintaining consistent room temperature, low humidity, and adequate ventilation.
Necessary Materials for Epoxying a Bathtub
Before you start epoxying your bathtub, make sure you have all the necessary materials.
When it comes to bathtub epoxy, there are several brands available in the market. Some popular ones include Rust-Oleum Tub and Tile Refinishing Kit, Homax Tough as Tile, and Devcon Epoxy Bathtub Repair Kit. Each brand has its own pros and cons.
Rust-Oleum, for example, is known for its durability and high-quality finish. Homax, on the other hand, offers a quick drying time and easy application. As for Devcon, it provides a strong bond and is great for repairing cracks and chips.
When choosing a bathtub epoxy brand, consider factors such as the condition of your bathtub, your budget, and the desired outcome.
Once you have selected the right epoxy, you can move on to preparing the bathtub surface for epoxy.
Preparing the Bathtub Surface for Epoxy
Make sure you’ve thoroughly cleaned and sanded the bathtub surface before starting the epoxy application. This step is crucial in ensuring a smooth and long-lasting finish. Here’s a detailed guide on how to prepare the bathtub surface for epoxy:
-
Clean the bathtub: Use a mild cleaning product specifically designed for bathtubs. Scrub the surface thoroughly to remove any dirt, grime, or soap scum. Rinse it off with water and let it dry completely.
-
Remove old caulk: Inspect the bathtub for any old caulk or silicone. Use a caulk remover tool to carefully remove it. This will help create a clean surface for the epoxy to adhere to.
-
Sand the surface: Use a fine-grit sandpaper to lightly sand the entire bathtub surface. This will help roughen up the surface and create a better bond for the epoxy.
-
Clean again: After sanding, wipe down the bathtub surface with a damp cloth to remove any dust or debris. Ensure the surface is completely clean and dry before proceeding with the epoxy application.
Remember to take safety precautions when working with cleaning products and sanding. Wear gloves, goggles, and a mask to protect yourself from any potential hazards.
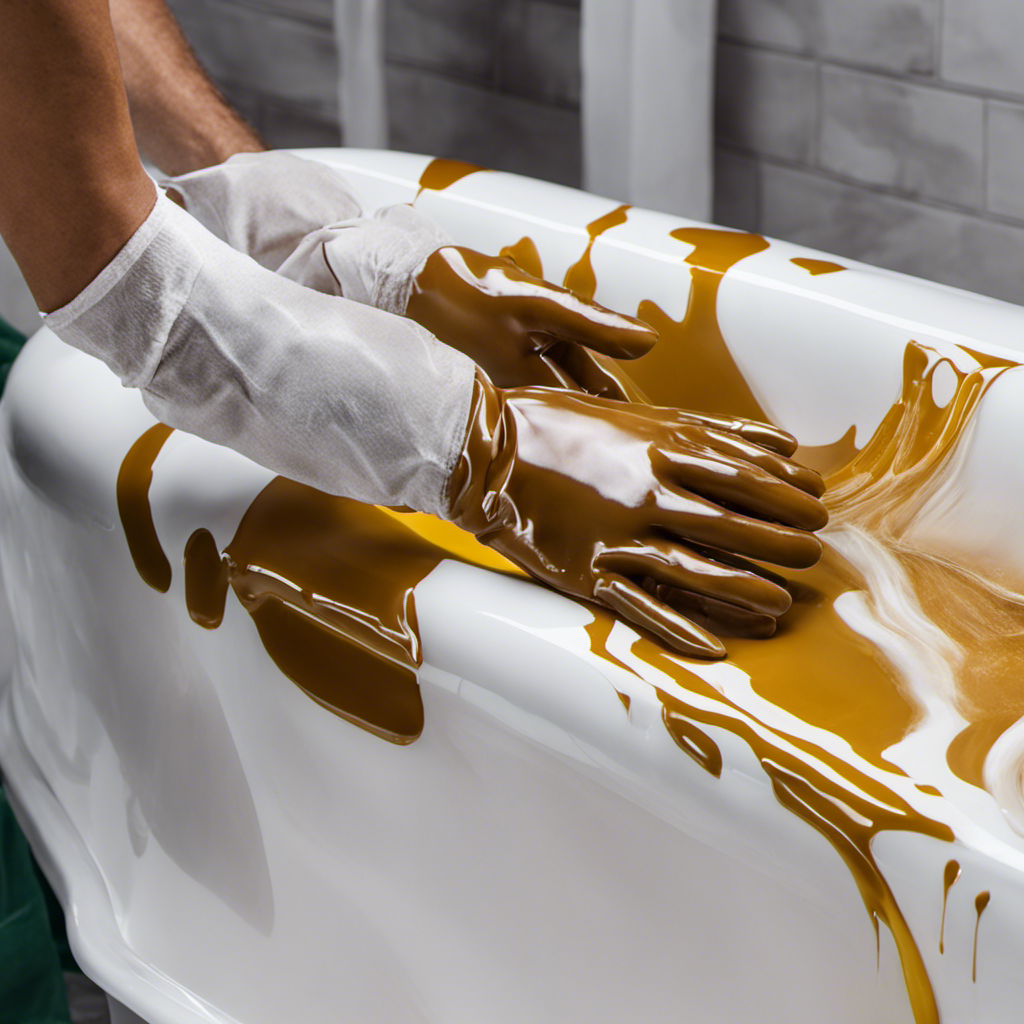
Applying the Epoxy Coating to the Bathtub
Once you’ve completed the surface preparation, it’s time to apply the epoxy coating to the tub.
To achieve a smooth and even epoxy finish, there are a few tips and tricks I’ve learned from my experience.
First and foremost, make sure to mix the epoxy thoroughly according to the manufacturer’s instructions. This will ensure proper curing and a durable finish.
When applying the epoxy, use a high-quality brush or roller to avoid leaving streaks or brush marks. Work in small sections, applying the epoxy evenly and smoothly.
If you encounter any air bubbles, gently run a heat gun or torch over the surface to help release them.
Lastly, keep an eye out for any drips or uneven areas and quickly correct them before the epoxy starts to harden.
Following these tips will help you troubleshoot common epoxy application issues and achieve a flawless finish on your bathtub.
Drying and Curing the Epoxy on the Bathtub
To ensure proper drying and curing, you’ll need to allow the coated surface to sit undisturbed for at least 24 hours. This is a critical step in the epoxying process, as it allows the epoxy to fully harden and create a durable, long-lasting finish.
During this drying time, there are a few potential issues to be aware of:
-
Dust and debris: Keep the area around the bathtub clean to prevent any contaminants from settling on the epoxy surface.
-
Temperature and humidity: Maintain a consistent room temperature and low humidity level to aid in the drying process.
-
Ventilation: Ensure adequate ventilation in the room to aid in the evaporation of solvents and promote faster drying.
-
Touching or moving the coated surface: Avoid touching or moving the bathtub during the drying period to prevent any damage or imperfections in the epoxy.
By following these guidelines, you can ensure a successful drying process for your epoxyed bathtub.
Once the drying time is complete, you can move on to the next steps of finishing touches and maintenance.
Finishing Touches and Maintenance for Epoxyed Bathtubs
After the drying process is complete, it’s important to regularly clean and maintain your newly coated bathtub to preserve its glossy finish. Cleaning your epoxyed bathtub is a straightforward process that will help maintain its long-term durability.
To begin, fill a spray bottle with warm water and a mild, non-abrasive cleaner. Spray the mixture onto the surface of the bathtub and let it sit for a few minutes to loosen any dirt or grime. Then, using a soft sponge or cloth, gently scrub the surface in a circular motion. Rinse thoroughly with warm water and dry with a soft towel to prevent water spots.
For stubborn stains, you can use a mild abrasive cleaner, but be sure to test it in a small, inconspicuous area first to ensure it doesn’t damage the epoxy coating.
Conclusion
In conclusion, epoxying a bathtub is a rewarding and transformative process that can revive the beauty and functionality of your bathroom.
Just like an artist carefully applies brushstrokes to a canvas, we carefully applied the epoxy coating, ensuring a smooth and durable finish.
The bathtub now shines like a polished gem, ready to provide luxurious and relaxing baths for years to come.
With regular maintenance and care, your epoxyed bathtub will remain a stunning centerpiece in your bathroom.
Enjoy the beauty and comfort that this simple yet impactful renovation brings.

Mateo’s flair for writing is matched only by his keen eye for design. As an interior designer turned writer, Mateo brings a unique perspective. He blends aesthetics with functionality in every piece he pens, providing readers with beautifully crafted content that’s also supremely useful.
Mateo loves exploring the latest bathroom tech trends and is our expert on smart toilets. When he’s not writing or designing, Mateo can be found sketching ideas for his next big project at local coffee shops.