As a homeowner, I know that finding a void under your bathtub can be as unsettling as discovering a hidden treasure chest. But fear not! I’m here to guide you through the process of filling that void and restoring your peace of mind.
In this article, we’ll explore how to:
- Identify the void
- Prepare the necessary materials
- Assess and repair any damage
- Fill it with the right filler material
So, grab your tools and let’s dive into this task together!
Key Takeaways
- Remove access panel or fixtures to assess the void and existing damage
- Patch cracks and repair any damage before filling the void
- Gather suitable materials like expanding foams or liquid fillers
- Allow proper curing time and follow instructions for a flawless finish
Identify the Void Under the Bathtub
You’ll need to identify the void under the bathtub before you can proceed with filling it. Assessing the void size is crucial in determining the amount of filler material required.
Start by removing the bathtub’s access panel or any removable fixtures to gain visibility. Shine a flashlight into the void to examine its depth and width. Look for any cracks or gaps in the surrounding area that may have caused the void to form.
Patching cracks is an essential step in preparing the void for filling. Use a suitable filler, such as epoxy or expanding foam, to seal the cracks and prevent further damage. Ensure that the patched areas are smooth and level before moving on to the next step.
Prepare the Materials Needed for Filling the Void
Gather all the necessary materials for filling the empty space beneath the tub. When it comes to filling the void under your bathtub, it is important to use the right materials to ensure a sturdy and long-lasting result.
Here are some tips to help you choose the right filler material for the bathtub void:
-
Avoid using lightweight or weak materials that may compress over time, leading to sagging or cracking of the tub. Opt for materials that are strong and can provide solid support.
-
Consider using expanding foams or liquid fillers specifically designed for this purpose. These materials can easily fill the empty space and provide stability to the tub.
-
Make sure to read the instructions and guidelines provided by the manufacturer before using any filler material. Following the recommended application process will help you achieve the best results and avoid any potential issues.
Assess and Repair Any Existing Damage
Inspect the area for any existing damage and make the necessary repairs to ensure a stable foundation for your bathtub.
Before filling the void under the bathtub, it is crucial to address any cracks or leaks that may be present. Start by thoroughly examining the bathtub for any signs of damage, such as cracks or water leaks. If you notice any cracks, use a bathtub repair kit to fix them.
Additionally, check for any leaks in the plumbing system and repair them promptly. By repairing these issues, you not only prevent further damage but also ensure that the void is properly filled without any future complications.
Once the necessary repairs are made, you can proceed to fill the void with an appropriate filler material.
Fill the Void With an Appropriate Filler Material
Before proceeding, it’s important to choose the right filler material to complete the void underneath the bathtub. There are different types of filler materials available, each with its own pros and cons. Here are three options to consider:
-
Expanding Foam: This polyurethane foam expands to fill the void and provides excellent insulation. It is easy to use and offers good stability. However, it can be difficult to remove if needed and may not be suitable for larger voids.
-
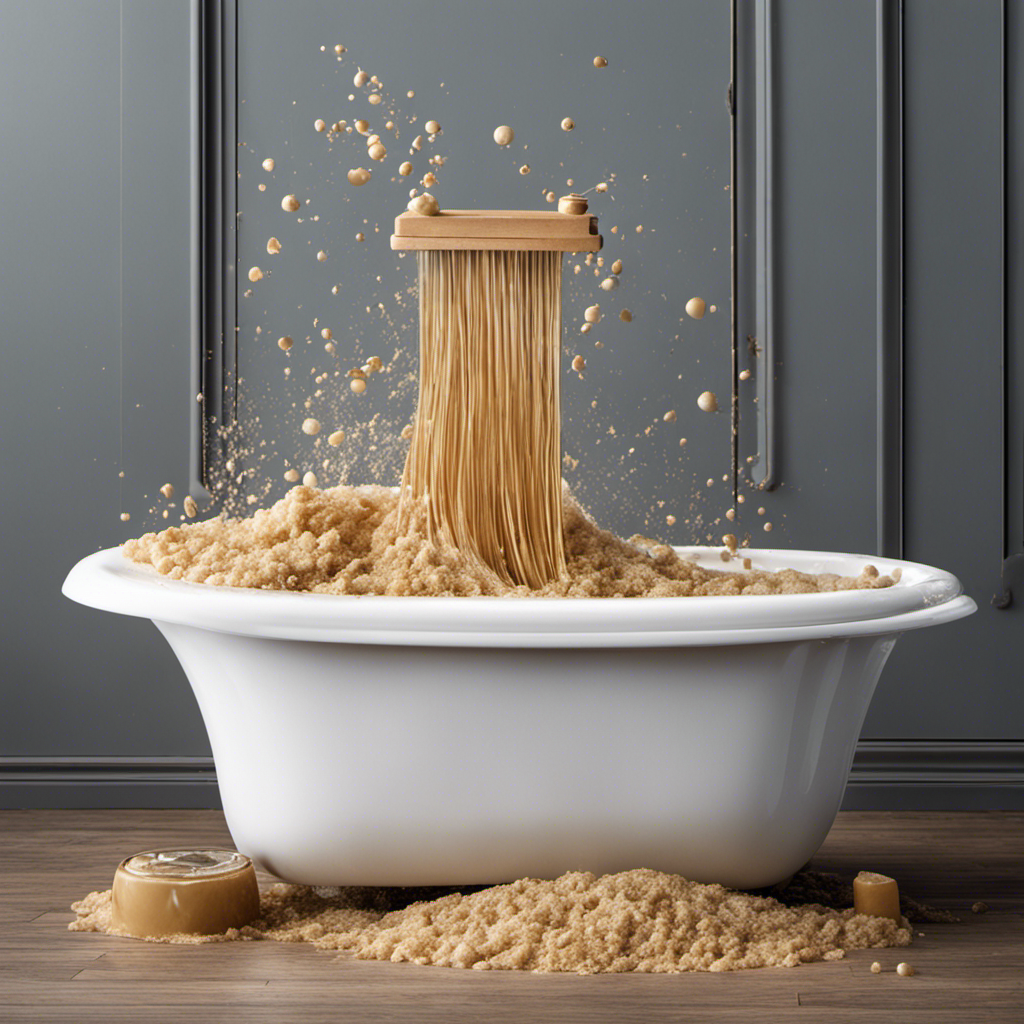
Sand and Cement Mix: This traditional method involves mixing sand and cement to create a solid base. It is cost-effective and provides a strong foundation. However, it can be time-consuming and may crack over time.
-
Polystyrene Beads: These lightweight beads are often used as an alternative to traditional fillers. They are easy to handle and provide good insulation. However, they may not offer as much stability as other options.
Consider the pros and cons of each filler material before making a decision.
Ensure Proper Curing and Finishing of the Filled Void
To ensure proper curing and finishing, make sure you allow enough time for the filler material to dry completely. This is crucial in achieving a smooth and seamless finish on the filled void under your bathtub.
One important aspect to consider during the curing process is proper ventilation. Adequate airflow helps to speed up the drying time and ensures that the filler material cures evenly. Open windows or use fans to facilitate air circulation in the area.
Additionally, it is essential to follow the manufacturer’s instructions regarding the curing time for the specific filler material you are using. Rushing the drying process may result in an uneven finish or even cause the material to crack.
Patience is key when it comes to achieving a flawless end result.
Frequently Asked Questions
How Long Does It Typically Take for the Filler Material to Fully Cure?
Typically, it takes filler material a few hours to fully cure, but there are ways to speed up the process. The curing time can vary depending on the type of filler used.
Can I Use Any Type of Filler Material to Fill the Void Under the Bathtub?
Yes, you can use different types of filler materials to fill the void under the bathtub. However, it’s important to consider the pros and cons of each option.
Are There Any Specific Tools or Equipment Needed to Assess and Repair Existing Damage?
To properly assess and repair existing damage under a bathtub, specific tools and equipment are needed. Without them, the risks of not filling the void properly can lead to further damage and costly repairs.
How Can I Identify if There Is a Void Under My Bathtub?
Identifying signs of a void under a bathtub can include sagging, cracking, or shifting of the tub. I recommend a professional inspection to accurately assess the situation and determine the best course of action.
Are There Any Additional Steps I Should Take to Ensure the Filled Void Is Properly Finished and Sealed?
Proper finishing techniques and sealing are essential when filling the void under a bathtub. It ensures long-lasting stability and prevents any potential water damage or leaks. Don’t overlook these crucial steps.
Conclusion
As I carefully filled the void under my bathtub, I couldn’t help but reflect on how it symbolized the voids in our lives.
Just like the bathtub, we all have empty spaces within us that need to be filled. By identifying, preparing, and repairing these voids, we can restore balance and wholeness.
The process of filling the void under the bathtub reminded me of the importance of addressing and mending the empty spaces within ourselves, ensuring proper healing and growth.