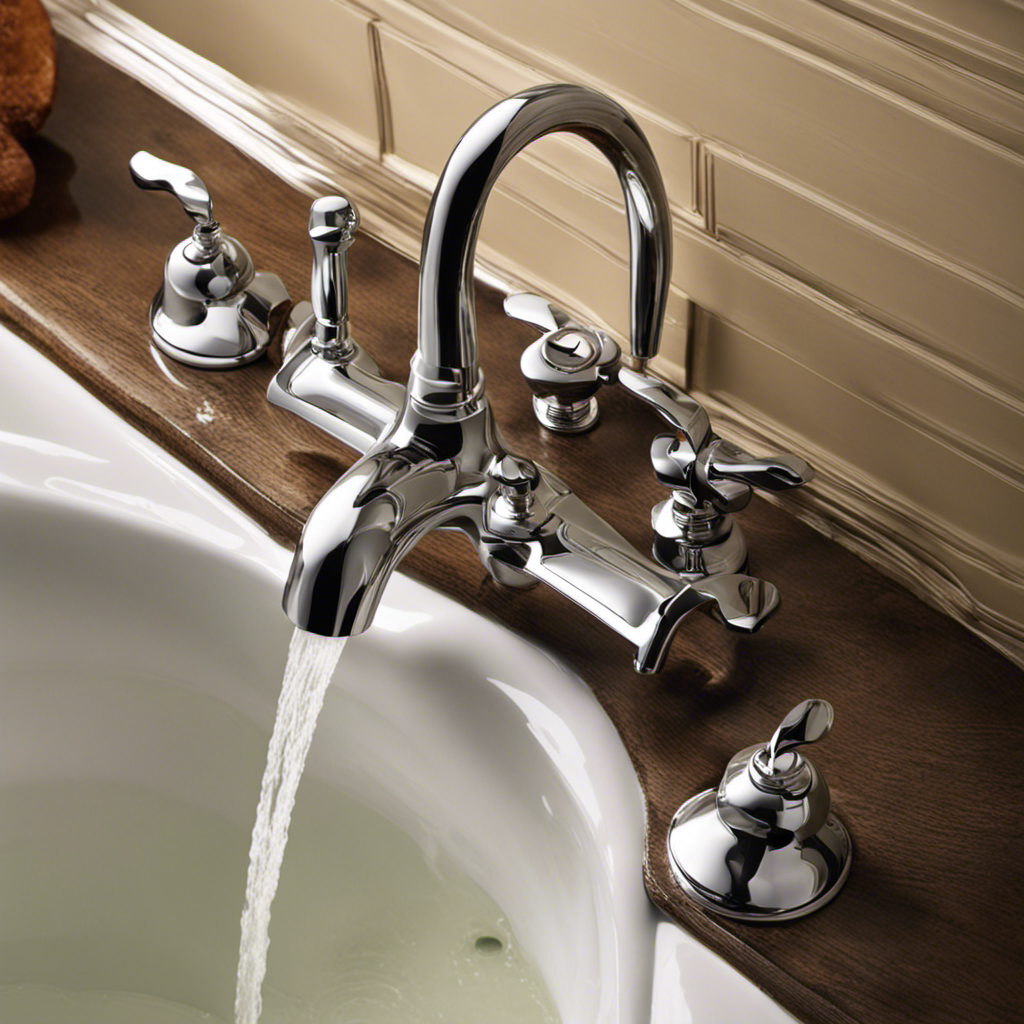
As I stand in front of my leaking bathtub faucet, a steady stream of water flowing, I feel a mix of frustration and determination. It’s time to take matters into my own hands and fix this problem once and for all.
In this article, I will guide you through the step-by-step process of repairing a bathtub faucet. With a bit of knowledge, some essential tools, and a can-do attitude, you’ll be able to tackle this task with confidence.
Let’s get started!
Key Takeaways
- Check for leaks or drips, indicating worn-out washers or O-rings.
- Low water pressure may be due to a clogged aerator or faulty cartridge.
- Constantly running faucet may be caused by a faulty valve or worn-out seal.
- Regular maintenance and preventive measures can help prevent faucet problems.

DANCO Bathtub and Shower 3-Handle Remodel/Rebuild Trim Kit for Gerber Faucets | Knob Handle | 11B-1H, 11B-1C, 11B-4D | Chrome (39617)
EASY UPGRADE – The classic chrome finish will update and complement your existing bathroom decor without any expensive…
As an affiliate, we earn on qualifying purchases.
As an affiliate, we earn on qualifying purchases.
Identifying the Problem
First, you’ll need to figure out what’s causing the problem with your bathtub faucet. Troubleshooting common bathtub faucet issues can save you time and money.
Start by checking for any leaks or drips. This could indicate a worn-out washer or O-ring that needs to be replaced. If the water pressure is low, it may be due to a clogged aerator or a faulty cartridge. Cleaning or replacing these parts should solve the issue.
Another common problem is a constantly running faucet, which can be caused by a faulty valve or a worn-out seal. Regular maintenance and preventive measures can help prevent bathtub faucet problems. Remember to clean the aerator regularly and check for any signs of leaks or drips to catch and fix any issues early on.
bathtub faucet washer replacement
As an affiliate, we earn on qualifying purchases.
As an affiliate, we earn on qualifying purchases.
Gathering the Necessary Tools
To gather the necessary tools, you’ll need a wrench, pliers, and a screwdriver. Having the right tools is essential for fixing a bathtub faucet efficiently.
Start by organizing your tools in a toolbox or a designated area. This will save you time and prevent frustration when you need them.
When troubleshooting a bathtub faucet, it’s important to have a wrench to remove the faucet handle and the retaining nut. Pliers are useful for gripping and turning small parts, such as the cartridge or the stem. A screwdriver is necessary for removing screws and other fasteners.
bathtub faucet cartridge removal tool
As an affiliate, we earn on qualifying purchases.
As an affiliate, we earn on qualifying purchases.
Shutting Off the Water Supply
Before you can proceed, make sure to shut off the water supply to prevent any potential leaks or accidents. Here are the steps to properly shut off the water supply for your bathtub faucet:
-
Locate the shut-off valves: Look for two valves near the faucet, usually under the sink or behind a panel. These valves control the hot and cold water supply.
-
Turn off the valves: Use a clockwise motion to close both valves. This will stop the flow of water to the faucet.
-
Test the water supply: Turn on the faucet to ensure that the water has been shut off completely.
By shutting off the water supply, you can work on your bathtub faucet without any risk of water damage or accidents.
Now that the water is off, let’s move on to the next step of disassembling the faucet.
bathtub faucet leak repair parts
As an affiliate, we earn on qualifying purchases.
As an affiliate, we earn on qualifying purchases.
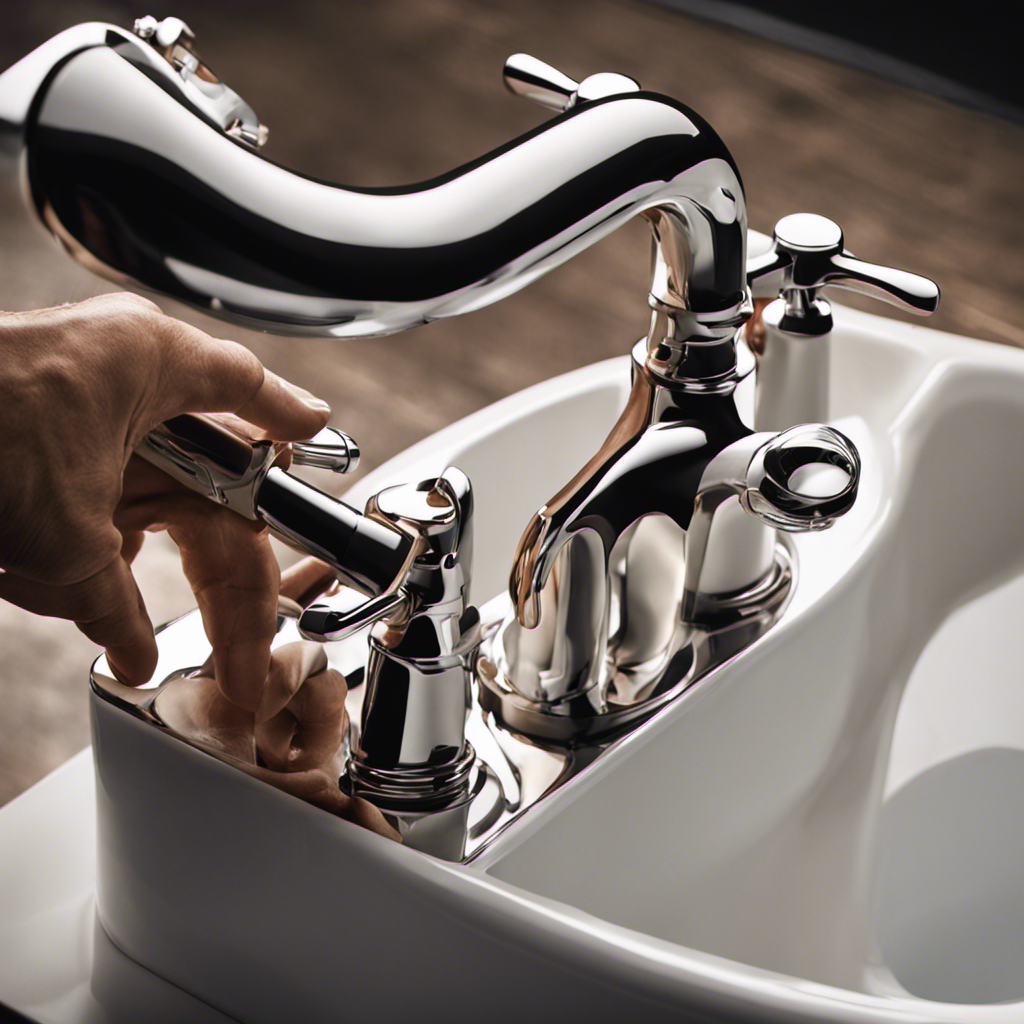
Disassembling the Faucet
When it comes to disassembling a faucet, proper tool selection is crucial to ensure a smooth and successful process. Having the right tools on hand, such as an adjustable wrench, screwdriver, and pliers, can make all the difference in efficiently removing the various components of the faucet.
To begin the step-by-step disassembly process, it is important to start with shutting off the water supply and draining any remaining water to avoid any potential mess or accidents.
Proper Tool Selection
You’ll need to choose the right tools for the job when fixing a bathtub faucet. Here are some expert tips to help you select the right tools and avoid common mistakes:
-
Familiarize yourself with the type of faucet you have. Different faucets require different tools, so it’s important to know what you’re working with.
-
Invest in a good quality adjustable wrench. This versatile tool will come in handy for removing and tightening various parts of the faucet.
-
Consider purchasing a faucet repair kit. These kits often include specialized tools such as seat wrenches and cartridge pullers that are designed specifically for repairing faucets.
Step-By-Step Disassembly Process
To start disassembling the faucet, twist the handle counterclockwise until it comes off. This step is crucial as it allows you to access the inner components of the faucet for cleaning and repair.
Before diving into the disassembly process, it’s important to know the proper cleaning techniques and avoid common mistakes. Here are some useful tips to keep in mind:
- Use a soft cloth or sponge to clean the exterior of the faucet. Avoid abrasive cleaners that can scratch the surface.
- For stubborn stains, mix vinegar and water in equal parts and let it sit on the faucet for a few minutes before wiping it off.
- When disassembling the faucet, make sure to keep track of the order in which the parts are removed. Taking pictures or using a diagram can be helpful.
- Avoid using excessive force when removing parts, as it can cause damage.
- Take note of any gaskets or seals that may need to be replaced during reassembly.
Fixing or Replacing Faulty Components
When it comes to fixing or replacing faulty components in a bathtub faucet, it’s important to first identify which parts are causing the issue. This can be done by carefully examining the faucet and looking for any signs of wear, corrosion, or damage.
Once the faulty components have been identified, the next step is to determine whether they can be repaired or if they need to be replaced entirely. This decision will depend on the extent of the damage and the availability of replacement parts.
Identify Faulty Components
The first step in fixing a bathtub faucet is to identify the faulty components. This is crucial to ensure that you troubleshoot the problem accurately and efficiently. Here are some troubleshooting tips and common causes to help you identify the faulty components:
-
Check the handles: If the handles are difficult to turn or if they leak when the faucet is off, the problem may lie with the cartridge or the valve stem.
-
Inspect the spout: If water is leaking from the spout even when the handles are turned off, the issue could be with the diverter valve or the O-rings.
-
Examine the water pressure: If the water pressure is inconsistent or weak, it could be due to a clogged aerator or a malfunctioning pressure balancing valve.
Repair or Replace?
If you’re unsure whether you should repair or replace the faulty components, consider the cost and feasibility of each option.
When it comes to repairing a bathtub faucet, it’s important to assess the repair cost and determine if it’s worth the investment.
If the repair cost is relatively low and the faucet can be fixed easily, then repairing might be the best option.
However, if the repair cost is high or the faucet is beyond repair, it might be more practical to replace it altogether.
Additionally, it’s important to consider whether you have the necessary skills and tools to perform the repair yourself.
If not, seeking professional help might be the best course of action. They can provide expert advice and ensure the job is done correctly.
Reassembling and Testing the Faucet
After tightening the screws, you can now turn the water supply back on to test the reassembled faucet.
To ensure the faucet is working properly, follow these testing methods and troubleshooting tips:
-
Run both hot and cold water: Turn the faucet handle to both the hot and cold positions to check for any leaks or irregular water flow. Observe if the water is coming out smoothly or if there are any splutters or blockages.
-
Check for leaks: Carefully inspect the base of the faucet and the connections for any signs of water leakage. If you notice any leaks, tighten the connections or replace any faulty parts.
-
Monitor water pressure: Pay attention to the water pressure coming out of the faucet. If it is too high or too low, it could indicate an issue with the water supply or the faucet itself. Adjust the pressure accordingly or seek professional help if needed.
Frequently Asked Questions
How Do I Know if My Bathtub Faucet Needs to Be Fixed or Replaced?
If my bathtub faucet needs to be fixed or replaced, there are some signs to look out for, like leaks or low water pressure. I can troubleshoot the issue by following step-by-step instructions to identify and resolve the problem.
Can I Fix a Leaking Bathtub Faucet Without Turning off the Water Supply?
Yes, you can fix a leaking bathtub faucet without turning off the water supply. It involves replacing worn-out parts or tightening loose connections. However, it’s always recommended to turn off the water supply for safety and better access to the faucet.
What Are Some Common Reasons for a Bathtub Faucet to Leak?
Fixing a bathtub faucet can be a hassle, but with the right knowledge and tools, it’s a manageable task. Common reasons for a leaky faucet include worn-out washers, corroded valves, or loose connections. Don’t worry, I’ve got you covered!
How Do I Remove a Stuck or Corroded Faucet Handle?
To remove a stuck or corroded faucet handle, start by turning off the water supply. Then, use a screwdriver or Allen wrench to unscrew the handle. Once removed, you can replace the washer to fix the leak.
Is It Necessary to Hire a Professional Plumber to Fix a Bathtub Faucet?
Hiring a professional plumber to fix a bathtub faucet can be expensive. However, with the right tools and knowledge, DIY can be cost-effective. It’s important to weigh the complexity of the issue before deciding.
Conclusion
In conclusion, fixing a bathtub faucet may seem like a daunting task, but with the right tools and knowledge, it can be easily accomplished. By following the steps outlined in this article, you can save both time and money by avoiding the need for a professional plumber.
Did you know that a dripping faucet can waste up to 3,000 gallons of water per year? This staggering statistic highlights the importance of promptly fixing any faucet issues to conserve water and reduce utility bills.
So, don’t hesitate to tackle that faucet problem yourself and enjoy a fully functional bathtub once again.